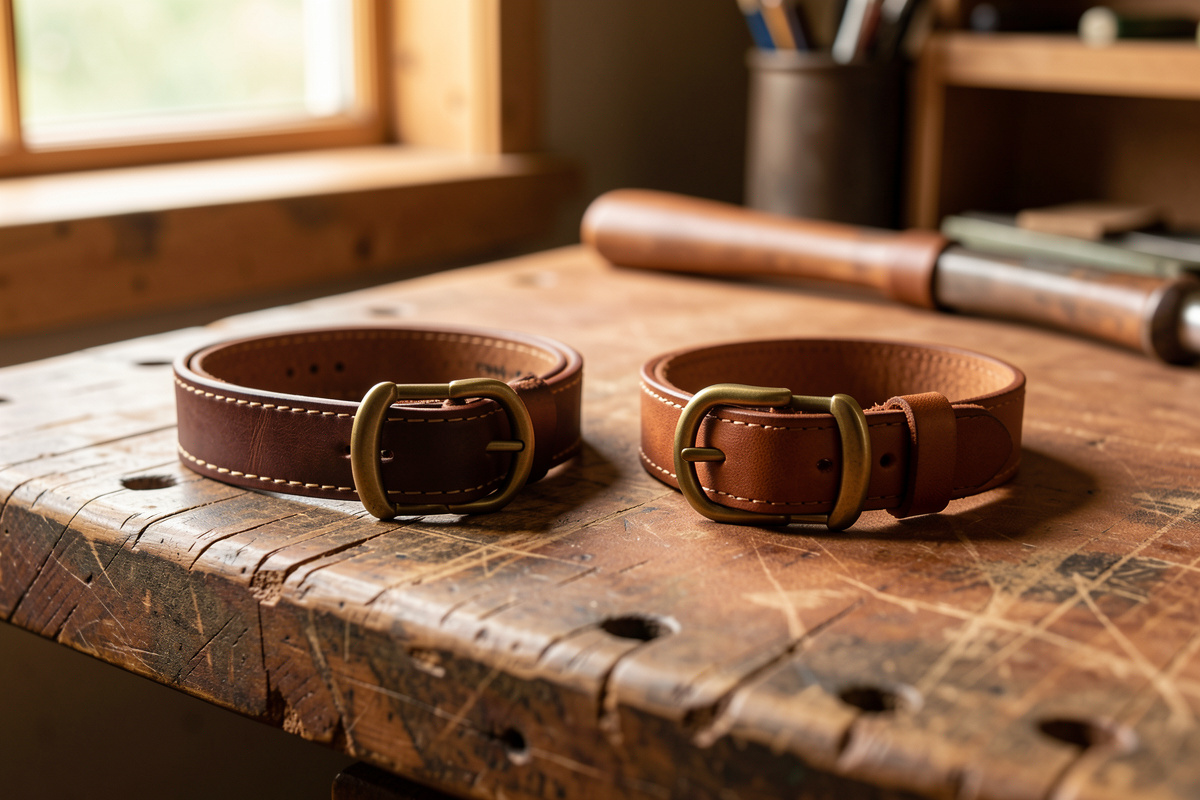
A leather dog collar is the most forgiving real project you can build: one strap, one buckle, a row of holes, and a saddle stitch holding it together.…
A leather dog collar is the most forgiving real project you can build: one strap, one buckle, a row of holes, and a saddle stitch holding it together. Cut a 1-inch wide strip of 8–10 oz bridle leather, set a center-bar buckle and a welded D-ring, stitch the keeper, finish the edges, and you have a collar that outlives three nylon ones. Most of mine are still on duty years later.
I make these on the same low-dust bench where I stitch wallets and mold knife sheaths, and a collar lives in the gap between those two skills — it needs the clean strap work of a belt and the hardware discipline of a sheath. This guide walks the whole build the way I actually do it on the bench: leather choice, the strap, hardware layout, the stitch, the edge, the finish, and how to get the fit right the first time. Where a step deserves its own deep dive, I point you to the focused guide for it.
Why Build a Collar Instead of Buying One
A handmade veg-tan or bridle collar wins on the one thing that matters: it gets stronger as it ages instead of weaker. Stitched leather has no plastic ladder-lock to crack and no stamped sheet-metal buckle to bend. A properly built 1-inch bridle collar will take well over 200 lb of pull before anything yields, and the failure point is almost always the hardware, not the strap or the stitch.
The other reason is fit and feel. A store collar is cut for a size bracket; the one I make is cut for the dog in front of me, with the holes spaced where that neck actually sits. Bridle leather is stuffed with oils and waxes during tanning, so it shrugs off rain, neck oil, and a wet shake-off the way nylon never manages once it starts to fray. If you want the full argument on which leather survives a wet life, I laid it out in the bridle vs latigo comparison.
Choosing the Leather: Weight, Tannage, and Why Bridle Wins
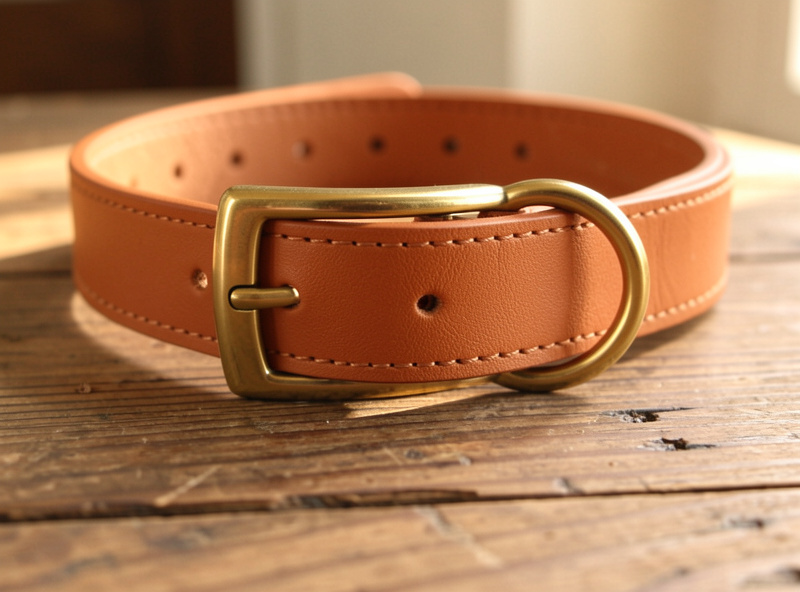
For a collar I reach for 8–10 oz (3.2–4.0 mm) bridle leather almost every time. That weight is stiff enough to carry hardware without folding and thick enough that a stitched-down keeper and a set rivet have real material to bite into. Thinner than 7 oz and the collar feels like a strap that happens to go around a neck; thicker than 11 oz and it stops conforming to a small dog.
Bridle is veg-tanned and then heavily stuffed with fats and waxes, which is exactly what you want around a neck that gets wet. Plain veg-tan tooling leather works and takes dye and stamping beautifully, but you must seal it well or it darkens and stiffens with repeated soakings. Chrome-tan is too soft and limp for a collar body — save it for lining a wide martingale, not the working strap. I go deeper on the exact ounce-by-dog-size math in the leather weight guide, and on tannage trade-offs in the chrome tan vs veg tan breakdown. If ounces-to-millimeters still trip you up, keep the thickness chart open.
| Dog Size | Strap Width | Leather Weight | Buckle / Ring |
|---|---|---|---|
| Toy / small (under 20 lb) | 5/8–3/4 in | 6–7 oz | 5/8 in center bar, 5/8 in D |
| Medium (20–50 lb) | 3/4–1 in | 8–9 oz | 3/4 in center bar, 3/4 in D |
| Large (50–90 lb) | 1–1.25 in | 9–10 oz | 1 in center bar, 1 in welded D |
| Giant / strong puller (90 lb+) | 1.25–1.5 in | 10–12 oz | 1.25 in heel-bar, welded D |
The Tools You Actually Need
A collar needs less of a tool wall than people fear: a way to cut a straight strap, a way to make even stitch holes, a needle-and-thread system, hardware-setting tools, and edge kit. You can build a respectable first collar for under $100 in tools if you already own a mat and a knife.
My working list is a heavy steel straightedge and a rotary cutter or a strap cutter for the strip, a pricking iron set (I default to a European pitch around 3.85 mm, roughly 7 stitches per inch) plus a stropped diamond awl, two harness needles, a stitching pony to hold the work, an edge beveler, sandpaper from 400 to 1000 grit, and a slicker. For hardware you need a rotary or drive punch, a rivet setter, and an anvil. If you are starting from nothing, the tools guide and the starter kit breakdown sort the must-haves from the wasted money, and the chisels vs pricking irons guide explains why I reach for irons plus an awl.
Cutting the Strap
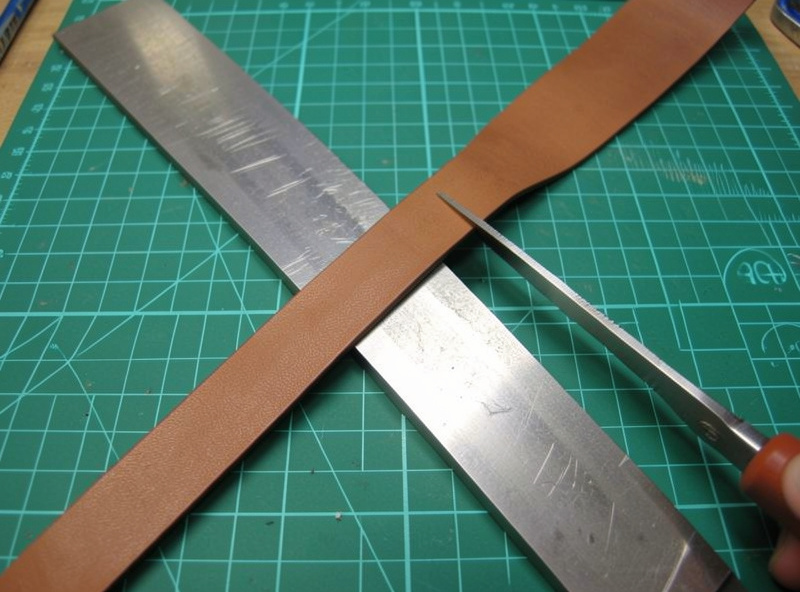
The whole collar lives or dies on a dead-straight strap of even width. A collar strap that wanders by even 1 mm over its length reads as homemade the instant someone runs a thumb down it. Mark your width with a wing divider or a strap cutter set once, and cut against a steel straightedge in one confident pass rather than sawing.
Cut the strap a good 5–6 inches longer than the dog’s neck measurement: you need length for the buckle fold-back (about 3 inches) plus the billet end that carries the holes (about 2–3 inches past the middle hole). Round the billet (hole) end with a round punch or strap-end punch so it feeds through the buckle and keeper cleanly; a square end snags. For the clean-cut technique itself, the cutting leather straight guide is the one I send beginners to, and the belt tutorial covers the same strap mechanics at a larger scale.
Hardware Layout: Buckle, Billet, Holes, and D-Ring
Lay the hardware out before you punch a single hole, because the geometry is unforgiving once committed. A standard collar runs: buckle folded back and riveted/stitched at one end, a keeper (belt loop) just behind it, the D-ring trapped in that fold or set on its own tab, then the adjustment holes marching down the billet end at the far side.
Use a solid-cast center-bar or heel-bar buckle in brass or stainless, never a hollow stamped one, and a welded D-ring — an unwelded ring is the single most common collar failure, because a hard lunge pries the gap open. Space the adjustment holes evenly (I use 3/4 inch apart, five holes, with the middle hole on the measured neck size) and punch them on the strap’s centerline. For setting snaps and rivets without a press, the hand-tool snap method works; the rivet guide covers copper vs brass vs stainless, the buckle types comparison sorts roller from center-bar, and the full hardware guide ties it all together. There is a dedicated collar hardware deep dive if you want my exact picks.
Saddle-Stitching the Collar
The buckle fold and the keeper get a saddle stitch, and this is where a hand-built collar earns its keep. A saddle stitch uses two needles passing opposite directions through each hole, so every hole carries an independent lock — cut one stitch and the rest hold, unlike a machine lockstitch that unzips. On a collar fold I run a tight block of 6–8 stitches through both layers, backstitching two holes at each end to lock the run.
Match your thread to your iron pitch: with a 3.85 mm iron I use 0.8 mm waxed polyester (Ritza 25 “Tiger”) so the thread fills the hole and seats flush rather than sitting proud or pulling through. Pre-punch with the iron and awl, mark your setback from the edge consistently, and keep tension even. The complete method is in the saddle stitch tutorial; the case for hand over machine is in saddle stitch vs machine stitch; thread sizing lives in the thread guide; and setback distance in the setback guide. A stitching pony frees both hands for it.
Edge Finishing: The Detail That Says "Made"
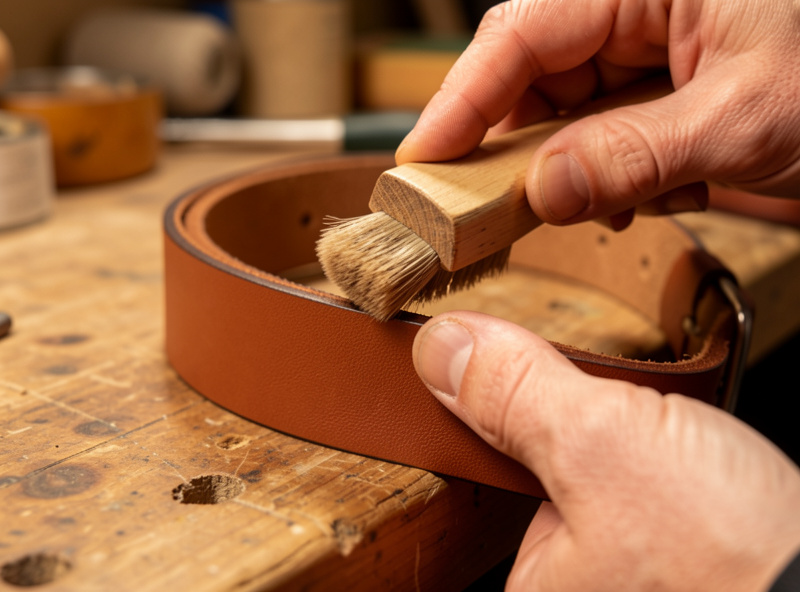
The edge is the single biggest tell between a collar that looks made and one that looks bought, and on a collar it also matters for the dog — a raw, sharp edge chafes a neck, a rounded burnished one glides. The sequence never changes: bevel both grain-side corners, sand up the grits, case the edge with water or Tokonole, then slick it hard with a fast-moving slicker until friction heat glazes it.
I bevel with a #2 edger on 8–9 oz, sand 400 then 800 then 1000, and burnish with Tokonole on a slicker I printed for exactly this strap thickness. A bridle collar’s waxes help the edge take a glass-smooth shine. The full system is in the edge finishing guide, with the steps broken out across beveling, the grit progression, and burnishing with Tokonole. The slickers I run are the 3D-printed profiles from the DIY edge slicker project — the same printer that prints my stitching jigs.
Dyeing and Sealing
If you are using natural veg-tan rather than pre-dyed bridle, dye before you set hardware and after you punch holes, so color reaches the cut edges of every hole. Veg-tan drinks dye unevenly if you rush it; the trick is a fast, wet, even application and a thorough buff, then a sealer so the color does not rub off onto a white-coated dog or your hands.
I use Fiebing’s Pro Oil dye, buff hard with a wool dauber cloth, then seal with a neutral Resolene cut 50/50 with water in thin coats. On a collar that lives outdoors I follow with a carnauba creme and a light neatsfoot conditioning so the strap stays supple. Even, streak-free color is its own skill — the no-streaks technique, the dyeing black guide, and the Resolene sealing guide cover the parts people get wrong. Bridle leather usually needs only conditioning, covered in the conditioning guide.
Sizing and Fitting the Collar
Measure the dog’s neck snugly where the collar will sit, then add 1–2 inches for the finished middle hole so you can fit two fingers flat under the strap. The two-finger rule is the standard: looser and the collar can slip over the ears, tighter and it restricts. Put the middle of your five holes at that measured-plus-fingers number, giving two holes of adjustment in each direction for a growing pup or a winter coat.
The billet end past the last hole should be long enough to seat in the keeper but not so long it flaps. For the full measuring method, hole spacing math, and how to adjust for puppies and double coats, the sizing guide is the dedicated walkthrough — it is the step that gets a collar returned more than any other when rushed.
Personalizing the Collar
A name and a phone number on the collar is the cheapest insurance a dog owns. You have two clean ways to do it: hand stamping with letter punches into cased veg-tan, or laser-engraving the strap. Stamping is traditional and tactile and works on bridle; laser engraving gives crisp, small, repeatable text and a permanent mark that will not wear smooth.
I engrave veg-tan panels on the workshop laser at low power so the mark colors without burning through — the same setup I use for wallets and patches. Stamped or engraved, do the personalization before you assemble hardware so the strap lies flat under the tool. The personalization guide covers stamping alignment and laser settings; the broader laser-engraved projects guide and stamping patterns guide go deeper on each method.
From Collar to Full Set: Leash and Harness
Once the collar build clicks, the leash is the same strap work with a snap on one end and a handle loop on the other, and the harness is a fitted set of straps that spreads load across the chest instead of the throat. They share every skill here — strap cutting, saddle stitch, hardware, edge finish.
The leash making guide walks the strap-to-snap build, and the harness pattern guide covers the pattern, fit, and where the load points have to land so a strong dog cannot wriggle out. Built to match, a collar, leash, and harness in the same bridle and hardware look like a deliberate set, not three separate purchases.
What a Collar Build Costs and How Long It Takes
A first collar is a single-evening project once your tools are sorted: about 2–3 hours including dye drying time, and well under an hour of actual hands-on work once you have made a few. The material cost is small — a 1-inch bridle strap, a buckle, a D-ring, a rivet or two, and thread come in under the price of a mid-range nylon collar, and the leather scraps left over build a matching key fob.
The time sinks for a beginner are always the same two steps: cutting a truly straight strap and burnishing the edge to a real glaze. Neither is hard, both reward slowing down. I tell new makers to budget their patience for those and treat the stitching as the relaxing part — it is, once your holes are punched straight. If you want a confidence builder before a collar, the weekend projects and first three builds guides list smaller pieces that drill the same strap and edge skills.
Common Collar Mistakes I See
Nearly every failed collar I am handed to fix shares one of four faults, and all four are avoidable. The most common is hardware that was never up to the job — a hollow stamped buckle or an unwelded ring — followed by an edge that was sanded but never slicked, so it chafes and frays at the fold.
The third is hole spacing that wanders off the centerline or runs too few holes for real adjustment, which the sizing guide fixes. The fourth is skipping the sealer on natural veg-tan, so the dye rubs off onto a light coat the first time the dog gets wet. Set good hardware, slick the edge, punch on the line, and seal the color, and a collar simply does not fail in normal use. Build the keeper a hair loose, too — a keeper sized exactly to the strap binds once the leather swells in the rain. The common mistakes guide covers the wider set of beginner traps.
As an Amazon Associate I earn from qualifying purchases. When I need to restock, I buy bridle leather strips, solid-brass center-bar buckles, and welded stainless D-rings — the hardware is where I never cut cost on a collar.
Frequently Asked Questions
What is the best leather for a dog collar?
8 to 10 oz bridle leather is the best all-round choice. It is veg-tanned then stuffed with fats and waxes, so it resists water and neck oil, carries hardware without folding, and gets stronger as it ages instead of fraying like nylon.
How wide should a leather dog collar be?
Match width to the dog: 5/8 to 3/4 inch for small dogs under 20 lb, 3/4 to 1 inch for medium dogs, and 1 to 1.25 inch for large dogs. A wider strap spreads pull over more neck and looks proportional to the dog.
How long should I cut the collar strap?
Cut the strap about 5 to 6 inches longer than the dog’s neck measurement. That allows roughly 3 inches for the buckle fold-back plus 2 to 3 inches of billet past the middle adjustment hole so the end seats in the keeper.
Do I need to saddle stitch a dog collar or can I just rivet it?
Rivets alone hold, but a saddle-stitched buckle fold backed by rivets is far stronger and looks finished. A saddle stitch locks every hole independently, so a single cut stitch will not unzip the run the way a machine lockstitch can.
Why does the D-ring have to be welded?
An unwelded D-ring has a gap that a hard lunge can pry open, which is the most common collar failure. A welded ring is a continuous loop of steel with no weak point, so the load is carried by the metal, not a butt joint.
How do I size the collar so it fits correctly?
Measure the neck snugly where the collar sits, add 1 to 2 inches, and place the middle of five holes at that number. The finished fit should let two fingers slide flat under the strap, giving two holes of adjustment each way.
Related Guides
- Best Leather Weight for a Dog Collar
- Sizing a Dog Collar Correctly
- Best Hardware for Leather Dog Collars
- How to Make a Leather Dog Leash
- How to Make a Leather Dog Harness
- Personalized Leather Dog Collars



