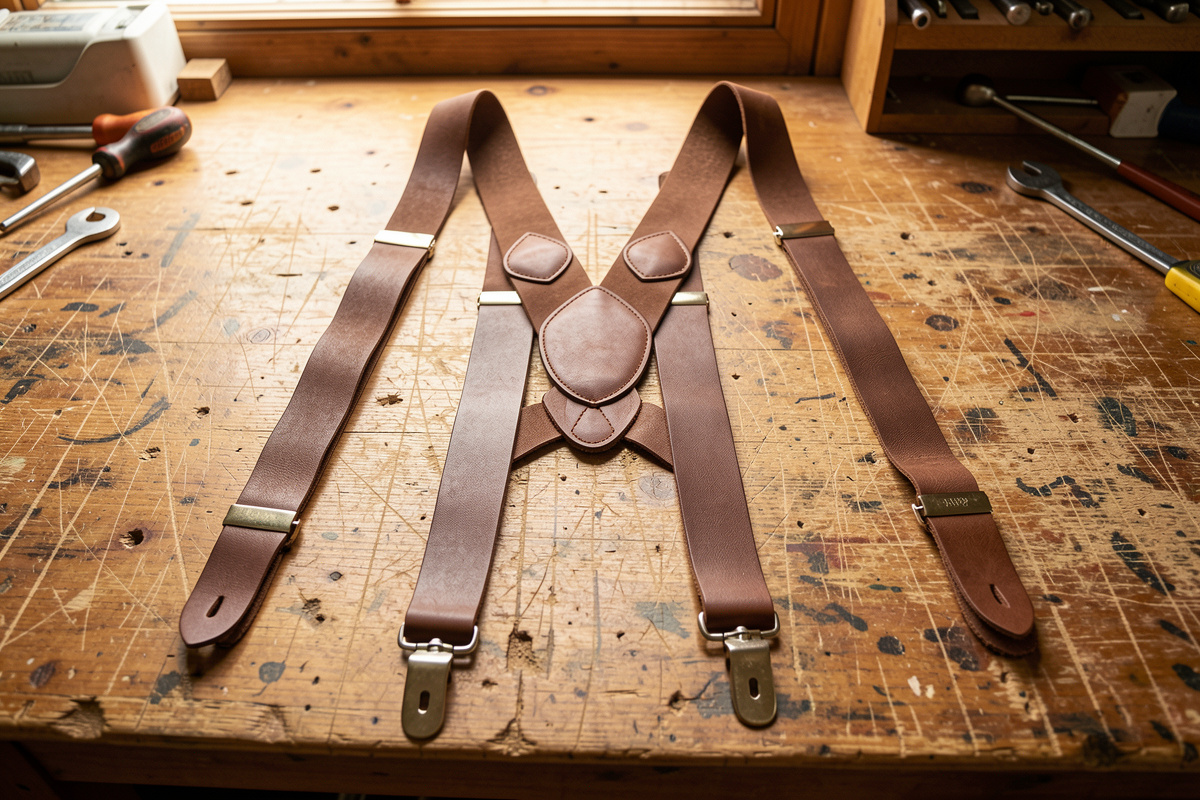
Reach blind into a bag of loose edge tools and sooner or later you find an awl point with your thumb — I did, more than once, before…
Reach blind into a bag of loose edge tools and sooner or later you find an awl point with your thumb — I did, more than once, before I built my first roll. A leather tool roll fixes that: a flat panel with a row of pockets, a flap that folds over the tool tips, and a wrap tie, built in 5–7 oz veg-tan or heavy chrome-tan so the body drapes to roll while the pockets stay open. The flap is the whole point — without it, chisel and awl tips migrate out the top and dull against each other in a bag. I keep my own edge tools and swivel knives in one, and it’s earned its spot on the bench.
This is a satisfying weekend build and the parent pattern for two other travel pieces — the watch roll and the eyeglass roll are both really tool rolls with softer linings. Learn the pocket-flap-tie logic here and you can size it to anything: chisels, brushes, knives, or cutlery for a picnic. My first tool roll taught me the one rule that matters — size each pocket to the actual tool, because a pocket cut generic lets a slim awl rattle out while jamming a fat swivel knife. Measure the tools first, always.
It sits on the practical end of the leather travel accessories kit, sharing its wrap-tie closure with the cable organizer you may have already built.
What Leather Weight Is Best for a Tool Roll?
Use 5–7 oz veg-tan or a heavy chrome-tan. A tool roll needs a body flexible enough to roll around its contents but firm enough that the pockets hold their shape and don’t collapse flat when empty. Too thin and the pockets sag closed; too thick and the roll won’t wind tight or tie small.
This is the middle of the weight range — heavier than the cable roll’s 3–4 oz because tools have weight and sharp edges that need a sturdier pocket, lighter than the luggage tag’s 8–9 oz because the body still has to roll. I build the pocket panel in 5–6 oz veg-tan for structure and sometimes back the body in a heavy chrome-tan for drape, which gives the best of both: pockets that stand open and a body that rolls soft. If the tools are heavy — a full set of pricking irons, say — lean toward 7 oz so the loaded roll doesn’t sag and spill. As across the whole travel kit, the weight follows the job: enough body to protect and hold, not so much it won’t fold.
How Do You Size the Pockets to Your Tools?
Lay your actual tools on the panel and mark a pocket for each one individually — pocket width equals tool width plus about 3 mm, so it grips without jamming. A tool roll made with uniform pockets always fails: the slim awls swim and fall out while the wide swivel knife won’t seat. Custom-width pockets are the entire difference between a roll that works and one that spills.
My method is dead simple and it never lets me down: I line up the exact tools that will live in the roll — my diamond awls, the edge bevelers, the swivel knife, a French edger — and trace each one’s footprint onto the pocket panel, adding roughly 3 mm of width per pocket so the tool seats snug but pulls free easily. Sequence them by height, tallest at the back, so shorter tools don’t hide behind taller ones. The stitch lines between pockets are what create the individual slots, so mark them with a pricking iron before you glue. One hard-won detail: leave a little slack at the base of each pocket, because a pocket sewn dead-tight to the tool’s length pushes the tip up against the flap and, over time, wears a hole through it — ask me how I know.
Why Does a Tool Roll Need a Flap?
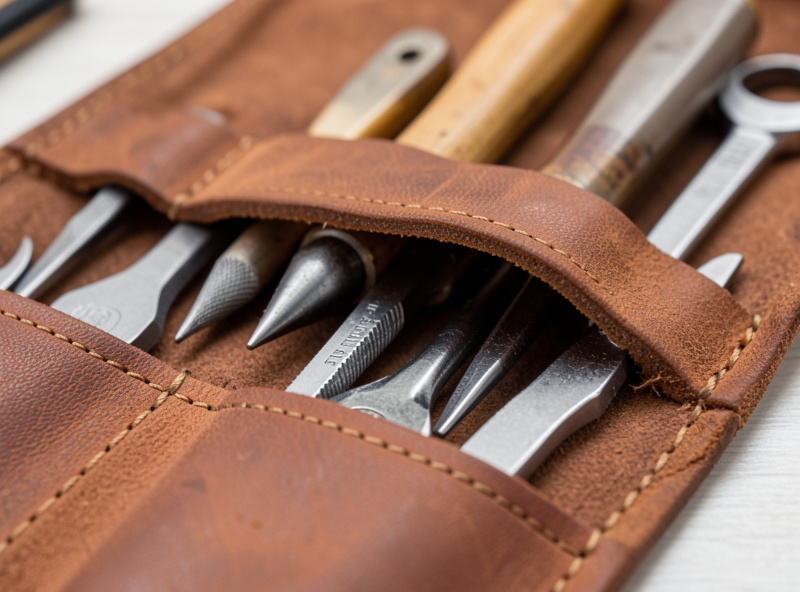
The flap is a leather curtain that folds down over the exposed tool tips before you roll, and it’s the feature that separates a real tool roll from a glorified pocket panel. Without it, sharp tips — awls, knife points, chisel edges — work their way up and out of the pockets when the roll is jostled, dulling against each other and threatening your fingers. The flap traps them.
Cut the flap as an extension of the panel or a separate stitched piece, deep enough to cover the top 30–40 mm of the tools once they’re seated. It folds down first, then you roll the whole thing up so the roll’s own tension holds the flap closed. I learned the value of the flap the hard way: an early roll without one let a stropped diamond awl migrate up and out, and I found it point-first with a fingertip while digging in a bag — a small cut and a big lesson. The flap also keeps the working faces of edge tools from touching, which matters because a beveler that rubs against an awl in transit comes out with a dinged edge you then have to strop back. On the watch roll and eyeglass roll, this same flap becomes the soft protective layer over the fragile contents.
How Do You Build the Wrap Tie Closure?
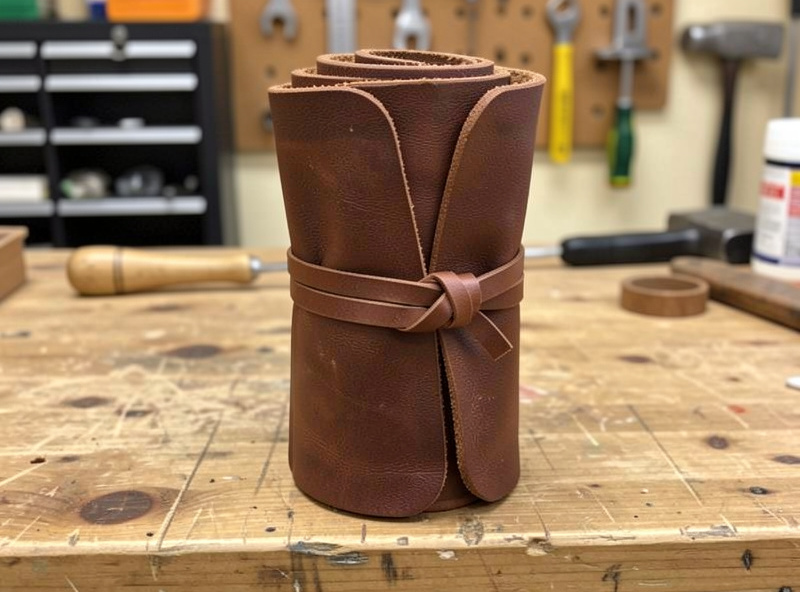
Close the roll with a leather wrap tie — a thin strap stitched to the back of the panel that wraps the rolled bundle and tucks under itself. A tie is the right closure for a tool roll because it cinches to whatever diameter the loaded roll ends up, has no hardware to snag or corrode, and holds the flap shut through the roll’s own tension. It’s the same closure as the cable organizer, scaled up.
I cut the tie 10–12 mm wide and long enough to wrap the full roll one and a half times with a tail to tuck, then stitch one end to the back of the panel at the mid-line so the wrap pulls evenly. A snap would lock you to one diameter — useless when the roll holds six tools one day and ten the next — which is exactly why the tie wins here. Reinforce the tie’s anchor with a backing patch, because that stitch takes the full pull of a tightly wound roll every time you cinch it; a tie that rips out at the anchor dumps your tools on the floor. If you built the cable organizer already, this is the same idea with a longer, sturdier strap.
How Do You Assemble and Stitch a Tool Roll?
Assemble by stitching the pocket panel onto the body along each marked pocket line, then joining the flap and tie and finishing the perimeter. The pocket stitch lines do double duty — they attach the pocket panel and divide it into individual slots in one seam — so mark them accurately before you commit a single hole.
I glue the pocket panel to the body with a thin line of contact cement only along the stitch lines, then punch each vertical pocket line and the perimeter with a European-pitch pricking iron and open the holes with a stropped diamond awl. I run 0.8 mm Ritza Tiger thread on a tool roll — heavier than a wallet’s thread because the pockets take real abrasion from tools going in and out, and a stouter thread wears longer. Backstitch the top of every pocket line, because that’s where the tool’s weight pulls each time you draw it out. Keep the base of each pocket’s stitch a hair shy of the panel edge so the pocket has that bit of slack I mentioned. When the whole panel is stitched and the pockets stand open on their own, you’ll hear the difference a firm 6 oz body makes — the pockets pop open with a soft leather creak instead of flopping shut.
How Do You Finish the Edges and Condition a Tool Roll?
Finish the veg-tan edges the standard four ways — bevel, sand, slick, wax — and give the whole roll a durable topcoat, because a tool roll lives on a bench and in bags where it takes real abrasion. Bevel with a #2 edger, sand through 400 and 800 grit, slick with Tokonole, and seal; if you built it in chrome-tan, finish those edges with edge paint instead.
I slick tool-roll edges with a PETG slicker printed on the workshop FDM printer, sized to this mid-weight edge — the same printer that prints my stitching jigs, different bench, same workflow. Because a tool roll gets handled with oily, dye-stained shop hands, I give it a coat of neatsfoot and a neutral topcoat so it wears evenly instead of blotching. Don’t over-oil — one coat is plenty even on a working piece, and I’ve watched an over-oiled roll go dark and floppy and lose the pocket structure that made it useful. Finished right, a tool roll is the piece that ages fastest and best, because it’s in your hands every session — mine has gone from olive to a deep worn green-brown that I couldn’t fake if I tried.
What leather weight is best for a tool roll?
Use 5 to 7 oz veg-tan or a heavy chrome-tan. The body needs to be flexible enough to roll around the tools but firm enough that the pockets hold their shape and do not collapse flat when empty. Lean toward 7 oz for heavy tool sets.
How do I size tool roll pockets so tools don’t fall out?
Lay your actual tools on the panel and mark each pocket individually at tool width plus about 3 mm. Uniform pockets fail because slim tools rattle out while wide tools jam. Custom-width pockets are the difference between a roll that works and one that spills.
Why does a leather tool roll need a flap?
The flap folds over the exposed tool tips before you roll, trapping sharp awls, knife points, and chisel edges so they cannot migrate out of the pockets and dull against each other or cut you. Without a flap, tips work their way out when the roll is jostled.
Should I close a tool roll with a tie or a snap?
Use a leather wrap tie. It cinches to whatever diameter the loaded roll ends up, has no hardware to snag or corrode, and holds the flap shut through the roll’s own tension. A snap locks you to one fixed diameter, which fails when the tool count changes.
Can I use the same pattern for a watch roll or eyeglass case?
Yes. The watch roll and eyeglass roll are essentially tool rolls with softer linings and padded pockets. Learn the pocket, flap, and tie logic on a tool roll first, then scale it down with a soft lining for delicate items.
How Do You Adapt a Tool Roll for Travel and Other Uses?
The same pocket-flap-tie panel becomes a dozen different rolls just by re-sizing the pockets. Kitchen knives, artist brushes, barbecue tools, a travel grooming kit, even a spare-cable roll — they’re all the same build with the pocket widths changed and, for delicate items, a softer lining added. This is why the tool roll is worth mastering: it’s really a chassis, not a single project.
For a chef’s knife roll I widen and deepen the pockets for blade guards and add a full-width flap that covers the edges completely, because a bare knife edge inside a fabric-lined pocket dulls fast — I line those pockets with a slick veg-tan face so the edge glides in rather than catching. For a brush or grooming roll I shrink the pockets to pencil-width and skip the heavy flap, since nothing inside is sharp. For a travel roll that flies, I lean on the wrap tie rather than any hardware, because a tie never sets off a bag search or corrodes in a humid climate. The one adaptation that always applies: when the contents are fragile or finished — a razor, a fountain pen, a watch — swap the firm veg-tan pocket face for a soft chrome-tan or suede lining so nothing gets scratched. That single change is exactly what turns this tool roll into the watch roll and eyeglass case further along in the kit. Measure the real contents, set the pocket widths to them, and the same afternoon’s build serves a completely different purpose.
Keep Building
The tool roll’s pocket-flap-tie pattern scales in every direction. Soften the lining and pad the pockets and it becomes a watch roll or an eyeglass case; the full progression sits in the travel accessories master guide. If you want the same closure on a lighter piece, the cable organizer uses the wrap tie at a smaller scale, and the luggage tag remains the best first project for the burnished edge. For a mid-weight veg-tan body, Wickett & Craig bends are my staple; a 6 oz veg-tan leather piece is the right stock for this.
As an Amazon Associate I earn from qualifying purchases.