Dig to the bottom of any travel bag and you’ll find the same thing — a knot of charging cables that took thirty seconds to tangle and five…
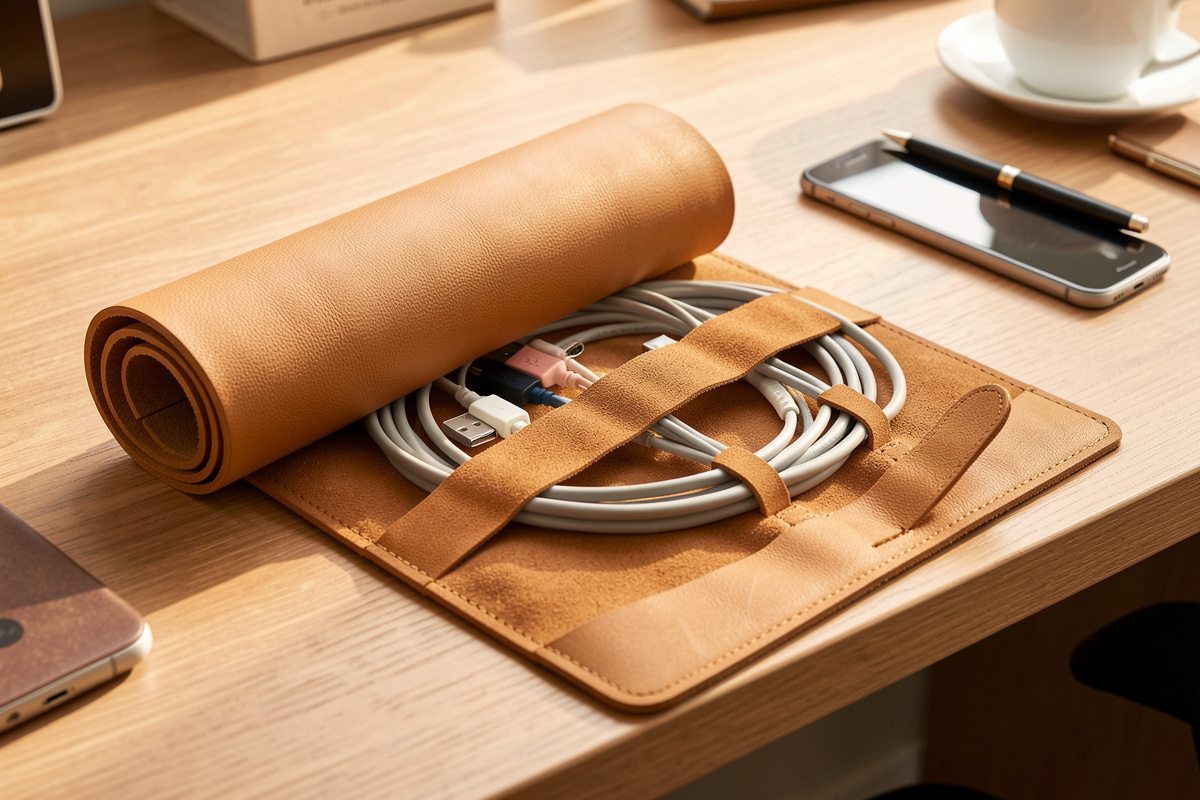
Dig to the bottom of any travel bag and you’ll find the same thing — a knot of charging cables that took thirty seconds to tangle and five minutes to free. A leather cable organizer, or cord roll, ends that for good: a flat panel with a row of elastic loops and a wrap-tie closure that rolls your charger, cables, and earbuds into a package the size of a fat wallet. Build it in thin 3–4 oz veg-tan or a soft chrome-tan so it rolls tight — a heavy body fights the roll and gives you a brick. Mine holds a wall charger, three cables, and earbuds, and it ended the daily archaeology dig at the bottom of my bag.
This is the project I recommend right after the luggage tag. It’s low-stakes, it’s fast — two or three hours — and it introduces two skills the tag didn’t: working thin, floppy leather, and setting elastic and snap hardware. Both come back on the tool roll and the watch roll later, so the cable roll is where you learn them cheaply. It’s also the piece friends actually ask me to make, because everyone owns a drawer of tangled cables and nobody has a clean way to carry them.
It slots neatly into the wider leather travel accessories kit as an easy second build — a step up from the luggage tag, a step below the passport cover.
What Leather Weight Rolls Best for a Cable Organizer?
Use 3–4 oz veg-tan or a medium chrome-tan. The whole point of a cable roll is that it wraps tightly around its contents and ties small, so the body has to be thin and flexible — anything 5 oz and up resists the roll and springs back open. This is one of the few travel pieces where chrome-tan is a genuinely good option, because you want drape, not structure.
Here’s the leather-choice logic in reverse from the luggage tag. The tag needed 8–9 oz because it had to hold a rigid shape; the cable roll needs the opposite — it has to collapse around cables and roll flat. In 3–4 oz veg-tan you still get a burnishable edge and a piece that takes dye, which I like for a roll that’ll show wear. If you’d rather it stay soft forever and drape like fabric, a medium chrome-tan offcut is perfect — it won’t slick to a glass edge, so you finish those edges with edge paint instead. I keep a bin of chrome-tan offcuts specifically for soft-goods jobs like this, so I’m never tempted to force a heavy structural leather into a piece that needs to fold. That weight-per-job discipline runs through the whole travel kit.
How Big Should a Leather Cable Organizer Be?
Cut the main panel about 200 mm wide by 150 mm tall for a roll that holds a charger and three or four cables. That gives room for a row of loops across the middle and a fold-over flap at the top to keep small items from sliding out. Scale the width up if you carry a laptop brick, down if it’s just phone cables.
I template in cardstock and lay out my gear on it first — literally set the charger, the cables, and the earbuds on the paper and mark where each wants a loop, because a loop in the wrong place is a loop you’ll never use. Round the corners with a punch so they don’t curl or catch. For the panel I usually keep it a single layer of 3–4 oz, but where the snap or tie anchors I glue and stitch a small reinforcement patch on the back, because hardware set into a single thin layer eventually pulls through — I’ve had a snap take a plug of leather with it on an early roll, and now I always back the anchor points. Keep the layout symmetrical so the roll winds evenly; an off-balance row of loops makes the finished roll wind lumpy and refuse to lie flat.
How Do You Make and Space the Elastic Loops?
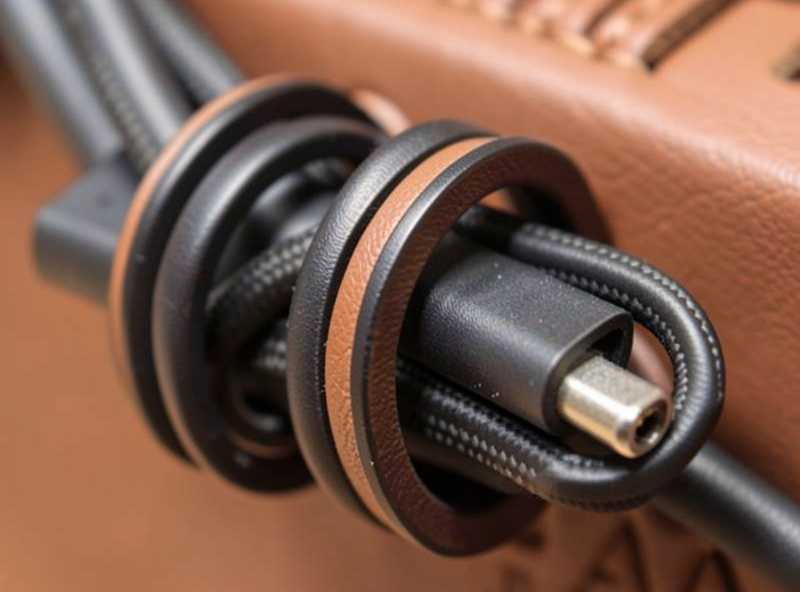
The loops are the working part of the roll: strips of elastic stitched across the panel that grip each cable so it can’t slide out when you roll it up. Use 10–15 mm woven elastic, and space the loops to your actual gear — I run one wide loop for the charger and three or four narrower ones for cables, with the earbuds in a small flap pocket at one end.
Spacing is everything. Loops packed too tight leave no room to get a finger in and pull a cable free; loops too loose let a coiled cable pop out mid-roll. I lay out my gear on the panel, mark each loop’s two stitch points, and size each loop so the cable seats snug but slides — a folded USB-C cable wants a loop that grips about two-thirds around it. Stitch the elastic ends down where the saddle stitch will lock them, and burn or fold the raw elastic ends under so they don’t fray. If you’d rather skip elastic entirely, leather keeper straps with a snap work too, though they’re bulkier — I use elastic on cable rolls because it takes up almost no thickness in the finished roll, which keeps the whole package slim.
How Do You Close a Cable Roll — Tie, Snap, or Elastic Band?
Close it with a leather wrap tie: a thin strap, stitched to the back of the panel, that wraps around the finished roll and tucks under itself. A tie is my default because it has nothing to corrode or break, it adjusts to however full the roll is, and it adds no rigid hardware that would stop the roll winding tight. A snap works too but only closes at one fixed diameter.
I cut the tie about 8–10 mm wide and long enough to wrap the full roll one and a half times, stitch one end to the back of the panel at the mid-line, and let the rest hang free to wrap. The beauty of a tie is that it doesn’t care whether the roll is stuffed full or half empty — it just wraps to fit, unlike a snap that only meets at one thickness. If you prefer a positive click, set a line-24 snap with a leather tab and reinforce the anchor, but know it locks you to one roll diameter. On the tool roll and watch roll later you’ll reuse this exact wrap-tie idea, so it’s worth getting the proportions right here on a low-stakes piece.
How Do You Assemble and Stitch the Roll?
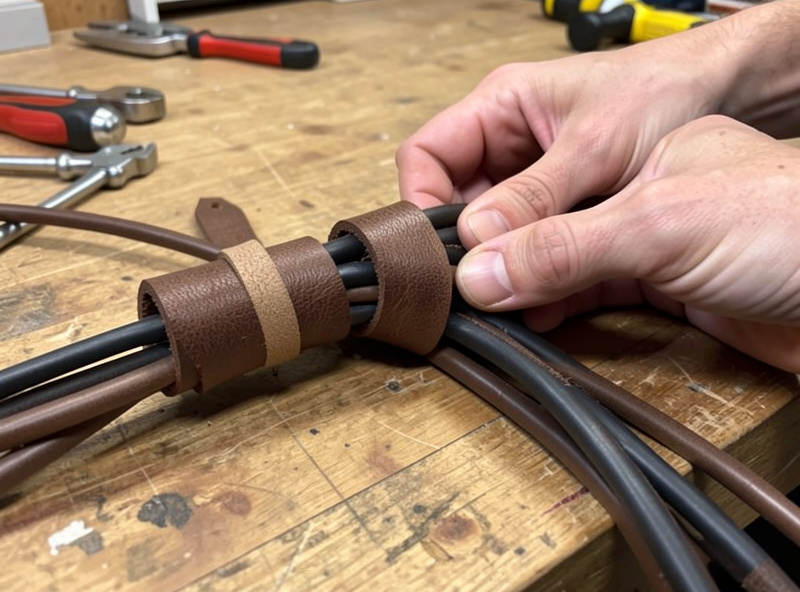
Assemble in order: cut the panel, personalize it flat, stitch down the elastic loops, stitch the earbud flap and the wrap tie, then edge-finish the perimeter. Because the body is thin, a hand saddle stitch is more than strong enough and it keeps the panel supple where a heavy machine seam would stiffen it.
I mark the perimeter stitch line with a fine European-pitch pricking iron — around 3.85 mm pitch — and run 0.6 mm Ritza Tiger thread, matched to the iron so the stitch sits fine on thin leather and doesn’t overwhelm it. Open each hole with a stropped diamond awl; on thin leather a sharp awl matters even more, because a dull one drags and puckers the soft body. Hold the panel in a stitching pony, keep tension even, and backstitch the loop anchors twice since those take the pull every time you tug a cable free. Keep glue to a thin line only under the stitch lines — flood a thin panel with contact cement and it goes stiff and stops rolling, which defeats the whole design.
How Do You Finish the Edges and Face of a Cable Roll?
Finish veg-tan edges the usual four ways — bevel, sand, slick, wax — and on a thin 3–4 oz panel the edge is quick to bring up because there’s less of it. Bevel lightly with a #0 or #1 edger (a heavy bevel on thin leather removes too much), sand through 400 grit, slick with Tokonole, and seal. If you built the roll in chrome-tan, skip burnishing and finish the edges with edge paint instead.
On a thin veg-tan edge I use a #0 beveler and a light touch, then slick with a fine-groove PETG slicker I printed on the workshop FDM printer sized for light edges — the same printer that makes my stitching jigs. Because a cable roll gets handled constantly, I give the grain a light coat of neatsfoot and a neutral topcoat so hand oils build an even patina instead of dark thumb-marks. Don’t over-condition; one light coat is plenty, and a thin panel drinks oil fast and goes limp if you overdo it. Finish it right and the roll softens and darkens beautifully over a year of daily pulls, which is exactly the aging a chrome-tan version won’t give you — one more reason I lean veg-tan even on a soft-goods piece like this.
Should You Add a Pocket for Dongles and Small Items?
Yes — the loose odds and ends are what actually get lost. A cable roll with only loops holds cables fine, but dongles, SD cards, adapters, and a spare charging tip slide right out the ends when you unroll it. Add one closed pocket and the roll goes from a cable holder to a genuine travel EDC. I put a simple flap-over pocket at one end and a small zippered or snap pocket in the middle.
The easiest version is a leather flap pocket: stitch a second panel across one end, three sides down, and let a fold-over flap keep the contents in. It adds almost no thickness and it’s all skills you already have from the loops. For truly small items — an SD card, a USB-A-to-C adapter — I like a low-profile zippered pocket, though a zip is the one place a cable roll picks up a bit of hardware bulk, so I keep it to a short 100 mm zipper set flush. A snap-flap pocket splits the difference: no zip bulk, but more secure than an open pocket. Whatever you choose, place it toward the center of the panel so it rolls into the core of the bundle rather than the outer wrap, where a lump would stop the tie from cinching flat. On my own roll the center pocket holds the two adapters I always forget I own until I need them at a gate, and the flap end holds earbuds — that layout has survived a dozen trips without spilling. Reinforce the pocket’s anchor stitches the same way you did the loop anchors, because a pocket full of small metal bits pulls harder than an empty flap.
Keep Building the Kit
The cable roll teaches elastic, snaps, and thin-leather handling — all of which come straight back on the rest of the travel kit. If you haven’t made the luggage tag yet, start there to learn the burnished edge, then come back for this. When you’re comfortable working thin and setting a tie closure, the passport cover is the natural next step up. For a soft chrome-tan offcut or thin veg-tan to build this from, a 3–4 oz veg-tan leather piece is ideal, and Wickett & Craig shoulders split to this weight beautifully.
As an Amazon Associate I earn from qualifying purchases.



