The clean way to make a leather zipper pouch is the two-panel method: stitch the zipper to each panel’s top edge first, then stitch the two panels together…
The clean way to make a leather zipper pouch is the two-panel method: stitch the zipper to each panel’s top edge first, then stitch the two panels together around the sides and bottom with the zipper open. Working the zipper flat before you close the pouch is what keeps the top edge from puckering and the corners from fighting you. It’s a one-afternoon project that teaches every zipper skill at once, and it’s the piece I tell every maker to build first.
I’ve made this pouch dozens of times — as pencil cases, cable pouches, dopp kits, gift bags — and it never stops being the best teaching project on the bench. Two panels, one zipper, a handful of stitching, and you’ve rehearsed gluing tape, stitching a straight line, tabbing the ends, and boxing the corners. It’s the practical heart of my guide to sewing zippers into leather, so if the steps below raise a “why,” that hub has the deeper answer.

What Leather and Zipper Do You Need for a Pouch?
For a first pouch use 3–4 oz veg-tan or a firm chrome-tan for the panels and a #5 nylon coil zipper about 25mm longer than your panel width. That weight is supple enough to fold and stitch cleanly but firm enough to hold a shape; a #5 coil runs smooth and is forgiving of a beginner’s slightly-off stitch line. Avoid anything over 5 oz for your first — thick leather makes stiff corners.
My go-to pouch build is 3–4 oz chrome-tan for a soft, packable body or 3–4 oz veg-tan when I want structure and a burnished edge. The zipper is a #5 coil bought by the yard so I can cut it a touch long and trim after — always buy the zipper longer than the opening and trim to fit, never the reverse. If you’re unsure which zipper to grab, the trade-offs live in my best zippers for leather goods guide, but for a first pouch a #5 coil — about 5mm across the closed teeth in YKK’s sizing convention — is the safe, smooth choice. You’ll also want double-sided leather tape, contact cement, waxed thread and a fine pricking iron.
How Big Should You Cut the Pouch Panels?
Cut two rectangles to your finished size plus a small seam allowance — for a typical pencil-case pouch, two panels around 200mm wide by 110mm tall works well, paired with a zipper about 225mm long. Keep the panels identical; cut them together against a steel straightedge so the edges match when you close the pouch. Mismatched panels are the fastest way to a lopsided seam.
I cut both panels in one pass where I can — stack the leather, run the rotary cutter along a heavy steel straightedge on a self-healing mat, and I get two panels that are genuinely the same size rather than “close enough.” That precision pays off at the corners, where even a 2mm mismatch shows. Before anything else, I bevel and slick the top edge of each panel — the edge that meets the zipper — because once the zipper is stitched on you can’t finish that edge, the same reason I edge-finish before assembly on every project like a soft leather sunglasses case. Slick that top edge to glassy now; you’ll never reach it again.
How Do You Stitch the Zipper to Each Panel?
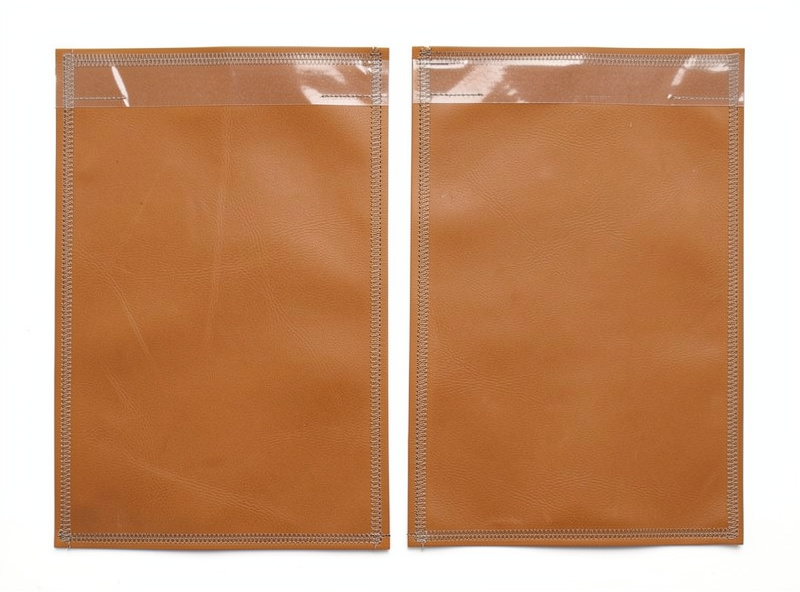
Lay a 3mm strip of double-sided leather tape along the flesh side of each panel’s top edge, press the zipper tape onto it with the teeth just proud of the leather edge, burnish it down, then mark a stitch line about 2mm from the teeth and saddle-stitch. Do one panel at a time. The tape locks the zipper so it can’t shift, which is the entire secret to a pucker-free top edge.
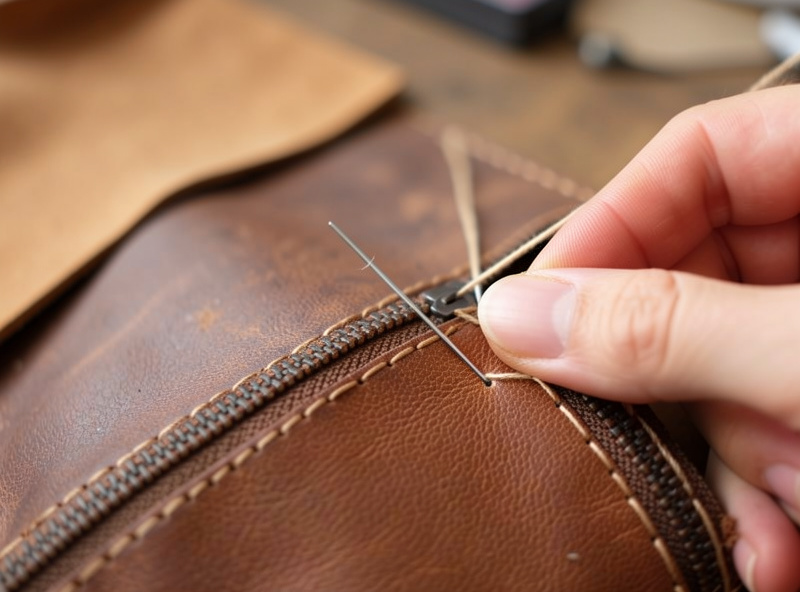
Here’s the sequence I follow on each panel: run the double-sided tape strip, peel it, and set the zipper tape so the teeth sit about 2mm beyond the leather’s finished edge — close enough that the pouch mouth isn’t gappy, far enough that leather doesn’t foul the teeth. I burnish it hard with a bone folder so the tape grabs, then scribe a 2mm stitch line with a wing divider and punch with a ~3.85mm pricking iron. Then a standard two-needle saddle stitch with 0.6mm waxed thread — a diameter I match to that iron pitch off Julius Koch’s Ritza 25 spec so it seats rather than pulls — keeping tension relaxed and even so the tape stays flat. Stitch the second panel to the other side of the same zipper the identical way, and now you have a zipper with a leather panel hanging off each side, lying flat. Tab the zipper ends before this step or right after — I skive and fold the end tabs first, using the method in finishing zipper ends on leather, so the ends never fray or bulk.
How Do You Close the Pouch Without a Lopsided Seam?
Open the zipper at least halfway first — this is the step everyone forgets — then fold the pouch so the two panels meet face to face, glue the side and bottom edges, and saddle-stitch around the three closed sides. Opening the zipper before you stitch the sides is critical: if you stitch it shut, you’ve sewn the pouch closed with no way to turn it right side out.
I glue the side and bottom seams with a thin line of contact cement, clamp them in binder clips while it flashes, then stitch around with the same thread and iron pitch. The one hard-won rule: slide the slider to the middle before you close it up. My very first pouch, years ago, I stitched all three sides with the zipper fully closed, trimmed my corners, went to turn it right side out — and couldn’t, because the only opening was sewn shut inside the seam. I had to pick out an entire side. Now “open the zipper halfway” is the first thing I say out loud before closing any zippered piece. Once the three sides are stitched, trim the seam allowance close, bevel and slick those outer edges, and turn the pouch through the open zipper.
How Do You Box the Corners for Depth?
To give the pouch a flat bottom and some volume, box each bottom corner: flatten the corner so the side seam and bottom seam align, stitch across at a right angle about 15–25mm from the point, and trim. A bigger box makes a deeper, more three-dimensional pouch; skip it entirely for a flat envelope style. It’s an optional step that turns a flat sleeve into a stand-up pouch.
For a dopp kit I box a generous 30mm corner so it stands open on a shelf; for a slim cable pouch I box just 15mm or leave it flat. Match the box to the job. After boxing and turning, I run a final slick on any reachable edges and give the whole piece a light conditioning coat. Add a leather zipper pull from an offcut and the pouch is done — and honestly, the pull is the part people notice first. The whole build, corner boxing included, is maybe two hours the first time and under an hour once the sequence is muscle memory.
Should You Line a Leather Zipper Pouch?
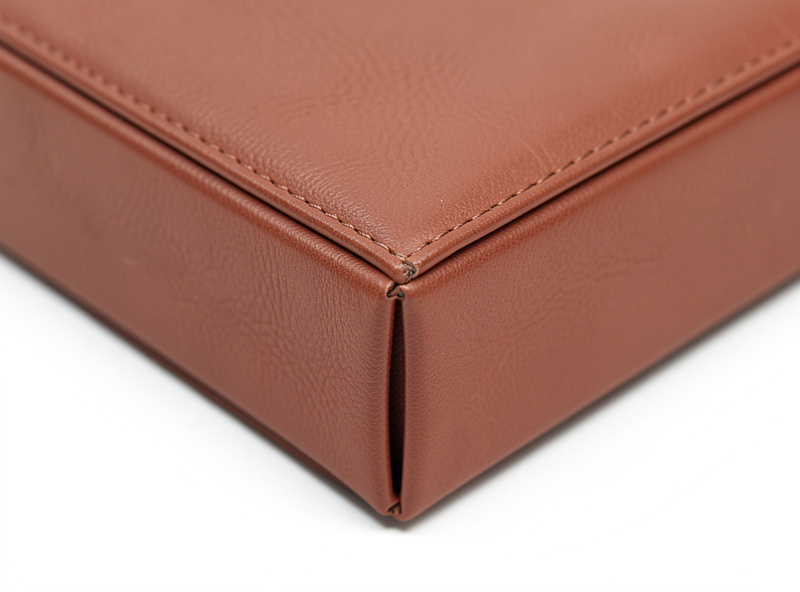
You don’t need to line a pouch made from firm 3–4 oz leather — the leather is its own structure and the exposed flesh side, if it’s a tight veg-tan, finishes fine with a coat of Tokonole. Line it only when you’re using a floppy chrome-tan that needs body, want to hide a rough flesh side, or are protecting something delicate like eyewear. A liner adds a whole extra assembly step, so add it for a reason, not by default.
When I do line one, the simplest method is to skive a thin pig-suede or thin garment-leather liner and glue it to the flesh side of each panel before the zipper goes on, then treat the two-layer panel as one from there. That keeps the liner captured in every seam with no separate bag-in-bag construction. The mistake to avoid is lining after assembly — trying to fit a pre-made liner into a finished pouch means fighting it into the corners and it never sits flat. For most pouches I skip lining entirely: a firm veg-tan or a good chrome-tan with a buffed flesh side looks clean inside and keeps the build to one afternoon. If I’m making a pouch to protect something that scratches, like sunglasses or a lens, that’s when a soft liner earns its extra step, and I treat it the way I would a soft-form protective case. Decide up front, because you can’t cleanly add a liner once the pouch is stitched.
Frequently Asked Questions
What size zipper do I need for a leather pouch?
Use a number 5 nylon coil zipper about 25mm longer than your panel width, then trim it to fit. A number 5 runs smoothly and is forgiving of a slightly uneven first stitch line. Always buy the zipper longer than the opening and trim after installing, never cut the opening down to a stock zipper length.
What leather weight is best for a zipper pouch?
Use 3 to 4 ounce veg-tan or a firm chrome-tan for a first pouch. That weight folds and stitches cleanly but still holds a shape. Anything over 5 ounces makes stiff corners that will not box neatly, so save heavier leather for structured bags rather than a soft zippered pouch.
Why does my pouch pucker along the zipper?
The zipper tape and the leather shifted relative to each other while you stitched. Bond the tape to the panel with a 3mm strip of double-sided leather tape and burnish it down before stitching, mark a straight line 2mm from the teeth with a wing divider, and keep even, relaxed thread tension. The tape stops the layers sliding.
Do you sew the pouch with the zipper open or closed?
Open the zipper at least halfway before you stitch the side and bottom seams. If you stitch the pouch with the zipper closed, you sew it shut with no way to turn it right side out. Sliding the slider to the middle first is the single step beginners most often forget.
How do you give a leather zipper pouch a flat bottom?
Box the bottom corners. Flatten each corner so the side seam and bottom seam align, then stitch across at a right angle about 15 to 25mm from the point and trim the excess. A larger box makes a deeper, more three-dimensional pouch, while skipping it leaves a flat envelope style.
Keep Building
- Sewing Zippers Into Leather: The Complete Guide — the why behind every step above.
- How to Finish Zipper Ends on Leather — tab the ends before you stitch.
- How to Make a Leather Zipper Pull and Tab — the finishing flourish for your pouch.
- Best Zippers for Leather Goods — pick the right zipper before you cut.