The clean way to finish a zipper end on leather is a folded tab skived to about 1–1.5mm at the fold, so it caps the raw tape without…
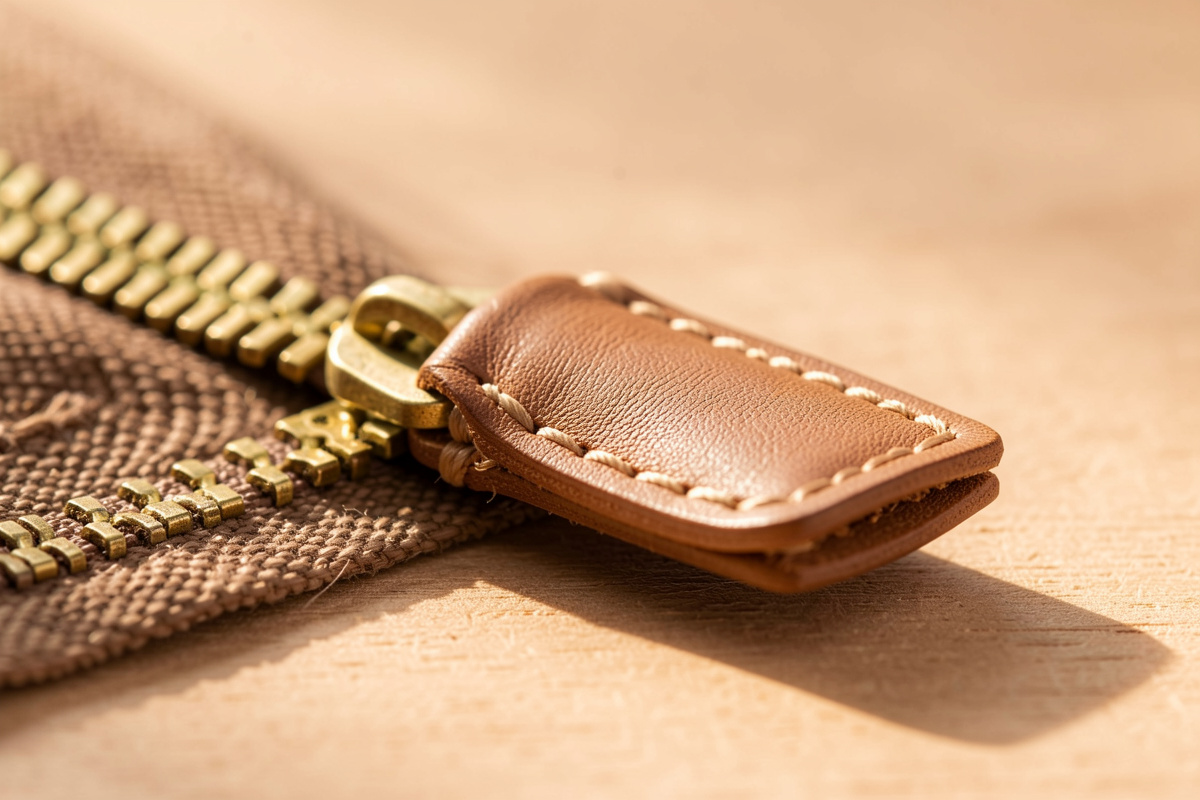
The clean way to finish a zipper end on leather is a folded tab skived to about 1–1.5mm at the fold, so it caps the raw tape without becoming a lump the slider has to climb. The single reason home-made zipper ends look bulky is un-skived leather: fold a full 4 oz tab and you’ve made an 8 oz speed bump. Thin the fold and the end sits flat, and the whole piece jumps a grade in perceived quality.
Zipper end tabs are the detail nobody photographs and everybody feels. I ignored them for my first year — I’d tuck the raw tape under and hope — and every one of those pieces has a slightly ratty, fraying corner that gives away the maker. The day I started skiving proper tabs was the day my pouches stopped looking like a first project. This is a small skill with an outsized payoff, and it slots into the bigger picture I lay out in my guide to sewing zippers into leather.
Why Do Zipper Ends Bulk Up on Leather?
They bulk up because a folded tab doubles the leather thickness right where the slider parks, and if that leather wasn’t skived, two layers of 4 oz stack to a hard 8 oz ridge. The slider then has to ramp over it, which feels like a catch and looks like a bump. Every bit of bulk you feel at a zipper end is un-thinned leather at the fold — nothing else.
There’s a second, sneakier cause: too much zipper tape folded inside the tab. If you leave 15mm of tape past the teeth and fold it all in, that woven tape stacks up alongside the leather. I trim the tape to about 8mm past the last tooth so there’s enough to anchor but not enough to pad. Between a skived tab and a trimmed tape, a #5 end can finish under 2mm total — thin enough that the slider glides right up to it. Getting that flat is the same edge-quality obsession I bring to every project; a sloppy zipper end undoes an otherwise clean piece the way a rough edge undoes a good leather sunglasses case.
How Thin Should You Skive a Zipper End Tab?
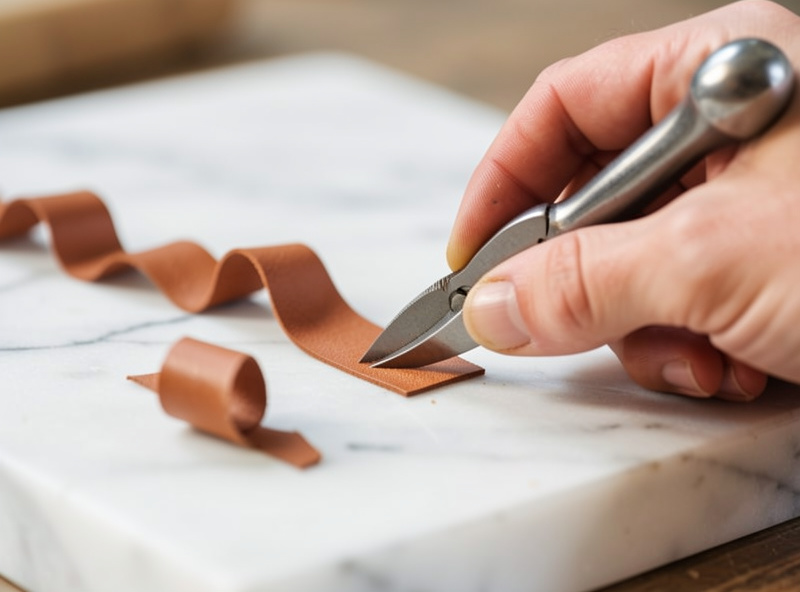
Skive the tab to roughly 1–1.5mm at the fold line, tapering from full thickness at the outer edge down to that thin fold. You want the leather to bend around the folded tape without cracking or standing proud. On a 3–4 oz tab I take the fold zone down to about a third of its starting thickness with a French skiver, checking by feel and by holding it to the light.
The technique that made this repeatable for me was skiving on a hard, smooth surface — a marble offcut — with a French skiver kept scary-sharp on the strop. A dull skiver tears rather than pares and you end up with a ragged, uneven fold that bulks unpredictably. I take several light passes rather than one greedy cut, because you can always remove more leather and you can’t put it back. The sound is a quiet shearing hiss when the blade is sharp; a dragging, catching scrape means strop the blade before you ruin the tab. I’ve butchered more tabs to a dull skiver than to any other cause, and the fix was never a new tool — it was thirty seconds on the strop.
What Are the Two Best Zipper Tab Styles?
The two tabs I use are the folded wrap tab, which caps the end by folding a single piece over both faces of the tape, and the two-piece sandwich tab, which glues a thin piece to each side. The wrap is faster and cleaner for most pieces; the sandwich gives a crisper edge and suits show pieces where both faces are visible. Both must be skived, both are stitched, and both go on before the zipper is installed.
Here’s how they compare on the bench:
| Tab style | Pieces | Best for | Difficulty | Final thickness |
| Folded wrap | One, folded over the end | Pouches, dopp kits, everyday | Easy | Thinnest if skived well |
| Two-piece sandwich | Two thin pieces, glued each side | Show pieces, both faces seen | Moderate | Slightly thicker, crisper edges |
| Bar-tack only (no leather) | None — thread bar over tape | Hidden internal zips | Easiest | Flattest, least finished look |
For a hidden interior pocket zip I sometimes skip the leather tab entirely and just bar-tack the tape with a few tight stitches, because nobody sees it and flat wins. For anything the user’s hand or eye reaches, I fold a proper wrap tab. Match the tab leather to the piece — same veg-tan, same dye recipe — so it reads as part of the design rather than a patch.
How Do You Attach a Zipper End Tab Step by Step?
Trim the tape to about 8mm past the teeth, skive your tab, glue it folded over the trimmed end, then stitch it down with a small box or a single bar of saddle stitch. The order is fixed: tab first, install the zipper second. Trying to add a tab after the zipper is stitched into a panel is a fight you lose, because you can’t get a needle cleanly through the assembled corner.
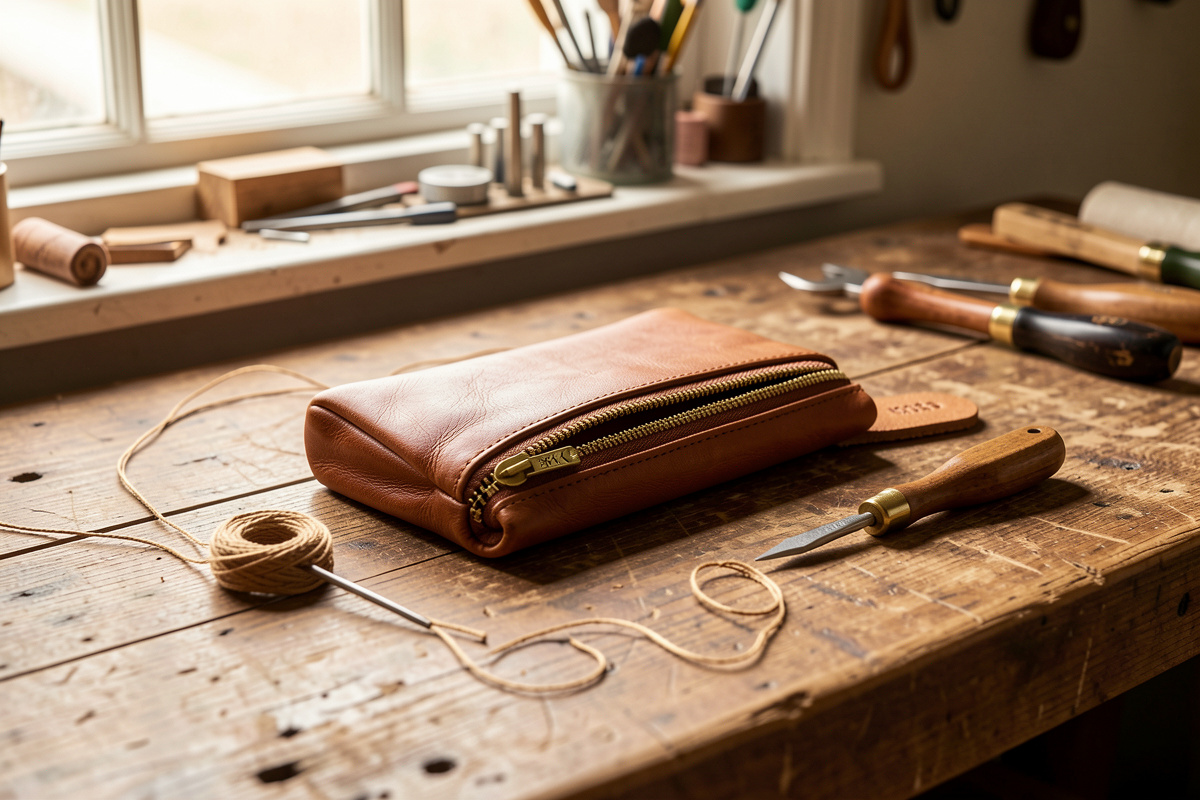
My exact sequence: cut a tab about 20mm wide and long enough to fold with a few millimeters of overlap, skive the fold to ~1.2mm, dab contact cement on the inside faces, fold it snugly over the trimmed zipper end and press. Then I punch four holes with a fine iron and saddle-stitch a small box with 0.6mm waxed thread — the same thread I’d use on the zipper itself so tension and look match. Slick the tab’s cut edges before you stitch, because you won’t reach them afterward. This is the exact tabbing step that keeps the ends flat on the two-panel zipper pouch, and it’s just a miniature version of the edge-and-stitch discipline behind any hand-stitched piece, right down to the two-needle lock I use on a saddle-stitched leather journal.
How Do You Match Zipper Tabs to the Best Zipper Size?
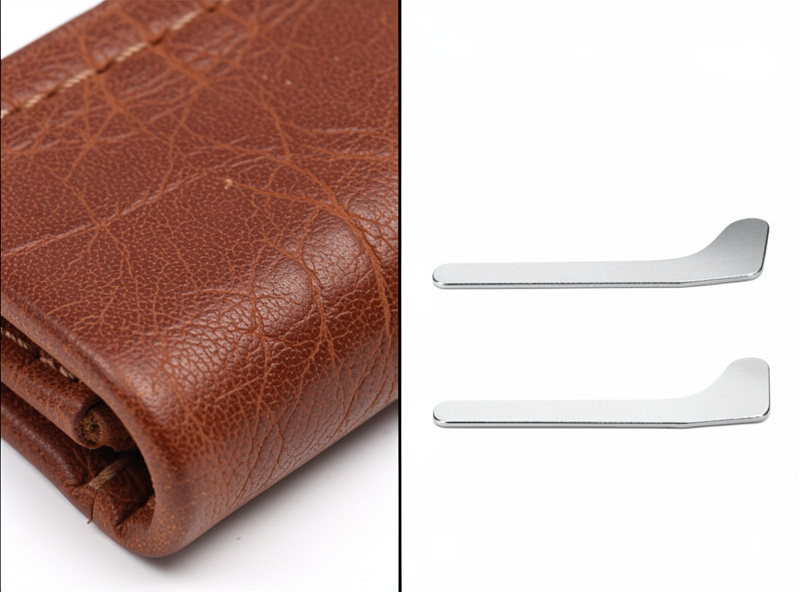
Scale the tab to the zipper: a #3 zip wants a narrow, short tab and a fold skived even thinner because there’s so little tape to work with; a #5 takes a slightly more generous tab; an #8 bag zip can carry a substantial, structural tab that becomes a design feature. The tab should look proportional to the teeth, never dwarf them or get lost.
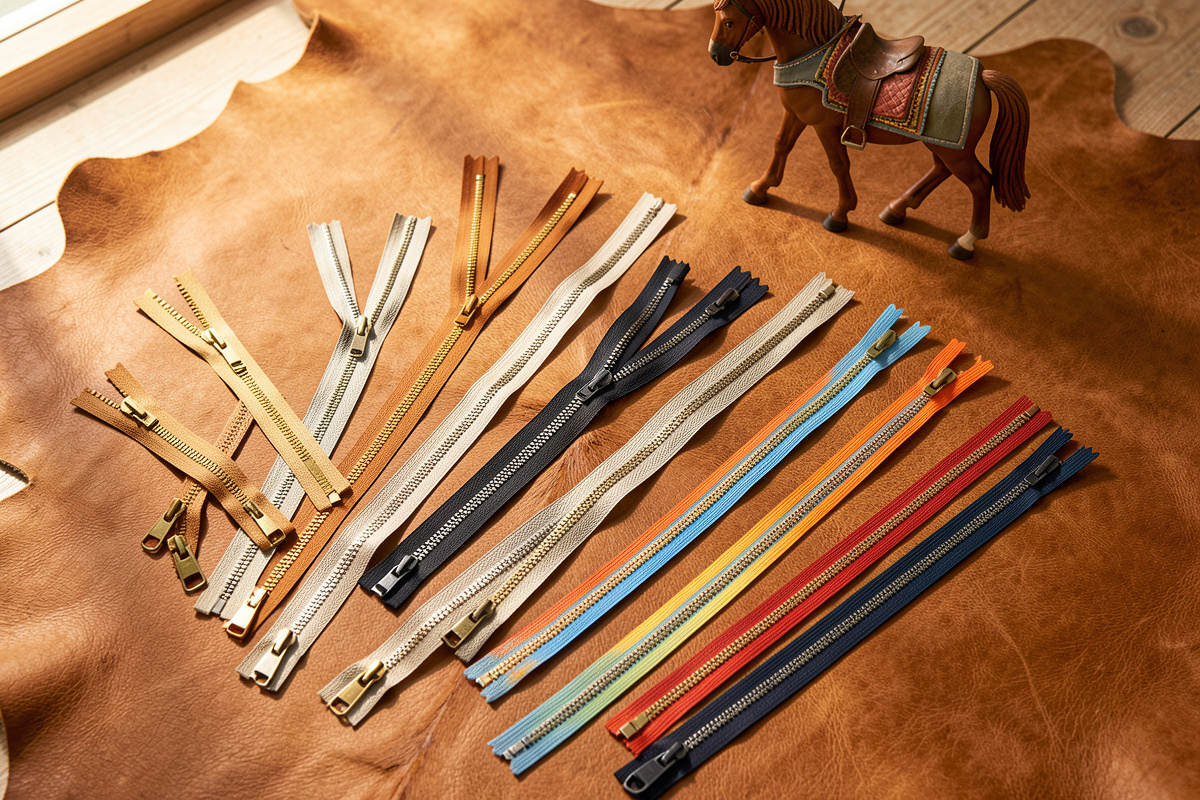
Because tab size follows zipper size, picking the right zipper first makes the tab decision easy — a subject I cover in choosing the best zippers for leather goods. On a #3 wallet coin zip I keep the tab whisper-thin and short so it doesn’t crowd the card slots — the fussy install I walk through in the zipper wallet pattern; on a #8 bag mouth I’ll build a wider tab that doubles as a grab point and stitch it with heavier thread for the load. Get the proportion right and the tabs stop looking like afterthoughts and start looking like the piece was designed around its hardware, which is exactly the impression you want.
How Do You Slick the Edges of a Zipper Tab?
Slick the tab’s cut edges before you fold and stitch it, because once the tab is wrapped around the zipper end those edges are unreachable. Bevel the raw edge lightly, dampen it, and burnish with Tokonole and a slicker until it turns glassy — the same sequence you’d run on any edge, just at a tiny scale. A slicked tab edge is what makes the finished corner read as intentional rather than raw.
On a piece this small I use the finest edge beveler I own, a #0, so I’m not rounding away half the tab, then run one of the small-radius edge slickers I printed in PETG on the workshop FDM printer — the same printer that turns out my full-size edge slickers makes the little profiles I need for zipper tabs. That crossover is exactly why I can dial an edge tool to a job most people don’t have a slicker small enough for. A couple of passes with gum trag on veg-tan, or Tokonole on chrome-tan-adjacent scrap, and the tiny edge glows. Skipping this is the last hidden tell: a maker skives a lovely thin tab, stitches it clean, and then leaves the cut edges furry, and your eye lands on the fuzz every time. Edge-finish the tab like it’s a whole project in miniature, because to the person handling the piece, it is.
The mistake I made here for far too long was slicking the tab edges after folding — running a slicker along the doubled fold and wondering why it never came clean. The fold traps the two cut edges against each other where no slicker reaches. Slick each face flat and separate, then fold. Once I reordered those two steps my zipper corners finally matched the rest of my edge work, and nothing about the tool changed — only the sequence.
Frequently Asked Questions
How do you keep leather zipper ends from being bulky?
Skive the tab leather to about 1 to 1.5mm at the fold so two layers do not stack into a hard ridge, and trim the zipper tape to about 8mm past the teeth so excess tape does not pad the fold. A well-skived tab on a number 5 zipper can finish under 2mm total, thin enough that the slider glides right up to it.
Do you put zipper end tabs on before or after installing the zipper?
Always before. Trimming, skiving, gluing and stitching the tab onto the zipper end is far easier while the zipper is loose. Once the zipper is stitched into a leather panel you cannot get a needle cleanly through the assembled corner, so tabbing afterward is a fight you lose.
What leather weight is best for a zipper end tab?
A 3 to 4 ounce veg-tan tab works for most pieces, skived down to about a third of its thickness at the fold. Thinner 2 to 3 ounce leather suits a slim number 3 wallet zip, while a heavy number 8 bag zip can carry a more substantial structural tab that also serves as a grab point.
How do you attach a leather zipper tab?
Trim the tape to about 8mm past the teeth, skive the tab, dab contact cement on the inside faces, fold it snugly over the trimmed end and press. Then punch holes with a fine iron and saddle-stitch a small box or single bar with the same waxed thread used on the zipper. Slick the tab edges before stitching.
Can you finish a zipper end without a leather tab?
Yes, for hidden internal zippers. A tight bar-tack of a few stitches across the tape caps the end and lies the flattest, which is fine where nobody sees it. For any zipper end a user’s hand or eye reaches, a skived folded leather tab looks far more finished and protects the raw tape from fraying.
Further Reading
- Sewing Zippers Into Leather: The Complete Guide — where end tabs fit in the full install.
- Best Zippers for Leather Goods — pick the size your tabs will cap.
- How to Make a Leather Zipper Pouch — the pouch where these tabs get their first workout.
- Saddle-Stitching a Leather Journal — the two-needle stitch I use on tabs.