Setting rivets and snaps cleanly comes down to three things: the right setter for that exact cap size, a hard backing under the work, and a single confident…
Setting rivets and snaps cleanly comes down to three things: the right setter for that exact cap size, a hard backing under the work, and a single confident strike instead of timid tapping. On the pieces I have made, a mushroomed rivet or a cocked snap is almost always a sizing or backing mistake, not a strength problem — the hardware was fine, the strike was not.
I keep a small drawer of setters matched to the rivet and snap lines I actually use, because one universal setter does not exist. Get the post length, the cap size, and the anvil right, and both rivets and snaps go in on the first hit. This guide is the bench routine I follow so they seat square every time.
Why Setting Goes Wrong: It Is Almost Always the Setup
The three failures I see are a rivet that mushrooms sideways, a snap that spins because it never locked, and a cap that splits. Every one traces back to setup: a post too long for the leather stack, a setter that does not match the cap dome, or a soft surface under the anvil that absorbs the strike. Fix the setup and the strike becomes trivial.
This piece sits under my full leather hardware guide, alongside the buckle types comparison — buckles, rivets and snaps are the three findings that decide whether a strap functions. Here I am only on rivets and snaps, and on getting them to seat square the first time.
Matching the Post Length to Your Leather Stack
A rivet or snap post must protrude just enough above the leather to flare or lock — roughly 1.5 to 2 mm of post above the stack for a rivet, less for a snap. Too long and it folds over instead of mushrooming; too short and it never grips. I measure my stacked thickness in millimeters and pick the post length to suit, rather than forcing one length onto every job.
For a doubled 8 oz strap (about 6.4 mm), I reach for a longer-post double-cap rivet; for a single 4 oz card sleeve, a short post. When the only rivet I have is too long for the stack, I do not crush it down — I add a leather washer or move to the correct length. Copper rivets get the burr set with a rivet set and the excess peened; double-cap rivets just need the right post for a clean dome.
The Hard Backing Nobody Talks About
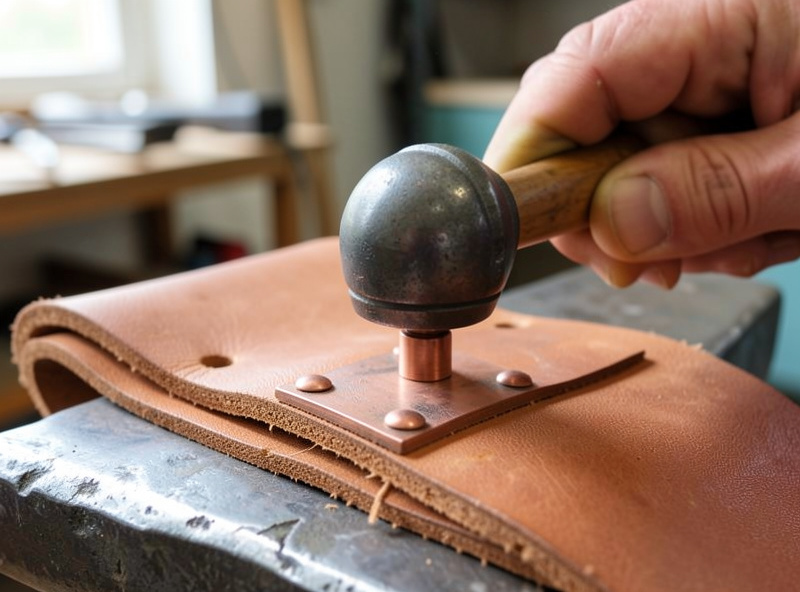
The single biggest upgrade to clean setting is a dead-hard anvil under the work. A snap or rivet setter transfers your strike into the cap only if the energy does not bleed into a soft surface. I set on a small steel bench block, never on a cutting mat or a wooden bench top, because soft backing eats the blow and leaves a half-set, spinning snap.
For domed caps I use a concave setter base that cradles the cap so it does not flatten. The combination — concave setter dish on top, hard steel block underneath, cap centered between — is what produces a crisp dome instead of a smeared one. If your snaps keep spinning even with the right post length, check the backing first; it is the usual culprit.
Setting Snaps: The Four-Part Stack
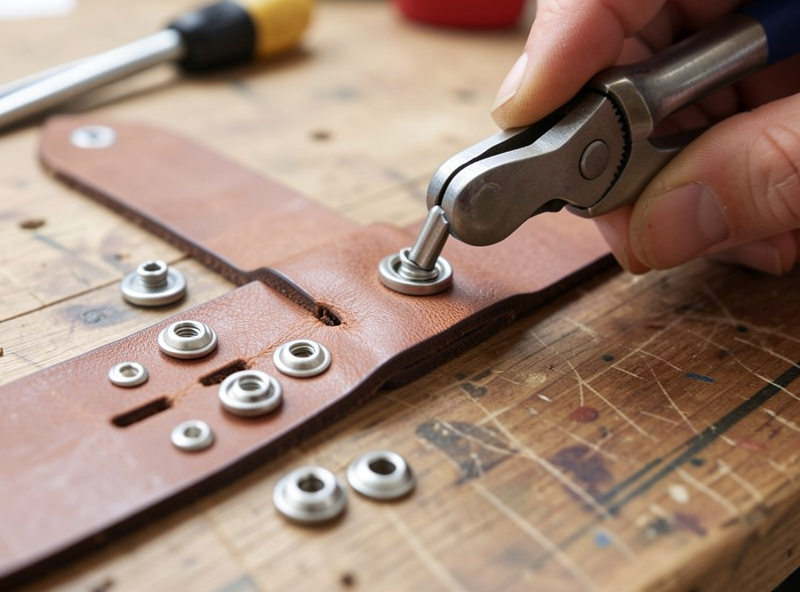
A standard snap is four pieces: stud and post on one side, socket and cap on the other. Each pair sets with its own setter face, and reversing them is the classic beginner error. I lay the four parts out in setting order before I punch anything, so I am never guessing which face goes against which die mid-strike.
Punch the hole to match the post diameter exactly — a hole too large lets the post wander and set off-center. Seat the post through the leather, place the matching cap, center the setter, and strike once firmly. Line-20 and line-24 snaps each want their own setter; I keep them labeled. For a no-press hand method on the common snap lines, I cover the full sequence in my setting snaps without a press guide.
One detail that saves a lot of ruined caps: which face of the snap shows on the grain side. The decorative cap and the socket want to read from the outside of a wallet flap or jacket, while the stud and the eyelet post hide on the inside — get that backwards and a finished piece has the ugly post staring out where the logo cap should be. I dry-assemble the four parts on the punched hole, eyeball the orientation against the grain side, and only then commit the strike. The 30 seconds of laying out the stack in order is the cheapest insurance against a snap set inside-out on a piece you have already stitched and edged.
Setting Rivets: Double-Cap vs Copper
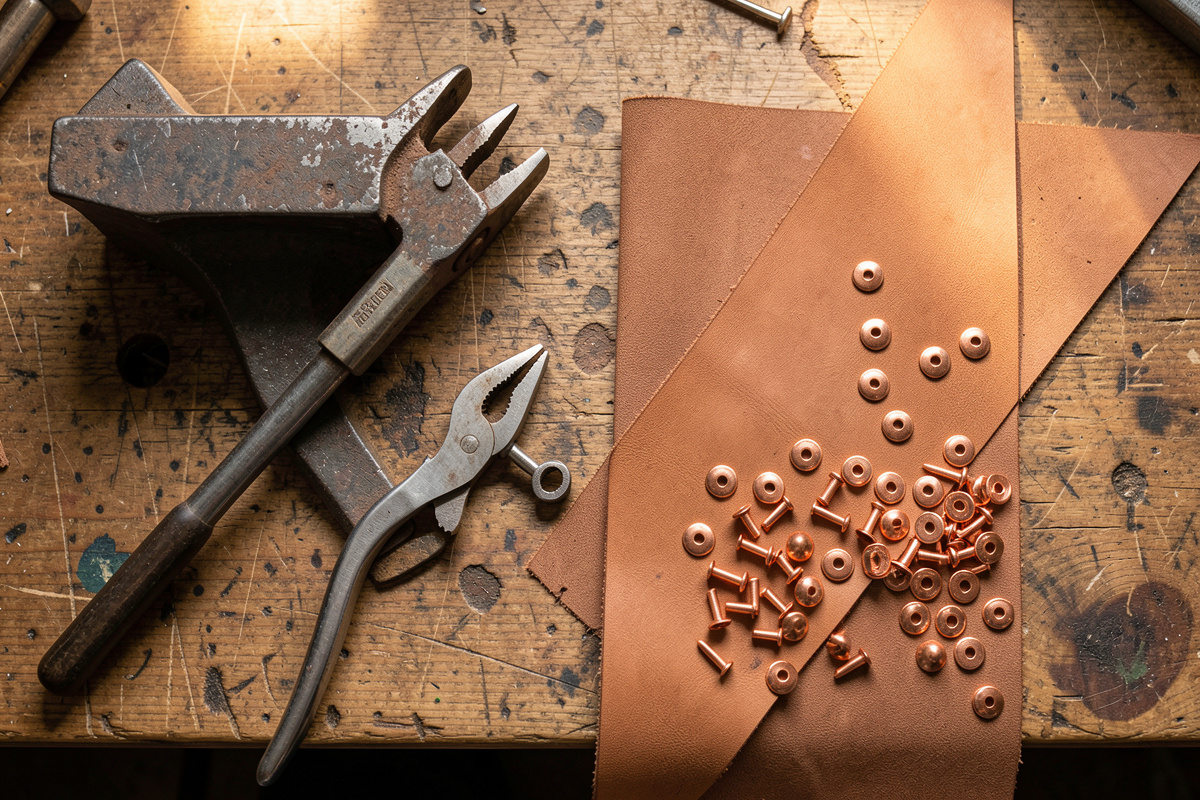
Double-cap rivets are a post and two caps that snap together and are then domed with a setter — fast, clean, and the right call for most straps and bag hardware. Copper rivets are a solid copper rod and a burr (washer) that you peen over by hand, the traditional heavy-duty fastener for thick work like knife sheath welts and harness.
For double-caps, the whole job is post length plus a concave setter and one strike. For copper rivets, I slide the burr down with a rivet set, snip the post to about 1.5 mm proud, then peen it into a tight dome with the ball of a hammer, rotating as I go. Copper is stronger and reworkable but slower; for product comparisons across the rivet families, see my best rivets for leather breakdown.
The peening step is where copper rivets are won or lost, and it is the one beginners rush. I do not try to flatten the burr in one heavy blow — I take a dozen light taps with the ball of the hammer, walking around the rim and rotating the piece a quarter turn between each pass, so the copper spreads evenly into a low dome instead of folding to one side. If a copper rivet ever does set crooked, copper’s saving grace is that you can grind the dome off, drift the post out, and reset with a fresh rivet; a mushroomed double-cap usually has to be cut off and the leather re-punched. That reworkability is the real reason I still reach for copper on knife sheath welts where a failed rivet would mean scrapping an hour of stitching.
Quick Setting Reference
| Hardware | Setter Needed | Backing | Post Above Stack | Best Use |
|---|---|---|---|---|
| Double-cap rivet | Concave dome setter | Steel block | ~1.5–2 mm | Straps, bag hardware |
| Copper rivet + burr | Rivet set + peen | Steel block | ~1.5 mm (then peened) | Sheaths, harness, thick work |
| Line-20 snap | Line-20 setter | Steel block | Flush with cap | Wallets, light closures |
| Line-24 snap | Line-24 setter | Steel block | Flush with cap | Belts, heavier closures |
| Magnetic snap | None (prong/tab) | Backing washer | Prongs bent flat | Bag flaps, soft goods |
As an Amazon Associate I earn from qualifying purchases. The one purchase that fixed my setting was a proper matched setter and steel bench block set — trying to set domed caps on a cutting mat with a generic punch is why so many first snaps spin.
Frequently Asked Questions
Why does my snap keep spinning after I set it?
A spinning snap almost always means the strike energy bled into a soft surface or the post was too long. Set on a hard steel bench block, not a cutting mat or wood, and match the post length so it sits flush with the cap. With a hard backing and correct post, one firm strike locks it.
How much rivet post should stick out above the leather?
Roughly 1.5 to 2 mm of post should sit above the leather stack for a double-cap rivet, enough to dome cleanly. Too long and it folds sideways; too short and it never grips. Measure your stacked thickness in millimeters and pick the post length to match rather than forcing one length onto every job.
Do I need a different setter for every snap size?
Yes. Line-20 and line-24 snaps each require their own setter face, and double-cap rivets need a concave dome setter sized to the cap. One universal setter does not exist. Keep your setters labeled by line size so you never strike a cap with the wrong dome and flatten it.
What is the difference between a double-cap and a copper rivet?
A double-cap rivet is a post and two caps that snap together and dome with one strike, fast and clean for most straps. A copper rivet is a solid rod and a burr washer you peen over by hand, the stronger traditional fastener for thick work like sheath welts and harness.
Can I set rivets and snaps without a press?
Yes, for most common lines. With the correct hand setter, a maul, and a hard steel block, you can set double-cap rivets and line-20 or line-24 snaps by hand. A press only becomes worthwhile for volume or very heavy hardware; for one-off pieces the hand setter is enough.
Why did my copper rivet bend over instead of mushrooming?
It bent because the post was too long for the leather stack, so the excess folded rather than peening into a dome. Slide the burr down with a rivet set, snip the post to about 1.5 mm proud, then peen it with the ball of a hammer while rotating the work to form a tight, even dome.
Related Guides
- Leather Hardware Guide: Rivets, Snaps, Buckles, Setting
- Best Rivets for Leather: Copper vs Brass vs Stainless
- How to Set Snaps on Leather Without a Press
- Leather Buckle Types Compared: Roller, Center Bar, Heel Bar