Sewing a zipper into leather comes down to three decisions made in order: pick a zipper whose tooth size matches the leather weight, glue the tape down before…
Sewing a zipper into leather comes down to three decisions made in order: pick a zipper whose tooth size matches the leather weight, glue the tape down before you ever pick up a needle, and stitch through the tape close enough to the teeth that nothing shifts. Get those three right and the pucker that scares most people away never shows up. On the pieces I’ve made, a zipper is the easiest hardware to install well and the easiest to install badly, and the gap between the two is about a millimeter of setback and a strip of double-sided tape.
I stitch wallets, pouches, sheaths and small bags by hand on a dedicated leather bench, and for years I avoided zippers the way a lot of makers do — they looked fiddly, the tape felt alien against veg-tan, and my first three attempts rippled like a potato chip. Then I stopped treating the zipper as fabric hardware and started treating it as a component I could size, glue, skive and stitch like any other. That reframing is what this guide is built on. It’s the hub for a whole cluster of zipper articles on this site, so wherever a step deserves its own deep dive, I’ll hand you off to it.
Why Do Zippers Pucker When You Sew Them Into Leather?
Zippers pucker in leather for one reason: the tape and the leather move independently while you stitch, so the two layers end up different lengths by the time you reach the far end. Leather doesn’t ease the way woven fabric does — it can’t gather a spare millimeter — so any mismatch shows as a wave. The fix is mechanical, not skill: bond the tape to the leather before stitching so the two can’t slide.
My first zipper pouch taught me this the hard way. I pinned the tape (clips, actually — pins leave permanent holes in leather, another lesson) and hand-stitched with my usual saddle stitch, and by the third inch the leather was creeping ahead of the tape. The finished pouch looked like corrugated cardboard along both zipper lines. I’d wasted a good scrap of 4 oz Wickett & Craig chrome-retan on a schoolboy error. What I do now is lay a 3mm strip of double-sided leather tape along the tape’s stitch zone, burnish the leather down onto it with a bone folder, and only then mark and stitch. The layers are locked; the pucker has nowhere to come from. Whether you then glue-only or stitch is a separate question I break down in my piece on hand-stitching versus gluing a zipper into leather.
What Zipper Size Do You Need for Leather Goods?
For most hand-made leather goods you want a #3 or #5 zipper — the number is roughly the width of the closed teeth in millimeters. A #3 (about 3mm) suits card sleeves, coin pockets and slim wallets; a #5 (about 5mm) is the workhorse for pouches, dopp kits and bag interiors; a #8 or #10 is bag-mouth and heavy-duty territory. Oversize the zipper and it fights the leather; undersize it on a bag and it strains.
The gauge system comes straight from the manufacturers — YKK’s fastening products catalog is the reference I check when I’m unsure what a size means, because “number 5” is a real spec, not a vibe. I default to #5 for anything I’ll open one-handed a hundred times a week, because the larger teeth are easier to grab and less likely to jam on a thread whisker. For a slim bifold coin zip I drop to #3 so the hardware disappears into a 3–4 oz interior. Matching zipper size to project — and metal versus coil — is the whole subject of best zippers for leather goods, where I lay out YKK sizes side by side.
Metal, Coil, or Molded Tooth: Which Zipper for Which Project?
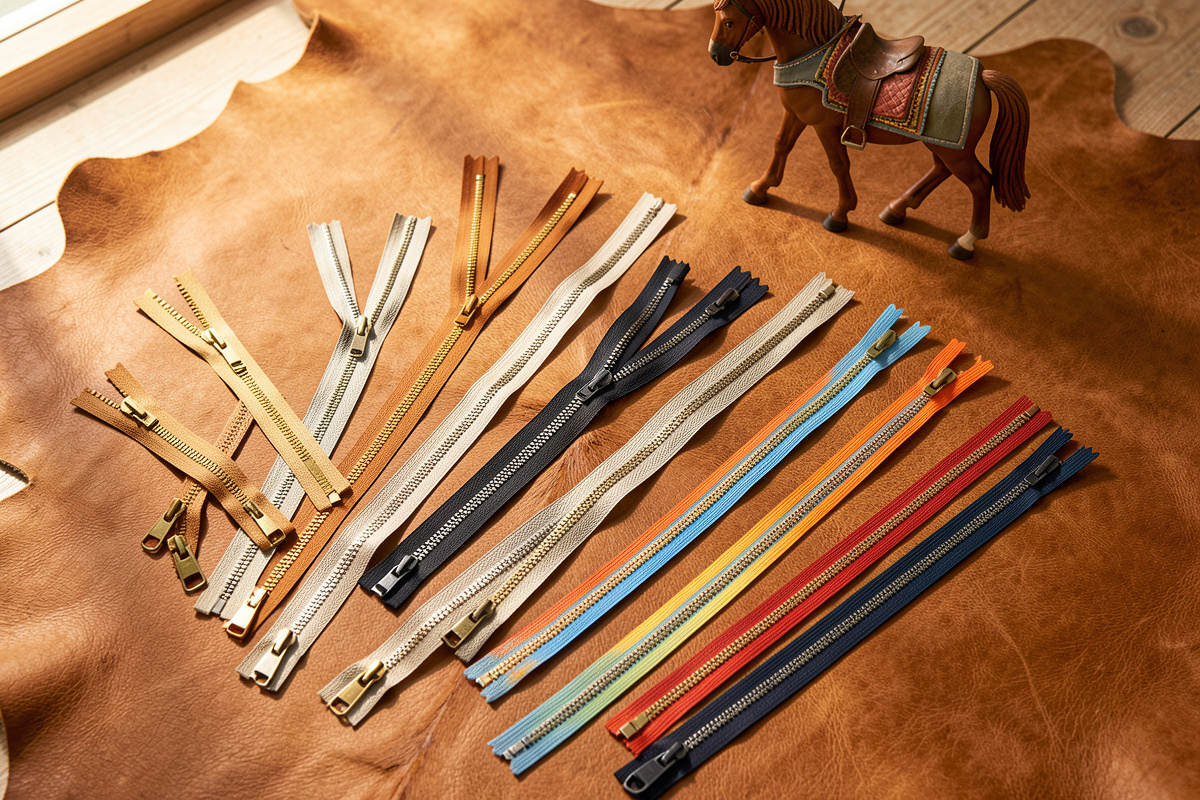
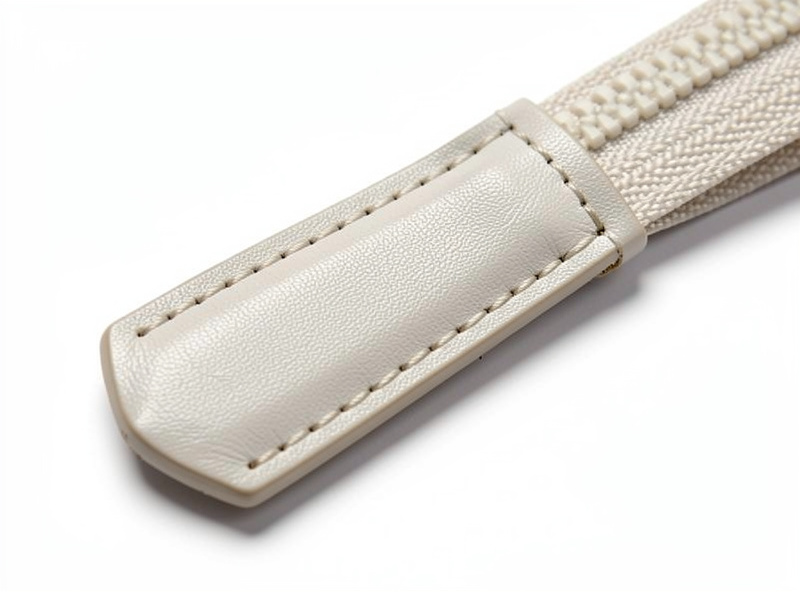
Metal zippers look and age best on leather and repair well but add weight and can catch; nylon coil is the smoothest and self-heals after a snag; molded plastic (Vislon-type) is rugged and light but reads sporty rather than refined. For a hand-stitched wallet I reach for brass metal every time; for a soft chrome-tan pouch that lives in a bag, coil wins on feel. There is no universally best tooth — there’s the right one for the piece.
Here’s the comparison I keep in my head, built from the zippers I actually stock at the bench:
| Zipper type | Feel / action | Best leather match | Repairable? | My default use |
| Metal, brass | Firm, audible click | 5–6 oz veg-tan wallets | Yes — teeth re-set, box/pin replace | Wallets, card cases |
| Metal, antique/nickel | Firm, slightly draggy | Tooled veg-tan, sheaths | Yes | Statement pieces |
| Nylon coil | Smoothest, self-heals | Soft chrome-tan bags | Partly — coil re-threads | Pouches, bag interiors |
| Molded plastic (Vislon) | Chunky, rugged | Thick utility leather | Rarely — slider only | Tool rolls, outdoor gear |
| Concealed coil | Hidden, delicate | Thin 3 oz linings | Hard | When teeth must vanish |
One caveat I always flag: metal teeth and a nylon slider don’t love each other long-term, and a brass zipper run past a rough-cut leather edge will shred thread on every pass. Slick your edges before the zipper goes anywhere near them. If you’re standing at a supplier wall unsure what to grab, the full breakdown lives in my zipper selection guide.
Do You Glue or Stitch a Zipper Into Leather?
You do both, in that order. Glue (or double-sided tape) positions and locks the tape so it can’t shift; the stitch is what actually holds under load for years. Glue alone will peel with heat and use; stitch-without-glue puckers. The only real debate is which adhesive and how far back to set your stitch line — and whether a purely glued zipper is ever acceptable on a low-stress piece.
I set my stitch line about 2–2.5mm off the teeth so the slider clears the thread but the tape is fully captured. Any closer and the slider snags the stitching; any farther and the leather flaps over the teeth and jams. I use a contact cement for permanent bonds and double-sided leather tape when I want to reposition once before committing. The full head-to-head — peel tests, heat, what actually failed on my bench — is in stitch vs glue for leather zippers. Short version: glue to place, stitch to hold, never trust glue alone on anything that opens daily.
How Do You Keep the Zipper From Puckering the Whole Length?
Beyond gluing the tape, three habits kill pucker: mark your stitch line with a wing divider so it’s dead straight, stitch with the zipper half-closed so the tape sits at its natural relaxed length, and keep even thread tension instead of cranking each stitch. A wandering, over-tightened stitch line is what turns a flat tape into a ripple.
I scribe the stitch line with a wing divider set to 2mm, then punch with a fine pricking iron — I default to a European-pitch iron around 3.85mm (roughly 7 stitches per inch) for zipper tape, fine enough to look tidy against the teeth. Then I saddle-stitch with 0.6mm Ritza 25 “Tiger” thread, which seats into that pitch without bulking. The relationship between iron pitch, awl and thread diameter is one tuned system, not four purchases — I size all three together, and Julius Koch’s Ritza thread spec sheet is where I confirm diameter before I match it to an iron. The sound you’re listening for as you stitch is a quiet, consistent tick as the awl passes the tape — if it starts crunching, you’re into the teeth and need to move your line out.
How Do You Finish Zipper Ends So They Don’t Bulk Up?
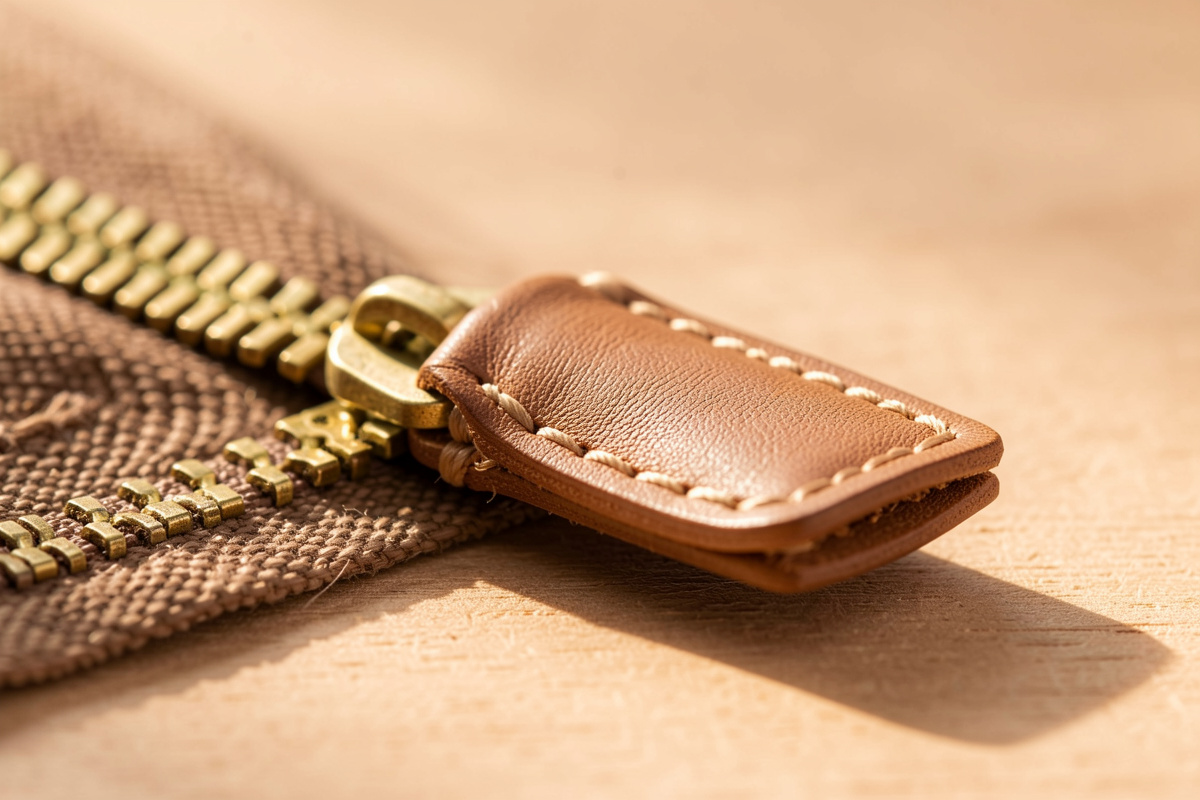
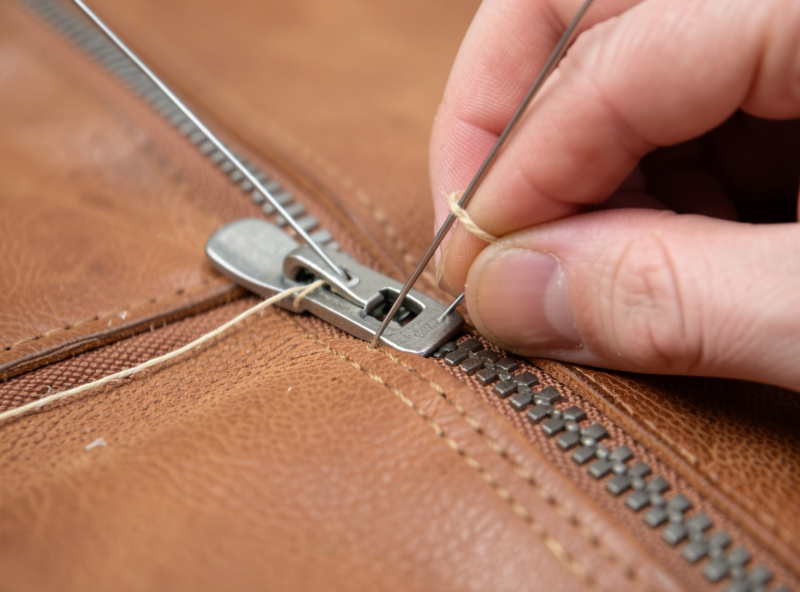
The professional-looking trick is a folded leather end tab that caps the raw zipper tape and stops it fraying, but the mistake beginners make is a tab that’s too thick — a folded piece of 4 oz becomes 8 oz at the fold and creates a lump the slider has to climb over. Skive the tab leather down to 1–1.5mm at the fold and the end sits flat. This one detail separates a bag that looks bought from one that looks homemade.
I skive the tab edges thin with a French skiver, fold over the trimmed zipper end, glue, and stitch a box or a single bar to lock it. On a #5 coil I trim the tape to about 8mm past the teeth so there’s enough to fold but not enough to bulk. The complete method — measuring, skiving angles, the two tab styles I use — is its own article: how to finish zipper ends on leather. Do the tabs before you install the zipper, not after; trying to skive a tab in place once the zipper is stitched in is a fight I’ve lost more than once.
Which Zipper Project Should You Start With?
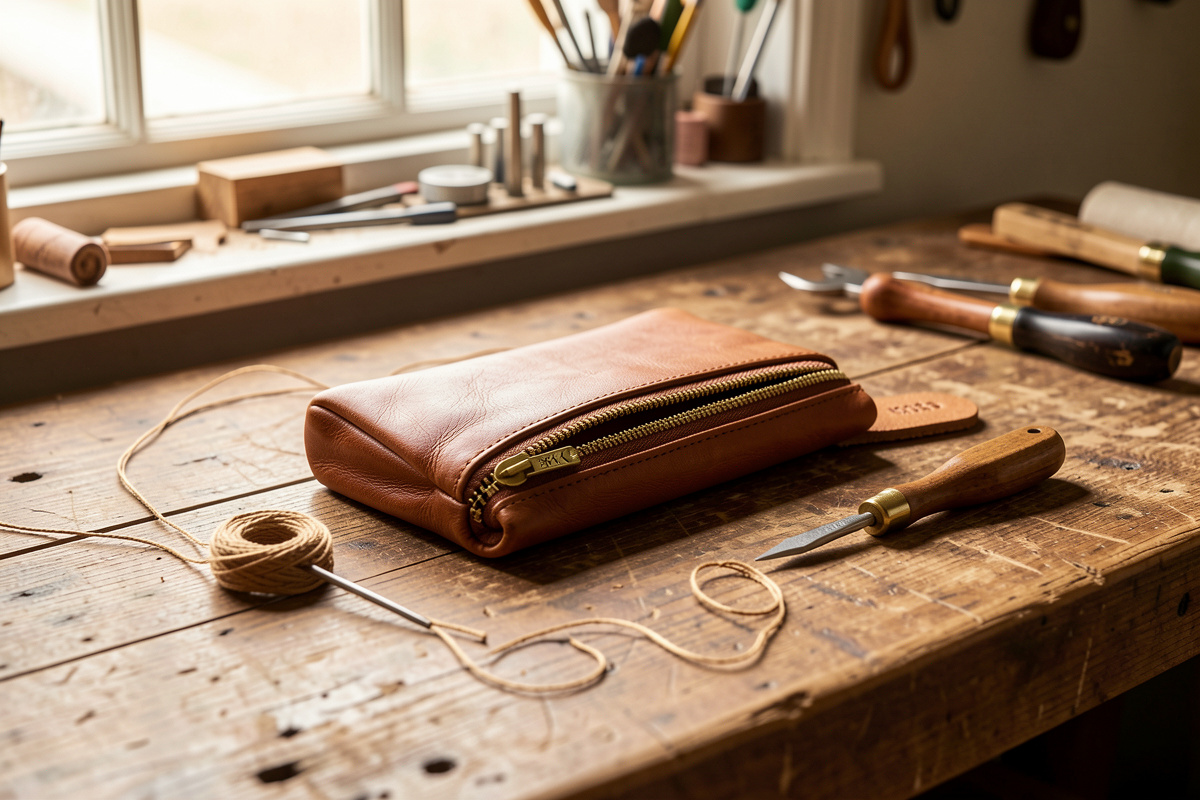
Start with a flat zipper pouch — two panels and one zipper, no gussets, no lining acrobatics. It teaches the whole skill in an afternoon: gluing tape, stitching straight, tabbing the ends, boxing the corners. Once the pouch feels clean, graduate to a zipper wallet, where a coin zip has to sit inside the fold without puckering the card slots around it.
The pouch is where every zipper skill gets rehearsed at low stakes, and I walk the whole thing step by step in the leather zipper pouch pattern. When you’re ready for the harder version, the leather zipper wallet covers the coin-zip-without-the-pucker problem, which is genuinely the fussiest zipper install I do. And when a zipper eventually fails on a bag you love — they do, sliders wear out — replacing a broken zipper in a leather bag is a repair worth learning before you need it at midnight.
What Tools Do You Actually Need to Sew a Zipper?
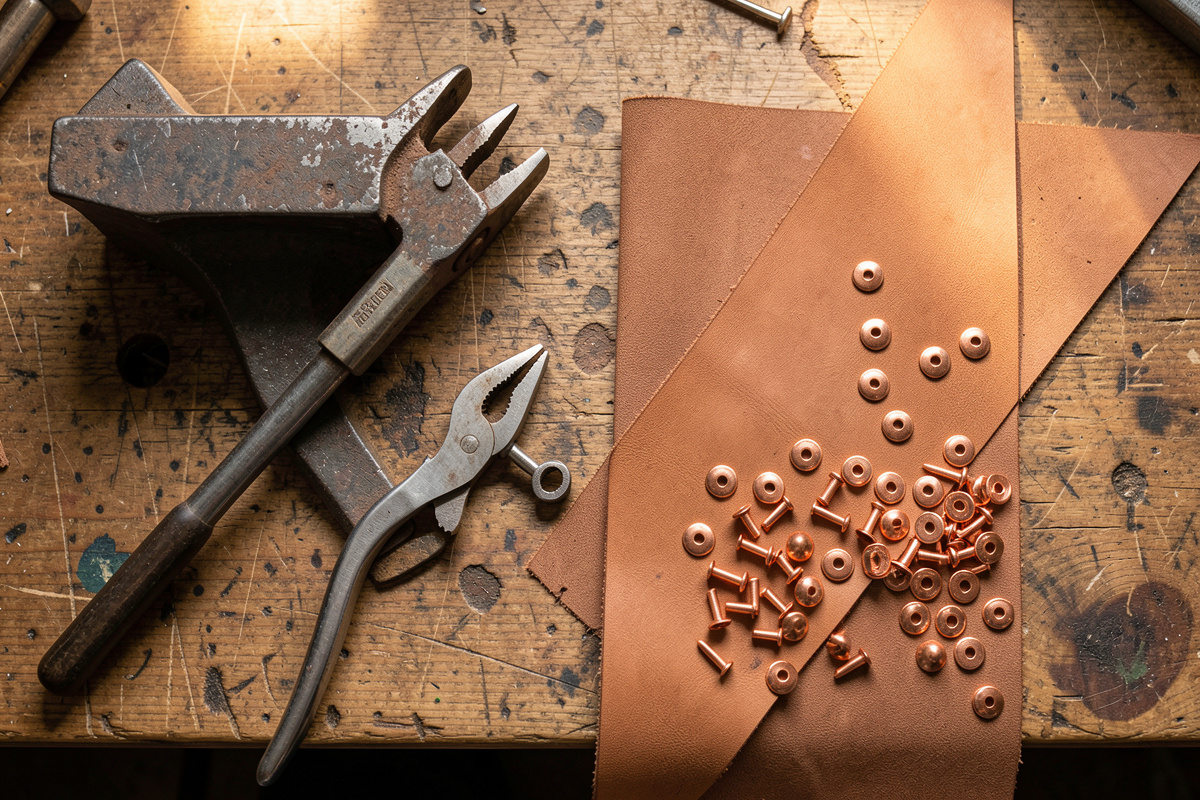
You need fewer specialized tools than the internet suggests: a fine pricking iron, a stropped diamond awl, two harness needles, waxed thread, double-sided leather tape, a wing divider, a skiving knife and a bone folder. Everything else is comfort. The single upgrade that changed my zipper lines was a sharper awl, not a fancier zipper.
The awl I keep stropped is the tool that fixes a wandering stitch line more than any jig — a dull awl deflects off the tape and drags your holes off the marked line. I strop it on compound before every zipper job. For holding the work I clamp it in a stitching pony so both hands are free to keep tape tension even. A wing divider scribes my 2mm line; a bone folder burnishes the tape onto the tape adhesive; a #2 edge beveler and a printed edge slicker finish the leather before the zipper ever touches it. If you want to build a matching pull to finish the piece, the offcuts become a project of their own in making a leather zipper pull and tab.
My Order of Operations for Every Zipper
The sequence matters more than any single step. I run the same order on a pouch and on a bag: finish the leather edges first, cut and skive the end tabs, tab the zipper, glue the tape to the leather, mark the stitch line, punch, then saddle-stitch. Reverse any two of those and you’ll pay for it — tabbing a zipper already stitched into a panel is the classic backward mistake.
Concretely, on a standard #5 coil pouch: I slick both panel top edges to a glassy finish with Tokonole, cut two tab pieces from 3 oz veg-tan and skive their folds to about 1.2mm, cap both zipper ends, run a 3mm double-sided tape strip along each panel’s top edge, press the zipper tape down and burnish, scribe a 2mm line with the divider, punch with the 3.85mm iron, and saddle-stitch with 0.6mm thread at a relaxed, even tension. Two zipper lines, maybe ninety minutes of stitching, and the tape never shifts because it physically can’t. That repeatable order is the real secret — not a special tool, just refusing to do steps out of sequence.
As an Amazon Associate I earn from qualifying purchases. When I need continuous zipper by the yard to cut my own lengths, I search for YKK #5 coil zipper by the yard so I can size each zip to the exact opening rather than fighting a pre-made length.
What Leather Weight Works Best Around a Zipper?
Keep the leather at the zipper line between 3 and 5 oz. Thinner than 3 oz and the panel is too floppy to hold a crisp stitch line against the tape; thicker than 5 oz and the folded seam allowance stacks up and the slider drags. If your project leather is heavier — an 8 oz bag body, say — skive the top 12mm of the panel down to 4 oz so only the zipper zone is thin while the rest keeps its structure.
This is where a lot of first zipper bags go wrong: someone builds the whole thing in beautiful 6–7 oz veg-tan and then can’t understand why the zipper mouth is stiff and won’t lie flat. The zipper zone wants to be supple. I keep a strip of 3–4 oz chrome-tan specifically for zipper facings, bonded behind a heavier exterior so the outside stays firm and the zipper channel stays soft. The two-leather sandwich is invisible from outside and it’s the difference between a mouth that opens like a book and one that fights you. On a wallet coin zip I’ll go all the way down to 2–3 oz around the zip because nothing there carries load — the card slots and spine do the structural work, and I cover that balance in detail in the zipper wallet pattern.
How Do You Install a Zipper Around a Boxed Corner?
At a boxed corner — the point where a three-around zipper turns down the side of a pouch or dopp kit — you clip the zipper tape almost to the teeth so it can pivot, then glue and stitch the turn before you continue down the side. The clip lets the tape fan around the corner without buckling. Skip it and the tape bridges the corner as a hard chord, pulling the leather into a dog-ear.
I make a small V-notch in the tape allowance right at the corner, maybe 3mm deep, stopping short of the teeth by at least 2mm so I never weaken the tape’s edge cord. Then I ease the tape around, tack it with a dot of contact cement, and hand-stitch through the turn slowly, one stitch at a time, keeping the awl angled to follow the curve rather than punching straight down. A boxed zipper corner is the fussiest few centimeters in the whole install, and it’s worth practicing on a scrap before you commit it to a piece you care about. The three-around zipper opening is exactly what makes a dopp kit or a wide-mouth pouch usable, and it builds directly on the flat pouch skills in the two-panel pouch method.
How Do You Care for a Leather Zipper So It Lasts?
A zipper fails at the slider long before the teeth wear out, so the whole game is keeping the slider moving freely and the teeth clean. A wax-based lubricant on the teeth two or three times a year, a slider you never force past a snag, and end tabs that keep grit out of the tape will get a decent metal zipper past a decade of daily use. Force a jammed slider and you’ll spread its jaws, and a spread slider stops closing the teeth behind it — the classic “zipper that won’t stay zipped.”
I rub a little beeswax or a graphite pencil along the teeth when a zipper starts to feel draggy — the sound tells you, a gritty rasp instead of a clean glide. If a coil zipper starts splitting open behind the slider, that’s a worn slider, not a dead zipper, and squeezing its jaws a hair with flat pliers often revives it for another year. When the slider is truly gone or a tooth has torn out of the tape, that’s a full replacement, and I walk through pulling and re-setting one without destroying the bag in how to replace a broken zipper in a leather bag. Learning that repair is what lets you buy a #5 metal zipper with confidence — you’re never one slider away from a dead bag.
The Zipper Mistakes I Made So You Don’t Have To
Every clean zipper I stitch now is built on a specific ruined piece. The four that taught me the most: pinning tape instead of taping it (permanent holes), building a bag mouth in 7 oz veg-tan (stiff, wouldn’t lie flat), tabbing zipper ends after stitching them in (impossible), and setting my stitch line 1mm off the teeth so the slider caught every pass (had to un-stitch the whole side). None of those were skill failures — they were sequence and material failures, which is good news, because sequence and material are things you can simply decide to get right.
The one I still see everywhere is the too-thick end tab. A maker folds a full-thickness 4 oz tab, boxes it down beautifully, and hands you a pouch where the slider thunks over a speed bump at each end. It looks like a small thing and it’s the loudest tell that a piece is homemade. Skive the tab. I skive mine to about 1.2mm at the fold every single time, and I check the slider glides all the way to the tab before I call the zipper done. If you internalize one habit from this whole guide, make it this: finish and skive before you stitch, and let a sharp awl and glued-down tape do the work that most people try to muscle through with tension. That’s the entire craft of a zipper that looks bought.
Frequently Asked Questions
Can you hand-stitch a zipper into leather without a machine?
Yes, and for small goods hand-stitching is better. A saddle stitch through glued-down zipper tape holds longer than a single-line machine stitch because each stitch locks independently. I hand-stitch every zipper I install, using a fine pricking iron around 3.85mm pitch and 0.6mm waxed thread. The key is gluing the tape first so it cannot shift while you work.
What size zipper is best for a leather wallet?
A number 3 zipper, about 3mm across the closed teeth, is best for a leather wallet coin pocket. It keeps the hardware slim so it disappears into a 3 to 4 ounce interior and does not bulk up the fold. Step up to a number 5 for pouches and bag interiors where you want easier one-handed opening.
Should you glue or stitch a zipper into leather?
Do both, in order. Glue or double-sided leather tape positions and locks the zipper tape so it cannot slide while you stitch, which is what prevents puckering. The saddle stitch is what actually holds under years of use. Glue alone peels with heat and handling, so never rely on it for anything that opens daily.
Why does my leather pucker along the zipper line?
Puckering happens because the leather and the zipper tape move independently and end up different lengths by the far end. Leather cannot ease in a spare millimeter the way woven fabric can. Bond the tape to the leather with double-sided tape or contact cement before stitching, mark a straight line with a wing divider, and keep even thread tension.
How do you keep zipper ends from bulking up on leather?
Cap each zipper end with a folded leather tab, but skive the tab down to about 1 to 1.5mm at the fold so it does not become a lump the slider has to climb. Trim the zipper tape to about 8mm past the teeth before folding. Install the tabs before you stitch the zipper into the panel, never after.
What is the easiest first zipper project in leather?
A flat two-panel zipper pouch with no gusset or lining is the easiest first project. It rehearses every zipper skill in one afternoon: gluing the tape, stitching a straight line, finishing the ends with tabs, and boxing the corners. Once the pouch looks clean, move up to a zipper wallet with a coin zip.
Keep Building: The Full Zipper Cluster
Zipper work is its own technique, and I’ve split it into focused guides so you can go as deep as the project needs:
- Best Zippers for Leather Goods — YKK sizes, metal vs coil, and choosing pulls.
- How to Make a Leather Zipper Pouch — the clean two-panel method, start here.
- How to Finish Zipper Ends on Leather — tabs that don’t bulk up.
- How to Make a Leather Zipper Wallet — a coin zip without the pucker.
- Hand-Stitching vs Gluing a Zipper — which one actually holds.
- How to Replace a Broken Zipper in a Leather Bag — the repair worth knowing.
- How to Make a Leather Zipper Pull and Tab — finish the piece with matched hardware.
If you do the pouch first and read the zipper-selection and end-tab guides alongside it, you’ll have covered everything I know about putting a zipper into leather. Start there, ruin one cheap zipper on purpose, and the fear goes away for good.