A leather zipper pull is a folded strip of veg-tan, skived thin, wrapped through the zipper’s slider bail and stitched into a slim tab — you can make…
A leather zipper pull is a folded strip of veg-tan, skived thin, wrapped through the zipper’s slider bail and stitched into a slim tab — you can make one in fifteen minutes from an offcut, and it’s the fastest upgrade there is to a bought or plain zipper. The trick that makes it look professional rather than crafty is the same one that makes everything in leather look bought: skive the fold thin and slick the edges. A good pull turns a hardware store zipper into something that feels designed.
I make pulls from the scraps that fall off every other project — the strips too small for a wallet but too nice to bin. Over the years I’ve folded, stitched, riveted and laser-engraved dozens of them, and they’ve become the small flourish that ties a piece together: matched dye, matched thread, a little engraved mark. This one belongs to the same zipper cluster as my full guide to sewing zippers into leather, and it’s the gentlest possible entry point — no zipper installation required, just a pull you can clip onto anything.
What Leather and Weight Should a Zipper Pull Be?
Use 4–6 oz veg-tan for a folded pull that holds its shape, or 3–4 oz if you want it to drape softer. Veg-tan is the right pick because it tools, dyes, burnishes and holds a crisp fold — chrome-tan makes a floppy pull that won’t slick the same way. A pull is small enough that you can use a genuinely nice offcut, so match it to the leather of the piece it’s serving.
My default is a strip of 5–6 oz Wickett & Craig or Hermann Oak veg-tan, the same bends I cut wallet exteriors from, so a pull matches the goods it hangs on. For a thicker single-layer pull I’ll use 6–8 oz and just bevel and slick the raw edges without folding at all. The weight decision drives everything downstream — a heavy pull wants a bigger split ring and a wider slot, a thin one folds tighter. If you’re still choosing the zipper the pull will clip to, my breakdown of the best zippers for leather goods covers slider bails and pull-friendly hardware, because the slider’s bail size decides how you attach the pull.
How Do You Attach a Leather Pull to a Zipper Slider?
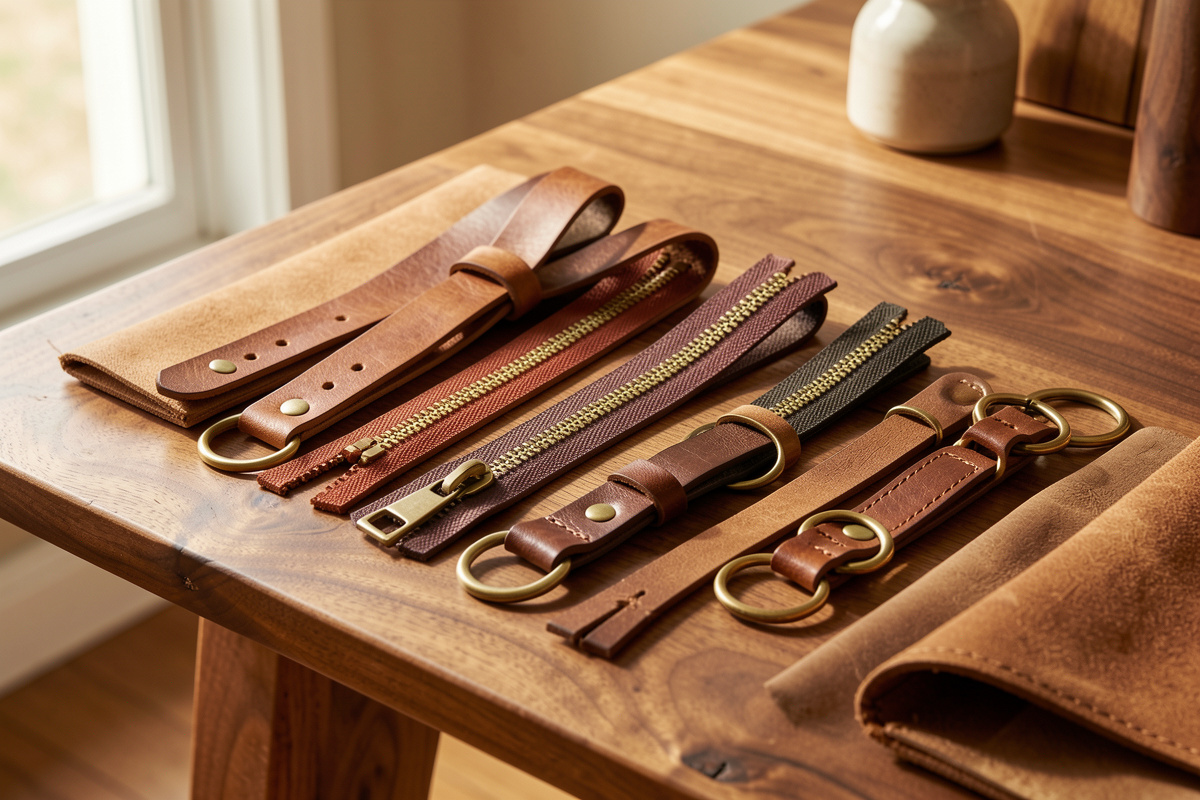
The three clean ways are: loop the leather directly through the slider bail and stitch it back on itself, connect it with a small split ring through the bail, or use a tiny screw-post through both. Looping through the bail is the most seamless; a split ring is the most repairable and lets the pull swing freely. For most pieces I loop a folded tab through the bail and saddle-stitch it closed.
Which attachment you pick changes the whole feel. A direct loop reads as one integrated piece and is what I use on wallets and refined pouches. A split ring gives a little jingle and swing that suits a rugged bag, and it lets someone swap the pull later without unstitching anything — genuinely handy on a piece that’ll get years of use. A screw post is the most secure and the easiest to make replaceable. The part you’re threading through is the bail — the small loop cast into the slider that YKK’s slider components designate as the pull attachment point, and its opening decides everything about how the pull hangs. I keep a jar of 6mm and 8mm split rings for exactly this, because the ring size has to clear that bail cleanly or the pull binds. Feeding a folded strip through a too-small bail and then trying to stitch the doubled leather is a frustration I’ve earned; size the ring to the bail first.
How Do You Make a Folded Leather Zipper Pull Step by Step?
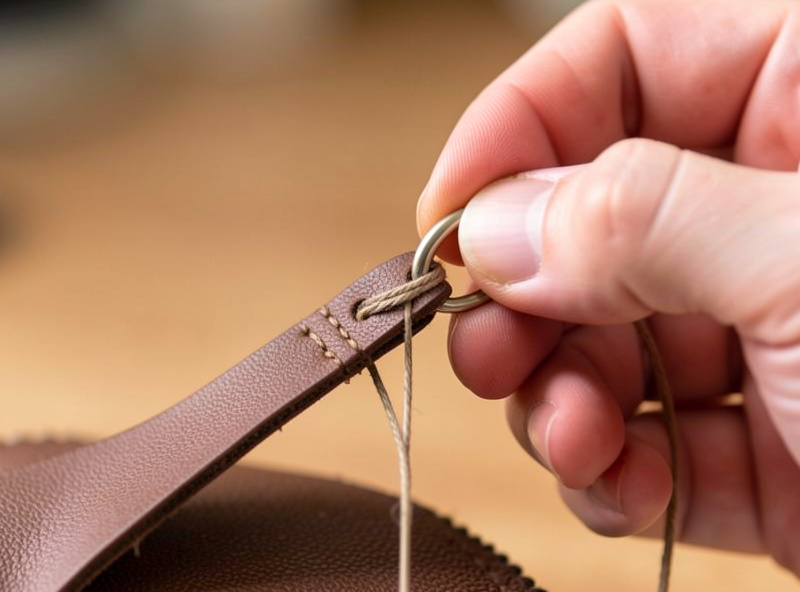
Cut a strip about 12–15mm wide and 80–100mm long, skive the middle fold zone thin, loop it through the slider bail or a split ring, glue the two tails together, then saddle-stitch a slim line up the doubled tab and slick the edges. The whole thing is a miniature of every leather project: cut, skive, glue, stitch, finish. Done well it’s indistinguishable from a maker-brand pull.
My exact steps: I cut the strip with a rotary cutter and steel straightedge on a self-healing mat, then skive the center — where it folds around the bail — down to about 1.5mm so it bends tight without cracking. I dye and burnish before assembly, because you can’t reach the inner faces once it’s folded and stitched. Then I loop it, glue the tails with contact cement, punch a slim line of holes with a fine pricking iron (my usual ~3.85mm pitch), and saddle-stitch with 0.6mm waxed thread — a diameter I confirm against Julius Koch’s Ritza 25 spec so it seats into that pitch instead of bulking, and the same thread I run on the goods so it matches. Finally I bevel and slick the long edges with a small printed slicker until they’re glassy. Fifteen minutes, one offcut, and the zipper suddenly looks like it came off a bench that cares.
Can You Personalize a Leather Zipper Pull?
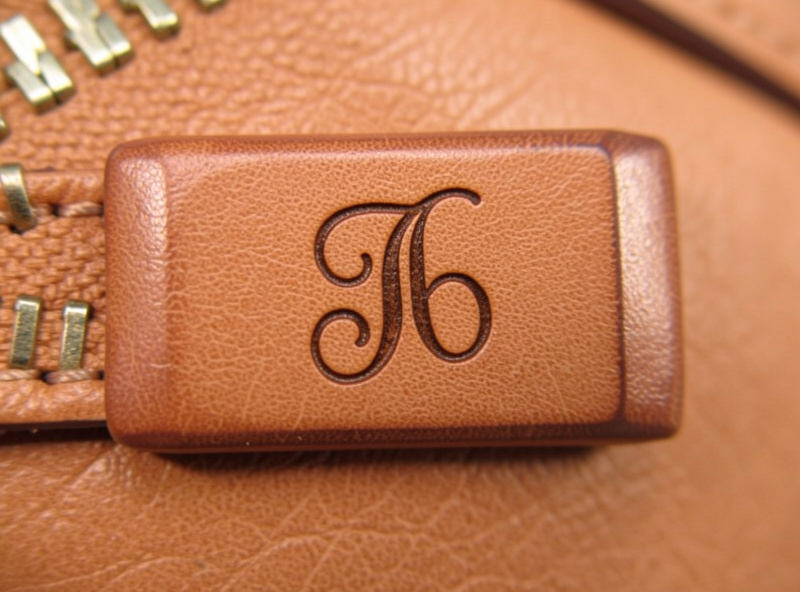
Yes, and it’s where a pull earns its keep as a gift or a signature. You can stamp initials with a swivel knife or letter stamps, tool a small motif, or laser-engrave a fine monogram or logo into the grain. Because a pull is tiny and flat, it’s the perfect canvas for a detail that would be overkill on a whole panel.
I engrave a lot of my pulls on the workshop laser — a small veg-tan tab takes a crisp, permanent mark that stamping can’t match for fine text, and it’s the same setup I use for larger panels, covered over on my laser engraving site where I go deep on settings for veg-tan. The polymath crossover is real here: the same workshop that prints my edge slickers and holds my stitching bench also holds the laser, so a pull can be cut, stitched, dyed and engraved without leaving the room. If you don’t have a laser, a single well-struck initial with a letter stamp on cased veg-tan looks just as intentional — the point is a considered mark, not the machine that makes it. Case the leather lightly first so the stamp bites cleanly, the same casing you’d do before any tooling.
What Are the Most Common Zipper Pull Mistakes?
The three that ruin a pull: not skiving the fold so it cracks or bulks, finishing the edges after folding so the inner edges stay raw, and using chrome-tan so the pull goes floppy and won’t burnish. All three are avoidable with the same discipline as the rest of the piece — thin the fold, finish before you fold, use veg-tan.
The one that got me repeatedly early on was leaving the pull too thick at the fold. A 6 oz strip folded without skiving cracks across the grain at the bend the first time someone yanks it, and a cracked pull looks worse than no pull at all. Now I skive every fold, no exceptions. The second habit I had to build was dyeing and slicking the whole strip flat before assembly, because a folded pull hides its inner faces and any raw leather there shows as a pale line. Do the finishing while it’s flat and open. These are the same lessons that make a clean zipper end tab, which is why I treat pulls and tabs as one small-goods skill — get one right and the other follows.
How Long Should a Leather Zipper Pull Be?
For most pieces, cut the finished pull to hang about 25–40mm below the slider — long enough to grab with cold or gloved fingers, short enough that it doesn’t flap or snag. A wallet coin zip wants the shorter end of that range so the pull tucks away; a bag or a jacket pocket can carry a longer, more grabbable tab. Cut the strip roughly double your target length plus the bail wrap, since folding halves it.
I size the pull to how the piece gets opened. A dopp kit that lives in a suitcase and gets yanked one-handed in a dim bathroom gets a generous 35–40mm pull I can find by feel; a slim cardholder gets a discreet 20–25mm tab that doesn’t add visual clutter. The width matters as much as length — I keep pulls between 10mm and 15mm wide so they’re substantial without looking clunky against fine teeth. Get the proportion wrong in either direction and the pull fights the piece: too long and it whips around and catches on things, too short and nobody can grab it when their hands are full. When in doubt I make a paper mock the length I’m considering, tape it to the slider, and open the piece a dozen times before I ever cut leather — two minutes of testing saves an offcut and a re-do. The same measure-first habit runs through everything I build, from a pull to a full bag.
Where a Zipper Pull Fits in a Finished Piece
A pull is the last thing I add and the first thing anyone touches, so it carries more impression per square centimeter than any other part. Matched to the dye, thread and hardware of the piece, it says the maker thought about the whole object, not just the big panels. Unmatched or crudely made, it undoes the work — a beautiful pouch with a plastic zipper pull always reads as unfinished.
I’ve come to see the pull as the signature at the bottom of the piece. On a gift I engrave initials; on my own carry I keep it plain but perfectly slicked. Either way it’s the detail that turns hardware into design, and it costs an offcut and fifteen minutes. If you want to put your new pull to work, the natural next steps in this cluster are learning to finish zipper ends with clean tabs so the whole zipper looks considered end to end, and then building something to hang it on — the two-panel zipper pouch is the ideal first home for a pull you’re proud of, and the complete zipper guide ties every one of these skills together. Make three pulls from your scrap bin this week; by the third you’ll have a house style, and every zipper you touch after that will look like it was meant to have your hand on it.
Related Reading
- Sewing Zippers Into Leather: The Complete Guide — the full cluster this pull belongs to.
- Best Zippers for Leather Goods — pick the slider and bail your pull clips to.
- How to Finish Zipper Ends on Leather — the tab skill that pairs with the pull.
- How to Make a Leather Zipper Pouch — the first piece to hang your pull on.
- How to Make a Leather Zipper Wallet — where a short, discreet coin-zip pull earns its place.