Leather suspenders are the most hardware-dense strap project you can make: multiple sliding adjusters, clip or button ends, and a Y-back or X-back junction that has to split…
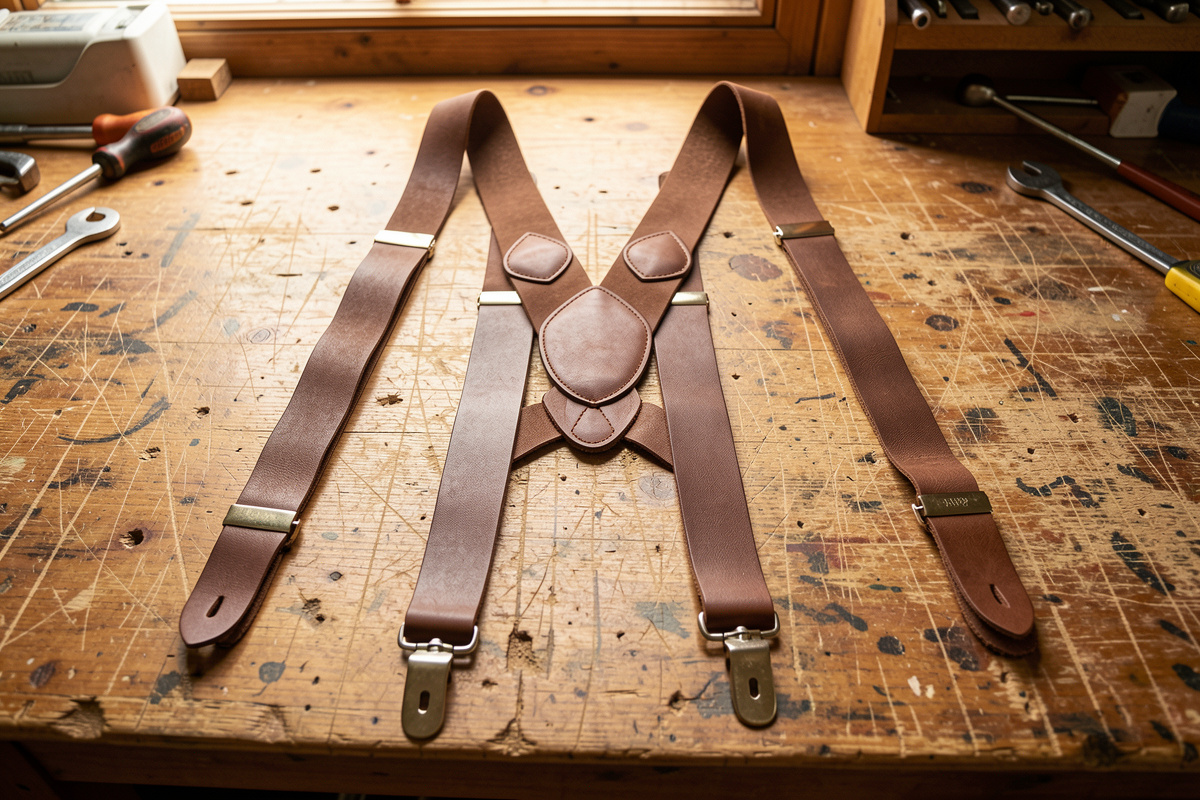
Leather suspenders are the most hardware-dense strap project you can make: multiple sliding adjusters, clip or button ends, and a Y-back or X-back junction that has to split the load evenly across both shoulders. Use firm bridle at 4 to 6 oz so they hold your trousers without sagging, get the back junction geometry right so the pull is balanced, and the rest is careful, repeated strap work. Done well, a pair lasts decades.
The first pair I made taught me that the back junction is everything. I stitched a Y-back where the two front straps met the single back strap slightly off-center, and the result pulled unevenly — one shoulder always carried more, and the whole rig twisted as I moved. It was not a leather problem or a hardware problem; it was geometry. Balance the junction and suspenders sit flat and disappear on the body; get it wrong and no adjuster will save them.
Suspenders pull together most of the skills in the strap-making projects guide — leather choice, hardware anchoring, and clean edges — into one project with a lot of parts. Start with the right leather, because sag is the failure mode here and only firm leather prevents it.
What Leather and Width Work Best for Suspenders?
Firm bridle leather at 4 to 6 oz and 1.25 to 1.5 inches wide is the sweet spot. It is firm enough not to stretch and sag under the weight of trousers, thin enough to be comfortable over the shoulder and flexible at the adjusters, and it takes a clean burnished edge. Heavier leather is stiff and bulky at the junction; softer or thinner leather stretches and lets your trousers drop.
Suspenders carry a modest but constant load, and the enemy is stretch, not strength — a pair that elongates a little makes your trousers sag and forces you to keep re-adjusting. That is why I use firm bridle even though the load is light: it holds its length. The 1.25 to 1.5 inch width spreads the pull comfortably across the shoulder without looking clumsy, and the 4 to 6 oz weight stays supple enough to slide through adjusters and fold at the ends. I keep a firm bridle bend from Hermann Oak or Wickett & Craig on hand for pieces like this because their temper is consistent end to end, which matters when you are cutting four matching straps that all need to behave the same (Hermann Oak, Wickett & Craig).
Should You Make Y-Back or X-Back Suspenders?
Y-back suspenders join the two front straps into a single back strap in a Y shape and are the classic, lower-profile choice; X-back suspenders cross in the middle of the back and distribute load slightly more evenly, which suits heavier use. Y-back is simpler to build and lies flatter; X-back resists twisting and staying-put better. Both work — pick by look and load.
The Y-back is what most people picture and what I build most often: two straps over the shoulders meeting at a single junction low on the back, then one strap down to a center-back attachment. It is clean and simple. The X-back crosses the two straps in the middle of the back so each front strap runs to the opposite back attachment, which spreads load across a wider span and resists the twisting that plagued my first off-center Y. For heavy trousers or tool-laden work wear, I lean X-back; for dress or everyday, Y-back. The critical thing in either is symmetry — the junction must be dead-centered and the straps identical in length, or one shoulder carries more.
How Do You Build the Y-Back Junction So It Lasts?
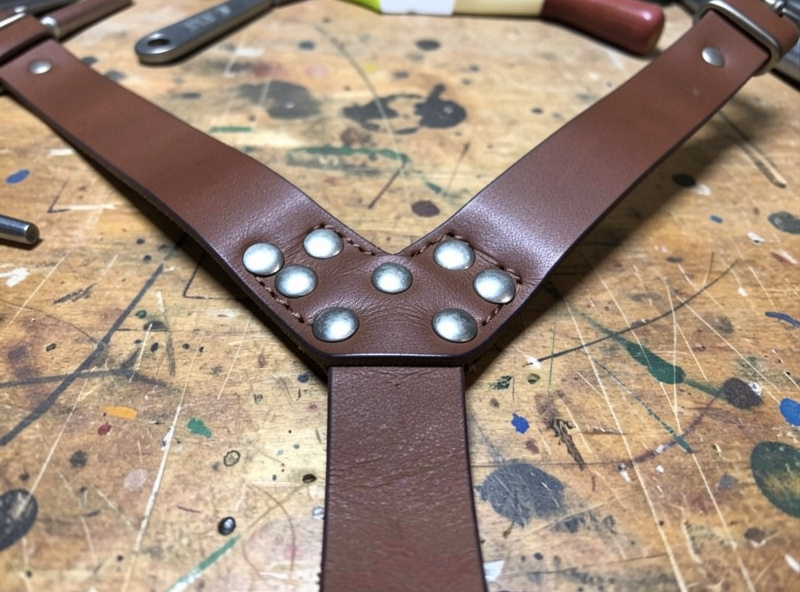
Overlap the three straps at a centered junction, glue them in position, then stitch and rivet through the stacked layers so the joint carries the full split load without pulling apart. The junction is where all the force concentrates, so it needs both a wide stitched area and rivets as backup. Keep it perfectly symmetric — an off-center junction makes the whole rig pull unevenly.
I build the junction like any high-load hardware joint: distribute the force across as much leather and stitching as possible. The two front straps overlap the single back strap in a stacked triangle, and I glue everything in exact position first with contact cement so nothing shifts while I work. Then I mark a generous stitch block with a pricking iron, open the holes with a stropped diamond awl through all the layers, and saddle-stitch the whole overlap with 0.8 mm Ritza 25 “Tiger” thread, sized heavier than I would use on a wallet because this joint never gets a second chance. Copper rivets set through the stack back up the stitching — this is one of the few strap joints where I always use both, because the junction carries the entire load of the suspenders split three ways. The same load-spreading logic as the hardware attachment guide applies: never let one fastener or one hole carry it all. When it is right, you can hang the finished pair from the junction and it does not creak or shift.
Clips or Button Tabs: Which Suspender Ends Are Better?
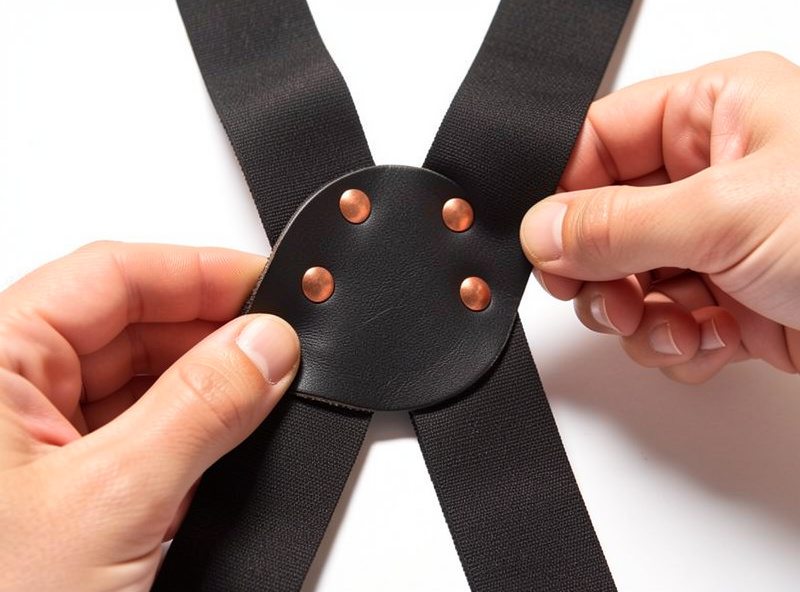
Button tabs are the traditional, more secure choice and require buttons sewn inside your waistband; clips are quicker and work with any trousers but grip less reliably and can mark the fabric. For a dress or heirloom pair, button tabs win; for everyday convenience, clips are fine. Many makers build button tabs and include clip adapters for flexibility.
The end hardware is a real fork in the build, so here is how the two compare:
| End type | Security | Needs buttons? | Fabric wear | Best for |
|---|---|---|---|---|
| Leather button tabs | High | Yes, sewn in | None | Dress, heirloom, daily wear |
| Metal clips | Moderate | No | Can mark or slip | Convenience, any trousers |
| Button tabs with clip adapters | High | Optional | Low | Flexibility across wardrobes |
I build button tabs when the pair is meant to last and be worn with proper trousers — a leather tab with a slotted buttonhole, folded and stitched around the adjuster, that hooks over a waistband button. They never slip and they do not chew up the fabric. Clips are honestly convenient and I use them on casual pairs, but they grip less securely and can leave marks, so I would not put them on a dress pair. A good set of suspender clips and hardware covers either route.
As an Amazon Associate I earn from qualifying purchases.
How Do the Sliding Adjusters Work?
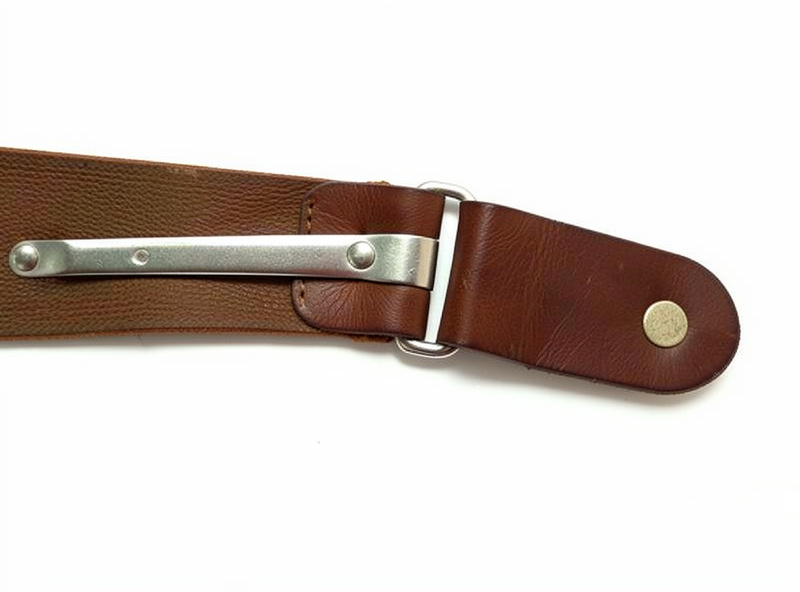
Each front strap threads through a metal slide adjuster and folds back on itself, stitched into a permanent loop, so the slide can move up and down the strap to change length. The adjuster lets you tune the fit and the shoulder height, and it must be stitched — not just looped — so the fold cannot open under load. Two adjusters, one per front strap, let you level the pair on your body.
The adjusters are what make suspenders fit anyone, and they are pure strap-fold work. The strap passes through the slide bar, folds back, and I stitch that fold permanently so the loop is closed while the strap still slides freely through the moving part of the adjuster. Getting both adjusters identical matters as much as the junction — if one loop sits higher than the other, the pair hangs crooked no matter how you set the slides. I mark both folds against the same measurement and stitch them the same way. The feel you want when it is done: the slide moves with firm friction and holds its position under load without creeping, which comes from matching the slide width exactly to the strap width so there is no slop.
What Length Should Leather Suspenders Be?
Size them to the wearer: measure from the front waistband, up over the shoulder, down to the back waistband, following the Y or X path, then build in several inches of adjuster range around that number. Most adults land in a total strap length that adjusts through roughly the 40 to 48 inch range per side including the back. The adjusters absorb the fitting, so err toward slightly long and let them dial it in.
Because suspenders wrap the torso, I measure them on the body rather than guessing. With the wearer standing normally, I run a tape from where the front tab will button, up over the shoulder at the natural point, and down to the back attachment, following the actual Y or X route. That gives the baseline, and the sliding adjusters provide the range around it. I always cut a little long, because an adjuster can take up slack but cannot add length. The junction position on the back also affects fit — set it too high and the straps pull at the neck, too low and they slip off the shoulders — so I place it at roughly mid-back and confirm on the wearer before final stitching.
What I Would Do for Your First Pair of Suspenders
Build a Y-back in firm 5 oz bridle, 1.25 inches wide, with button tabs and two slide adjusters, and put your care into two things: a dead-centered, stitched-and-riveted junction, and two identical adjuster folds. Those are the parts that decide whether the pair sits flat and balanced or twists and sags. The edges and the ends are ordinary strap work you already know from simpler projects. Suspenders look intimidating because of the parts count, but every part is a fold, a stitch line, or a burnished edge you have done before — the only new skill is the junction, and symmetry is the whole secret to that.
Further Reading
- Leather Strap Making Projects: The Complete Guide
- Best Leather for Straps: Why Bridle and Harness Beat Soft Hides
- How to Attach Strap Hardware Without Rivets Pulling Through
- How to Make a Leather Apron: Straps, Rivets, and a Crossback That Lasts
What leather is best for making suspenders?
Firm bridle leather at 4 to 6 oz and 1.25 to 1.5 inches wide. It is firm enough not to stretch and let your trousers sag, thin enough to be comfortable over the shoulder and flexible at the adjusters, and it takes a clean burnished edge. Avoid soft or thin leather, which stretches under constant load.
Are Y-back or X-back suspenders better?
Y-back join the front straps into a single back strap and lie flatter with a lower profile; X-back cross in the middle of the back and distribute load more evenly, resisting twisting. Y-back is simpler to build, while X-back stays put better under heavier use. Both work well when the junction is symmetric.
Should leather suspenders use clips or button tabs?
Button tabs are more secure and do not mark fabric, but they need buttons sewn into the waistband. Clips are quicker and work with any trousers but grip less reliably and can mark the cloth. For a dress or heirloom pair choose button tabs; for everyday convenience clips are fine.
How do you make the Y-back junction on suspenders strong?
Overlap the three straps at a centered junction, glue them in exact position, then saddle-stitch a wide block through the stacked layers and back it with copper rivets. The junction carries the full load split three ways, so it needs both stitching and rivets, and it must be perfectly symmetric to pull evenly.
How long should leather suspenders be?
Measure on the wearer from the front waistband, over the shoulder, to the back waistband along the Y or X path, then build several inches of adjuster range around that number. Cut slightly long, because the sliding adjusters can take up slack but cannot add length.