A leather strap is the most honest project in the craft: it is mostly one long edge, and that edge tells anyone holding it whether you know what…
A leather strap is the most honest project in the craft: it is mostly one long edge, and that edge tells anyone holding it whether you know what you are doing. A good strap-making project comes down to three decisions made before you cut anything — the right leather at the right weight, an edge finished by bevel-sand-slick-wax, and hardware anchored so it never pulls through. Get those, and a guitar strap outlasts the guitar.
I have made straps for almost everything I own that needs carrying, holding, or hanging: guitar straps, camera straps, a shop apron, suspenders, belts, and enough bag straps to lose count. Most of them started as a mistake I made on the piece before. The first camera strap I built stretched two inches in a month because I used a soft chrome-tan shoulder that had no business bearing a load — a lens-and-body weight that a proper harness-leather strap would have carried flat for a decade. That is the whole game here: a strap is a load-bearing part disguised as a simple rectangle, and the disguise fools beginners into treating it casually.
This guide is the map for the whole strap cluster on this site. It covers the shared decisions — leather, width, cutting, edges, hardware, padding — and then points you into the full build for each specific project. Read this first, then jump to the strap you actually want to make.
What Makes a Strap Different From Every Other Leather Project?
A strap is a load-bearing structural part, not a decorative panel. Unlike a wallet interior or a card sleeve, a strap spends its whole life under tension, flex, and the pull of hardware at both ends — so leather choice and hardware anchoring matter more than tooling or color ever will. A pretty strap that stretches is a failure; a plain one that holds is a success.
That single fact reorders every decision. On a wallet I will happily reach for a 3–4 oz veg-tan lining because nothing is pulling on it. On a strap, the leather has to resist stretch along its length, hold a fold or a turn without cracking, and grip a rivet or Chicago screw without tearing out. The grain direction, the tannage, and the weight all get chosen for load first and looks second. When people ask why their handmade belt sags after a season, it is almost always because they bought a hide for how it felt in the hand — soft, pliable, “buttery” — which is exactly the wrong instinct for anything that carries weight.
The second difference is length. A strap is often the longest single cut in your whole shop, which means a wandering cut line or a strap cutter set even slightly off produces a taper you will fight the entire build. I learned to cut straps against a heavy steel straightedge on a self-healing mat, or with a strap cutter run slowly, because a 40-inch cut multiplies every small error at the blade into a visible curve by the far end.
What Leather Should You Use for Straps?
For anything that bears real load, use bridle or harness leather in the 8–10 oz range for belts and heavy straps, or firm veg-tan at 6–8 oz for lighter straps like camera and guitar. Soft, stretchy chrome-tan shoulders are the classic beginner mistake — they feel great and elongate under load within weeks. Firmness and low stretch beat softness every time on a strap.
Bridle leather earns its place because it is veg-tanned and then heavily stuffed with waxes and oils during finishing, which gives it a dense, low-stretch temper that takes a burnished edge and flexes without cracking. Harness leather is similar — hot-stuffed, firm, weather-resistant — and it is what I reach for on anything that will get handled hard or live outdoors. Both come from the bend, the firmest part of the hide, which is exactly what you want under tension. I keep Wickett & Craig and Hermann Oak stock on the shelf for this; both tanneries publish their weights and tempers, and a firm English bridle bend from either is the most beginner-proof strap leather I know (Wickett & Craig, Hermann Oak).
Where does soft leather belong? On strap projects where the strap is doubled, lined, or padded so the structure comes from the build rather than the hide — a padded camera strap with a firm veg-tan core and a soft chrome-tan wrap, for instance. That is a legitimate use. What you cannot do is use a single layer of soft leather and expect it to hold a load flat. I dig into the full comparison — bridle vs harness vs generic import veg-tan vs chrome-tan — in the dedicated guide on the best leather for straps, including the stretch test I run on a new hide before I trust it under a camera.
How Wide and Thick Should a Leather Strap Be?
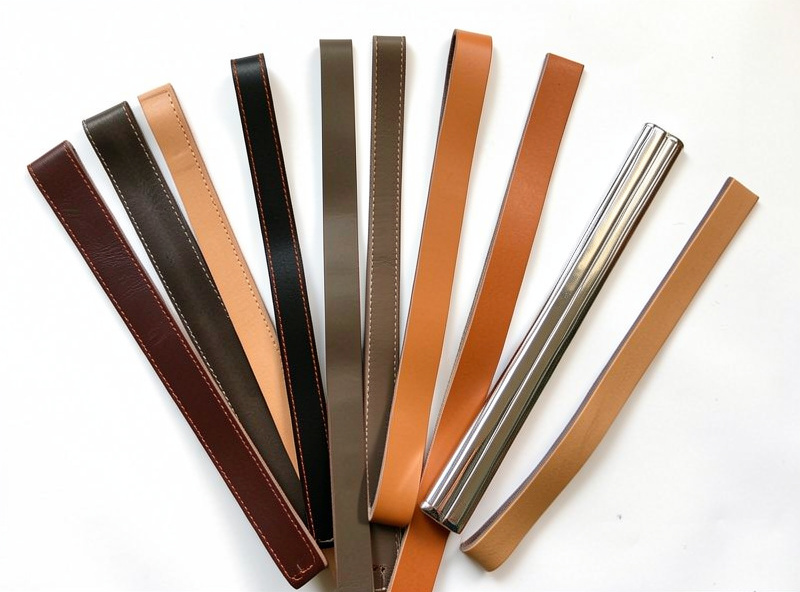
Width and weight follow the load and the hardware, not personal taste. A watch strap runs 3–4 oz and 16–24 mm; a guitar strap runs 6–8 oz and 2–2.5 inches at the shoulder; a heavy belt runs 8–10 oz and 1.25–1.5 inches. Match the weight to the load and the width to the pressure point — wider spreads weight, thicker resists stretch.
The two properties do different jobs. Thickness (measured in ounces, where 1 oz ≈ 1/64 inch or about 0.4 mm) resists stretch and gives the strap body. Width spreads pressure across your shoulder or wrist — which is why a heavy camera hangs comfortably on a 2-inch strap and cuts into you on a 3/4-inch one. When a strap needs to carry weight for hours, I add width before I add thickness, because a thick narrow strap is stiff and still digs in, while a wider one distributes the load. Below is the starting chart I actually work from on the bench.
| Strap project | Leather weight | Typical width | Best leather type | Why |
|---|---|---|---|---|
| Watch strap | 3-4 oz | 16-24 mm | Firm veg-tan | Thin enough to fold at the lugs, holds a burnish |
| Camera strap | 5-7 oz | 1.25-2 inch | Bridle or padded veg-tan | Wide spreads body-and-lens weight on the shoulder |
| Guitar strap | 6-8 oz | 2-2.5 inch | Firm veg-tan or bridle | Wide shoulder pad, tapered ends for the buttons |
| Suspenders | 4-6 oz | 1.25-1.5 inch | Bridle | Low stretch so they hold trousers without sagging |
| Dress belt | 7-9 oz | 1-1.25 inch | Bridle | Firm, thin enough for loops, takes a clean edge |
| Work/tool belt | 9-12 oz | 1.5-2.25 inch | Harness | Heavy load, weather, and hardware without stretch |
| Apron ties/neck | 4-6 oz | 1-1.5 inch | Chrome-tan or soft veg-tan | Comfort against the neck, some give is fine |
The apron row is the exception that proves the rule — an apron neck strap wants some softness and give against your neck all day, so it is one of the few strap jobs where I reach for a softer hide on purpose. Everything above it wants firmness.
How Do You Cut a Long Strap Perfectly Straight?
Use a strap cutter for repeatable width, or a heavy steel straightedge and a fresh rotary or head-knife blade for one-offs — and cut against the firm bend, running parallel to the backbone so the strap has the least stretch. A wandering cut on a 40-inch strap shows as a visible taper; go slow and let the blade do the work.
The direction you cut from the hide matters more than most beginners realize. Leather stretches least along the line of the backbone and most across it (the belly and flanks are the stretchiest, weakest areas). So I cut straps lengthwise from the bend, parallel to the spine, and I keep them off the belly entirely for anything load-bearing. On a firm bridle bend this gives a strap that barely elongates. A draw-gauge or a wooden strap cutter with a fresh utility blade gives me clean parallel edges in one pass; for the first cut that establishes a straight reference edge, I use a steel straightedge clamped down and a sharp head knife. If you buy one tool for strap work, a decent leather strap cutter pays for itself on the second belt.
The sensory tell that your blade is sharp enough: a properly sharp head knife makes a low, clean shearing sound through firm veg-tan and leaves a cut face that is smooth, not fuzzy. If you hear a dragging tear or see a furred edge, stop and strop — a dull blade is the single most common cause of the wandering cut people blame on “shaky hands.”
How Do You Finish Strap Edges So They Look Made, Not Cut?
Bevel both edges, sand progressively from coarse to fine, case the edge with Tokonole or gum tragacanth, then slick hard with a burnisher until the fibers lay down glassy, and finish with a wax coat. On veg-tan and bridle this produces a rounded, sealed edge that reads as manufactured; skipping any step shows instantly. This edge sequence is the single biggest visual difference between a homemade strap and a professional one.
Edge finishing is the part of strap-making I care about most, because a strap is 90% edge by visible surface area. My sequence is fixed: run a #1 or #2 edge beveler down both grain-side corners to knock off the square shoulder, then sand up through the grits — I start around 400 and work to 800 or 1000 on a good edge. Then I case the edge lightly with Tokonole, and burnish. I run several slicker profiles I printed in PETG on my own FDM printer, each grooved for a specific edge thickness, plus a couple of turned hardwood ones — the same printer that makes shop jigs makes these slickers, which is a crossover I lean on constantly (see the printed edge-slicker approach). The friction heat from a hard, fast burnish is what actually lays the fibers down; you can feel the edge go from draggy to slick under the tool, and you can smell the faint warmth of the Tokonole setting.
Bridle leather burnishes a little differently from raw veg-tan because it is already stuffed with wax — it slicks faster and darker, and sometimes I skip the gum trag and go straight to a wax-and-canvas buff. Chrome-tan will not burnish this way at all; its edges get painted or folded, not slicked, which is one more reason soft chrome-tan is the wrong pick for a clean-edged strap. I go deep on profiles, compounds, and the printed-slicker library in the edge-finishing cluster, but for straps the short version is: never ship a square, raw edge.
How Do You Attach Strap Hardware So It Never Pulls Through?
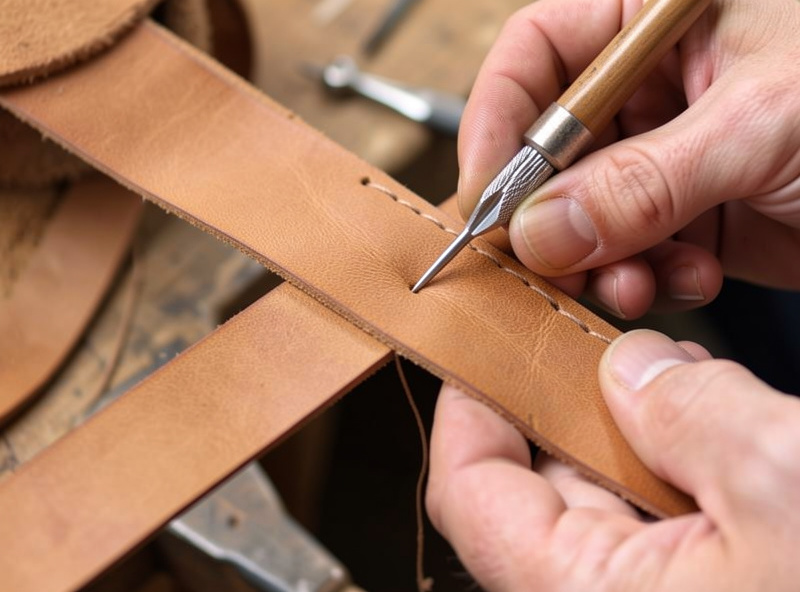
Anchor hardware with a stitched fold-back or a stitched-and-riveted loop, not a single rivet through one thickness. Rivets pull through because a lone rivet concentrates all the load on one hole in one layer; the fix is to distribute that load across a fold, a line of saddle stitching, and — where appropriate — a rivet as backup, not the sole anchor. This is where most homemade straps fail.
The failure mode is always the same: someone punches one hole, sets one rivet through a single layer of leather to hold a swivel or a buckle, and the rivet slowly tears a slot through the leather under repeated load until it lets go. A rivet in shear through one thickness is a weak joint. What holds is geometry. I fold the strap end back through the hardware and either saddle-stitch the fold down across a wide bar of stitches or stitch it and set rivets as a secondary lock. The stitching spreads the load across many holes instead of one, and the fold puts two layers where the hardware bears. On a heavy tool belt I will do both — stitch the fold and back it with copper rivets — because that joint carries the whole load of the belt.
Chicago screws are the exception I reach for when a strap needs to come apart — camera straps with removable ends, for instance — but even then I back the screw with a stitched fold so the screw is not the only thing resisting pull-through. The full breakdown of stitched folds, rivet placement, reinforcement layers, and why edge distance matters is in the dedicated guide on how to attach strap hardware without rivets pulling through. If you make one strap and it fails, this is almost certainly why.
How Do You Add Padding and Comfort to a Strap?
Add comfort two ways: line a firm strap with a soft backing to cushion the contact face, or build up a padded core between two leather layers for a domed, load-spreading shoulder pad. Lining is thinner and simpler; a built-up pad carries heavy loads better. The choice depends on how much weight the strap carries and how much bulk you can accept.
A camera body with a fast lens, or a heavy electric guitar, hangs on a strap for hours, and the difference between a flat strap and a padded one is the difference between a pleasant afternoon and a sore shoulder. The simplest comfort upgrade is a lining: I glue a thin soft leather or a suede backing to the contact face of a firm strap, which cushions the edge bite without adding much bulk. For real load, I build up — a firm veg-tan core, a foam or veg-tan shim in the shoulder zone, and a soft outer wrap stitched around the whole sandwich so it domes across the shoulder. That construction is what lets a wide camera strap carry a pro body all day. The trade-offs, glues, foams, and stitching layout for both approaches are covered in adding padding to a leather strap.
Which Strap Project Should You Start With?
Start with the strap you will actually use, but if you want the gentlest learning curve, a guitar strap or a simple belt teaches cutting, edging, and hardware without demanding padding or complex assembly. Camera straps and aprons add layers and construction; suspenders add multiple adjusters. Below is the whole project family with what each one teaches.
Leather Guitar Strap
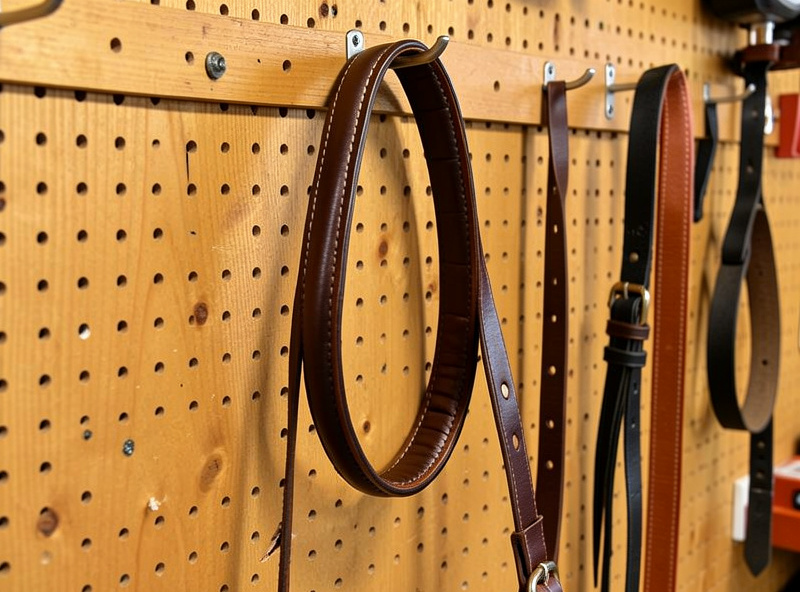
A guitar strap is the best first strap project: one long piece of firm 6–8 oz veg-tan, tapered ends, two slotted end tabs for the strap buttons, and a wide shoulder section. It teaches straight cutting, symmetric edge finishing, and cutting the button slots cleanly — with no adjusters or complex hardware to fail. You can dress it up later with tooling or a laser-engraved panel. The full build, including length math for your body and instrument, padding options, and how to cut and reinforce the end-tab slots so a heavy Les Paul does not tear them, is in how to make a leather guitar strap.
Leather Camera Strap
A camera strap is where padding and hardware get serious, because it carries real weight against your neck and shoulder and connects to small lugs on the camera body. Width, comfort, and the split-ring or lug hardware are the whole challenge. I walk through comfort width, padded construction, and the lug hardware that will not scratch your camera in how to make a leather camera strap.
Leather Suspenders
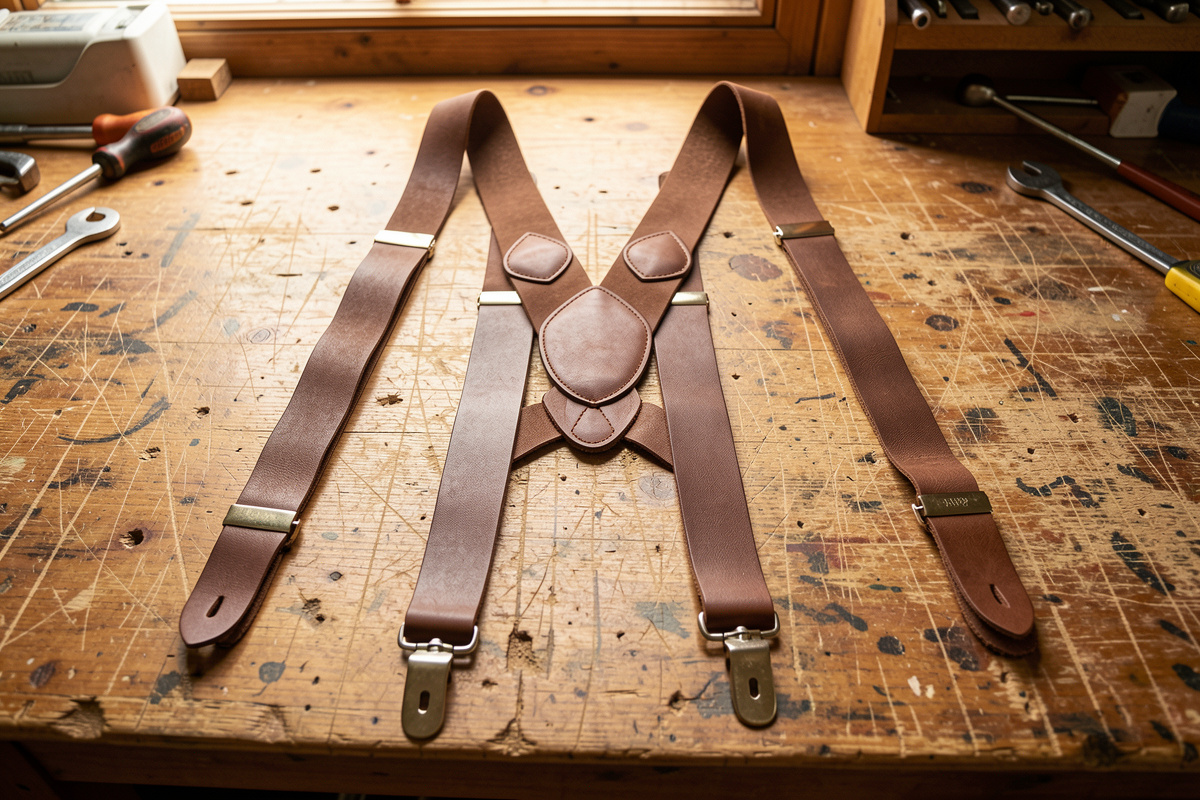
Suspenders are the most hardware-dense strap project — multiple sliding adjusters, clips or button tabs, and a Y-back or X-back junction that has to distribute load evenly across both shoulders. Bridle leather at 4–6 oz keeps them from sagging. The adjuster layout, the Y-back junction, and clip-versus-button decisions are in how to make leather suspenders.
Leather Shop Apron
A leather apron is a strap project disguised as a garment: the panel is simple, but the crossback straps, the rivets that anchor them, and the neck strap are what make it last through years of shop use. I built mine for the workshop, and the crossback layout is what keeps it from pulling on my neck. The strap layout, rivet placement, and crossback geometry that survives real wear are in how to make a leather apron.
How Do You Dye and Seal a Long Strap Evenly?
Dye a long strap in one continuous pass with a dauber or airbrush, working the full length wet-into-wet so you never let one section dry with a hard edge, then buff, condition with neatsfoot, and seal with a neutral topcoat. Long straps show lap marks worse than any other project because your eye follows the whole length at once — even coverage is the entire challenge.
This is where straps humble people who dye small goods comfortably. A wallet panel is short enough to flood evenly; a 44-inch belt is not. I dye long straps with an airbrush and small compressor for the big even fields — it lays down a consistent coat with no dauber streaks — and I keep the whole strap moving so no section sets before the next. On bridle leather I often skip heavy dyeing entirely because the leather already carries its color from the tannery; a light Fiebing’s antique in the tooling or just a neutral seal is enough. After the color, I buff hard, condition sparingly with neatsfoot oil (too much softens a strap you worked hard to keep firm), and seal with a thin coat of neutral Resolene or a carnauba creme. The order matters — deglaze, dye, buff, condition, seal — and getting it wrong, like sealing before you condition, traps a chalky, uneven finish you cannot fix without stripping.
The firmness caution bears repeating: neatsfoot oil is a conditioner, not a finish, and it softens leather. On a strap I use it sparingly and let it rest a day before sealing, because a strap I have oiled too heavily loses exactly the low-stretch firmness I chose bridle for in the first place. If you want a black strap that never rubs off, a brewed vinegaroon bath on veg-tan gives a permanent, deep black that no surface dye matches — but that is a veg-tan-only trick and worth its own experiment before you commit a finished belt to it.
What Tools Do You Need for Strap Projects?
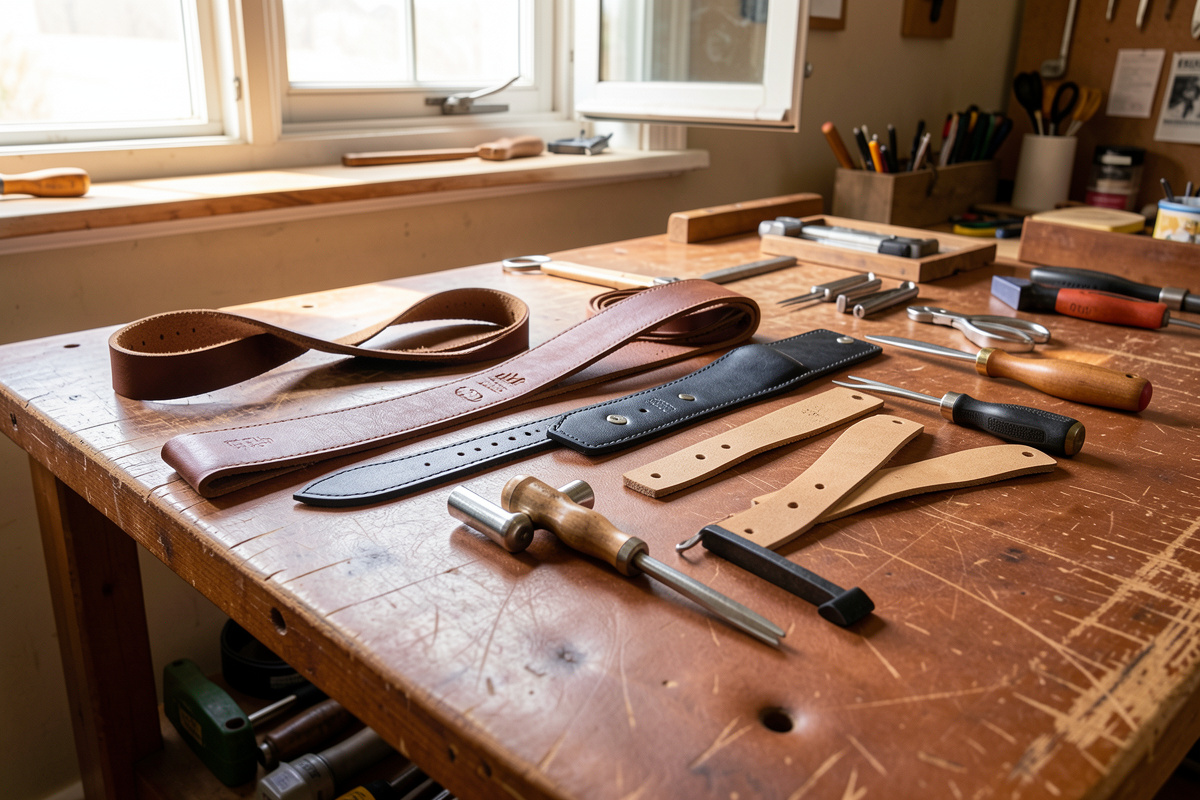
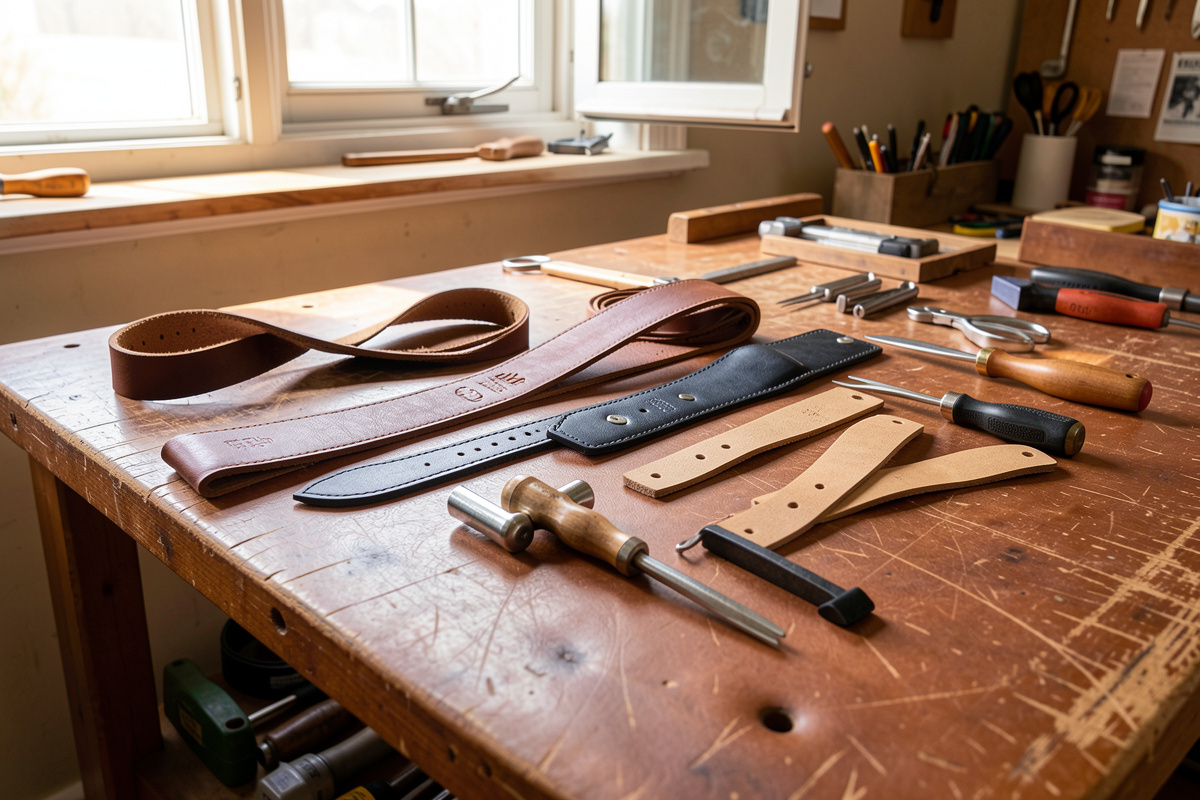
The strap-specific kit is short: a strap cutter or straightedge and a sharp knife for cutting, an edge beveler and burnisher for finishing, a hole punch and setter for hardware, and a stitching pony plus pricking irons and awl if you stitch your folds. Most of it you already own if you do any leatherwork; the strap cutter is the one strap-specific buy.
For stitching the folds that anchor hardware, I use my usual chain: a fine European-pitch pricking iron set to mark the stitch line, a diamond awl kept stropped razor-sharp to open each hole at the right angle, and Ritza 25 “Tiger” thread in 0.8 mm for most strap work. That iron-awl-thread sizing is one tuned system, not three separate purchases — the awl blade has to match the iron pitch and the thread has to seat in the hole the awl makes, or the stitch line looks loose. A solid set of leather pricking irons and good Ritza waxed thread will outlast a decade of straps. For finishes, Fiebing’s Pro Oil dyes and a neutral Resolene topcoat are my defaults; Fiebing’s publishes application guidance worth reading before you dye a long strap unevenly (Fiebing’s).
As an Amazon Associate I earn from qualifying purchases.
What Is the Most Common Strap-Making Mistake?
Choosing leather for softness instead of firmness. A soft, pliable hide feels wonderful in the shop and stretches under load within weeks, which is why so many first straps sag, elongate, or pull through at the hardware. Pick firm bridle or harness for anything load-bearing, and build padding in separately if you want comfort — never rely on a soft single layer.
My own version of this mistake was that stretched camera strap I mentioned at the top. I had a beautiful soft chrome-tan shoulder, it felt like the right thing to wrap around my neck, and within a month the strap had elongated enough that my camera hung two inches lower than I set it. The lesson stuck: comfort comes from width, padding, and lining — structure comes from firm leather — and you engineer the two separately. Every strap I have built since starts with a firm core and adds softness only where it touches skin.
Leatherwork Is the Patience Bench
Strap-making is where I send people who want to learn to slow down. It is slower than welding, faster than dry-aging a piece of beef, and it demands the same focus all three do: you cannot rush a 40-inch cut, you cannot hurry a burnished edge, and you cannot cheat a hardware joint that has to hold for years. What I would do starting today, if I were making my first strap: buy a firm bridle bend, cut one clean belt, and finish the edge properly before you touch dye or hardware. That one clean edge will teach you more than any video, because you will feel the difference between made and cut under your own slicker.
Pick your project above, read its full build, and start with the leather guide if you have not bought a hide yet — the leather decision is the one that is hardest to fix later.
Keep Building
- Best Leather for Straps: Why Bridle and Harness Beat Soft Hides
- How to Attach Strap Hardware Without Rivets Pulling Through
- How to Add Padding to a Leather Strap: Lined vs Built-Up Comfort
- How to Make a Leather Guitar Strap: Length, Padding, and End Tabs
- How to Make a Leather Camera Strap: Comfort, Width, and Lug Hardware
- How to Make Leather Suspenders: Adjusters, Clips, and Y-Back Layout
- How to Make a Leather Apron: Straps, Rivets, and a Crossback That Lasts
What is the best leather for making straps?
Firm bridle or harness leather in the 8 to 10 oz range for belts and heavy straps, or firm veg-tan at 6 to 8 oz for lighter guitar and camera straps. These are dense and low-stretch. Avoid soft chrome-tan for load-bearing straps because it elongates under weight within weeks.
How thick should a leather strap be?
Match weight to load. Watch straps run 3 to 4 oz, camera and guitar straps 5 to 8 oz, belts 7 to 9 oz, and heavy tool belts 9 to 12 oz. Thickness resists stretch while width spreads pressure, so add width before thickness for comfort.
Why does my strap hardware keep pulling through the leather?
A single rivet through one layer concentrates all the load on one hole and slowly tears a slot until it lets go. Anchor hardware with a stitched fold-back that spreads load across many stitches, and use rivets only as a secondary lock, not the sole anchor.
How do you make a leather strap edge look professional?
Bevel both edges, sand from coarse to fine grit, case the edge with Tokonole or gum tragacanth, then burnish hard with a slicker until the fibers lay down glassy, and finish with wax. This bevel-sand-slick-wax sequence is the main visual difference between a homemade and a professional strap.
What is the easiest leather strap project for a beginner?
A guitar strap or a simple belt. Both use one long piece of firm veg-tan and teach straight cutting, edge finishing, and basic hardware without requiring padding or complex assembly. Camera straps and suspenders add padding and multiple adjusters, so save those for after your first clean edge.
Do you need a strap cutter to make leather straps?
No, but it helps for repeatable widths. You can cut straps with a heavy steel straightedge and a fresh rotary or head-knife blade, cutting lengthwise from the firm bend parallel to the backbone for the least stretch. A strap cutter pays for itself once you make more than one belt.