Strap hardware pulls through for one reason: a single rivet or hole carries the entire load in one spot, and leather slowly tears a slot around it until…
Strap hardware pulls through for one reason: a single rivet or hole carries the entire load in one spot, and leather slowly tears a slot around it until the hardware lets go. The fix is not a bigger rivet — it is geometry. Anchor hardware with a stitched fold-back that spreads the load across a whole line of saddle stitches, put two layers of firm leather where the hardware bears, and use rivets only as a secondary lock. Do that and the joint outlasts the strap.
This is the failure I see in more homemade straps than any other, and I built a few of them myself before I understood why. My first knife-sheath belt loop was held by one copper rivet through a single thickness, and after a summer of daily wear the rivet had migrated half an inch, tearing a visible slot through the leather on its way. The rivet was fine. The joint was wrong. Load has to be distributed, not concentrated.
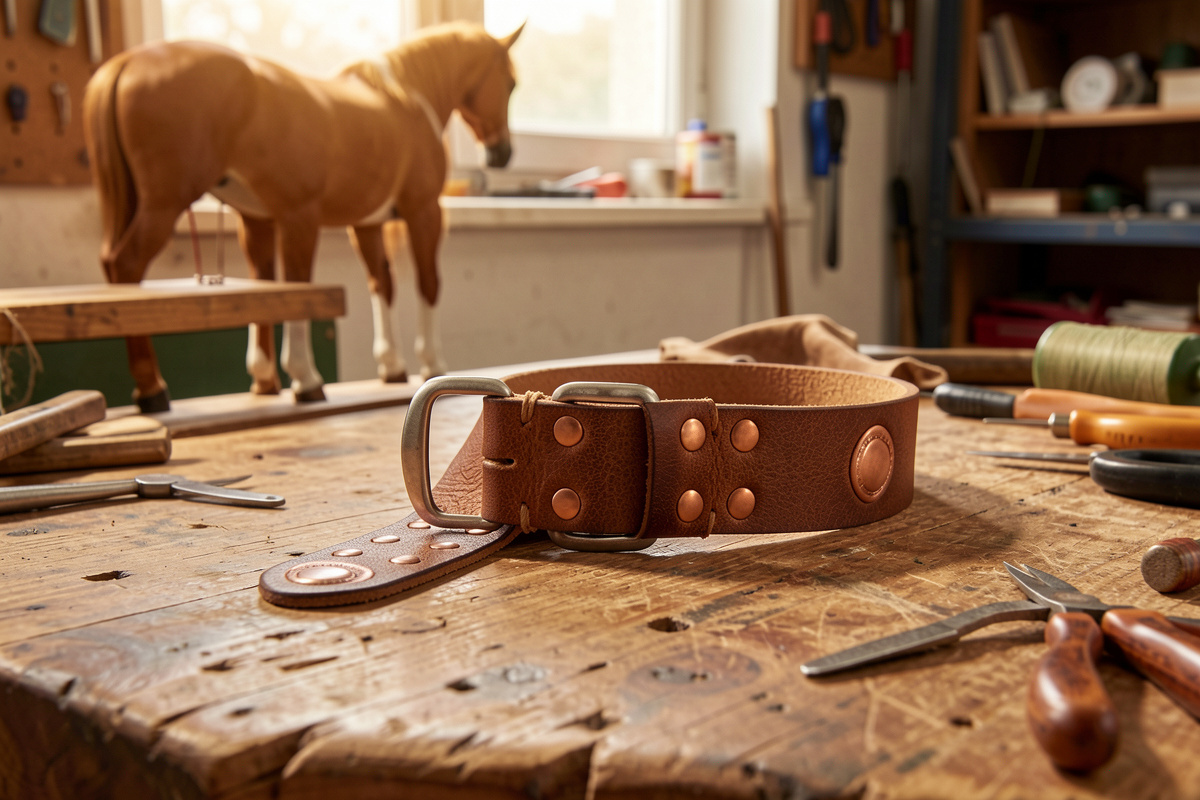
This is one of the core skills behind every project in the strap-making projects guide, and it starts, like everything, with firm leather — soft hide tears out no matter how you anchor it, which is why the leather you choose is half the battle.
Why Does Strap Hardware Pull Through the Leather?
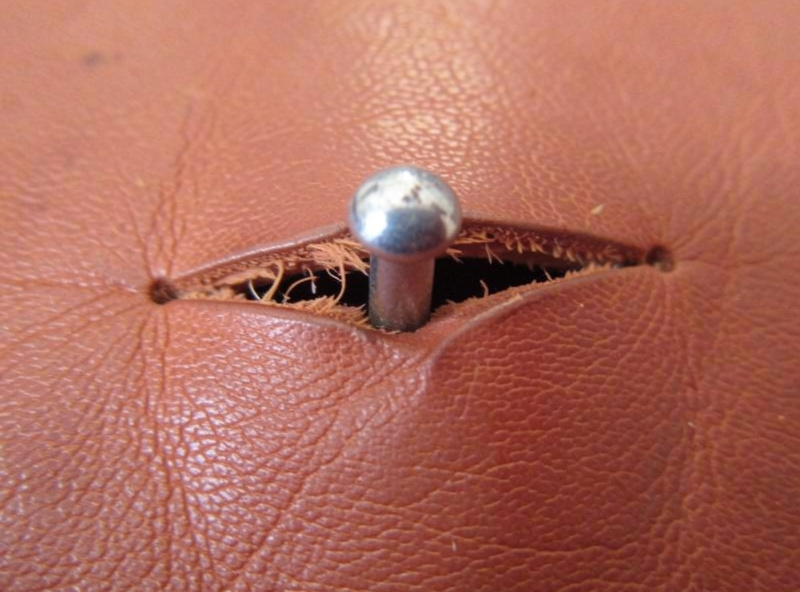
Hardware pulls through because a single fastener concentrates the entire load on one hole in one layer of leather. Under repeated tension, the fibers around that hole compress and stretch until the round hole elongates into a slot, and once it slots, the fastener walks and finally tears out. The problem is load concentration, and every durable fix spreads that load across more leather.
Think of it as pressure per hole. A strap under 15 pounds of pull, anchored by one rivet, puts all 15 pounds against the small arc of leather behind that rivet. Spread the same 15 pounds across a stitched fold with ten stitches and a doubled thickness, and no single point sees enough force to slot. Firm leather resists this far better than soft — dense bridle holds a hole’s shape where soft chrome-tan compresses and elongates — which is why the anchor point is exactly where you want your firmest leather. Soft, thin, or single-layer leather at the hardware is the recipe for pull-through, every time.
What Is the Strongest Way to Attach Strap Hardware?
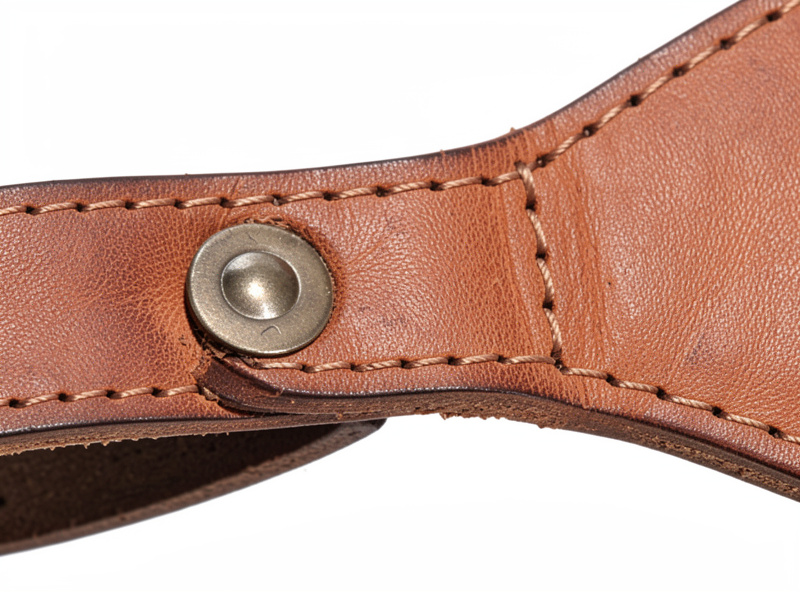
The strongest attachment is a stitched fold-back: pass the strap end through the hardware, fold it back onto itself, and saddle-stitch the fold down across a wide bar of stitches. This gives two layers of leather at the bearing point and spreads the load across the entire stitch line. Adding rivets behind the stitching backs it up but should never be the sole anchor.
Here is how the common methods actually rank, from what I have seen hold and fail on real straps:
| Method | Load spread | Holds heavy load? | Comes apart? | Best for |
|---|---|---|---|---|
| Single rivet, one layer | One point | No | No | Nothing load-bearing |
| Stitched fold-back | Whole stitch line | Yes | No | Belts, guitar, camera straps |
| Stitched fold plus rivets | Stitch line and rivets | Yes, heaviest | No | Tool belts, leads, hard use |
| Chicago screws through fold | Screw plus fold | Yes, moderate | Yes | Removable ends, adjustables |
| Rivets only, doubled layer | Rivet points | Moderate | No | Light straps, quick work |
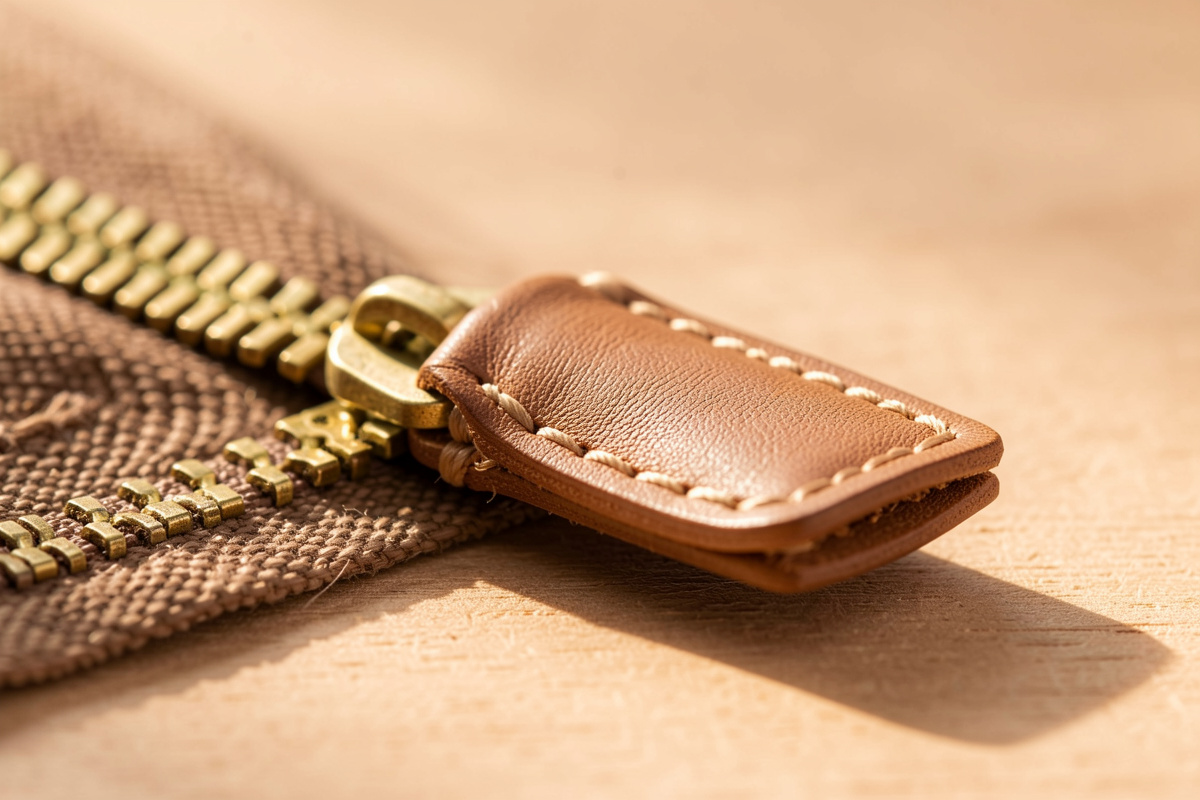
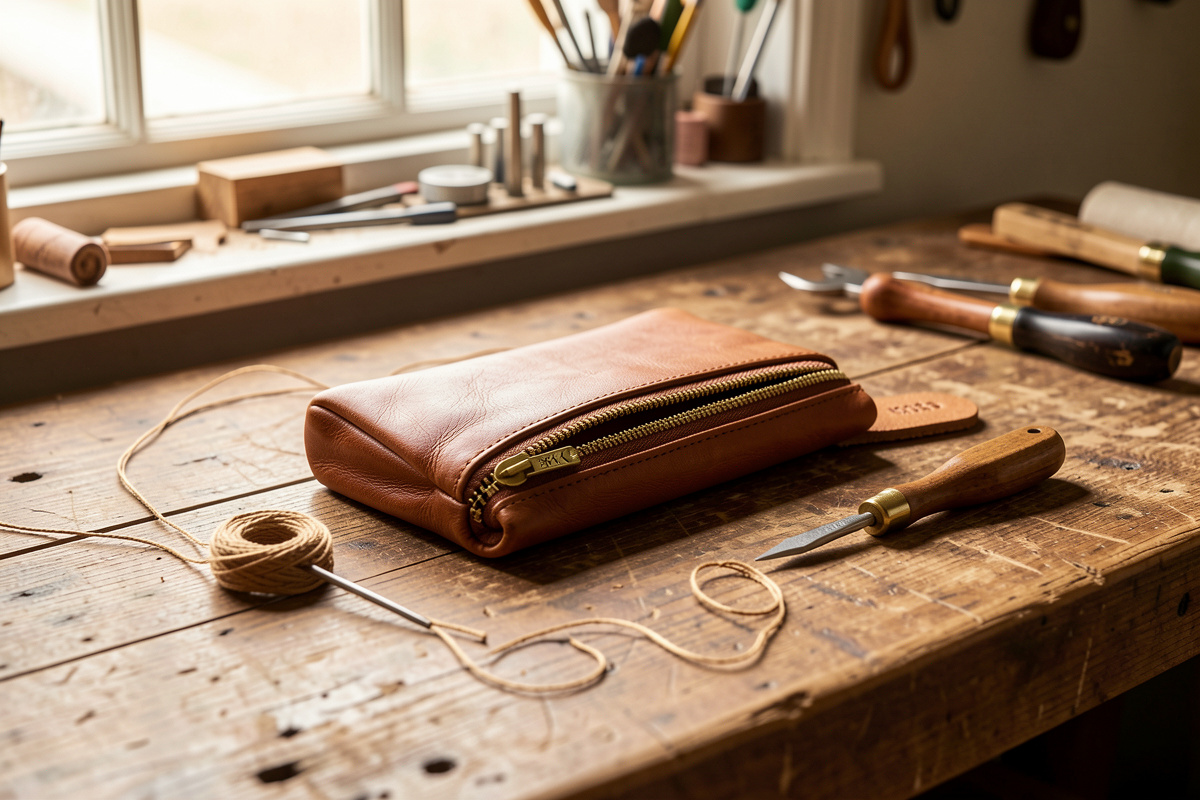
The winner for most straps is the stitched fold, and the reason is that thread in a saddle stitch shares load across every stitch simultaneously. When I anchor a buckle or a swivel snap, I fold the end back, mark my stitch line with a pricking iron across the doubled section, open the holes with a stropped diamond awl, and saddle-stitch with 0.8 mm Ritza thread. The fold puts two firm layers where the metal bears, and the stitch line carries the pull. It is slower than punching a rivet, and it never fails.
How Do You Use Rivets Without Them Pulling Through?
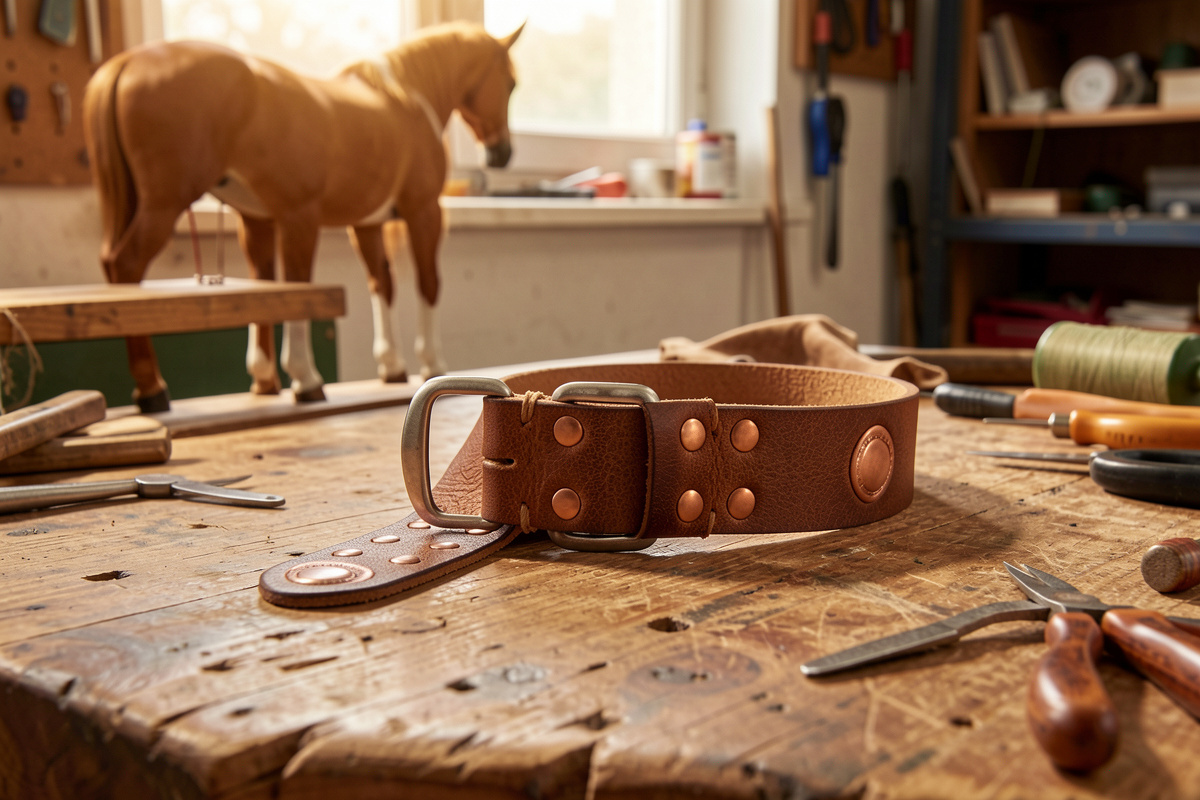
Use rivets in a doubled thickness, set several in a spread pattern rather than one alone, keep them back from the edge by at least the rivet’s own diameter, and treat them as backup to stitching, not the primary anchor. Copper rivets set over a burr are the strongest; tubular rivets are convenient but weaker. A rivet through one thin layer near an edge is the classic pull-through waiting to happen.
Rivets have a place — they are fast, they add a mechanical lock behind stitching, and copper rivets set properly are genuinely strong. The rules that keep them from tearing out are about spreading load and respecting edge distance. Set two or three across a fold instead of one, so no single rivet carries everything. Keep them at least one rivet-diameter back from any edge, because a rivet too close to the edge tears out the thin strip of leather between it and the edge. And always rivet through at least two layers — a rivet through a single thickness has nothing to grip. I use solid copper rivets and burrs for anything structural because you peen them tight and they never back off; you can find copper rivets and burrs in assorted sizes for strap work. Suppliers like Weaver Leather Supply and Buckleguy publish sizing guides that match rivet length to leather thickness, which is worth checking before you order (Weaver Leather Supply, Buckleguy).
As an Amazon Associate I earn from qualifying purchases.
When Should You Use Chicago Screws Instead of Rivets?
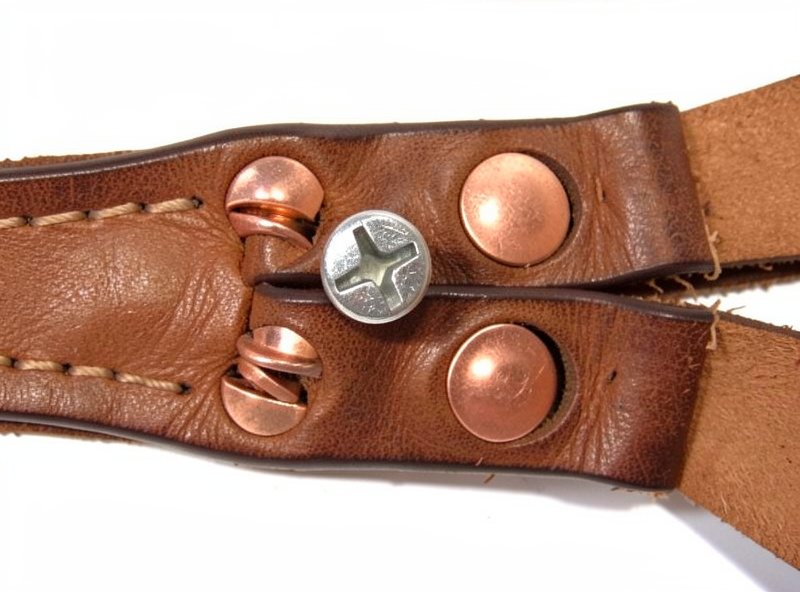
Use Chicago screws when a strap needs to come apart — removable camera-strap ends, adjustable straps, or hardware you may want to swap. They give a clean, reversible mechanical joint, but because they can loosen with vibration, back them with a stitched fold and a drop of thread-locker on the threads for anything that carries weight or gets jostled.
The trade-off with Chicago screws is exactly their strength: they unscrew. That is perfect for a strap you want to reconfigure and a liability on a strap that gets shaken all day. I use them on camera straps with detachable ends because I like to swap between quick-release and fixed setups, but I always run the screw through a doubled, stitched fold so the leather geometry — not the screw alone — resists the pull, and I add a tiny bit of thread-locker so the screw does not vibrate loose in my bag. Treated that way they are reliable; used bare through a single layer, they loosen and pull through like any other single fastener. The camera strap build shows this removable-end setup in context.
How Far From the Edge Should Hardware Holes Be?
Keep hardware holes back from the edge by at least the fastener’s diameter, and ideally 1.5 times it — a rivet or stitch line too close to the edge leaves a thin strip that tears out under load. Edge distance is the quiet variable that decides whether a joint holds, and beginners almost always set holes too close to the edge.
This is the mistake that hides until the strap is finished and loaded. If you punch your stitch line or set a rivet a couple of millimeters from the edge, the little bridge of leather between the hole and the edge is all that resists the pull — and it is exactly where leather is weakest. I mark my stitch lines and rivet positions with a wing divider set to give real edge distance, and on a load-bearing fold I keep the outer stitch row a comfortable margin in from the edge. The sensory check when it is right: press hard on the finished joint and flex it, and the leather around the fasteners should stay put with no visible movement or gapping at the holes. Movement now means slotting later.
What About Attaching Buckles, Snaps, and Adjusters?
All the same rules apply: buckles get a stitched fold with a keeper loop and a slot for the tongue, swivel snaps and rings get a stitched fold-back, and sliding adjusters need the strap folded and stitched around the bar so the loop cannot open. The hardware type changes, but the principle never does — fold, stitch, double the leather, and let the geometry carry the load.
A buckle fold also needs a punched slot for the tongue and usually a keeper loop to hold the strap tail, and I stitch both sides of the fold so it cannot splay. Sliding adjusters, the kind on leather suspenders, wrap the strap around a bar and get stitched closed so the loop is permanent while the strap still slides through. The common thread — literally — is that stitching a doubled fold is the answer nearly every time. Once you internalize that, hardware stops being a mystery and becomes one repeated move: fold it back, double the firm leather, stitch across the load path, and add a rivet only if you want a belt-and-suspenders backup.
The One Rule That Prevents Every Pull-Through
Never let a single fastener in a single layer carry the load. That is the whole lesson, and it is why my straps stopped failing the day I started folding and stitching instead of punching one rivet and hoping. What I would do on your next strap: fold the end back through the hardware, mark a stitch line with real edge distance across the doubled section, and saddle-stitch it — then, only if it is heavy-duty, set a rivet or two behind the stitching. Spread the load, double the leather, respect the edge distance. A joint built that way will still be holding long after you have forgotten which strap it was on.
Keep Building
- Leather Strap Making Projects: The Complete Guide
- Best Leather for Straps: Why Bridle and Harness Beat Soft Hides
- How to Add Padding to a Leather Strap: Lined vs Built-Up Comfort
- How to Make a Leather Camera Strap: Comfort, Width, and Lug Hardware
Why does my leather strap hardware keep pulling through?
Because a single rivet or hole carries the entire load on one spot, and the leather slowly tears a slot around it until the fastener lets go. Fix it by folding the strap end back through the hardware and saddle-stitching the fold so the load spreads across a whole line of stitches and two layers of firm leather.
What is the strongest way to attach a buckle or snap to a strap?
A stitched fold-back. Pass the strap end through the hardware, fold it onto itself, and saddle-stitch the doubled section across a wide bar of stitches. This gives two firm layers at the bearing point and spreads the load across the whole stitch line. Rivets can back it up but should not be the only anchor.
How far from the edge should I set rivets or stitching on a strap?
At least the fastener’s own diameter back from the edge, and ideally 1.5 times that. A rivet or stitch line set too close leaves a thin strip of leather that tears out under load. Edge distance is the quiet variable that decides whether a hardware joint holds or slots.
Are Chicago screws or rivets better for strap hardware?
Rivets are stronger and permanent; Chicago screws are reversible for straps you want to take apart. Use screws for removable camera-strap ends or adjustables, but back them with a stitched fold and a drop of thread-locker so they do not vibrate loose. For hard-use permanent joints, stitched folds with copper rivets win.
Can I attach strap hardware with just rivets and no stitching?
Only for light straps, and only through a doubled layer with several rivets in a spread pattern kept back from the edge. A single rivet through one thin layer is the classic pull-through failure. For anything carrying real weight, stitch a fold-back and treat rivets as backup rather than the primary anchor.