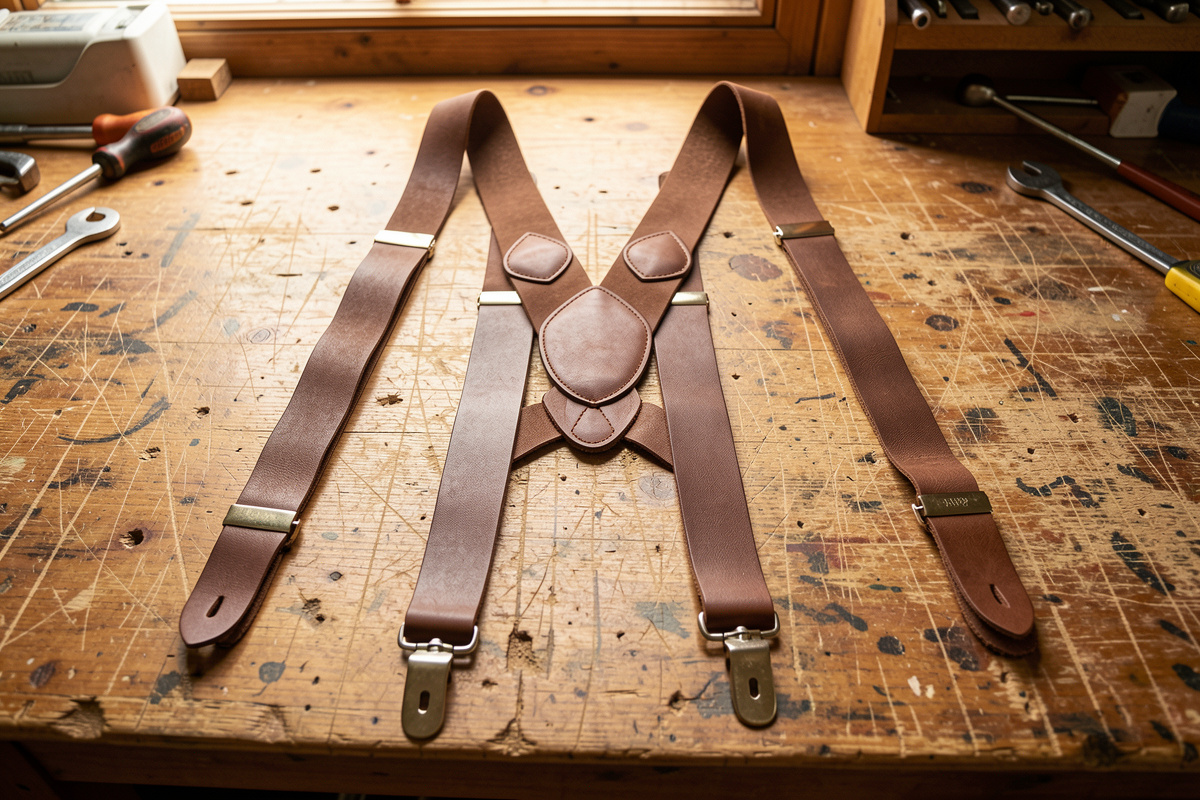
There are two honest ways to add padding to a leather strap: line the contact face with a thin soft leather to take the edge bite off, or…
There are two honest ways to add padding to a leather strap: line the contact face with a thin soft leather to take the edge bite off, or build up a foam-cored sandwich that domes across your shoulder and spreads real weight. Lining is fast, thin, and enough for a light load; a built-up pad carries a heavy camera or guitar all day. The choice is about how much weight you hang and how much bulk you will accept.
I have made both, and I have made the mistake that sends most people looking for padding in the first place: a firm, beautiful bridle camera strap that carried the weight perfectly and cut a red line into my neck within an hour. Firm leather is exactly what you want for structure and exactly what you do not want against skin under load. Padding is how you get both — a firm core that does not stretch, and a soft face that does not bite.
This fits into the wider strap-making projects guide, and it pairs directly with leather choice — because padding only works over a firm core, which is why the right strap leather is decision one.
Should You Line or Build Up a Padded Strap?
Line a strap when the load is light and you want minimal bulk — a lined strap adds a soft face and maybe 1–2 oz of thickness. Build up a padded core when the strap carries real weight for long periods, because only a domed foam sandwich spreads that load off the pressure point. Lining fixes edge bite; a built-up pad fixes shoulder fatigue.
The distinction is about what problem you are solving. Edge bite — that sharp line a firm strap presses into your neck or shoulder — is fixed by softening the contact face, and a thin lining does that. Shoulder fatigue under sustained heavy load is a different problem; it needs the pressure spread across a wider, cushioned, domed surface, which only a built-up pad delivers. A mirrorless body on a thin strap is a lining job. A pro DSLR with a 70–200 mm, or a heavy electric guitar for a three-hour set, is a built-up-pad job. Here is how the two approaches compare on the bench:
| Approach | Added bulk | Load it suits | Difficulty | Best for |
|---|---|---|---|---|
| Simple lining | Low (1-2 oz) | Light | Easy | Mirrorless straps, dress belts, edge comfort |
| Built-up foam pad | High (domed) | Heavy | Moderate | DSLR straps, guitar straps, all-day carry |
| Wide firm strap, no pad | None | Moderate | Easiest | When width alone spreads the load |
That third row matters: sometimes the answer is not padding at all but width. A 2.5-inch firm strap spreads load enough that a moderate camera hangs comfortably with no padding. Add padding when width alone is not enough or when bulk at the ends is a problem.
How Do You Line a Leather Strap?
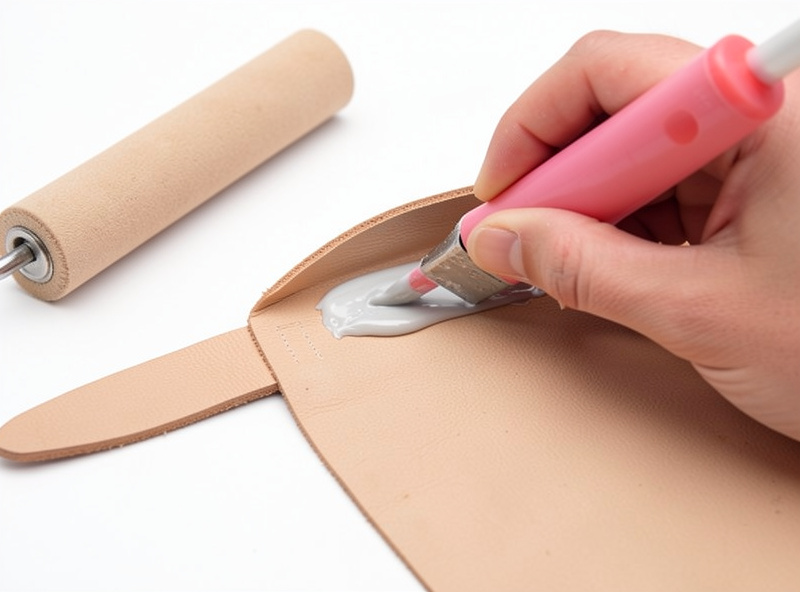
Skive the edges of a thin soft leather lining, glue it flesh-to-flesh to the back of the firm strap with contact cement, press or roll it flat, then trim flush and finish both edges together as one. The lining adds a soft contact face without much bulk, and stitching the perimeter locks it permanently. A 2–3 oz garment leather or thin veg-tan makes a good lining.
My process is deliberate about the glue-up because a lining that lifts at the edges is worse than no lining. I rough both mating flesh sides with sandpaper so the cement bites, brush a thin even coat of contact cement on both — I use a Barge-type contact cement — let it flash off until tacky, then lay them together from one end so no bubble gets trapped. A roller or a bone folder pressed hard along the whole length sets the bond. Then I trim the lining flush to the firm strap with a sharp knife against a straightedge and finish the doubled edge as a single unit: bevel, sand, and burnish both layers together so they read as one strap. If the strap will bear any load, I saddle-stitch the perimeter too, because glue alone eventually peels. You can pick up contact cement for leather in small cans that last a long time. When I need an even coat over a longer lining and do not want to fight brush drag, I swap the Barge for 3M Super 77 spray adhesive — faster tack time, same permanent bond once it cures.
As an Amazon Associate I earn from qualifying purchases.
How Do You Build a Padded Strap With a Foam Core?
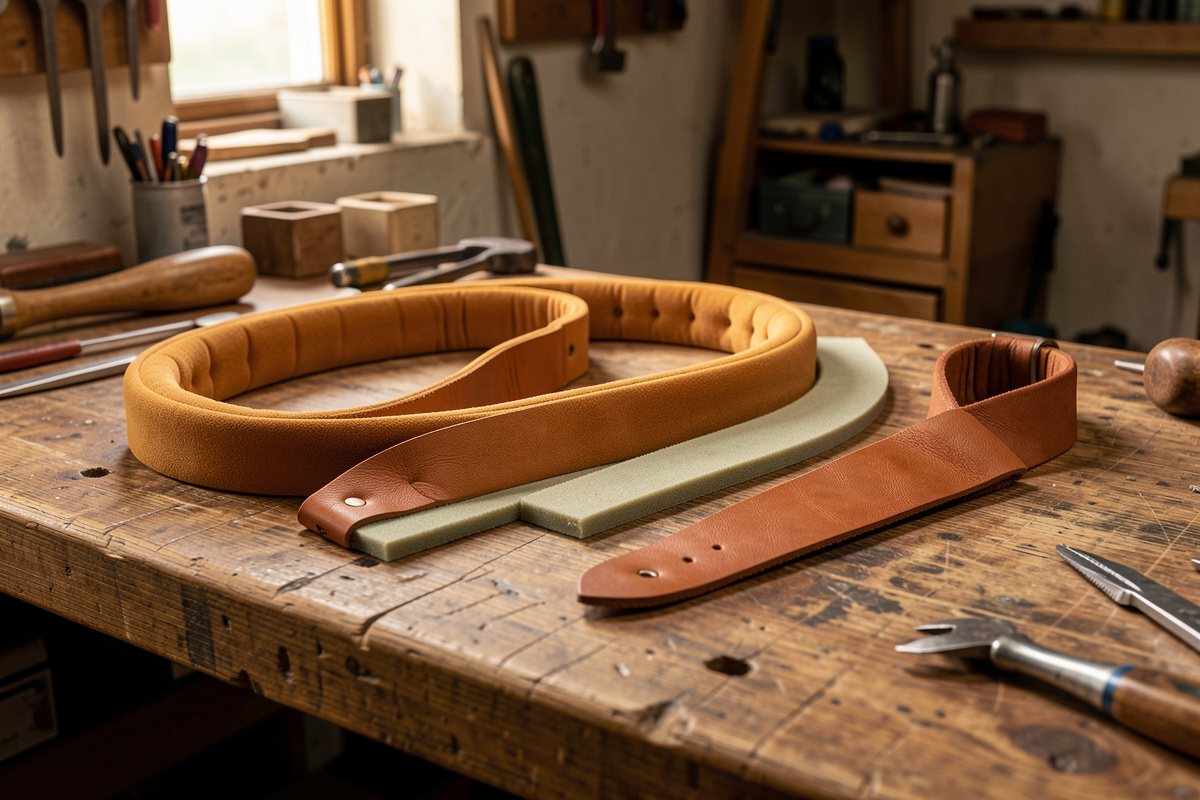
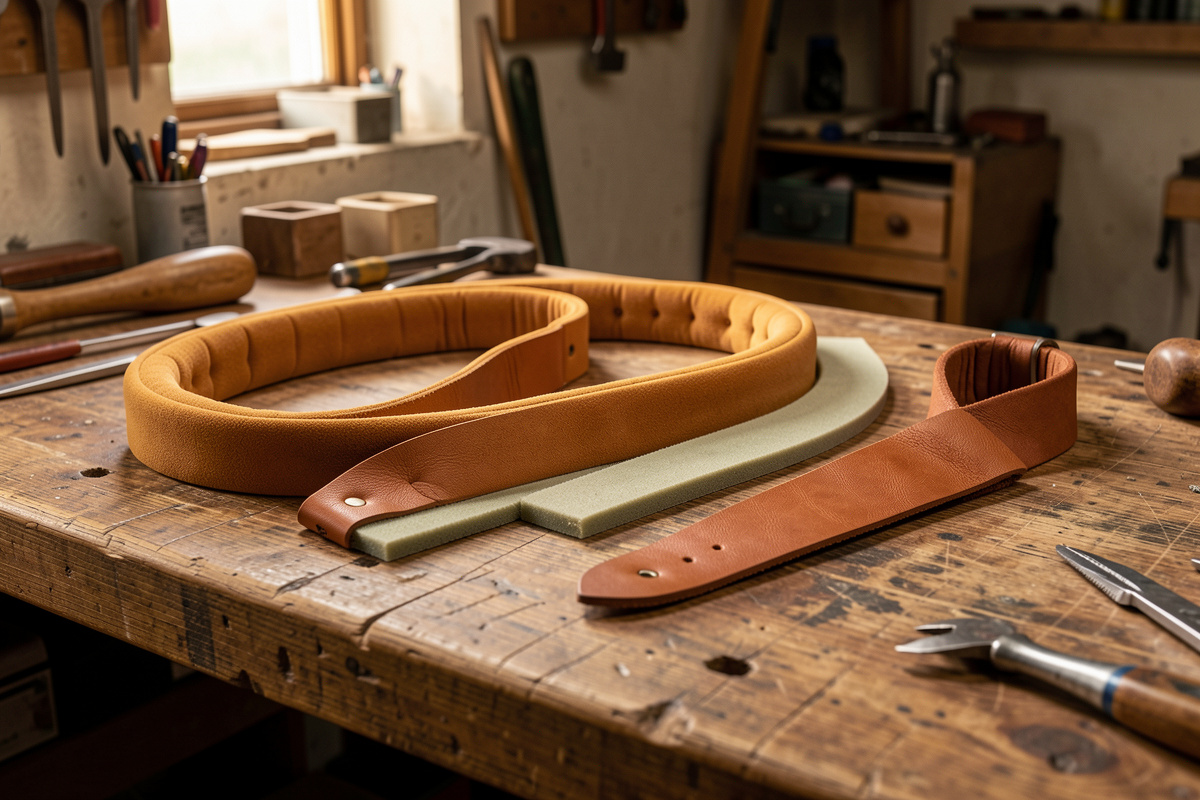
Cut a firm veg-tan core to full strap length, a strip of closed-cell foam or a leather shim shorter than the core to pad only the shoulder zone, and a soft outer wrap wider than both. Glue the foam to the core, wrap the soft leather over it, and saddle-stitch the wrap closed along both edges so the pad domes over the shoulder while the firm core carries the load end to end.
The key insight is that the pad and the load path are separate. The firm veg-tan or bridle core runs the entire length and connects to the hardware — that is what resists stretch and carries the weight. The foam and wrap only need to cover the shoulder section, tapering out before the ends so the strap stays slim where it meets hardware. I use a closed-cell foam (the dense kind, not open packing foam, which crushes flat in a week) about 1/4 inch thick, glued to the core, then a soft chrome-tan or thin veg-tan wrap cut wide enough to fold over the foam and meet on the back. Saddle-stitching both edges of the wrap compresses it into a smooth dome. The sensory test that it worked: run your thumb across the finished pad and it should feel like a firm cushion with no hard ridge, and when you hang weight from it the pressure feels spread, not pointed. Getting the wrap tension even is the hard part — too loose and it bags, too tight and the dome flattens.
What Padding Material Works Best Inside a Strap?
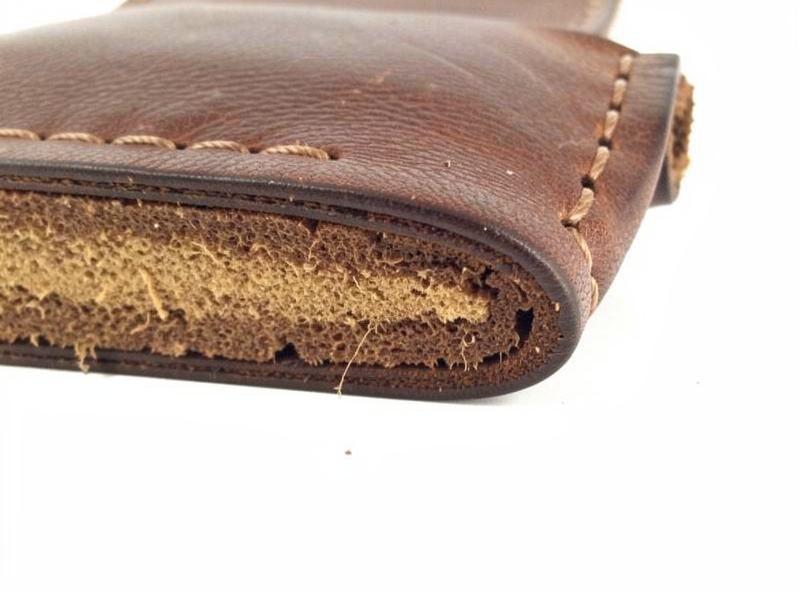
Closed-cell foam is the durable choice — it resists compression and springs back after years of load, unlike open-cell packing foam that crushes flat. For a firmer, thinner pad, a second layer of soft leather or a wool-felt shim works and never bottoms out. Avoid soft upholstery foam; it feels great new and dies fast under sustained weight.
I learned the foam lesson the annoying way: an early padded strap used a scrap of soft packing foam because it was what I had, and within a couple of weeks of daily use it had compressed to a flat, useless film that added bulk but no cushion. Closed-cell foam — the kind used in exercise mats and gaskets — holds up because its sealed cells do not collapse permanently; McMaster-Carr’s neoprene foam spec sheets are the reference I check for compression-set numbers before I buy a new roll, because packing foam suppliers never publish that figure (McMaster-Carr). For straps where I want a firm, thin cushion rather than a plush one, I skip foam entirely and use a doubled soft-leather shim or a strip of dense wool felt, which never bottoms out and ages predictably. The material choice decides whether your pad still cushions in year three or just adds dead thickness.
Does Padding Change How You Attach the Hardware?
Yes — always taper the padding out before the strap ends so the hardware attaches to firm, single-thickness leather, never through the pad. Hardware needs dense leather to grip; folding a bulky padded section around a buckle or lug creates a weak, squishy joint that works loose. Keep the ends slim and firm, and pad only the middle.
This is the detail that trips people up. They build a lovely padded strap and then try to fold the padded end around the hardware, and the foam-and-wrap sandwich compresses under the rivet and never holds tension. The fix is planning: the firm core runs full length, the padding stops several inches short of each end, and the hardware anchors to the bare firm core exactly the way it would on an unpadded strap. That way the pad lives where your shoulder is and the hardware lives on solid leather. For the full method on anchoring those ends so nothing pulls through, see the guide on attaching strap hardware. A padded camera strap is the project where all of this comes together.
What I Would Do for Your First Padded Strap
Start with a lining, not a built-up pad. It teaches the glue-up, the flush trim, and the doubled-edge burnish without the tension-control challenge of wrapping foam — and for most straps a good lining over a firm, wide core is genuinely enough. Build the foam-cored pad once you have a project heavy enough to need it, like a pro camera body or a solid-body guitar. Either way, the rule that never changes: pad the shoulder, keep the ends firm and slim, and let the firm core do the carrying. Comfort is a layer you add; it is never the leather you build from.
Further Reading
- Leather Strap Making Projects: The Complete Guide
- Best Leather for Straps: Why Bridle and Harness Beat Soft Hides
- How to Make a Leather Camera Strap: Comfort, Width, and Lug Hardware
- How to Make a Leather Guitar Strap: Length, Padding, and End Tabs
What is the best way to pad a leather camera or guitar strap?
For heavy loads, build a padded core: a firm veg-tan strap that runs full length, a closed-cell foam shim over the shoulder zone, and a soft leather wrap saddle-stitched around both edges so it domes. For light loads, a simple soft leather lining glued and stitched to the back is enough and adds far less bulk.
What foam should I use inside a padded leather strap?
Closed-cell foam, roughly 1/4 inch thick, because it resists compression and springs back after years of use. Avoid open-cell packing foam or soft upholstery foam, which crush flat under sustained weight within weeks. For a firmer thin pad, a doubled soft-leather shim or wool felt never bottoms out.
Do you glue or stitch a strap lining?
Both. Glue the lining flesh-to-flesh with contact cement and press it flat first, then saddle-stitch the perimeter for anything load-bearing. Glue alone eventually peels at the edges, and stitching locks the lining permanently while letting you finish both layers as one burnished edge.
Why does my padded strap feel bulky at the buckle?
Because the padding was carried too far toward the ends. Taper the foam and wrap out several inches before the hardware so it attaches to firm single-thickness leather. Folding a padded section around a buckle or lug creates a squishy joint that works loose. Pad only the shoulder zone.