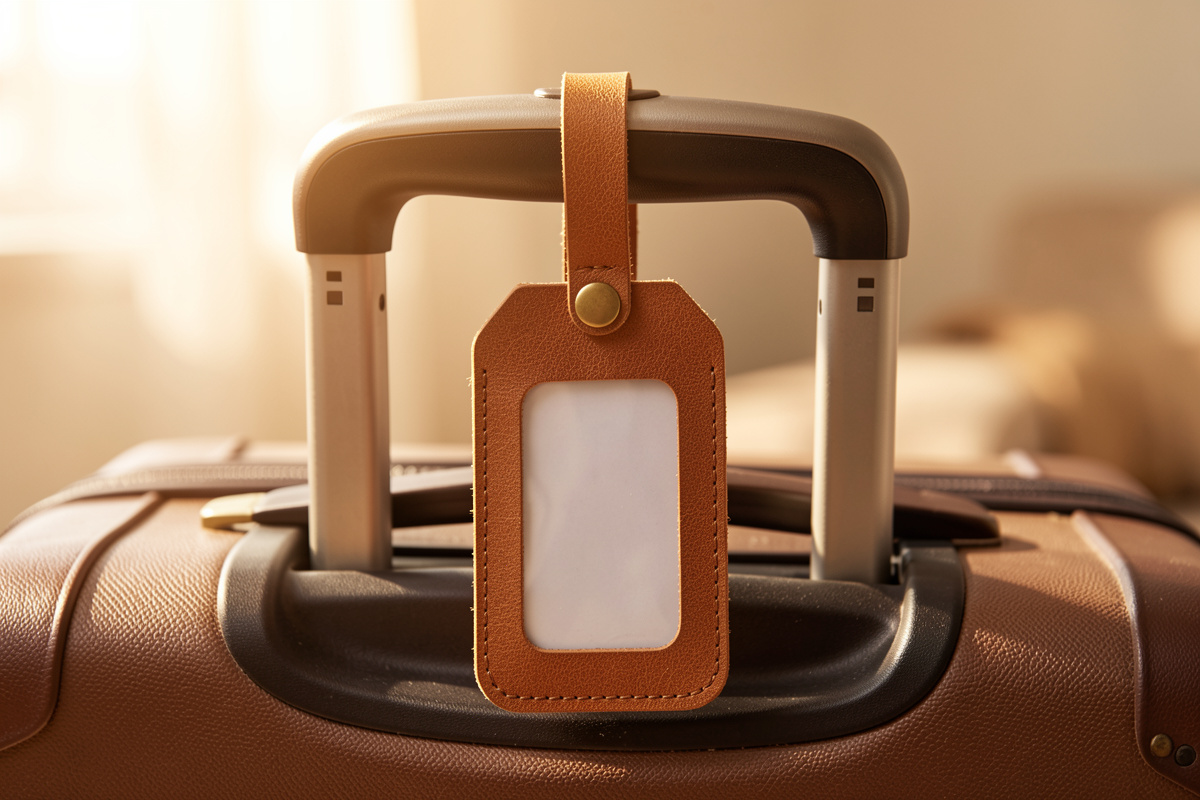
A leather luggage tag is the best first project in leathercraft — one or two pieces of 8–9 oz veg-tan, a card window, a strap, and a single…
A leather luggage tag is the best first project in leathercraft — one or two pieces of 8–9 oz veg-tan, a card window, a strap, and a single burnished edge you can finish in an evening. It costs about $4 in leather and teaches every core skill: cutting, punching, one stitch line, setting a rivet, and slicking an edge thick enough that you can actually see it come up glassy. Make one and you’ll understand why the mall versions look chewed after a season.
I hand a scrap of 8 oz to every friend who says they want to try leatherwork, and I point them here. The tag is low-stakes — ruin one and you’re out a coffee’s worth of leather — but it’s a real object that goes straight onto a bag and gets judged by strangers at a baggage carousel. That pressure is good for learning. It’s also where you first feel a thick veg-tan edge turn from a fuzzy cut into a hard, rounded, sealed edge under the slicker, which is the moment most people get hooked.
This is the entry point to the whole leather travel accessories kit. Master the tag’s edge and you’re ready for the passport cover next.
What Leather Weight Is Best for a Luggage Tag?
Use 8–9 oz veg-tan. A luggage tag has to stay rigid hanging off a bag handle and survive being crushed in a baggage hold, so it needs real body — anything under 6 oz flops and curls, and chrome-tan is too soft to hold the shape or take a deep stamp. Heavy veg-tan is also the easiest leather to learn edge finishing on, because the edge is thick enough to see.
The rigidity is the whole point of the weight. At 8–9 oz — that’s about 3.2 to 3.6 mm thick — the tag stands up on its own and won’t fold over a handle strap. I cut mine from Wickett & Craig or Hermann Oak bends, the firm-tempered veg-tan I keep for structural pieces, and I save the softer shoulder for covers and wallets. This is the same weight-per-job thinking that runs through the entire travel kit: heavy veg-tan where a piece must hold, thin or chrome-tan where it must drape. A luggage tag is the pure “must hold” case, which is exactly why it’s the cleanest place to learn the rules.
How Big Should a Leather Luggage Tag Be?
Cut the body about 105 mm tall by 65 mm wide — big enough to hold a standard business card behind a window, small enough not to snag. Add a strap about 130 mm long by 12 mm wide for the loop through the handle. Those numbers give a tag that reads at a glance without swinging like a pendulum off your bag.
I template the body in cardstock first and round the corners with a corner punch, because square corners on a luggage tag catch on everything and the leather peels there first. For repeat runs I laser-cut a thin acrylic template on the workshop laser so the outline and the window cutout land identically every time — the same laser that engraves the initials cuts the pattern. Punch the strap slot near the top with a bag-punch or a slot chisel, sized so your strap threads through snugly but still moves. Keep the window rectangle centered with an even border all around; an off-center window is the first thing the eye catches, and there’s no hiding it once it’s cut.
How Do You Make the Card Window?
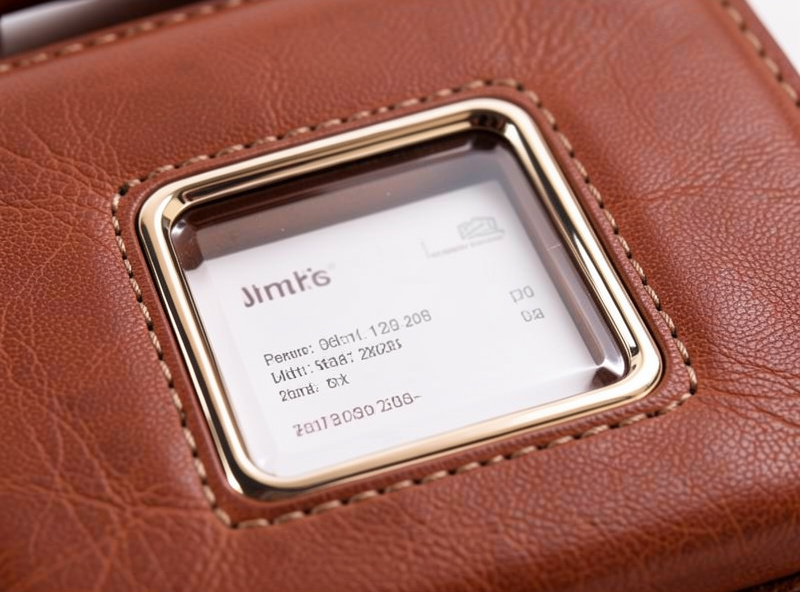
Cut a rectangular window in the front panel about 75 mm by 45 mm, then back it with a thin sheet of clear vinyl or PVC trapped between the front and a second leather layer. The window lets you swap an address card without exposing your home address to a whole airport — a privacy detail the single-piece tags skip. It also turns a flat tag into a two-layer sandwich that’s the real assembly lesson here.
I cut the window with a sharp swivel knife and a steel straightedge, then clean the corners with a fine chisel so they’re crisp — a ragged window opening screams homemade. Trap a piece of 20-gauge clear vinyl behind it, sandwich a back panel of matching leather behind that, and glue the perimeter with contact cement before stitching so the layers don’t shift. Leave one short end of the card pocket open — usually the top, tucked under the strap slot — so you can slide a card in and out. The privacy angle matters more than people think: an exposed paper tag broadcasts your address to everyone who walks past your bag, which is exactly why I like the swappable window.
How Do You Attach the Strap — Rivet, Stitch, or Snap?
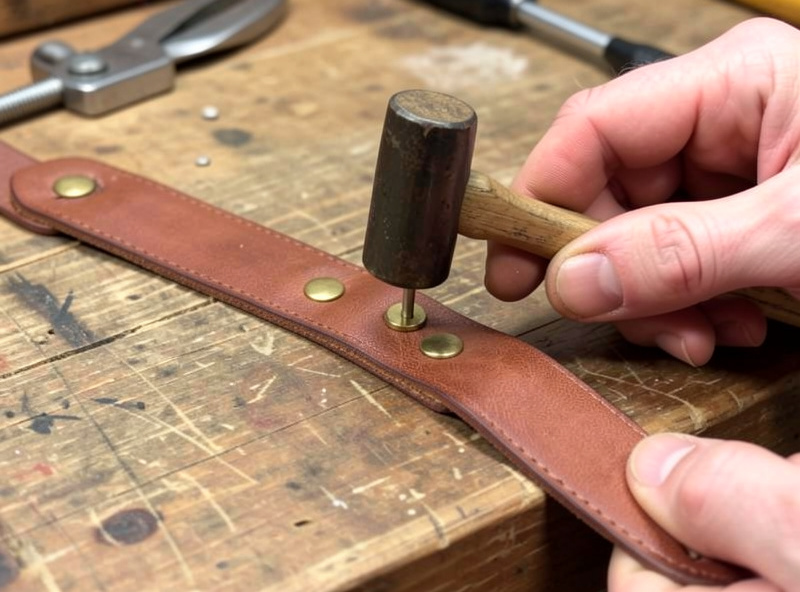
You have three honest options, and each teaches a different skill. A set rivet is fastest and strongest for a fixed loop; a snap lets you remove the tag; a stitched-and-folded strap is the most refined but the slowest. For a first tag I set a solid brass rivet — it won’t work loose under a bag’s weight the way a poorly stitched strap can.
| Method | Strength | Removable? | Best For |
|---|---|---|---|
| Solid brass rivet | Highest | No | A permanent, bombproof loop — my default |
| Line-24 snap | Medium | Yes | Swapping the tag between bags |
| Stitched folded strap | High | No | A refined, hardware-free look |
Whatever you choose, back thin leather where the hardware sits — a rivet or snap set straight into a single thin layer eventually pulls through and takes a plug of leather with it, a failure I’ve had happen on a cable roll and never repeated. I use solid brass or copper rivets, never cheap nickel-plated ones, because plating flakes at the edge after a season of weather. Thread the strap through the bag handle, fold it back on itself, and set the rivet through both the strap tail and the tag’s slot so the whole loop is one continuous, load-sharing piece.
How Do You Finish the Edge of a Luggage Tag?
Finish the edge the same four ways every veg-tan piece gets finished — bevel, sand, slick, wax — and because the tag is 8–9 oz, the edge is the thickest and most rewarding one you’ll ever slick. Bevel both faces with a #2 edger, sand up through 400 then 800 grit, dampen and slick with Tokonole until it goes glassy, then seal with carnauba creme.
On a thick tag edge you can really see the fibers lie down and the shine come up, which is why it’s the perfect place to learn the motion. I run a PETG slicker I printed on the workshop FDM printer, cut with a groove sized to this edge weight, briskly enough that friction heat does the work — the same printer that prints stitching jigs. Listen for the change: the edge stops squeaking and starts to hum, and that hum is the tell it’s sealed. This is the exact skill that carries into the passport cover and every other piece in the kit — learn it here, on leather you can afford to waste.
How Do You Personalize a Luggage Tag With a Stamp or Engraving?
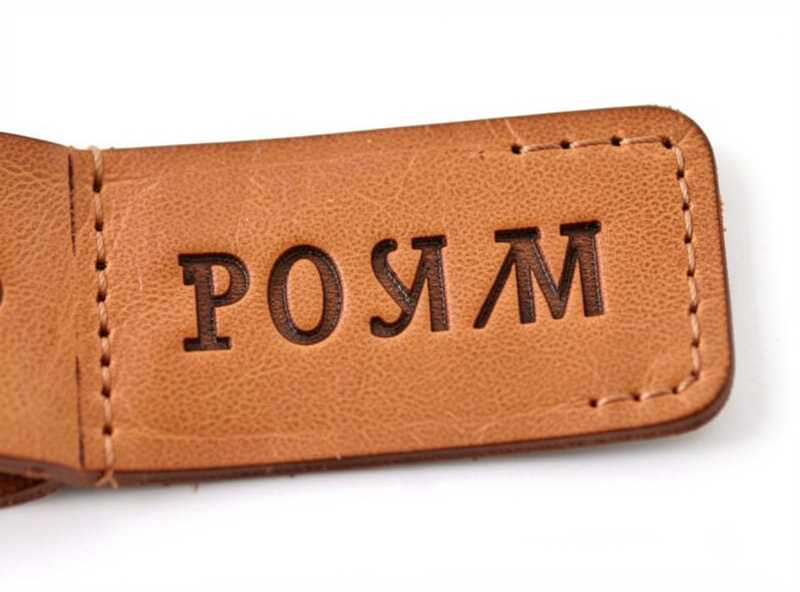
Personalize before you assemble, while the panel is flat. You can stamp initials into cased (damp) veg-tan with a basic stamp set and a mallet, or — for crisp, permanent lettering — laser-engrave the panel. Both work only on veg-tan; chrome-tan won’t take a clean impression or a clean burn, one more reason the tag is veg-tan.
For a stamped mark I case the leather until it’s cool to the touch and no longer wet-shiny, set the stamp, and strike once, cleanly — a double strike ghosts the impression and there’s no fixing it. For lettering I laser-engrave the veg-tan on the workshop laser, which gives a sharp burned line that dye then settles into for contrast. That crossover is the thing a leather-only maker can’t easily match: the same workshop that stitches the tag engraves it. Do all of this before you glue the window sandwich, because once it’s assembled you can’t lay a stamp or a laser flat on the panel anymore.
How Do You Dye and Seal a Luggage Tag for Weather?
Because a luggage tag lives outside — rained on, sun-faded, dragged across concrete — it earns a real topcoat that a pocket-carried piece doesn’t. Dye first, then condition, then seal with a neutral Resolene to shed water. Reverse the order and a topcoat laid before the dye resists into a blotchy field.
I dye tags with Fiebing’s Pro Oil dye for even, weather-tough color, buff off the haze, give it one light coat of neatsfoot, then two thin coats of neutral Resolene since this piece actually faces the elements. Don’t over-oil — one coat is plenty, and drowning the tag in neatsfoot turns it dark and limp, a mistake I made on an early piece. A properly sealed luggage tag will outlast the bag it’s clipped to, and it’ll patina at the window and strap where your hands and the weather touch it most.
How Do You Size the Strap for Different Bag Handles?
Not all handles are the same, and a strap sized for a suitcase grab-handle won’t loop a duffel’s D-ring. Measure the handle you actually use and add about 60 mm for the fold-back and rivet. A rolling-bag grab handle usually needs a 130 mm strap; a wide duffel loop or a checked-bag handle can want 160 mm or more.
The failure mode is a strap cut too short — it won’t fold back far enough to set the rivet cleanly, and you end up riveting through a stub that tears out the first time the bag is yanked off a carousel. I keep the strap 12 mm wide for a grab handle and go up to 15 mm for a heavy checked bag, because a wider strap spreads the load and resists stretching. For a thin spinner handle you can drop to 10 mm so the loop isn’t bulky. If you travel with more than one bag type, make the loop with a line-24 snap instead of a rivet so you can move the same tag between them — that’s the one case where I’ll trade the rivet’s raw strength for the convenience of a removable tag. Whatever the length, punch the strap slot and rivet holes with the same punch you’ll use to set the hardware, so the holes match the post diameter exactly and nothing rattles loose.
What leather weight is best for a luggage tag?
Use 8 to 9 oz veg-tan, which is about 3.2 to 3.6 mm thick. A luggage tag has to stay rigid on a bag handle and survive a baggage hold, so it needs the body that heavy veg-tan gives. Chrome-tan is too soft and will not hold the shape or take a deep stamp.
How big should a leather luggage tag be?
Cut the body about 105 mm tall by 65 mm wide, big enough to hold a standard business card behind a window but small enough not to snag. Add a strap about 130 mm long by 12 mm wide for the loop through the bag handle.
Should I rivet or stitch the luggage tag strap?
For a first tag, set a solid brass rivet. It is the strongest and fastest option and will not work loose under a bag’s weight. Use a snap if you want to move the tag between bags, or a stitched folded strap for a hardware-free look.
Can I make a luggage tag without any special tools?
Almost. You need a way to cut leather, a punch for the strap slot and rivet hole, an edge beveler and slicker, and a rivet setter or snap setter. It is the lowest-tool project in leathercraft, which is why it is the best place to start.
Keep Building
The luggage tag is step one. Once your edge comes up glassy and your rivet sits clean, move up to the leather passport cover, which adds slot pockets and a skived spine. The full build order — which piece to make next and why — lives in the travel accessories master guide. For firm veg-tan in the right weight, Wickett & Craig and Hermann Oak are my shelf staples; a piece of 8 oz veg-tan leather scrap will make a stack of tags.
As an Amazon Associate I earn from qualifying purchases.



