The right leatherworking starter kit costs 80-150 dollars and includes one piece of 5-6 oz vegetable-tanned leather, four diamond stitching irons (2mm, 3mm, 4mm, 5mm spacing), a wooden…
The right leatherworking starter kit costs 80-150 dollars and includes one piece of 5-6 oz vegetable-tanned leather, four diamond stitching irons (2mm, 3mm, 4mm, 5mm spacing), a wooden mallet, a size-1 edge beveler, an awl, two harness needles, waxed polyester thread, beeswax, and a metal ruler. Skip the 30-piece “complete kit” sold on Amazon — most pieces in those bundles are unusable junk that experienced leatherworkers throw away. The leather working for beginners hub covers how to use these tools across your first three projects without buying anything else.
Most newcomers buy the wrong starter kit twice — once when they purchase a cheap 30-piece Amazon bundle that turns out to be unusable, and once when they replace it piece-by-piece with quality tools. The price difference between buying once correctly and buying twice incorrectly is roughly 80-100 dollars and 6 months of frustration. This guide shows the exact tool list that actually works, what to skip, and where the price-quality breakpoints sit in 2026.
I bought the 30-piece Amazon bundle as my first purchase and threw away 25 of the tools within two months. The plastic mallet cracked, the awl rounded, and the stitching irons produced holes that looked like they were made by a drunk woodpecker. The 13-item list below is exactly what I re-purchased piece by piece — total cost $130 — and it has handled every project I have built in three years without a single replacement.
Why Most “Complete” Starter Kits Are Wasted Money
The 25-50 dollar starter kits sold by Amazon brands typically include rotary leather punches that bend on the first use, brass-coated steel awls that dull within an hour, plastic-handled stitching irons with poor diamond geometry, nylon thread instead of waxed polyester, and 2-ounce hide swatches too thin for any real project. Of the 30 pieces in a typical bundle, 5-7 are usable.
Specific failures of bundle kits:
- Stitching irons with poor diamond geometry: Bundle irons are typically stamped, not machined. Holes are inconsistent in spacing and angle. Saddle stitch looks crooked even with perfect technique.
- Rotary leather punches: The 6-tube revolving punch never aligns properly and bends on 6-oz leather. Replace with individual drive punches sized to your project.
- Brass-coated awls: Coating wears off in 30 minutes of use. Awl tip rounds and pushes through leather instead of cutting fibers cleanly.
- Plastic mallet heads: Crack within months. Wood or rawhide mallets last decades.
- Cheap nylon thread: Stretches under saddle stitch tension and cuts through leather edges. Replace with waxed polyester or linen.
- Tiny hide swatches: 2-3 ounce thin scraps unsuitable for wallets, belts, or any structural project.
- “Edge slickers” made of plastic: Plastic does not generate the friction heat needed for proper burnishing. Wood, bone, or canvas slickers actually work.
The brand name to skip is any 30-piece Amazon kit selling for under 50 dollars total. The brands worth looking at — Tandy Leather, Weaver Leather, Crimson Hides — sell individual quality items. Read about what proper edge-finishing tools actually do in our burnish leather edges with Tokonole guide.
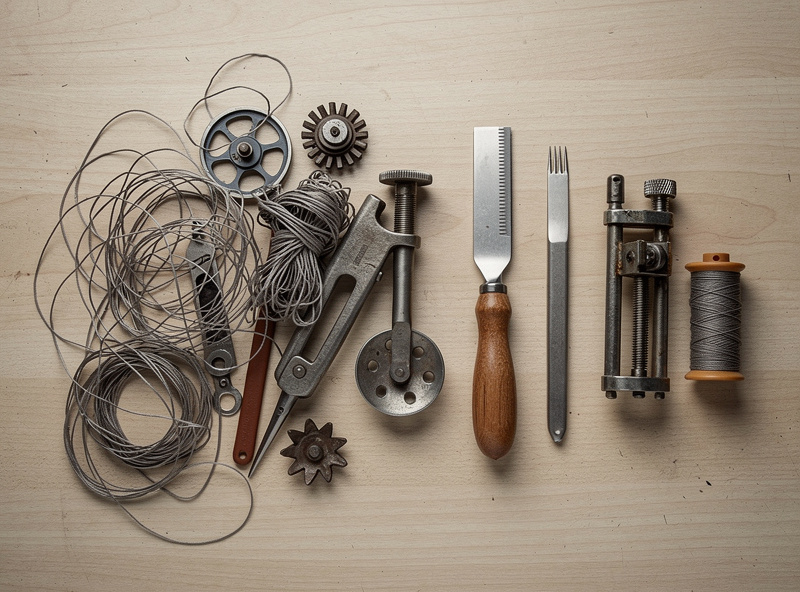
The Real Starter Kit: 13 Items That Actually Work
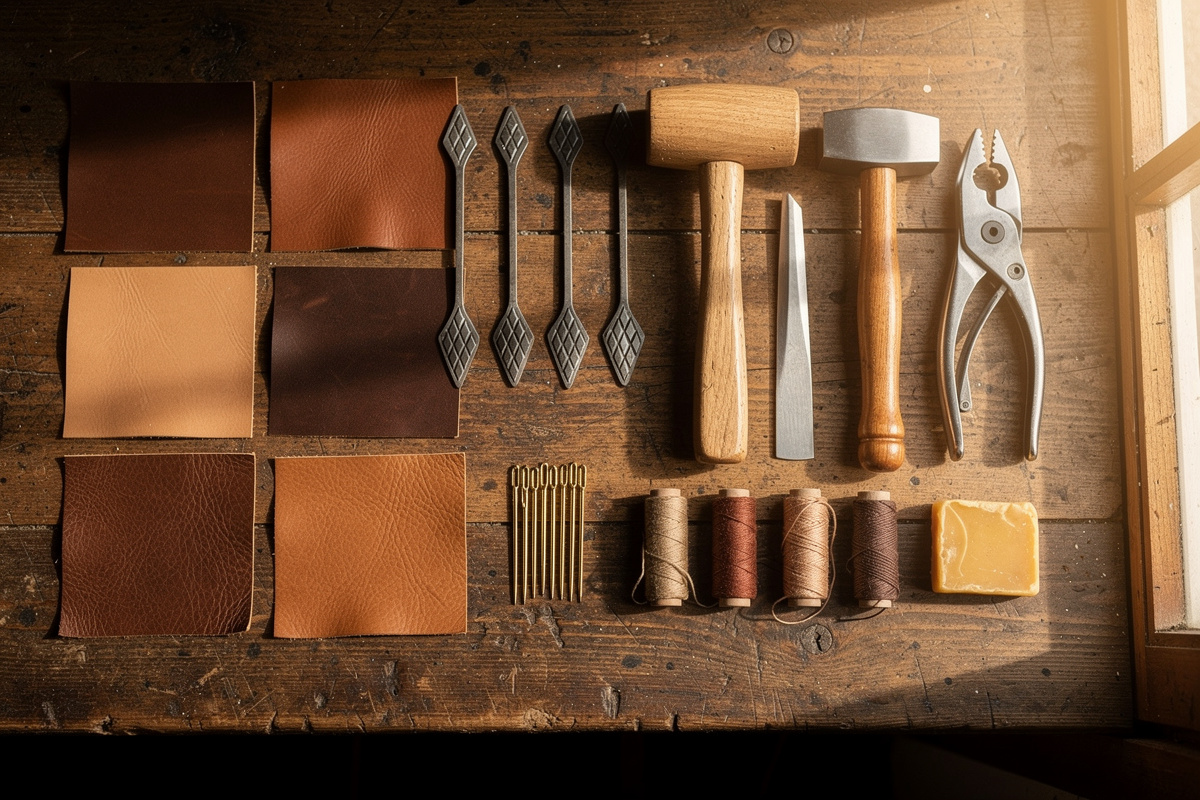
The minimum starter kit for serious leatherwork includes 13 specific items totaling 80-150 dollars depending on tool quality tier. This kit produces wallets, card holders, dog collars, belts, and most beginner projects without needing additional purchases. Each item below is the cheapest acceptable version, not the premium tier.

The full list:
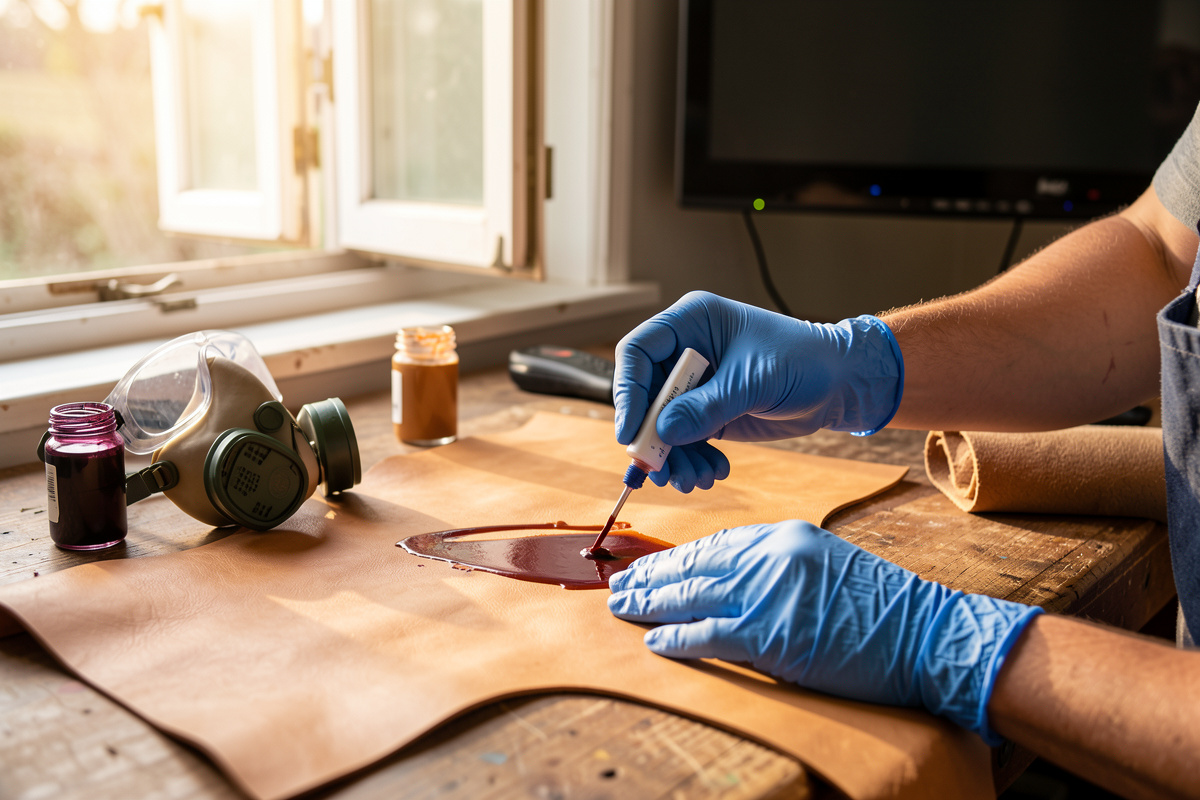
- One vegetable-tanned leather hide section, 5-6 oz, 12×12 inches (15-25 dollars): Enough for 4-6 small projects. Veg-tan teaches dyeing, burnishing, and stitching better than chrome-tan.
- Four diamond stitching irons, 3mm spacing for 2-prong, 4-prong, 6-prong, and 10-prong (35-45 dollars): The 4-prong does 90% of work; the others handle starts, ends, and curves.
- Wooden or rawhide mallet, 1-pound (12-18 dollars): Drives the stitching irons cleanly without damaging the heads.
- Size 1 edge beveler (10-15 dollars): Removes the sharp 90-degree edge on cut leather. Single most-used finishing tool.
- Curved-blade skiving knife (12-20 dollars): Thins leather edges for cleaner folds and overlaps.
- Awl with replaceable diamond blade (8-15 dollars): Punches stitching holes in tight curves where chisels cannot reach.
- Two harness needles, blunt-tip size 002 (3-5 dollars): Designed for leather; cannot pierce the leather and damage stitches like sewing needles can.
- Waxed polyester thread, 1mm diameter, 50-yard spool (8-12 dollars): Tan or natural color; matches all leather.
- Block of beeswax (2-4 dollars): Re-waxes thread and lubricates needles. Lasts years.
- Self-healing cutting mat, 12×18 inches (15-25 dollars): Protects work surface and stitching iron tips.
- Stainless steel ruler, 12 inches with cork backing (5-8 dollars): Cork prevents slipping on leather; metal edge cuts straight.
- Snap-blade utility knife or rotary cutter (8-15 dollars): Cleaner cuts than scissors; replaceable blades.
- Tokonole burnishing compound, small bottle (8-12 dollars): Edge finishing required for anything that touches skin.
Total at the budget tier: 141-219 dollars for items 1-13. At the higher quality tier with Crimson Hides chisels and Vergez Blanchard knives: 350-500 dollars. Most hobbyists land mid-range at 175-225 dollars total. Read about specific tool selection in our stitching pony vs stitching clamps comparison.
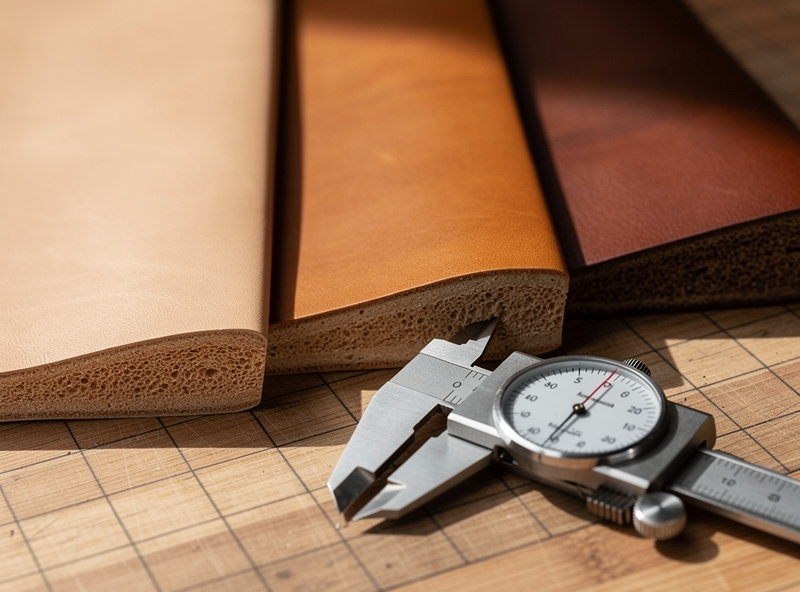
Leather Selection for Your First Hide
Buy 5-6 ounce vegetable-tanned leather as your starter material — thick enough to feel substantial, thin enough to stitch easily, takes dye and burnishing beautifully. A 12×12-inch piece runs 15-25 dollars and produces 4-6 beginner projects. Avoid 2-3 oz “scrap leather” deals — too thin for any structural work.
Leather selection notes:
- Vegetable-tanned (veg-tan) is the learning leather: Forgives mistakes, accepts dye and finish, burnishes cleanly. Chrome-tan is harder for beginners.
- 5-6 oz is the universal weight: Heavy enough for wallets and small bags, light enough to stitch by hand. 4 oz and below is sheath leather; 8 oz and above is belt leather.
- Single shoulders or sides over scrap mixes: Consistent thickness and grain. Scrap mixes vary too much to plan projects.
- Buy from established suppliers: Wickett & Craig, Hermann Oak, and Maverick Leather are the three most-trusted US sources. Tandy is acceptable for first-time learners.
- Avoid “Italian leather” without specifics: Marketing term, not a quality grade. Specific tannery names matter.
- Skip “vintage leather” or “distressed”: Often pre-damaged hides being sold as a feature.
For learning specifically, start with 8-12 dollars worth of veg-tan scrap from a reputable supplier. Practice cutting, beveling, dyeing, and stitching on the scrap before cutting any “real project” piece. The 6 hours of practice on scrap pays back in better first projects. Equally important is having the bench itself set up to support that practice — the leathercraft workspace setup guide covers mat placement, lighting angle, and the bench height that keeps your wrists in the right position for stitching.
Where to Buy Starter Tools and Avoid Knockoffs
Three reliable retailers cover almost every starter need: Tandy Leather (mainstream brand, mid-quality across the line, broad selection), Crimson Hides (premium chisels and tools), and direct from European makers (Vergez Blanchard for awls and edge bevelers, Pierre Henry for stitching irons). Avoid Amazon-only brands with vague descriptions; counterfeit “Crimson” and “Beaver Craft” tools are common.
Retailer guide:
- Tandy Leather (tandyleather.com): The default first-stop. Acceptable quality on most items, premium-priced compared to Asian imports but legitimate. Their Pro Series chisels are decent.
- Crimson Hides (crimsonhides.com): Premium American-made stitching chisels. Investment piece quality. 60-90 dollars per chisel set vs Tandy’s 20-30 dollars.
- Goods Japan (Amazon and direct): Authentic Japanese tools — pricking irons, awls, knives. Mid-to-high quality at fair prices.
- Etsy from craftspeople: Specific tools (pony lockers, edge slickers, custom punches) sometimes sell at fair prices.
- Skip Amazon “leather kits”: Generic 30-piece bundles are almost always low-quality bulk imports.
- Skip eBay “vintage”: Some good finds, lots of damaged and incomplete tool sets sold at premium prices.
- Local Tandy stores: Hands-on selection beats online for first purchases. Test the heft and finish before committing.
The counterfeit problem is real — Crimson Hides chisels, Goods Japan pricking irons, and Vergez Blanchard awls all have direct counterfeits sold on Amazon at apparent discount prices. Buy from the maker’s website or authorized retailers to avoid spending premium money on bulk imports labeled with premium names. Read more buying guidance in our piece on full grain vs top grain leather.
What to Add as You Progress
Three tools become useful at the 10-20 hour mark of leatherwork: a stitching pony (holds the project free-handed for two-handed stitching), a stamping/embossing set (basket weave, geometric stamps for surface decoration), and a swivel knife (cuts decorative line work into the leather surface). None are needed for the first 5-10 projects.
Progression tools and when to add:
- Stitching pony or clamp (30-80 dollars): Add at project 5-10. Frees both hands for the saddle stitch and dramatically improves consistency.
- Stamping set (30-100 dollars): Add when interested in tooling/embossing. Not needed for purely functional pieces.
- Swivel knife (25-50 dollars): Add for tooling work specifically. Cuts decorative lines that stamps cannot reproduce.
- Modeling spoons (10-20 dollars): Pair with stamping for shading and detail.
- Edge paint set (15-40 dollars): Alternative to burnishing for chrome-tan or rough-cut edges.
- Skiving machine (200-500 dollars): Powered alternative to hand skiving. Add at project 30+ when bag-making becomes a focus.
- Sewing machine, leather-rated (300-1500 dollars): Powered alternative to hand stitching. Significant time savings on multi-hour projects.
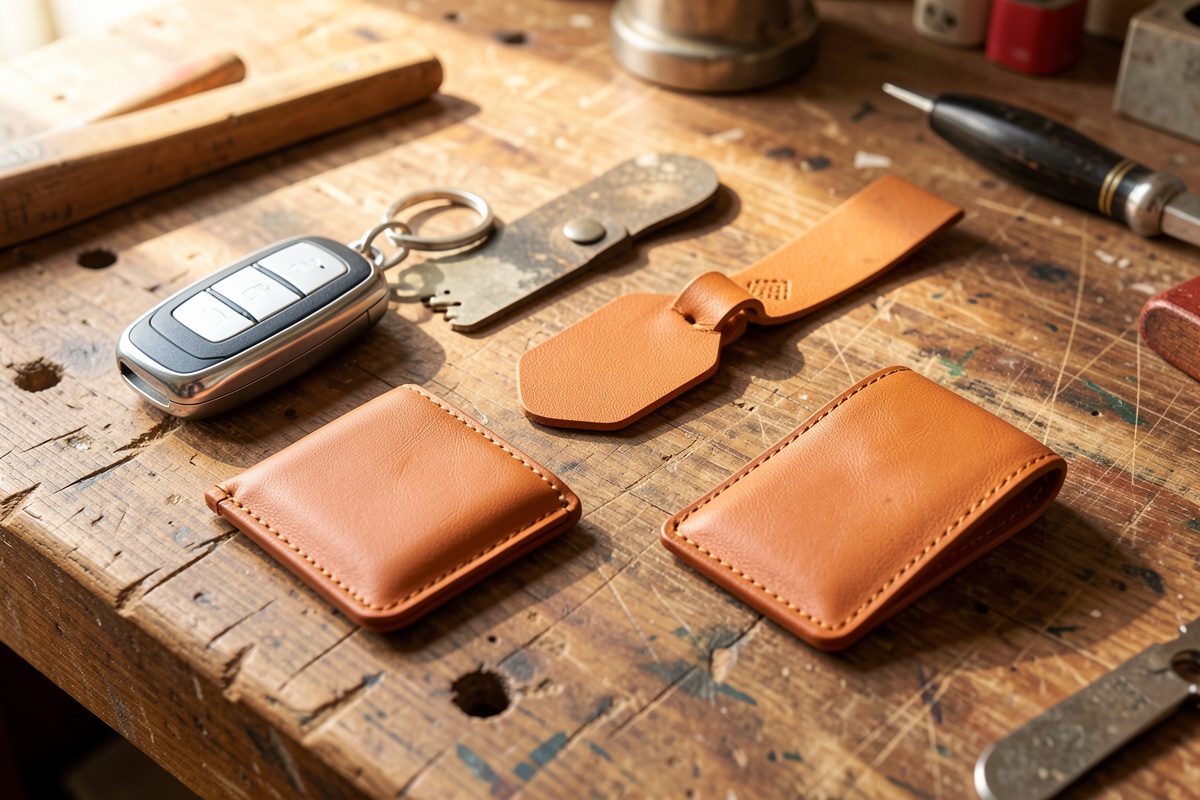
Most home leatherworkers are happy at the hand-tool level for years. Powered tools are nice-to-haves for production work; for hobby pieces, hand-tools produce the saddle-stitch quality that machine work struggles to match. For project ideas at the starter level, see our how to make a leather card holder guide.
Frequently Asked Questions
Is a 30-piece leather starter kit on Amazon worth buying?
Generally no. Most 30-piece Amazon kits include 5-7 usable tools and 23-25 tools that experienced leatherworkers throw away. The math is clear: spend 80-150 dollars on 13 quality items and skip the bundle entirely. The cheap stitching irons in particular produce crooked work that frustrates beginners.
What is the absolute minimum I need to start leatherworking?
A piece of 5-6 oz veg-tan leather, a 4-prong diamond stitching iron, a wooden mallet, an edge beveler, two harness needles, waxed thread, and a cutting surface. About 60-80 dollars total at quality tier. This minimum kit produces simple wallets and card holders.
Should I learn on chrome-tanned or vegetable-tanned leather?
Vegetable-tanned. Veg-tan accepts dye, burnishes cleanly, holds shape, and forgives beginner mistakes better than chrome-tan. Chrome-tan is harder to dye, does not burnish well, and stretches more under stitching tension. Master veg-tan first, then add chrome-tan to your repertoire.
How thick should my first leather hide be?
5-6 ounce thickness (about 2-2.4mm) is the universal beginner choice. Thick enough for wallets and small bags to feel substantial, thin enough for hand-stitching without difficulty. Below 4 oz is sheath leather; above 8 oz is belt and saddle leather.
Can I use sewing needles for leather?
No. Sewing needles have sharp points designed to pierce woven fabric — on leather they cut and damage the surrounding fibers, weakening the stitch. Always use blunt-tipped harness needles designed to pass through pre-punched holes without cutting.
What thread is best for hand-stitching leather?
Waxed polyester thread, 1mm diameter, in tan or natural color. Polyester does not stretch under saddle-stitch tension, the wax helps stitches lock against each other, and 1mm thickness matches the typical 3-4mm stitching iron spacing. Linen thread is acceptable for traditional work but more expensive.
Related Articles
- Common Leatherworking Mistakes Beginners Make
- Full Grain vs Top Grain Leather
- Stitching Pony vs Stitching Clamps
- How to Burnish Leather Edges With Tokonole
- How to Make a Leather Card Holder