Leather edge finishing is the four-step sequence that turns a fuzzy, fibrous cut edge into a smooth, dark, slightly rounded surface that signals craftsmanship at first glance. The…
Leather edge finishing is the four-step sequence that turns a fuzzy, fibrous cut edge into a smooth, dark, slightly rounded surface that signals craftsmanship at first glance. The full process — bevel, sand, dampen, burnish — takes about 5 minutes per linear foot once you have done it 3 to 4 times, and uses tools that cost less than $40 combined. Skip it on a wallet and the piece looks homemade; do it well and the same wallet reads as luxury goods.
This guide covers every decision a leatherworker faces when finishing edges: which size beveler to buy, when to bevel before vs after stitching, the three burnishing compounds (Tokonole, gum tragacanth, water), how to power-burnish vs hand-burnish, and the troubleshooting fixes for fuzzy, ridged, or color-streaked edges. Every linked deep-dive expands on a step covered here.
I spent my first year of leatherworking obsessed with the front face of my projects and ignored the edges. Then someone picked up my wallet at a party, ran a thumb along the edge, and said “nice stitching, but the edge feels fuzzy.” That comment stung and it was accurate. Edge finishing — the bevel, sand, dampen, burnish sequence — is the single detail that separates a project that looks homemade from one that looks professional. I now spend 30% of every project’s total time on the edges and it is never wasted.
Why Edge Finishing Matters More Than Most Beginners Realize
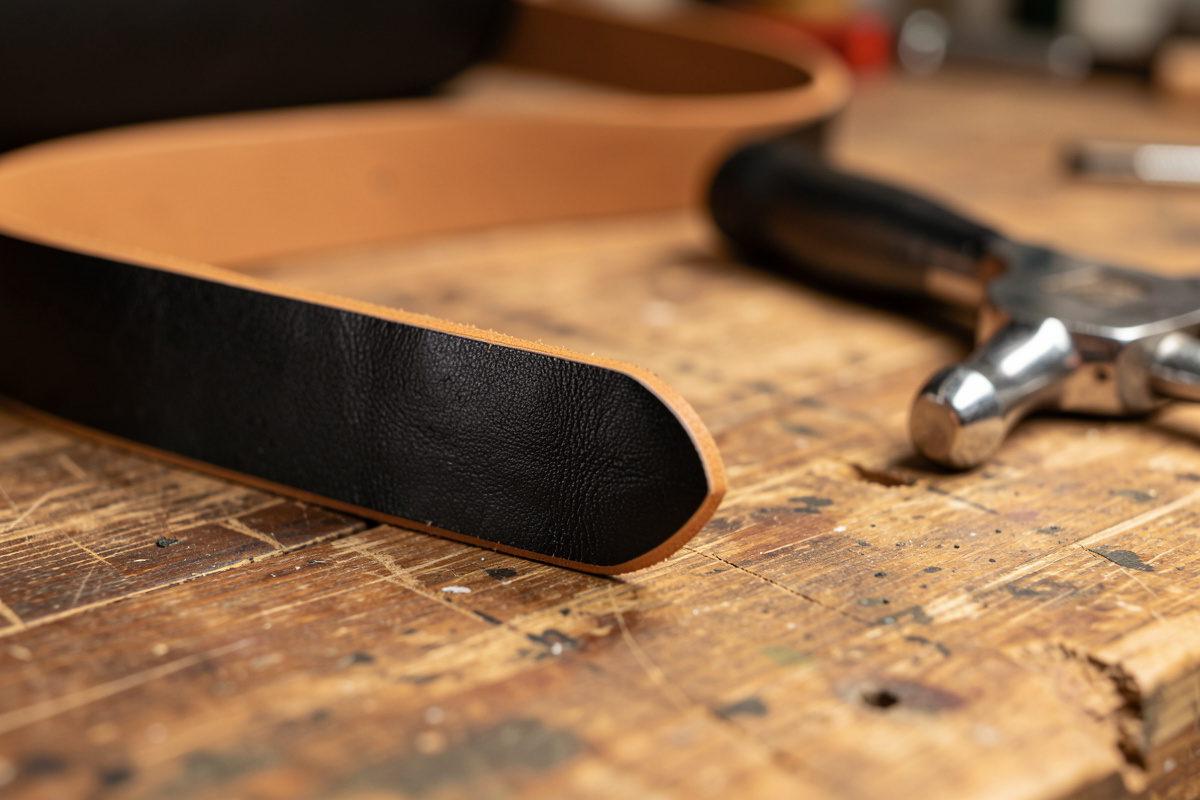
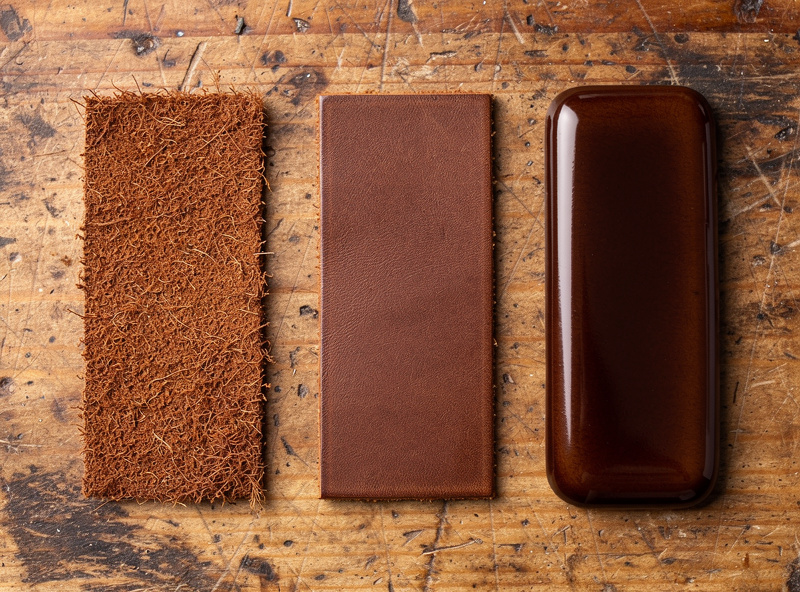
The cut edge of vegetable-tanned leather exposes the cross-section of the fiber matrix — long bundles of collagen running parallel to the grain, sealed off at right angles by your knife. Those exposed fiber ends fluff up immediately, soak in water, fray over weeks of pocket use, and look pale next to the dyed body of the leather. Edge finishing compresses, seals, and colors that cross-section so it stops looking raw.
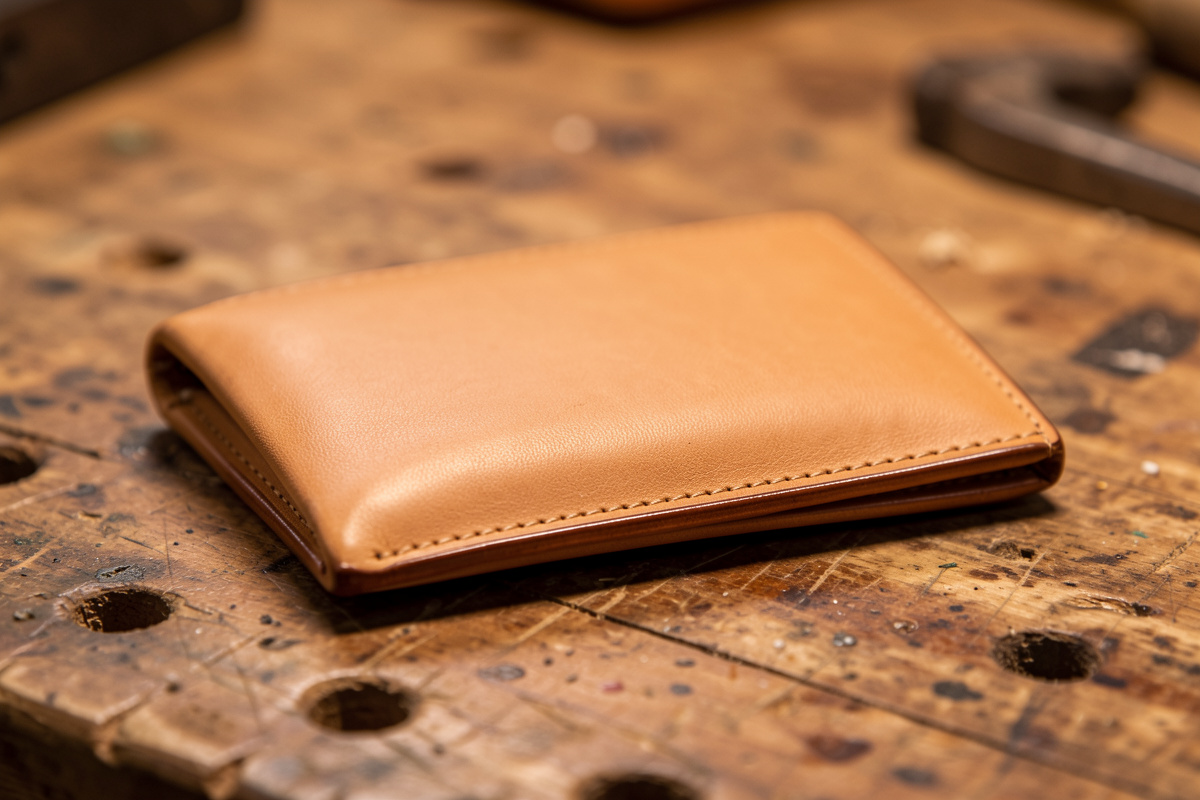
Buyers and viewers do not consciously analyze edges, but they read them. A wallet with rough, square, pale edges reads as homemade or low quality even when the stitching and dyework are excellent. The same wallet with rounded, dark, glass-smooth edges reads as professional. Surveys of leather goods buyers consistently rank edge finish in the top three quality cues alongside stitch consistency and grain quality.
Edges also affect durability. A finished edge resists water, dirt, and abrasion far better than a raw edge. The tannins released during burnishing form a hard polymer-like surface that protects the underlying fibers; raw edges absorb whatever is in the environment and decay faster. A wallet with sealed edges typically lasts 8 to 12 years; the same wallet with raw edges shows visible wear at 18 to 24 months.
For an overview of where edge finishing fits into the broader skill stack, the leather working for beginners hub covers the six core skills (cut, edge, stitch, dye, hardware, pattern) in sequence. Edge finishing is skill three — taught after cutting and before stitching, because most pieces have their grain edges finished before stitching and any post-stitch edges (where two pieces meet) are finished afterward.
The Four-Step Edge Finishing Process
The complete edge finishing sequence is bevel, sand, dampen, and burnish. Some makers add a separate dye step between sanding and dampening; others finish with a wax sealer after burnishing; the four core steps are universal. Skip any one and the result suffers visibly.
| Step | Tool | Time per Foot | What It Does | What Skipping It Causes |
|---|---|---|---|---|
| 1. Bevel | Edge beveler size 1 or 2 | 30 sec each side | Removes 45-degree corner from top and bottom | Square edge that never burnishes round |
| 2. Sand | 400 then 800 grit paper | 45 sec | Smooths bevel cuts, exposes fresh fibers | Visible bevel scrape lines |
| 3. Dampen | Distilled water on cotton swab | 10 sec | Activates leather tannins for burnishing | Burnish cracks instead of compresses |
| 4. Burnish | Hardwood slicker + Tokonole | 2 min | Compresses fibers; seals edge | Fuzzy, pale edge with visible fiber bloom |
The bevel is the foundation. Without removing the 90-degree corners on top and bottom of the cut edge, no amount of sanding or burnishing rounds the edge — it just compresses a square cross-section into a slightly less square cross-section. The best edge bevelers for leather guide covers size selection: size 1 for 2-3 oz leather (card holders, lining), size 2 for 4-6 oz leather (wallets, small bags), size 3+ for 7-9 oz leather (belts, holsters).
Sanding closes the small chatter marks left by the beveler and exposes fresh fibers ready to burnish. Use 400 grit first to remove bevel marks; switch to 800 grit to polish the surface. Some professionals go to 1200 grit on luxury work; for everyday wallets, 800 is the practical maximum. Sanding wet leather instead of dry leather reduces fiber lift and produces a glassier final result; sanding dry is faster but leaves more fuzz.
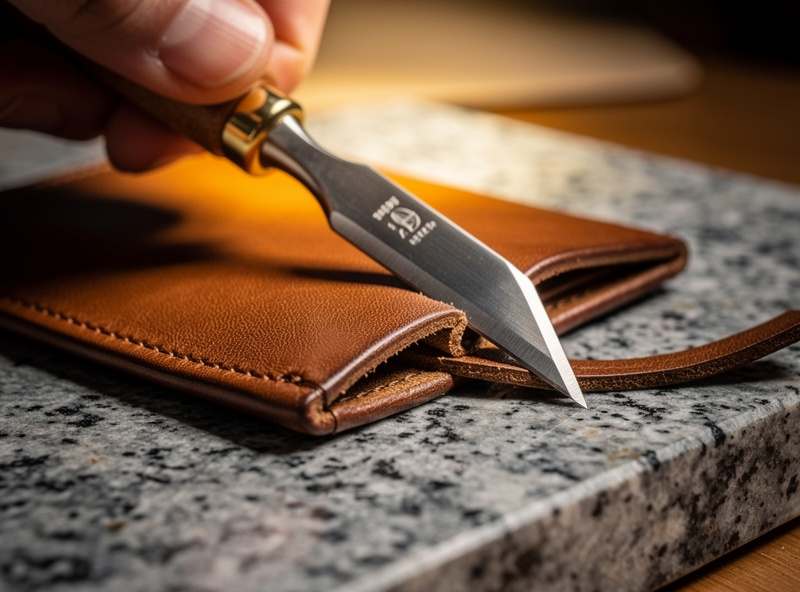
Beveling Technique: The First 30 Seconds
Hold the beveler at 45 degrees to the edge surface, blade down, and push it forward along the edge in one continuous motion. The beveler is a chisel — it cuts a thin sliver of leather off the corner — and skips on harder leather if you stop and start. Practice on scrap until you can take a single continuous shaving the full length of the edge without lifting the tool.
Pressure controls bevel depth. A light touch produces a small chamfer that rounds easily during burnishing; heavy pressure cuts a deeper bevel that produces a more pronounced rounded edge. Most makers use light pressure on first pass, repeat with slightly more pressure on second pass, producing a 1-2 mm chamfer total. On thicker leather (7+ oz belt blanks), two heavy passes are needed; on thinner leather (2-3 oz), one light pass is enough.
Bevel direction matters on patterned leather. Always bevel in the direction the grain runs (lengthwise on a strap, around the perimeter on a wallet) so the beveler cuts with the fibers rather than against them. Beveling against the grain produces ragged cuts that show as inconsistent edge thickness after burnishing. Mark the grain direction on each piece with a pencil before cutting if you cannot tell from the surface texture.
A sharp beveler is non-optional. A dull beveler tears fibers instead of slicing them, and torn fibers do not recover under the burnisher — they stay visible as fuzz no matter how long you work. Strop the beveler edge on a leather strop loaded with green compound every 30 minutes of active beveling; replace the blade or send to professional sharpening once a year. Beveler maintenance is the single biggest predictor of edge quality consistency over time.
Burnishing Compounds: Tokonole vs Gum Tragacanth vs Water
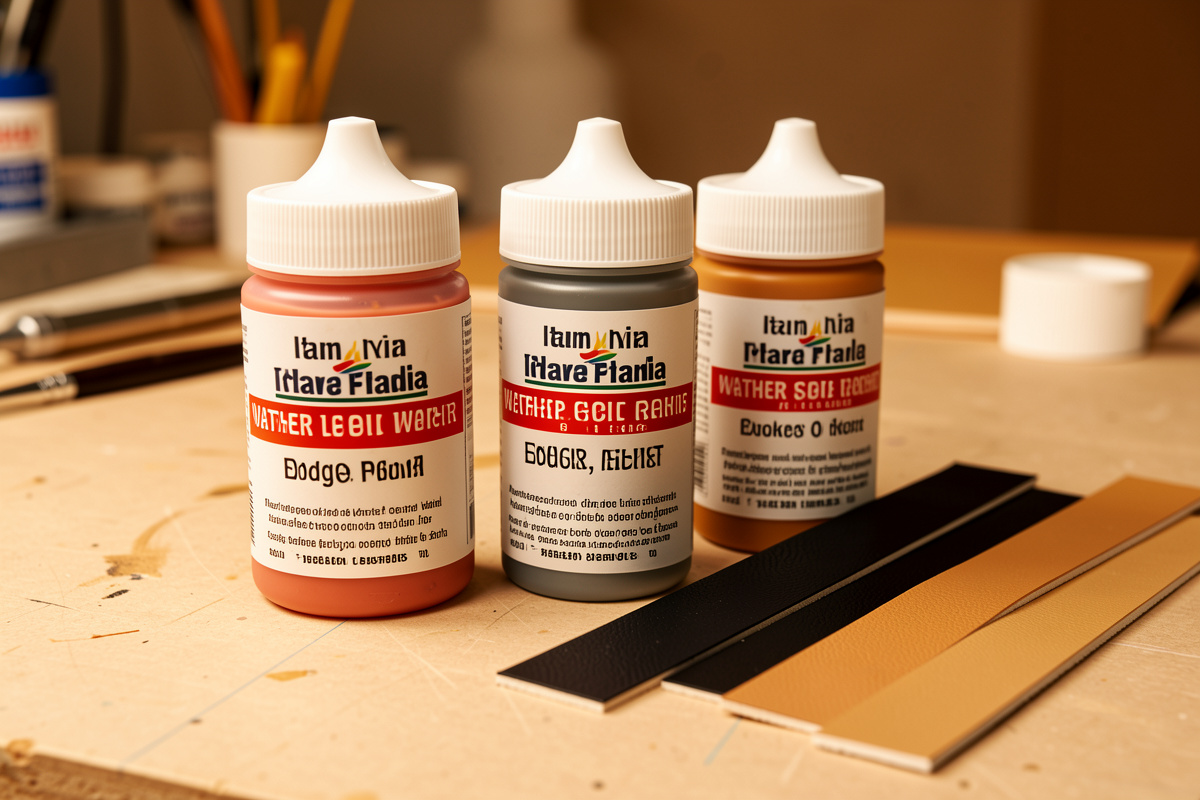
The compound you rub into the edge before burnishing determines the final color, sheen, and durability. The three main options are Tokonole (Japanese pre-mixed gum), gum tragacanth (traditional plant gum), and plain distilled water (free, simplest). Each produces a different result.
The Tokonole vs gum tragacanth comparison covers a head-to-head test on identical leather samples: Tokonole produces a slightly darker, slightly waxier finish with the highest sheen; gum tragacanth produces a more matte, more natural-looking finish at lower cost; water alone produces an acceptable but less durable result. For absolute beginners, Tokonole is the most forgiving — uneven application still produces an acceptable edge.
Application matters more than the compound itself. Apply a small amount (a pea-sized dab covers about 2 linear feet of wallet edge) directly to the edge using a fingertip or a small artist’s brush. Spread evenly along the length. Let it sit 15-30 seconds to penetrate slightly. Then start burnishing — the compound becomes the lubricant that lets the wood slicker compress fibers without dragging.
Water-only burnishing is the traditional method and still produces excellent results on high-quality veg-tan. Apply distilled water with a cotton swab, allow 30 seconds to penetrate, burnish with hardwood. The result is matte, naturally colored, and develops patina with use. Water burnishing requires perfect leather quality — any imperfection in the leather shows on the edge.
Beeswax-based finishes (Saphir Mirror Gloss, Saddler’s Wax) are sometimes added as a final step after burnishing for extra sheen and water resistance. These are optional and best reserved for items that see heavy outdoor use. A wallet that lives in a pocket does not benefit from wax sealing; a belt or holster does.
Burnishing Tools: Hardwood Slicker, Canvas, Power Burnishers
The friction-and-compression of burnishing requires a tool harder than the leather and dense enough to not absorb water. Hardwood (cocobolo, walnut, hard maple) is the standard. Canvas works for in-between sheens. Power burnishers are the production-scale solution.

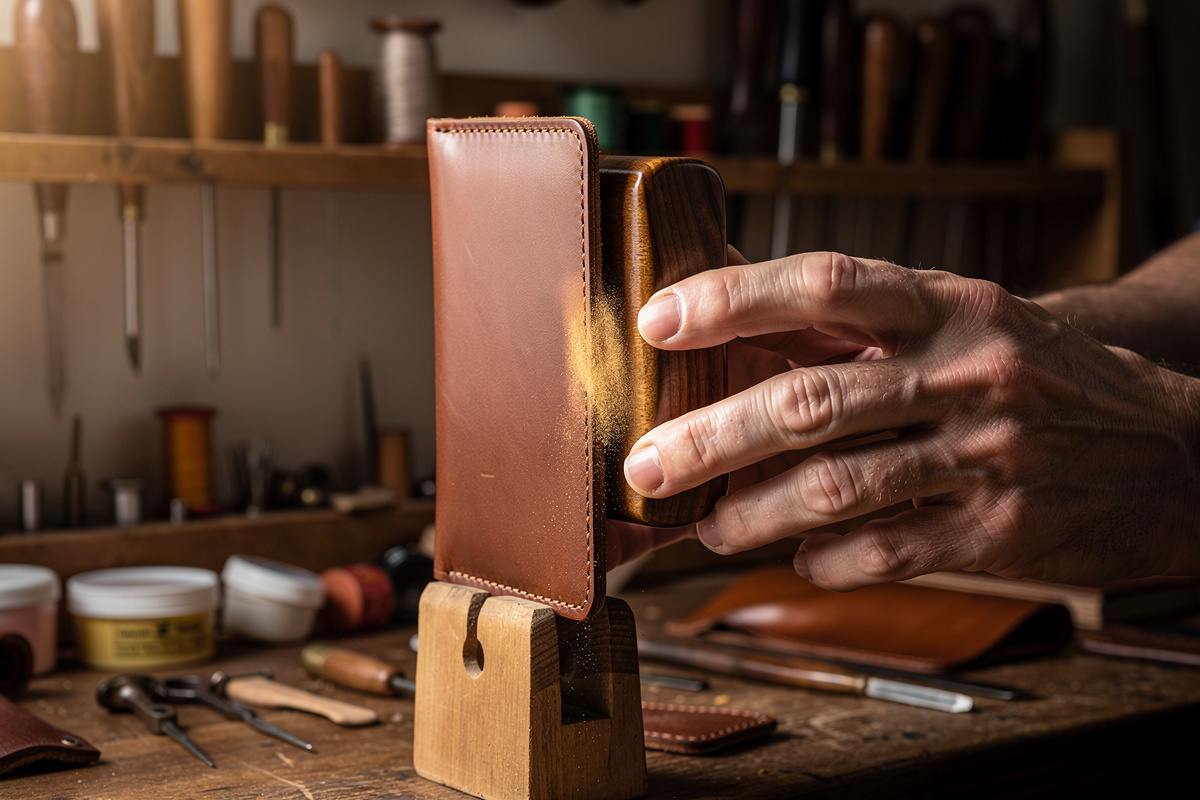
A handheld hardwood slicker (Cocobolo, Walnut, or African Blackwood) costs about $12 and lasts decades. The slicker has a groove cut into one face that matches the bevel angle — you press the leather edge into the groove and slide back and forth at 60-90 strokes per minute. Friction generates heat which activates the tannins; heat plus pressure compresses the fibers. After 60-90 seconds the edge feels glassy and stops absorbing more compound.
Canvas burnishing is the in-between method. Wrap a strip of heavy canvas around the leather edge and pull it back and forth in long strokes. Canvas creates more friction than hardwood and works fast on smaller pieces (card holders, key fobs) but produces a less polished final sheen. Use canvas as the first burnishing pass and finish with hardwood for the highest gloss.
Power burnishers (motor-driven cocobolo wheels) are the production-scale solution. Cost ranges from $80 (drill-press attachments) to $400 (dedicated bench grinder conversions). For beginners, hand-burnishing is faster to learn and produces better results on first attempts; switch to power once you make the same wallet edges 50+ times. The 3D-printed leather tooling guide covers printable burnisher heads that fit standard rotary tools.
Wood selection affects how the burnisher feels in hand. Cocobolo is the traditional choice — dense, oily, and self-polishing. Walnut is cheaper and works well. Maple is the hardest but lacks the natural oils that prevent friction wear. African Blackwood is the gold standard but costs 4-5x more than cocobolo for marginal improvement.
When to Finish Edges: Before vs After Stitching
The order matters. Edges that are accessible before stitching should be finished before stitching. Edges created by stitching two pieces together (where two layers meet) must be finished after stitching. Mixing the order — trying to finish an exterior edge after the interior is stitched in — produces uneven results because the burnisher cannot reach the corners.
Standard wallet construction sequence: cut all pieces, dye the grain surfaces, finish the open edges (those that will be visible in the finished piece but are not joined to other pieces), stitch the pieces together, finish the joined edges last. Following this order means each edge gets full burnisher access before being constrained by adjacent layers.
The burnishing tutorial walks through the full sequence with timing for each step. The saddle stitch tutorial covers the stitching step that comes between open-edge finishing and joined-edge finishing. The stitch length guide helps decide what spacing to use; finer stitching produces tighter joined edges that finish more cleanly.
Some advanced techniques (waxed-and-burned edge, pyrography-finished edge) require specific sequences with stitching that diverge from the standard. These are uncommon enough that beginners should master the standard sequence first.
Dyeing Edges: Match to Body or Contrast
Cut edges absorb dye differently than grain surfaces because the exposed end-grain fibers are far more porous than the sealed grain face. Apply body dye to edges and you will see darker, faster absorption — sometimes by 2-3 shades. The standard sequence is to dye the body, then dye the edges separately with the same dye but slightly diluted, then burnish.
Edge paint (Fenice, Giardini, Stahl) is a thicker pigmented compound that builds on the edge surface rather than penetrating. Edge paint is applied between sanding and burnishing, sands smooth, then optionally burnishes for a final glassy finish. The painted-edge look is signature of European luxury goods. Edge paint costs more than penetrating dye but produces a uniform finish that handles inconsistent leather better.
For a deeper dive into body dyeing and edge dye selection, the best leather dye for veg-tan review covers the alcohol and oil dyes that work for both body and edges, and the dye without streaks tutorial covers edge-dye application technique.
Color choice is stylistic. Match-to-body produces a seamless, professional look; contrast (dark walnut body with black edges, or natural body with tan edges) produces visual interest and is a hallmark of certain English saddlery traditions. Beginners should match-to-body for first 10 projects; contrast edges are an aesthetic decision that requires confidence in dye application.
Troubleshooting Eight Common Edge Failures
Edge finishing fails in predictable ways. Diagnose first, then fix.
Failure 1: Fuzzy edge after burnishing. Cause: dull beveler tearing fibers, or insufficient sanding before burnishing. Fix: re-bevel with sharper blade, sand to 800 grit, re-burnish with fresh compound.
Failure 2: Pale edge that does not match dyed body. Cause: skipped edge-dye pass after body dyeing. Fix: bevel and sand again, apply matching dye to edges only with fine brush, allow penetration, burnish.
Failure 3: Visible scrape lines from beveler. Cause: dull beveler, beveler held at wrong angle, or insufficient sanding. Fix: strop beveler, retake the bevel pass at correct 45 degrees, sand 400 then 800.
Failure 4: Edge cracks during burnishing. Cause: over-dried leather (case the leather), or burnishing on cold leather. Fix: dampen edge lightly, allow 60 seconds penetration, restart with light pressure.
Failure 5: Inconsistent edge thickness along length. Cause: variable beveler pressure, or grain direction reversed mid-cut. Fix: identify the thin sections, mark them, re-bevel the rest of the edge to match the thinnest section.
Failure 6: Edge feels rough after the burnisher gets shiny. Cause: compound has worn through; surface is dry. Fix: stop, reapply Tokonole, restart burnishing pass.
Failure 7: Compound smear on grain surface near edge. Cause: too much Tokonole applied, or compound migrated during burnishing. Fix: damp cotton swab to lift smear; if dried, lightly buff with 0000 steel wool perpendicular to grain.
Failure 8: Stitched edge does not finish smoothly because thread pulls. Cause: stitching too close to edge, leaving insufficient material for burnishing. Fix: future projects, set stitch line at least 4 mm from edge to leave burnishing margin.
Advanced Edge Treatments
Once standard burnishing is reliable, three advanced edge treatments expand the range. Each requires the standard four-step sequence as a foundation; they are stylistic additions, not replacements.
Waxed edges (saddler’s wax or beeswax rubbed in after burnishing) produce a sealed, slightly slick surface that resists water and dirt. Apply a small amount with a cotton ball, work into the edge with light burnishing motion, buff with cotton until the wax is no longer visible. Used on belts, dog collars, and outdoor gear that benefits from waterproofing.
Burned edges (briefly passed under a heat gun or alcohol flame) produce a darker, slightly singed finish that contrasts dramatically with the body color. Used in Western saddle work and Hispanic leather traditions. The technique requires practice to avoid scorching the grain surface; not recommended for beginners working on visible pieces.
Pyrographed or stamped edges add a decorative pattern to the burnished edge using a soldering iron or hot stamp. Common motifs include parallel grooves, dot patterns, and rope twists. The laser engraving veg-tan guide covers laser-marked edge patterns as a modern alternative to pyrography.
The DIY leather edge slicker guide covers 3D-printed and printed-and-CNC-cut alternative slicker shapes for non-standard edge profiles (fully rounded, half-round, V-groove). These let you finish edges that hardware-store slickers do not match.
Edge Finishing By Project Type
Different projects need different edge finishing approaches. The table below summarizes the typical approach for the most common beginner and intermediate projects.
| Project | Bevel Size | Compound | Burnish Method | Time Per Edge Foot |
|---|---|---|---|---|
| Card holder (2-3 oz) | Size 1 | Tokonole | Hardwood slicker | 3 min |
| Bifold wallet (4-5 oz) | Size 2 | Tokonole | Hardwood slicker | 4 min |
| Belt strap (7-8 oz) | Size 3 or 4 | Gum tragacanth | Canvas + hardwood | 6 min |
| Holster (8-9 oz) | Size 4 | Gum tragacanth + wax | Canvas + hardwood | 8 min |
| Watch strap (3-4 oz) | Size 1 or 2 | Tokonole | Hardwood slicker | 3 min |
| Knife sheath (8-9 oz) | Size 4 | Gum tragacanth + wax | Canvas + hardwood | 10 min |
Linked deep-dives for the projects in this matrix: card holder pattern, bifold wallet build, and best wallet leather guide. The thicker projects (belts, holsters, sheaths) require gum tragacanth over Tokonole because the deeper edge takes longer to burnish and gum tragacanth provides longer working time before drying out.
Frequently Asked Questions
Why are my burnished leather edges still fuzzy?
A dull beveler is the most common cause. Torn fibers do not recover under the burnisher. Strop the beveler with green compound, re-bevel with sharper blade, sand to 800 grit, then burnish with fresh Tokonole. Sharpness in the bevel step controls fuzz in the burnish step.
Do I have to bevel before burnishing leather edges?
Yes. Square 90-degree edges never burnish round no matter how long you work them. The beveler removes a thin chamfer from top and bottom corners, leaving the rounded cross-section that compresses smoothly under the wood slicker. Skipping the bevel is the most common beginner error.
What is the difference between Tokonole and gum tragacanth?
Tokonole is a Japanese pre-mixed wax-and-gum compound that produces a slightly waxy, glossy finish. Gum tragacanth is a traditional plant-based gum that produces a more matte, natural finish at lower cost per ounce. Tokonole is more forgiving for beginners. Both seal edges effectively.
How long does edge finishing take per project?
A 4-5 ounce bifold wallet has roughly 24 inches of edge total. At 4 minutes per linear foot, total edge finishing time is about 8 minutes plus drying. Belts and holsters with thicker leather take 6 to 10 minutes per foot of edge.
Should I dye leather edges before or after burnishing?
Dye first. Apply matching body dye to the edges using a fine brush after sanding, allow 60 seconds penetration, then burnish over the dyed edge. Burnishing before dyeing seals the surface and prevents dye absorption.
Can you burnish chrome-tanned leather?
No. Chrome-tanned leather lacks the tannins that respond to friction-and-compression burnishing. The edge stays loose-fibered no matter how long you work it. Edge paint (a pigmented compound that sits on the surface) is the only option for chrome-tan edges.
What size edge beveler do I need?
Size 1 for 2-3 ounce leather (card holders, lining), size 2 for 4-6 ounce leather (wallets, small bags), size 3 for 6-8 ounce leather (belts), size 4 for 8-10 ounce leather (holsters, sheaths). Most leatherworkers own sizes 1 and 2 for typical projects.
Related Guides
- Best Edge Bevelers for Leather: Size 1 vs 2 Ranked
- How to Burnish Leather Edges With Tokonole
- Tokonole vs Gum Tragacanth vs Water
- DIY Leather Edge Slickers and Burnishers
- Leather Working for Beginners: Complete Starter Guide