The saddle stitch uses one length of waxed thread with a needle on each end, passing both needles through every hole in opposite directions. This gives a self-locking…
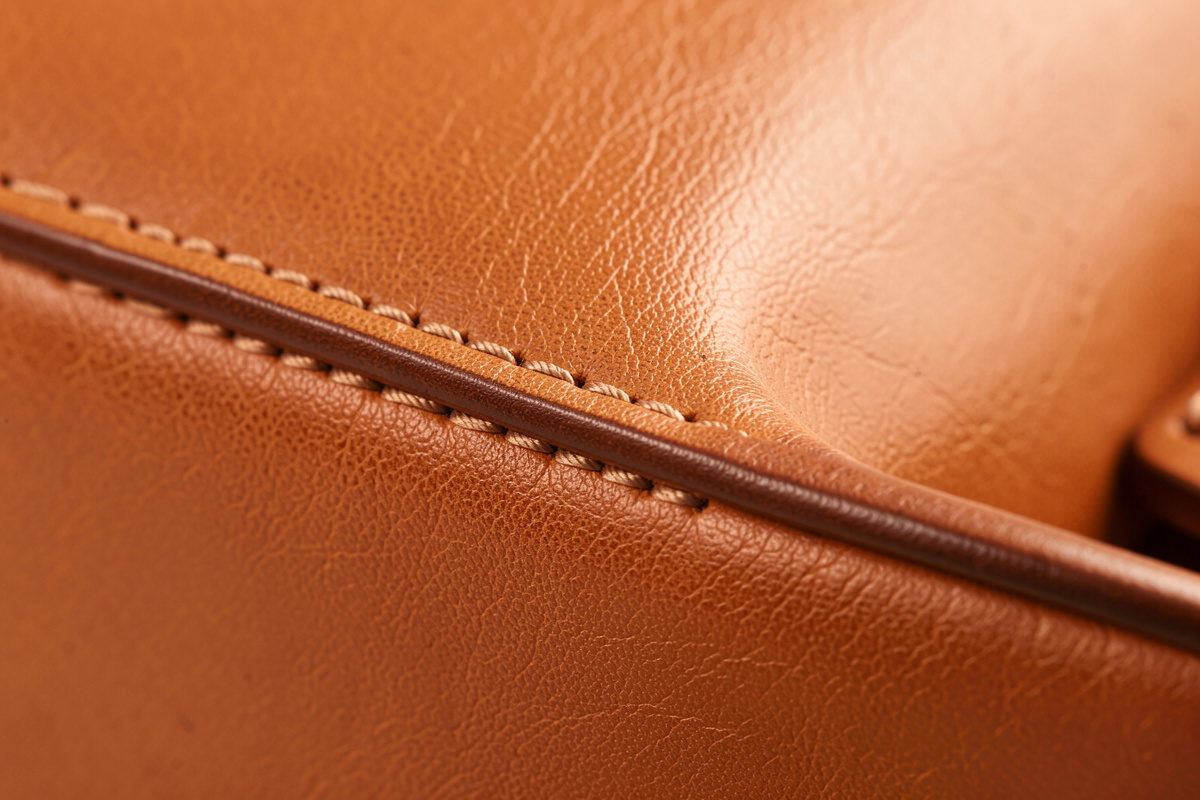
The saddle stitch uses one length of waxed thread with a needle on each end, passing both needles through every hole in opposite directions. This gives a self-locking stitch: each stitch anchors to its own loop independently, so if a machine lockstitch thread snaps the whole seam can run like a stocking, while a broken saddle-stitch thread only loosens on one side and the rest of the line holds (Anne Wesley on why saddle stitch outlasts machine stitching). On the pieces I’ve carried daily for years, the stitch line is never what fails first — it’s the leather itself that wears out around it. The leather stitching techniques hub covers the broader stitching context: chisel spacing, thread weight, troubleshooting, and when machine stitching makes sense.
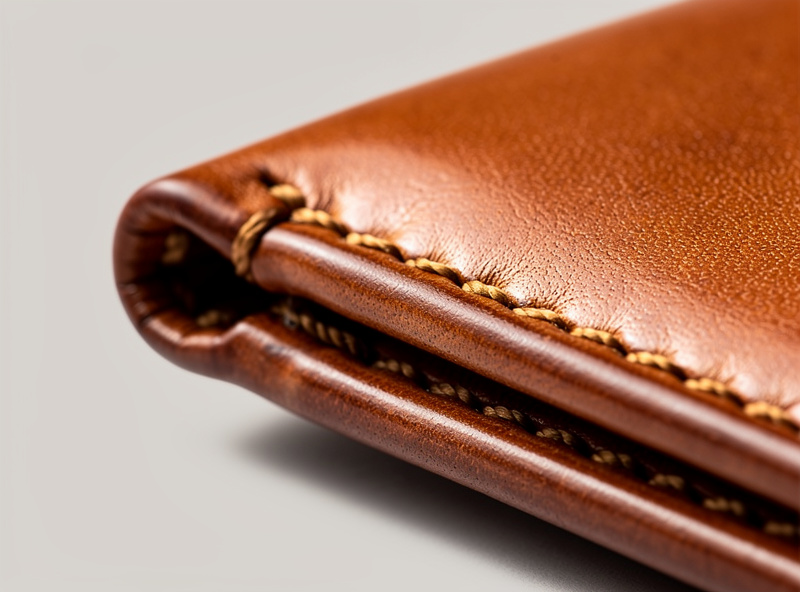
Done correctly, the saddle stitch produces an angled, identical-on-both-faces stitch line that defines premium hand-stitched leather goods. Done with inconsistent needle order, it produces the classic “good side / bad side” look that flags beginner work. This guide walks the full sequence — chisel marking, threading, the back-needle-first method, locking the start and end, and the three most common mistakes that ruin an otherwise good stitch.
I learned saddle stitching from Nigel Armitage’s YouTube video and immediately ignored his advice about counting the beat. My first bifold wallet had a stitch line that wandered like a snake — tight on one side, loose on the other. Deliberately counting “one-two-pull-tighten” for every single hole fixed it within 30 minutes. Now it is muscle memory and I can stitch while watching a movie. The best stitch length for leather covers the matching spacing and thread diameter decisions.
As an Amazon Associate I earn from qualifying purchases.
What You Need Before Starting
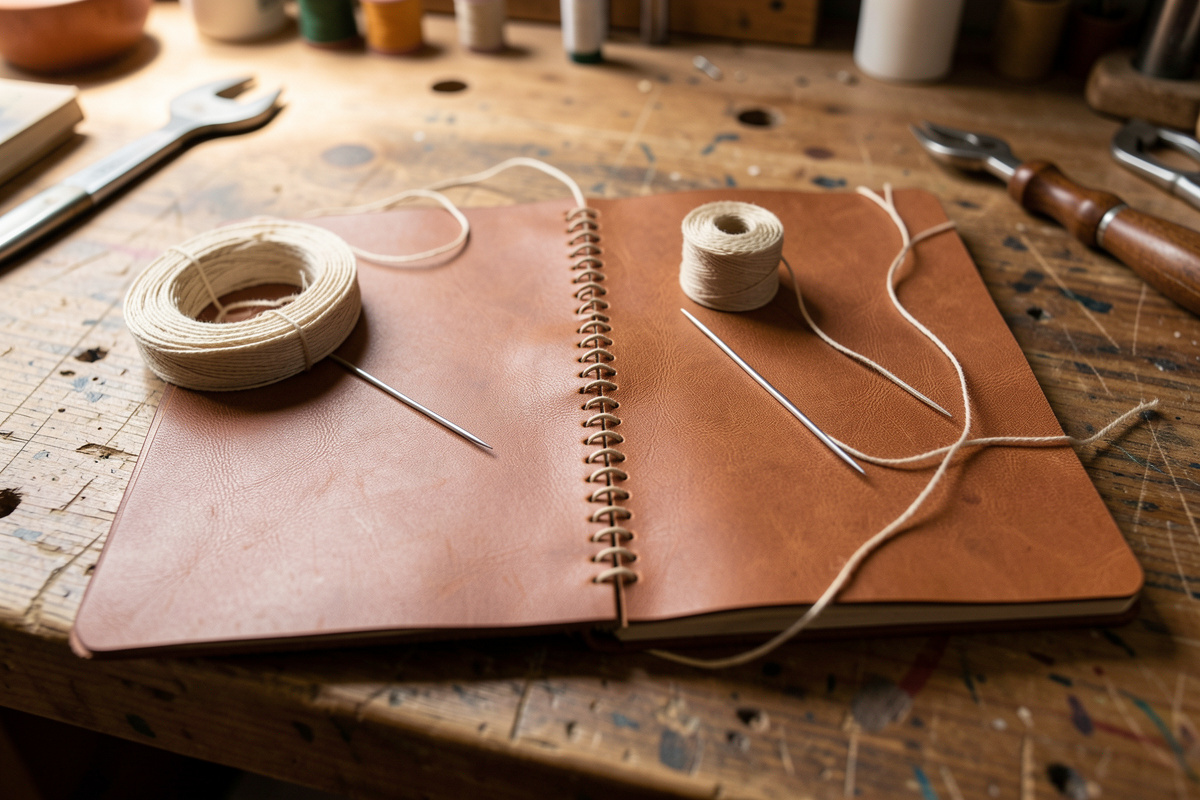
The minimum kit for a clean saddle stitch on a small leather goods project: 4 mm or 3 mm diamond stitching chisels (a 2-prong and a 6-prong as a pair), two saddler’s harness needles (size 002 or 004), waxed linen thread or polyester thread (Tiger thread, Ritza 25), a stitching pony or clamp, a stitching groover, and a poly mallet for the chisels.
For thread length, use a piece roughly 4 times the length of the stitch line. A 6-inch wallet seam needs 24 inches of thread; an 18-inch belt edge needs 72 inches. This sounds excessive but the saddle stitch consumes 2.5 to 3 times the seam length, plus you need 4 to 6 inches of tail at each end for tying off.
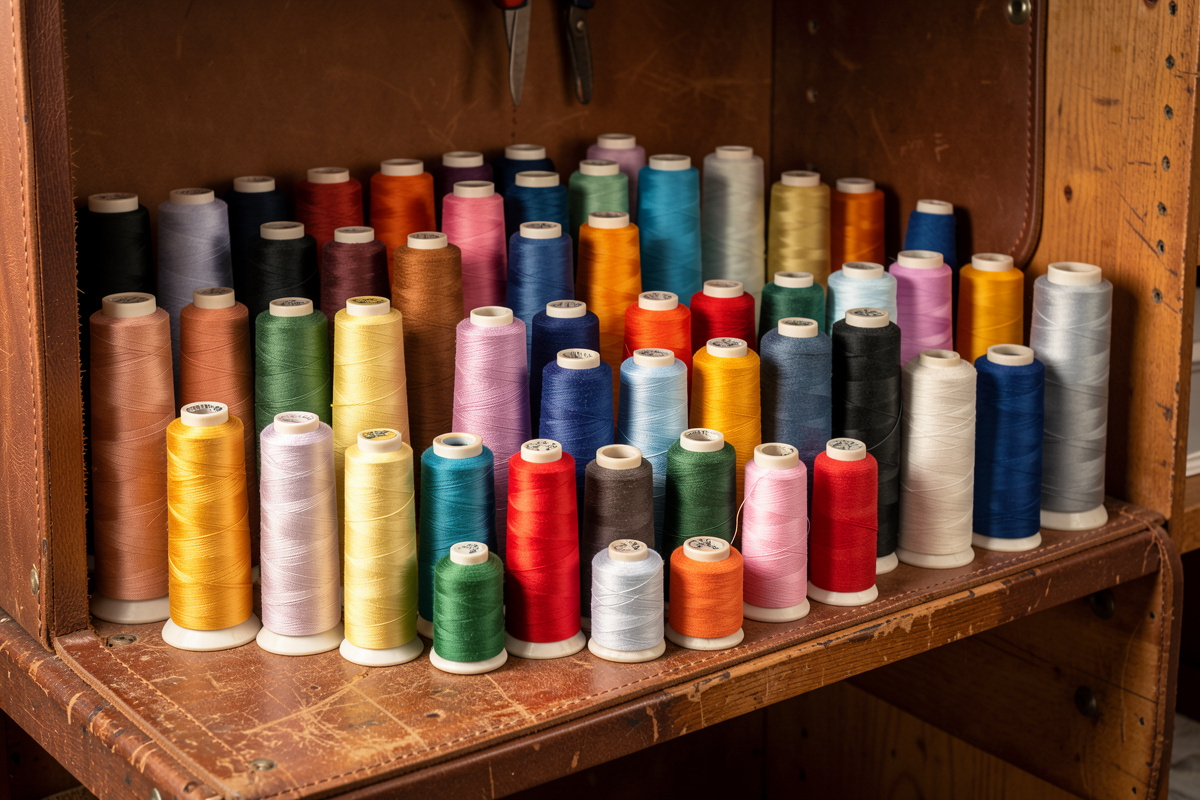
Thread thickness should match the stitching iron spacing. Match 0.45 mm to 0.6 mm thread to 4 mm chisels; thinner 0.3 mm to 0.4 mm thread to 3 mm chisels. Thread that’s too thick won’t fit through both needle eyes in the same hole; too thin and the stitch looks weak relative to the leather. The leatherworking tools cluster covers brand-specific thread-to-chisel matching.
Step 1: Cut the Stitching Groove
Set the stitching groover to 4 mm from the edge for wallets and 5 mm for belts. Pull it along the edge with steady, even pressure to cut a shallow channel about 1 mm deep into the grain side. The groove serves two purposes: it seats the thread below the leather surface to protect it from abrasion, and it gives a guide line for the stitching chisel.
If you don’t own a groover, use a creaser to mark a line with no depth — the stitching will sit slightly above the leather but the chisel still has a guide. Skipping the groove entirely is the most common cause of stitch lines that wear through within 2 years on belts and wallets.
For curved seams, the groover follows the curve naturally. Slow down on tight curves and let the tool track the edge. A wandering groove translates directly into a wandering stitch line, which no amount of careful needle work can fix.
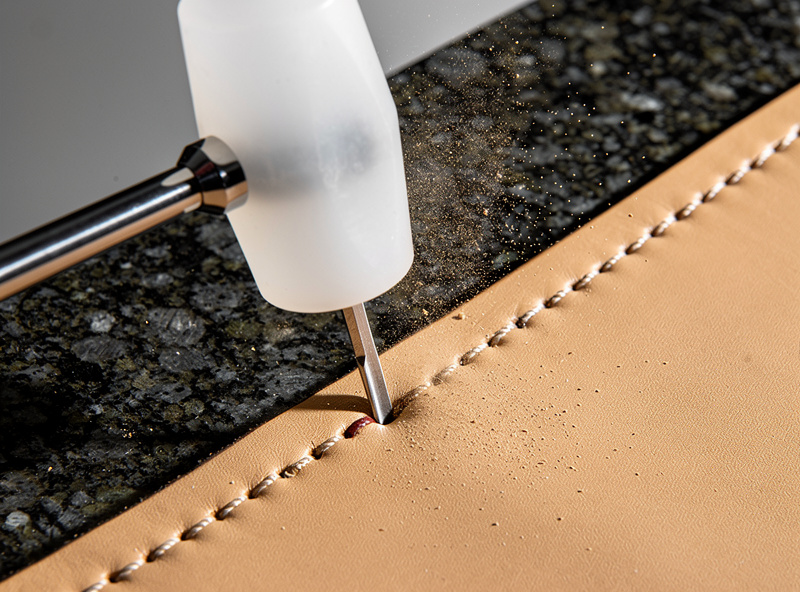
Step 2: Mark Stitch Holes With the Chisel
Place the leather on a granite stone, marble tile, or hardwood block (not directly on the bench — the impact dents the bench top). Position the 6-prong diamond chisel in the groove, vertical, and strike it with a poly mallet hard enough to drive the prongs about 80% of the way through the leather. Lift, advance so the first prong overlaps with the last hole of the previous chisel placement, and repeat.
The overlap is critical for even spacing — the first prong of each new placement goes into the last hole of the previous one, which guarantees the spacing is identical across the entire stitch line. Skipping the overlap creates uneven gaps every 6 stitches that show as a stitch-line “stutter” once the thread is in.
For corners, switch to a 2-prong chisel and place each hole individually. The 2-prong gives you the angle control to wrap around a 90-degree corner cleanly. For curved seams, the 2-prong placed every other position along the curve, with the 6-prong filling the straight runs, gives the cleanest result.
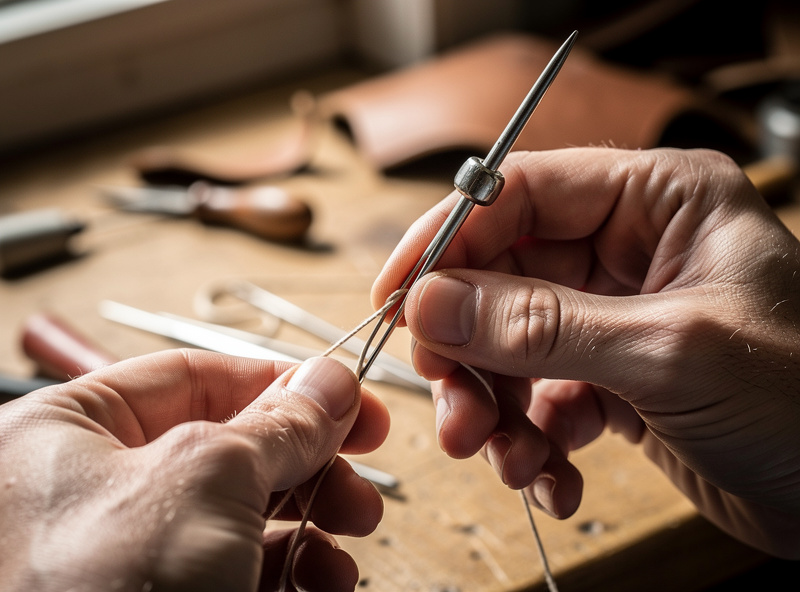
Step 3: Thread Both Needles
Cut the thread to length (4x stitch line). Pass one end through a needle eye, push the needle through the thread itself about 1 inch from the end (called “saddler’s lock”), and pull the loose end snug. Repeat on the other end with the second needle. Both needles are now permanently attached to the same thread without slipping.
If you’re using flat polyester thread (Tiger, Ritza), the saddler’s lock works directly. If you’re using round waxed linen, twist the thread slightly before locking to keep the needle eye from sliding free. Test by pulling each needle hard against the lock — it should hold without sliding.
Do not knot the thread to the needle. A knot creates a bulge that won’t pull through the stitch holes cleanly and defeats the saddler’s lock advantage of being smooth-sided. The lock is fast, repeatable, and trivially removable when you finish.
Step 4: The Back-Needle-First Method
Clamp the leather in your stitching pony or clamp with the working area at chest height. Pass the first needle through the first hole, pulling it through until equal lengths of thread hang on each side. This sets your starting position — both halves of the thread should be the same length so you don’t run out on one side before the other.
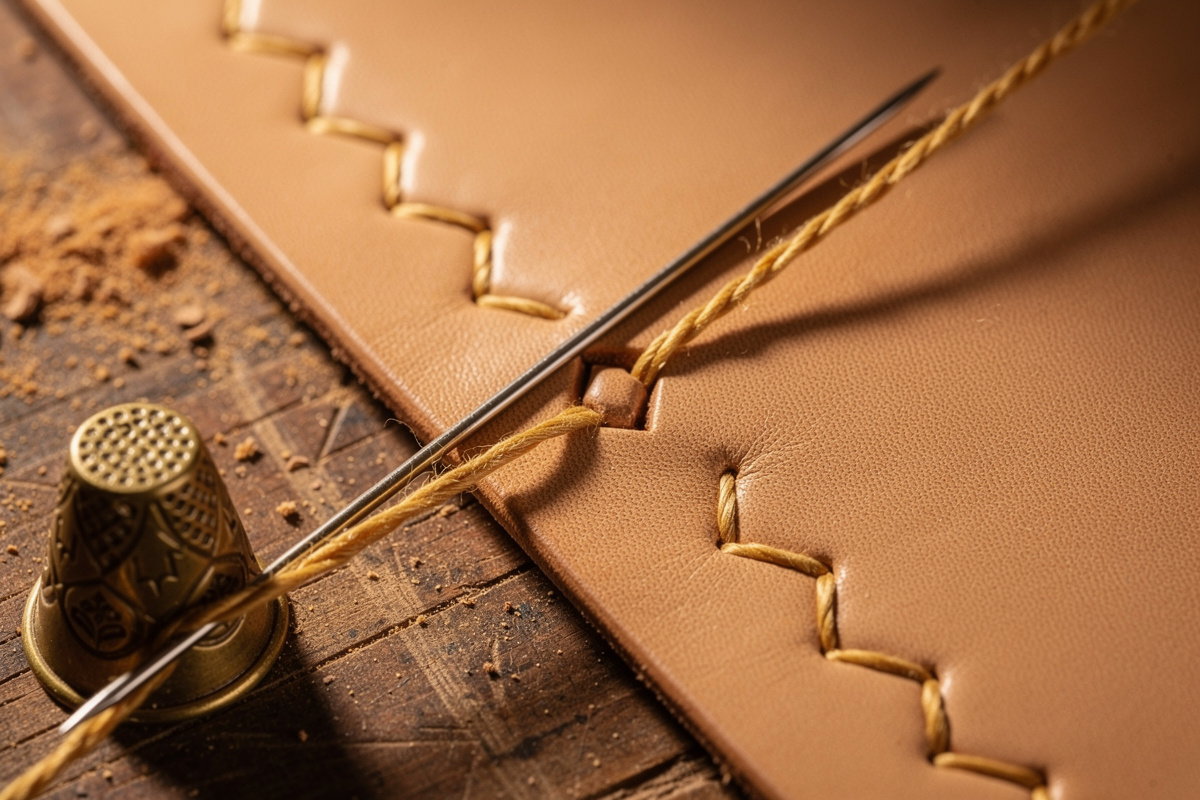
Now the actual saddle stitch. For every hole, the back needle goes through first, then the front needle goes through above it. Pull both needles tight — the back thread should be on top of the front thread inside each hole. Repeat for every stitch. Consistency on which needle goes first is the single biggest factor in stitch appearance: alternate randomly and the stitch looks twisted; pick a method and stick to it and the stitch looks identical on both faces.
Watch the back thread as you push the front needle through. If the front needle pierces the back thread, pull it back out and try again — that creates a “split stitch” that looks fine from the front but unravels because the threads are no longer locked. Some leatherworkers angle the front needle slightly upward to slide above the back thread; others use a brass thimble to push the back thread aside. Either works.
Step 5: Lock the End
When you reach the last hole, do two extra passes back through the previous holes (called “back-stitching”) with both needles. Each back-stitch passes through two existing holes in opposite direction. After the second back-stitch, pull both threads firmly and trim them flush to the leather surface with sharp scissors or flush cutters.
For the cleanest finish, melt the thread tails with a thread burner or lighter held briefly an inch above the cut end. The melted thread fuses to the leather grain and the seam looks completely sealed. Don’t burn linen thread — it chars rather than melts. For polyester, the burn-melt finish is the production standard.
The starting end gets the same treatment retroactively: thread one of the needles back through 3 stitches in the opposite direction before trimming the starting tail. This back-stitches the start so it doesn’t unravel during the first few weeks of use.
Common Saddle Stitch Mistakes and Fixes
| Mistake | What It Looks Like | Fix |
|---|---|---|
| Inconsistent needle order | One face neat, the other twisted | Commit to back-needle-first every hole |
| No overlap on chisel placement | Visible “stutter” every 6 stitches | Always advance with first prong in last hole |
| Thread too thick for chisel | Bulging stitch, won’t sit in groove | Use 0.45 mm for 4 mm chisel max |
| Front needle pierces back thread | Stitch unravels weeks later | Push back thread aside with thimble |
| Loose tension | Stitch sits proud of groove | Pull each pair firmly before next hole |
| No groove cut | Stitch wears through in 1 to 2 years | Always groove before chiseling holes |
Stitch Length and Spacing Guide
Wallets and small leather goods: 4 mm spacing (about 6.4 stitches per inch). Belts and dog collars: 5 mm spacing (5 stitches per inch). Heavy bags and rifle slings: 6 mm spacing (4.2 stitches per inch). Watch straps and card holders: 3 mm spacing (8.5 stitches per inch). Match the spacing to the leather thickness — heavier leather wants larger spacing because the thread carries less load per stitch.
The Vergez Blanchard “fil de lin” pricking iron sizing convention uses SPI (stitches per inch) instead of millimeters: a #9 iron is about 9 SPI (2.8 mm), a #7 iron is about 7 SPI (3.6 mm), a #6 iron is about 6 SPI (4.2 mm). When buying chisels, confirm whether the spec is metric spacing or SPI to avoid surprises.
Stitch line distance from the edge follows a simple rule: 1.5 to 2 times the leather thickness. A 5 oz wallet panel (2 mm) takes a 3 to 4 mm edge distance; an 8 oz belt (3.2 mm) takes a 5 to 6 mm edge distance. Closer to the edge weakens the seam; further in wastes leather.
Practice Sequence Before Your First Real Project
Cut six 6-inch x 2-inch strips of veg-tan scrap. Groove and chisel each one with 4 mm spacing along the long edge, then saddle stitch all six in a single sitting. Your first strip will look uneven — that’s expected. By strip three the back-needle-first sequence becomes automatic, and by strip six you have the muscle memory for any small leather goods project.
The most common improvement in this practice run is thread tension consistency: novices over-pull early stitches and under-pull later ones because their fingers get tired. Set a steady tension and use the same hand position on every pull. The result is a stitch line where every stitch sits at the same depth in the groove.
Once you’ve completed the practice run, pick a real first project. Card holders are the smallest viable target — about 30 stitches total — and they teach edge finishing alongside stitching. The leather projects cluster walks through card holder, bifold wallet, and belt builds in order of stitch difficulty. Pair this with the edge finishing cluster to learn burnishing right after the stitch.
Frequently Asked Questions
How long is the thread for a saddle stitch?
Cut the thread roughly 4 times the stitch line length. A 6-inch wallet seam needs 24 inches of thread; an 18-inch belt edge needs 72 inches. The saddle stitch consumes 2.5 to 3 times the seam length plus 4 to 6 inches of tail at each end for tying off.
Why is the back side of my saddle stitch uneven?
You are alternating which needle goes through first inconsistently. The fix is to commit to one method (commonly back-needle-first) for every hole in every project. Both faces of the stitch will then look identical.
What thread thickness for 4 mm stitching chisels?
Use 0.45 mm to 0.6 mm thread for 4 mm chisels, and 0.3 mm to 0.4 mm thread for 3 mm chisels. Tiger thread 0.6 mm and Ritza 25 0.6 mm are the standard for leather wallets and small goods.
Do I have to use diamond stitching chisels?
For traditional saddle stitch appearance, yes — the angled diamond hole creates the angled stitch line that defines premium hand-stitched leather. Round-hole punches give a straight stitch that still works mechanically but looks like machine work.
How do I lock the end of a saddle stitch?
Back-stitch through the last 2 holes in the opposite direction with both needles, then trim flush. For polyester thread, melt the cut tails with a thread burner so they fuse to the leather. For linen, just trim flush — burning chars linen rather than fusing it.
Can I machine-stitch leather instead of saddle stitching?
Yes for production speed, but a machine lock stitch can run like a stocking if one stitch breaks, because the top and bottom threads only lock to each other, not to the neighboring stitches. The hand saddle stitch is self-locking at every hole, so a broken thread only loosens on one side and the rest of the seam holds. That’s why on daily-carry pieces the leather itself usually wears out before a hand-stitched seam does.
Related Articles
- Leather Stitching Techniques cluster
- Leatherworking Tools Guide
- Edge Finishing & Burnishing cluster
- Leather Projects cluster
- Leathercraft for Beginners cluster