Leatherworking tools break into three buy-in tiers: the six essentials that build any beginner project ($55 total), the next-eight upgrades that compound at $200 of cost, and the…
Leatherworking tools break into three buy-in tiers: the six essentials that build any beginner project ($55 total), the next-eight upgrades that compound at $200 of cost, and the production-tier specialty tools ($400-3500) that only pay back at 30+ projects per year. Most beginners overspend on tier-three tools they cannot use and underspend on the tier-one essentials that actually matter — a sharp $9 utility knife outperforms a $300 starter kit for the first 10 projects.
This guide covers every tool decision from absolute beginner to production-ready: which six tools you must own, what to add at month 6 vs year 2, why $300 starter kits are mostly waste, how to maintain tools so they keep producing quality work, and the production-tier tools (sewing machines, splitters, presses) that change project economics. Linked deep-dives expand each tool category.
I bought a $35 Amazon starter kit with 30 tools and ended up using exactly six of them. The rest — bent awls, plastic mallets, stamped chisels with poor diamond geometry — sat unused until I threw them away. A $55 custom kit of six quality tools would have saved me $20 and months of fighting bad equipment. The three-tier buy-in guide below is what I actually use on my bench, not what the bundle sellers want you to believe you need.
The Three Tool Tiers
Tool acquisition follows a predictable progression. Tier one is the essential six tools every leatherworker needs from day one — under $55 total, covers card holders, wallets, and belts. Tier two adds eight tools at month 6 to year 1 — about $200, expands range to bags, holsters, and tooled work. Tier three is production tooling — $400-3500, only worth buying if you produce 30+ projects per year.
| Tier | Tools | Cost | When to Buy | Projects Enabled |
|---|---|---|---|---|
| 1. Essentials | Knife, ruler, chisels, needles, pony, burnisher | $55 | Day one | Card holder, wallet, belt |
| 2. Mid-range | + wing divider, edge beveler, awl, skiving knife, contact cement, slot punch, granite slab, mallet | $200 | Month 6 to year 1 | Tooled work, bags, holsters |
| 3. Production | + sewing machine, splitter, press, laser, CNC | $400-3500 | 30+ projects per year | Production-scale repeat work |
The leatherworking starter kit guide covers the tier-one essentials in detail with brand-specific recommendations. The single biggest mistake new leatherworkers make: buying a $300 “leather starter kit” from a craft retailer that contains 40 stamps, 6 sizes of edge beveler, and a dozen specialty tools, but skips the basics. The right approach is to assemble the six essentials separately at quality grade rather than bundle a kit at unknown grade.
For context on where tools fit in the broader skill stack, the leather working for beginners hub covers the six core skills that the tools serve. Each tier of tools enables a specific scope of work; over-buying tools without the matching skills wastes money and storage space.
Tier 1: The Six Essentials Every Leatherworker Owns
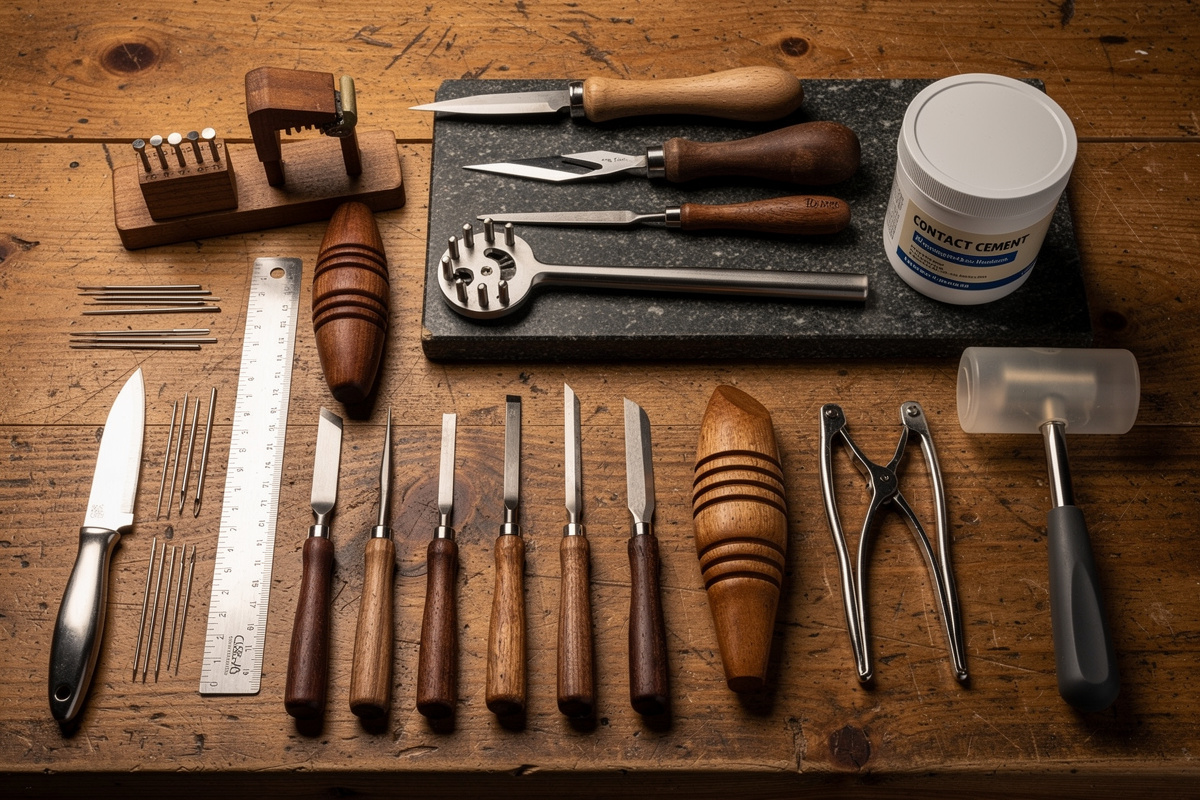
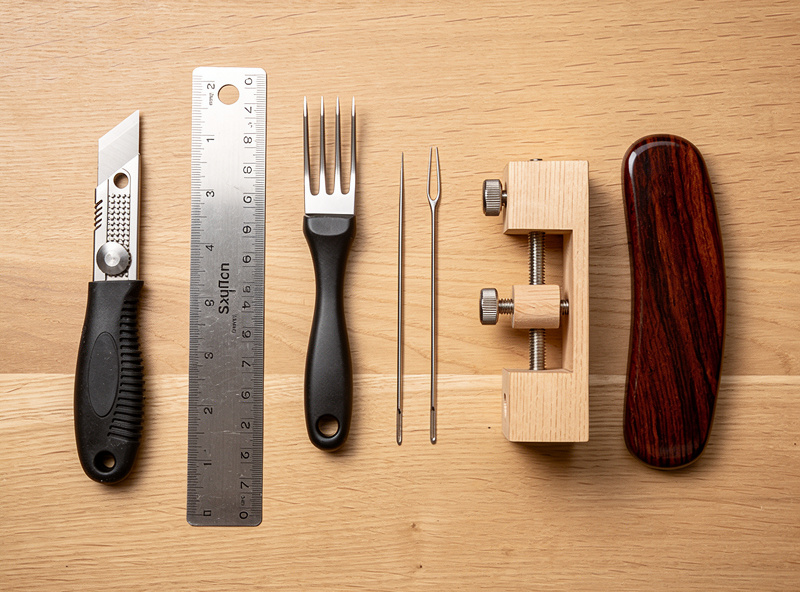
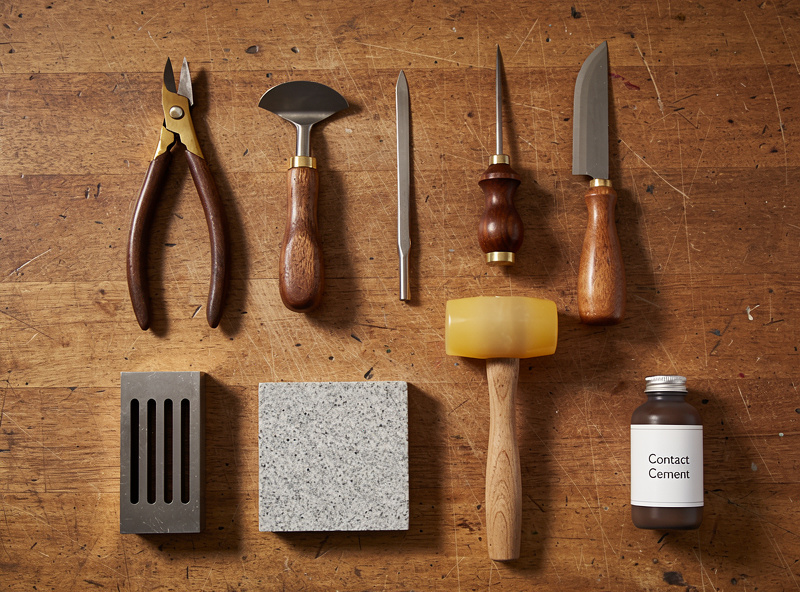
Six tools complete any beginner project. None are exotic; all are available at most leather supply retailers. Buy these six first, master them across 5-10 projects, then evaluate what additional tools your specific project mix actually needs.
Tool 1: Sharp utility knife. A $9 utility knife with replaceable 0.6 mm blades cuts vegetable-tanned leather up to 5 oz cleanly. The blade replacement is what matters — a sharp blade always outperforms a dull “leather knife.” Replace blades every 30 minutes of active cutting.
Tool 2: Steel ruler. A 12-inch or 18-inch steel ruler doubles as a cutting guide and measurement tool. Avoid plastic rulers (knife slips off) and yardsticks (too long for bench work). Cork-backed rulers grip leather better than smooth rulers; both work. The how to cut leather straight guide covers the full ruler-and-knife technique for long cuts and the wing-divider method for consistent parallel lines.
Tool 3: Stitching chisel set. A 4-prong + 2-prong matched set in 4 mm spacing covers wallets, card holders, and belts. Tandy, Seiwa, or Wuta brands all produce acceptable starter chisels; KS Blade and Crimson Hides are premium options for year-2+ work.
Tool 4: Two harness needles. Size #002 or #00 harness needles. Buy 4 needles initially; you use 2 simultaneously and lose at least 1 to floor disappearance per project. John James #002 is the standard reference brand.
Tool 5: Stitching pony. A wooden stitching pony clamps leather vertically while you stitch with both hands free. Cheap basic models work; the stitching pony vs stitching clamps comparison covers the tradeoffs vs handheld clamps.
Tool 6: Hardwood burnishing slicker. A hand-held cocobolo or walnut slicker friction-burnishes leather edges to a smooth dark finish. The best edge bevelers for leather guide covers the matching beveler that prepares the edge for burnishing.
Cost breakdown: utility knife $9, ruler $8, chisels $20, needles $4, pony $14 (basic) to $30 (better), burnisher $12. Total $55-75 depending on pony quality. Buy from any of Tandy Leather, Weaver Leather, or specialty Etsy/eBay sellers — the brand differences are smaller than the brand-name differences would suggest.
Tier 2: Eight Mid-Range Tools at Month 6
After 5-10 finished projects, eight additional tools expand your range significantly. These tools cost about $200 total and unlock tooled leather work, structured bags, holsters, and refined edge finishing.
Tool 7: Wing divider. A two-pronged adjustable scribe that marks consistent stitch-line distance from edges. Replaces the unreliable ruler-and-pencil method. $15-25.
Tool 8: Edge beveler. Size 1 (for 2-3 oz leather) or size 2 (for 4-6 oz leather). The bevel cuts a 45-degree chamfer that lets the edge round during burnishing. The edge beveler review covers size selection and brands.
Tool 9: Awl. A sharp awl replaces a chisel for hard-to-reach corners and curved cuts. Hand-held awls cost $10-25; quality is the eye-shape and shaft alignment.
Tool 10: Skiving knife. A flat blade angled for thinning leather edges (called skiving). Used for fold-over edges on wallets and reduced-thickness fold lines on bags. The leather skiving knife guide covers Japanese vs safety vs French knives, the right angle, and sharpening. $20-30.
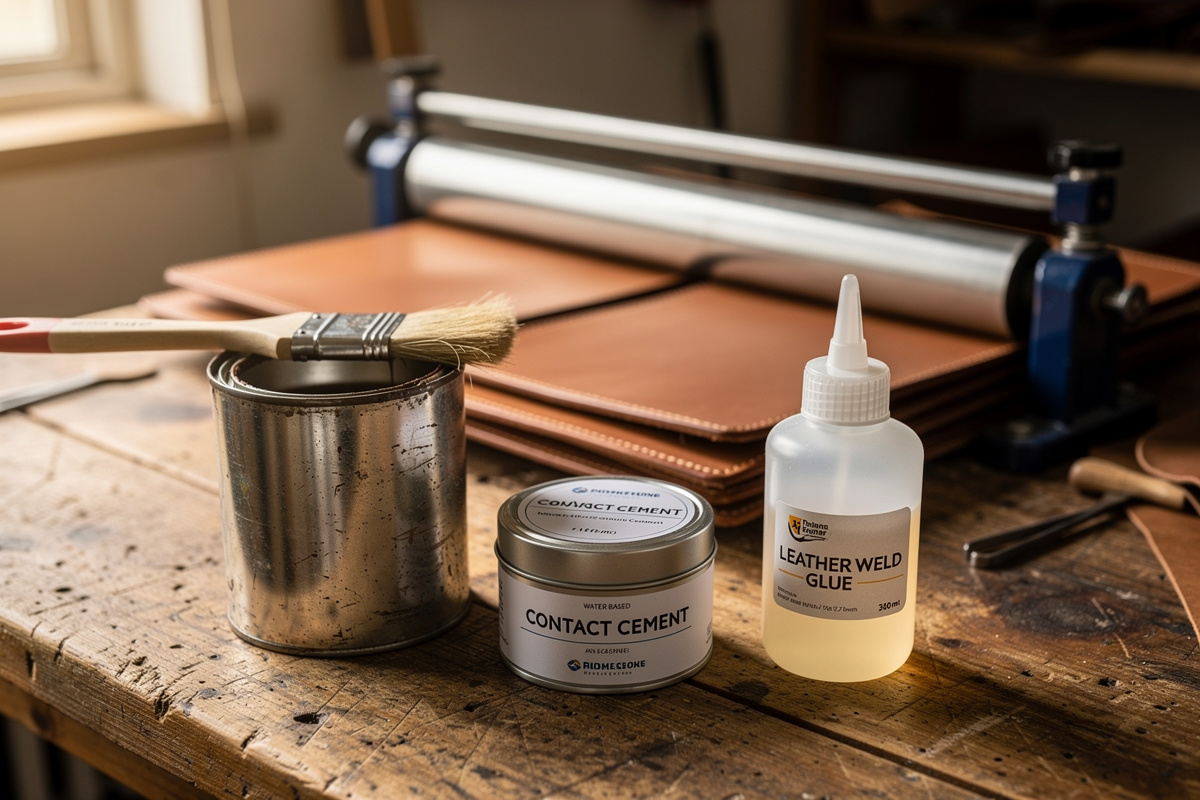
Tool 11: Contact cement. A small bottle ($4) of Barge or Master cement glues leather pieces together before stitching. Lasts 2-3 projects per bottle. The best glue for leather guide compares contact cement, PVA, rubber cement and CA, and how to prep for a bond that holds.
Tool 12: Slot punch. A 30 mm rectangular punch for credit-card slots in wallets. $25 for a quality punch; cheap alternatives produce ragged slot ends. For round holes, the leather hole punch guide covers rotary vs drive punches and the sizes that match each rivet and snap.
Tool 13: Granite or marble slab. A 12×12 inch granite tile (under $20 at building supply stores) backs the chisel during punching. Concrete and wood absorb chisel energy and produce ragged holes; granite reflects energy back into the chisel for clean cuts.
Tool 14: Polyurethane mallet. A 1 lb or 1.5 lb mallet drives chisels through leather without damaging the chisel handle. Steel hammers ruin chisel tops; rawhide mallets dent. The leather mallet and maul guide compares maul vs mallet, head materials, and the right weight for stitching vs stamping.
The tier-2 progression typically follows project demand. Adding a wing divider when you start a wallet that needs consistent stitch-line distance; adding a skiving knife when you build your first bag with folded edges; adding a slot punch when you start producing card-holder volume. Buying all eight at once produces tools you do not yet have skills to use.
Tier 3: Production Tooling at 30+ Projects Per Year
Production tooling changes project economics rather than adding new project types. The same wallet you build by hand in 10 hours takes 4-5 hours with production tooling — that hour savings is what justifies the $1,500-5,000 investment when you are producing volume.
Walking-foot industrial sewing machine ($1,200-5,000 used). Juki, Cobra, or Cowboy machines sew through 8 oz leather at 200-300 stitches per minute. The skill curve is steep — tension, pressure-foot pressure, thread weight all need calibration — but a single belt that takes 90 minutes by hand sews in 6 minutes by machine. Worth the investment at 30+ projects per year.
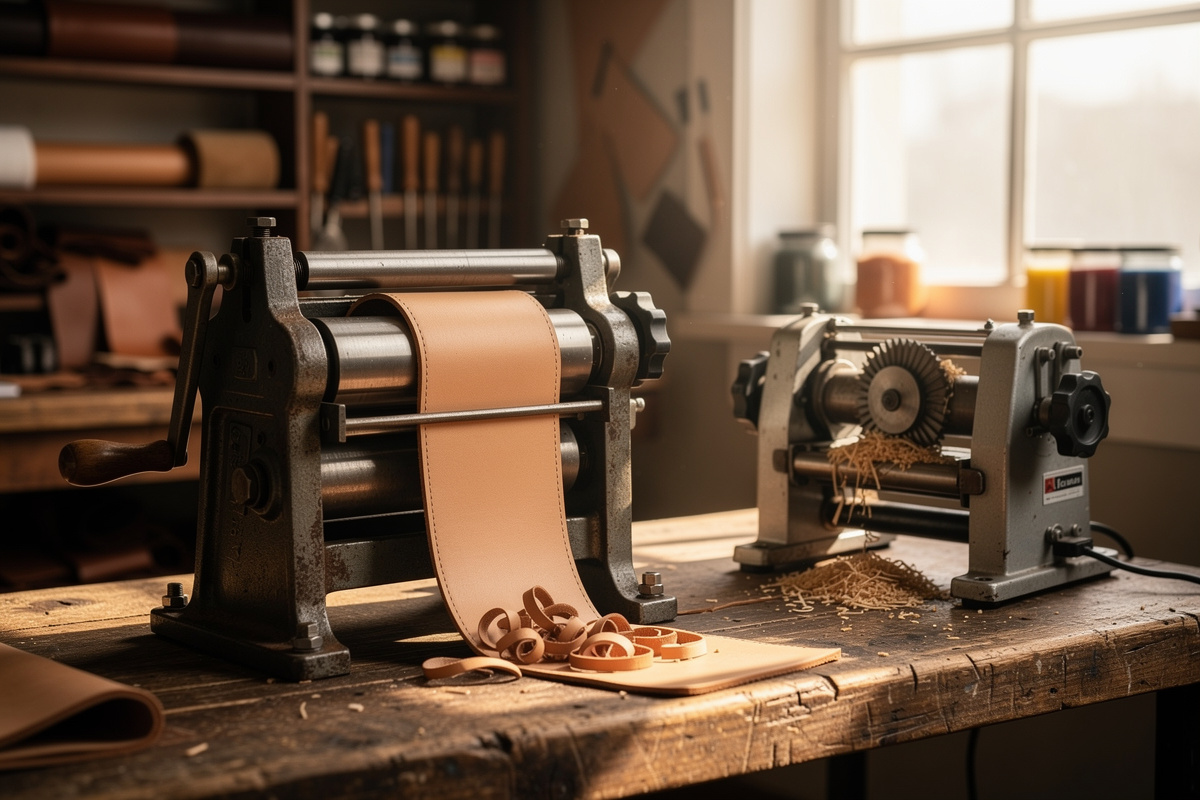
Leather splitter ($150-800). A splitter machine reduces hide thickness uniformly, useful for producing matched-thickness pieces from variable hide stock. The cheap entry-level Tandy splitter handles up to 6 oz; mid-range Weaver splitters handle 12 oz; production-grade splitters handle 20 oz at any width. Worth buying once you produce 10+ wallets per month. The leather splitter and skiver machine guide compares splitters against the bell skiver and covers setup for a clean split.
Hand press for hardware setting ($90-400). A hand press applies consistent pressure to set snaps, rivets, and eyelets without striking with a mallet. The leverage produces more reliable results and reduces wrist fatigue. Worth buying at 50+ pieces of hardware per month. Note this is a different machine from a high-tonnage cutting press — the leather clicker press and dies guide covers stamping out identical leather shapes at volume.
Laser engraver ($800-3,000). A diode or CO2 laser cuts and engraves leather at production speed. The laser engraving veg-tan guide covers settings; the laser-engraved leather projects guide covers wallet, patch, and belt designs. Worth buying at 30+ orders per month and a brand identity that benefits from laser branding.
Desktop CNC router ($600-2,500). A drag-knife CNC produces complex shapes faster and more accurately than hand-cutting. The CNC-cut leather patterns and dies guide covers production-scale cutting workflow. Worth buying at 50+ matched-pattern pieces per month.
The decision tree for tier-3 purchases: do you have 30+ orders per month for the product the tool would speed up? Do you have 6+ months of order history showing that demand is consistent? Do you have storage space for the tool? Are you comfortable with $1,000+ that may not pay back in year one? If yes to all four, the investment pays back within 12-18 months. If no to any, defer the purchase another quarter.
Tool Maintenance: Keep Quality Producing Quality
Sharp tools produce clean cuts and clean cuts produce quality leather work. Dull tools tear fibers and tearing produces fuzz that no amount of finishing fixes. Tool maintenance is the single biggest predictor of consistent quality across a maker’s output over time.
Knife blade replacement schedule: utility knife blades every 30 minutes of active cutting; round knife / head knife stropped before each project session, professionally re-edged annually; skiving knife stropped before each use. Strops are leather-mounted abrasive surfaces (green compound or chromium oxide on a strip of veg-tan); they refine an existing edge but do not create one. Use a stone or whetstone for re-edging.
Chisel maintenance: light strop on the back face every 5-10 projects; replace any chisel with visible burr or chip. Cheap chisels burr quickly; premium chisels (KS Blade, Crimson Hides) hold edge for 50+ projects. Never strike chisels into wood or concrete (use granite); never twist chisels in the leather (drives chisels straight through, lift cleanly).
Edge beveler maintenance: strop the inside angle of the cutting edge every 30 minutes of active beveling; replace blade when burr visible. The edge beveler review covers the resharpening procedure for the major brands. A dull beveler tears fibers and produces fuzz; sharp beveler produces a clean shaving.
Pony jaw maintenance: re-line jaws with adhesive felt every 2-3 years; clean wax buildup with mineral spirits monthly; check screw torque before clamping new project. A dirty pony transfers grease to leather; a slack pony slips during stitching.
Strop construction and maintenance: a $20 leather strop (12 inch length, mounted on a wooden paddle) plus $5 of green compound covers all hand-tool stropping needs. Re-coat with compound when the surface starts looking dry. Replace the strop entirely every 5+ years as the leather surface develops grooves. For the full strop-stone-sandpaper system on every blade, see how to sharpen leather tools.
DIY and Specialty Tools
Some tools are easier (and cheaper) to make yourself than buy. The most useful DIY tools for leatherworkers are: custom edge slickers (printed or CNC-cut to specific edge profiles), branded stamps (for marking leather with logos), pattern templates (acrylic or hardwood templates of frequently-built patterns), and storage organizers (for chisel sets, needle organizers, thread spool racks).
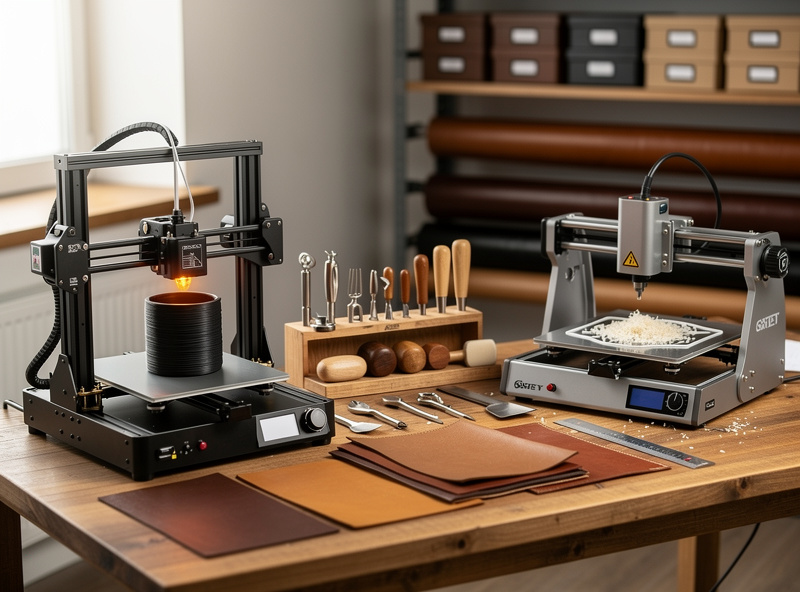
The DIY leather edge slickers and burnishers guide covers 3D-printed and CNC-cut alternative slicker shapes for non-standard edge profiles (fully rounded, half-round, V-groove). Printed slickers run $2-3 in filament cost; CNC-cut hardwood slickers run $4-6. Both let you finish edges that hardware-store slickers do not match.
The 3D-printed leather tooling guide covers stamps, edge slickers, and burnishers you can print at home. A $200 entry-level 3D printer pays back in custom tooling savings within 6-12 months for a working leatherworker. The CNC-cut leather patterns and dies guide covers desktop CNC production of templates and form blocks.
Storage and organization are non-glamorous but compound over time. A small wooden chisel rack ($20 at woodworking stores, or DIY in 30 minutes) keeps chisels accessible and prevents edge damage from drawer collisions. A magnetic needle holder prevents needle loss. A canvas roll-up tool wrap holds the full essential kit and travels well to craft fairs and pop-up shows. A pegboard with hooks ($35 at any hardware store) doubles your visible tool inventory and triples your retrieval speed compared to drawers. The visible-storage approach also catches missing tools at the end of a session — empty hooks signal something to find before the next project.
Tool Shopping: Three Rules That Save Money
Tool shopping for leatherworkers follows three rules that beginners learn the hard way. Apply these rules and you spend less while building a more useful kit.
Rule 1: Buy the essentials at quality grade, then upgrade specialty tools as needed. A $30 stitching pony lasts 20+ years and works as well as a $80 pony for almost all projects; a $4 set of needles works as well as a $12 set. Premium-grade essentials produce diminishing returns. Specialty tools (laser engravers, sewing machines) are where premium grade matters more than essentials.
Rule 2: Avoid bundled “leather starter kits.” They contain mostly tools you will not use (40 decorative stamps, 6 size of edge beveler) and skip the basics. Assemble your kit one tool at a time at quality grade rather than bundle at unknown grade. The savings on the bundle is illusory because most of the bundled tools sit unused.
Rule 3: Try before you buy on tier-3 production tools. A $2,500 sewing machine that does not handle the leather weight you actually use is wasted. Find a local maker space, a leather supply store with demo machines, or a community college class with industrial machines and try the specific machine on the specific leather you intend to sew. Buy only after that trial.
The leatherworking starter kit guide covers the standard tier-1 purchases at brand level; the leather working for beginners hub covers the broader skill stack. Tools serve skills; without the matching skills, the tools sit idle. Build skills first, then add tools as projects demand them.
Frequently Asked Questions
What tools do I need for leatherworking?
Six essential tools cover any beginner project: utility knife with sharp blades, 12-inch steel ruler, 4-prong stitching chisel set, two harness needles, wooden stitching pony, and hardwood burnishing slicker. Total cost about 55 dollars. Add edge beveler and contact cement for project three.
Is a stitching pony necessary for leatherworking?
Effectively yes. A stitching pony clamps leather vertically while you stitch with both hands free, doubling stitching speed. Costs 25 to 80 dollars and pays back in time savings within the first three projects. Hand-held stitching clamps work for some projects but offer less stability.
What is the best knife for leather cutting?
A sharp utility knife with replaceable 0.6 mm blades for first projects (about 9 dollars). Upgrade to a round knife or head knife (35 to 80 dollars) once you can cut 5 oz leather cleanly with the utility knife. Round knives cut faster on thicker stock but require sharpening skill.
Should I buy a leather starter kit or individual tools?
Individual tools. Bundled leather starter kits typically contain 40 decorative stamps and 6 sizes of beveler that beginners do not need, while skipping the actual essentials. Assemble your kit one tool at a time at quality grade — total cost is similar but the kit is far more useful.
How much do leatherworking tools cost?
55 dollars for tier-1 essentials (knife, ruler, chisels, needles, pony, burnisher), 200 dollars for tier-2 mid-range additions (wing divider, beveler, awl, skiver, cement, slot punch, granite, mallet), and 400 to 3500 dollars for tier-3 production tooling (sewing machine, splitter, press, laser, CNC).
What is a wing divider used for in leatherworking?
A wing divider is an adjustable two-pronged scribe that marks consistent stitch-line distance from a leather edge. Set the gap to 4 mm, run the divider along the edge, and the second prong scribes a faint line that you punch chisels along. Replaces the unreliable ruler-and-pencil method.
Do I need a sewing machine for leatherworking?
Not for hobby work. A walking-foot industrial sewing machine costs 1,200 to 5,000 dollars used and only pays back at 30 plus projects per year. For under 30 projects per year, hand stitching is faster end-to-end including the time to maintain machine tension and thread changes.
Related Guides
- Leatherworking Starter Kit Guide
- Best Edge Bevelers for Leather
- Stitching Pony vs Stitching Clamps
- 3D-Printed Leather Tooling
- Leather Working for Beginners: Complete Starter Guide