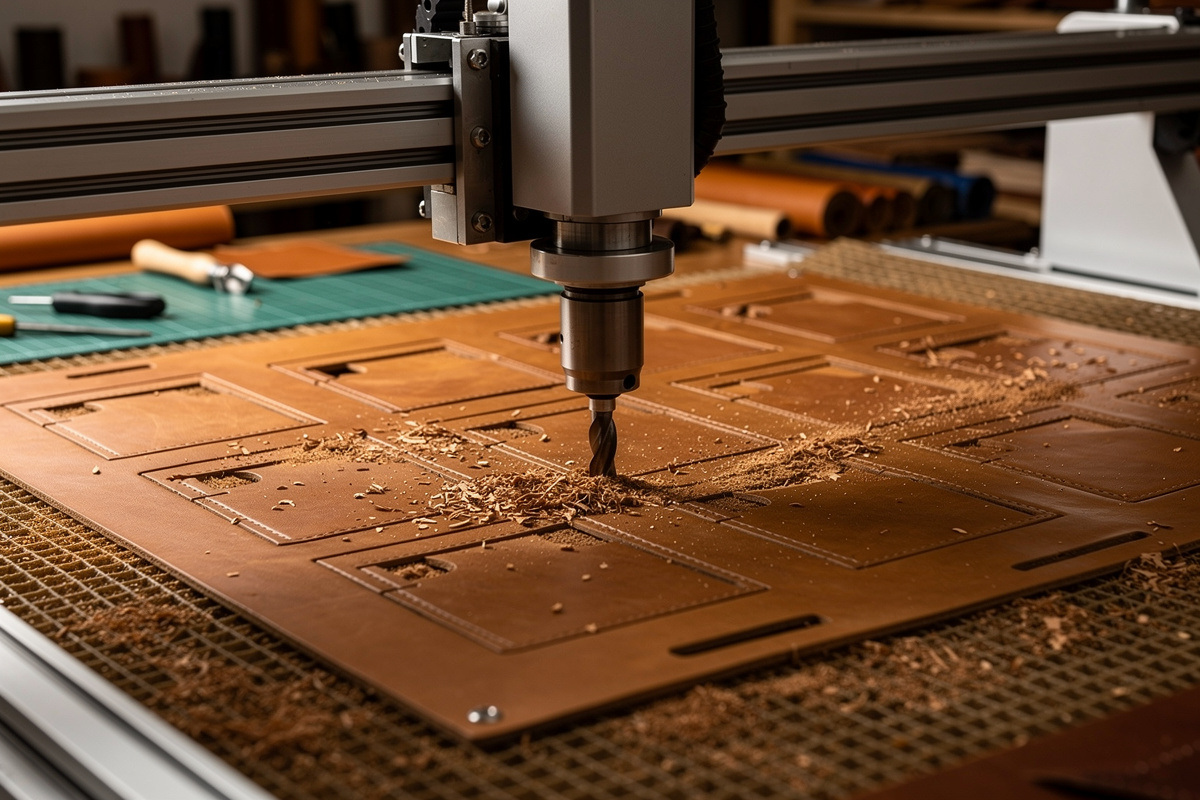
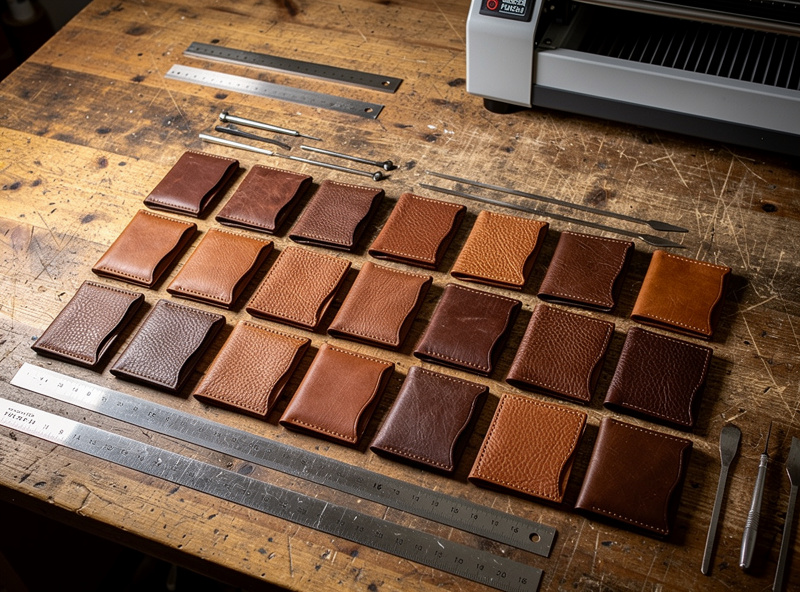
A desktop CNC cuts a 12-piece wallet pattern from vegetable-tanned leather in 8 minutes — every piece dimensionally identical to within 0.1 mm, edges perfectly square, no swerve…
A desktop CNC cuts a 12-piece wallet pattern from vegetable-tanned leather in 8 minutes — every piece dimensionally identical to within 0.1 mm, edges perfectly square, no swerve from a tired wrist or a shifted template. Beyond pattern cutting, the same machine carves the wood form blocks for wet molding and the wood-and-aluminum press dies for embossing — three techniques that take leathercraft from one-off hobbyist work to precise, repeatable matched sets. The leather projects for beginners hub covers where CNC-cut leather work fits in the larger project landscape.
This guide walks through the three CNC-leather workflows that change the craft, the bit and feed-and-speed settings that cut leather cleanly without scorching, the CAM software setup for nesting maximum pieces from a hide, and the form-block design that makes wet-molded leather goods look professional instead of homemade.
I tried cutting 5 oz veg-tan on a desktop CNC with a standard 1/8″ upcut end mill and it shredded the leather like pulled pork. Switching to a drag knife — essentially a swiveling razor blade in a spring-loaded holder — produced clean cuts at 300 mm/min with zero tear-out. The bit selection and CAM setup below covers the three CNC workflows I actually use on my own leatherwork.
Why CNC Belongs in a Leather Workshop
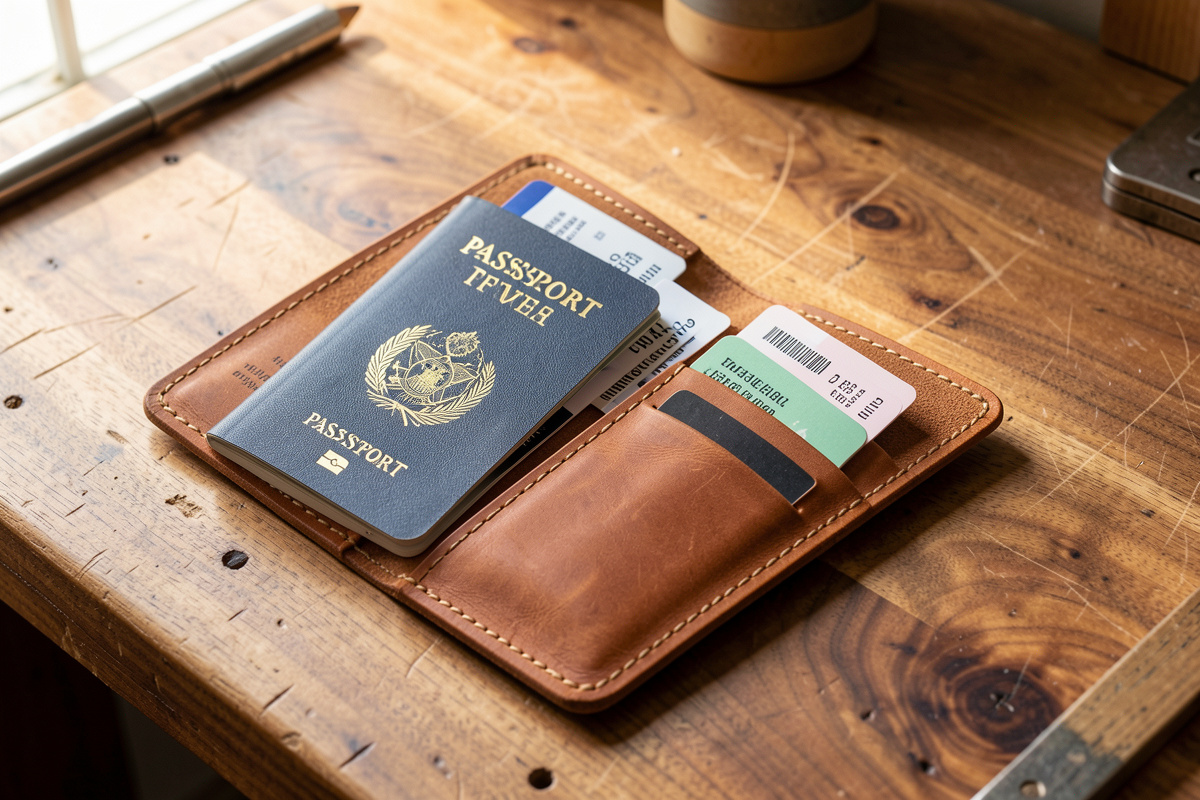
Hand-cutting a wallet pattern with a head knife or rotary cutter takes 15-30 minutes per piece for a beginner, 8-15 minutes for an experienced maker. The cuts are good but vary. Pattern lines drift 0.5-2 mm from one piece to the next. For one-off custom work, the variation doesn’t matter. For matched sets (a wallet plus card holder plus key fob), small variations stack up into visible misalignment when the pieces are stitched together.
A CNC eliminates the variation. Every piece is the same as every other. Edge quality is consistent. Holes for stitching are pre-marked at exactly the planned spacing. Curves are smooth where hand-cut curves are slightly polygonal. The result is the kind of edge-to-edge consistency that separates a matched set from a one-off, achievable with hobbyist-class equipment at home.
The Three CNC-Leather Workflows
1. Pattern Cutting (CNC-routed leather sheets)
Cuts leather pieces from a hide laid on a sacrificial mat. Best for: wallet bodies, card holders, watch straps, belt straps, bag panels. Uses a single-flute end mill or a drag knife. Material removal is the leather around the parts; the parts themselves are kept.
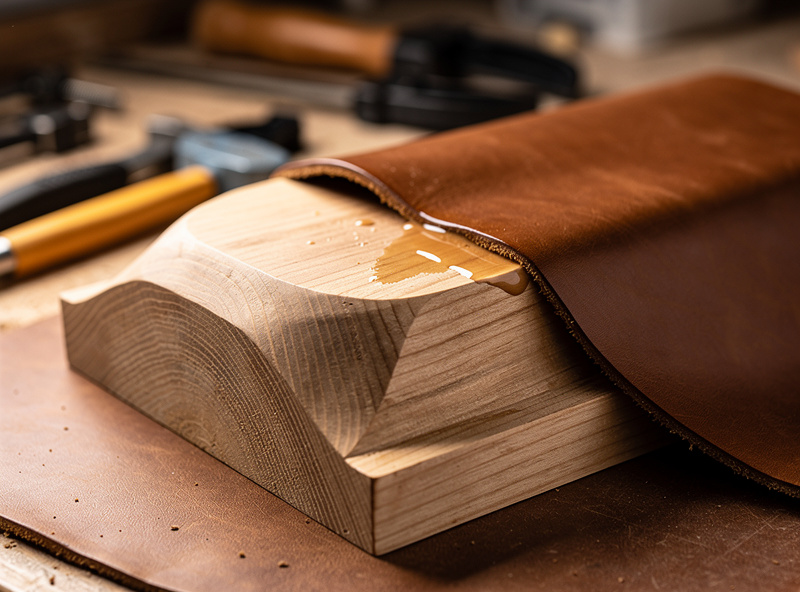
2. Form Blocks (CNC-machined wood molds for wet molding)
Wet-molded leather (knife sheaths, holsters, bag panels with shape) requires a positive-form mold to drape damp leather over. Hand-carving a form block from wood takes hours and the surface is never as smooth as needed. CNC machining a form block from a 3D model produces dimensionally exact, smooth-surfaced molds in 15-45 minutes.
3. Press Dies (CNC-machined wood or aluminum embossing dies)
Embossing patterns, logos, or texture into leather requires a die that’s the negative of the desired mark. CNC carving wood (for soft embossing) or machining aluminum (for sharp embossing under high pressure) produces dies that match exactly — even small text, logos, or repeated patterns become possible at hobby scale.
Bit and Settings for Cutting Leather
Leather is forgiving but specific. The right tool selection by leather type:
- Vegetable-tanned leather, 4-8 oz: Single-flute 1/8″ carbide upcut spiral, 18,000 RPM, 2,500 mm/min feed, 1.5-2 mm depth per pass. Cuts cleanly, edges burn-free.
- Chrome-tanned leather, 3-5 oz: Drag knife with 30-degree blade — holds a sharp cut better than rotary tools on softer leather. Or 1/16″ single-flute carbide upcut at 22,000 RPM, 2,000 mm/min, 1 mm depth per pass.
- Heavy bridle leather, 8-12 oz: Either drag knife with 45-degree heavy blade, or 1/8″ upcut spiral in 2-3 light passes. Avoid downcut spirals — they push the leather into the spoil board and cause edge fuzzing.
- Suede or split leather: Drag knife is the only good answer. Rotary bits fuzz the cut edge severely. For a full breakdown of how suede differs from nubuck — grain structure, nap direction, dyeing behavior, and project suitability — see the suede vs nubuck leather guide.
For form blocks and press dies, switch to standard wood/aluminum CNC tooling — covered in desktopcncforge.com’s best desktop CNC roundup for 2026, which compares the machines that handle both leather pattern work (light cutting force) and form-block carving (sustained material removal).
CAM Software and Nesting
Nesting parts to maximize hide use is where leather CNC work pays off most. A typical 12-15 sq ft hide costs $80-120 for vegetable-tanned shoulder. Wasteful hand-laying yields 60-70% material use; thoughtful CNC nesting hits 85-92%.
The right software:
- Carbide Create: Free for Carbide 3D machines, $360 lifetime for others. Includes basic part nesting. Sufficient for small projects.
- Vectric VCarve Desktop: $349 lifetime. Stronger nesting and better for irregular hide shapes. The hobbyist favorite.
- Fusion 360 (free personal): Heavy CAD-CAM with the deepest nesting capabilities. Steeper learning curve.
- SVGNest (free, open-source): Specifically designed for irregular-shape nesting. Output goes into LightBurn (for laser) or any CAM tool. Best free option for serious nesting.
The full software comparison is in desktopcncforge.com’s best CNC CAM software guide and the Carbide Create vs VCarve walkthrough. For Fusion 360 specifically, the Fusion 360 for hobby CNC guide covers the manufacturing-workspace setup that handles complex nesting.
Form Block Design for Wet-Molded Leather
Wet-molded leather goods (knife sheaths, holsters, watch straps, bag panels with depth) require a positive form-block mold. The CNC-cut block needs three design features for clean wet-molding results:
- Smooth radii at all corners (3-5 mm minimum). Leather doesn’t conform to sharp inside corners — it bridges them, leaving wrinkles. CNC produces smooth radii easily; hand-carving them is hours of work.
- Drainage channels. 1-2 mm deep grooves carved into the form let trapped water escape during the molding process. Without them, water pools between leather and form, slowing drying and causing wrinkles.
- Mirrored pairs for two-sided molding. Some shapes (full-coverage holsters, complete sheaths) need two halves of a form that close around the leather. CNC produces mirrored pairs trivially.
Hardwood (maple, cherry, walnut) is the standard form material — closed grain that doesn’t pick up moisture, takes a smooth finish, holds detail. Avoid open-grain woods (oak, ash) which transfer grain texture into the leather.
Press Die Construction
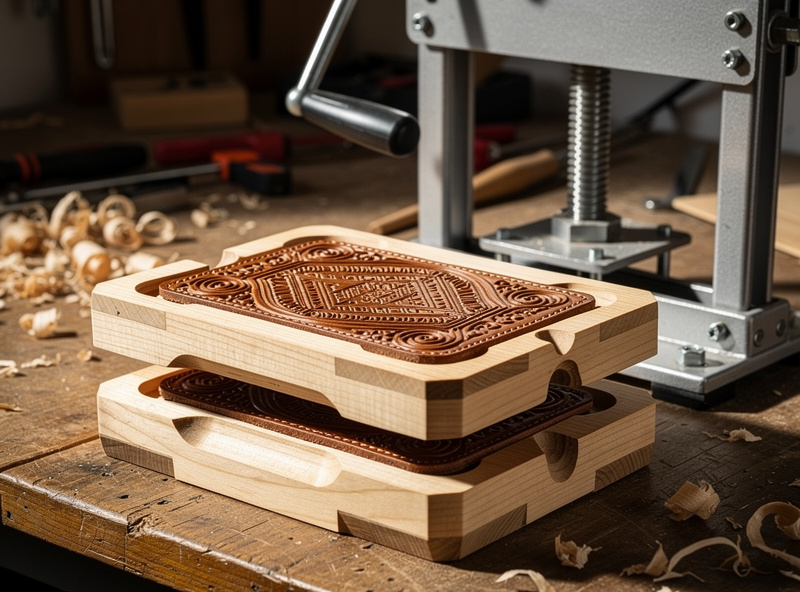
Press dies for embossing leather come in two types:
Wood dies (for soft texture and shallow embossing)
Carve a hardwood block with the desired pattern at 0.5-1 mm depth. Pair with a flat backing board. Press with a bench vise or arbor press. Wood dies last 50-200 impressions before the detail softens. Replace as needed — the CAM file is reusable.
Aluminum dies (for sharp embossing and high-volume production)
Mill aluminum stock with the same pattern at 0.3-0.6 mm depth. Pair with hardened steel or aluminum backing. Press at higher pressure with a hydraulic press (5-10 ton). Aluminum dies last 5,000+ impressions and produce sharper detail than wood.
Comparison: Cutting Methods for Leather
| Method | Cost | Speed (12 wallet pcs) | Edge quality | Repeatability | Best for |
|---|---|---|---|---|---|
| Hand head-knife | $30-100 knife | 2-4 hours | Excellent (skilled hand) | ±0.5-2 mm variation | One-off custom work |
| Rotary cutter + template | $25-80 | 1-2 hours | Good | ±0.3-1 mm | Beginners, small projects |
| Click die (steel rule die) | $80-300/die + press | Seconds per piece | Excellent | ±0.05 mm | Production runs of identical parts |
| CNC router (this guide) | $1,500-3,000 machine | 8-15 minutes (12 pieces) | Excellent | ±0.1 mm | Custom + small batch + matched sets |
| Laser cutter | $500-3,000 machine | 5-12 minutes | Excellent (slight char edge) | ±0.1 mm | Veg-tan leather, intricate pierce work |
| Drag knife on CNC | $200-400 attachment | 10-20 minutes | Excellent (no fuzz on chrome-tan) | ±0.1 mm | Soft leathers (chrome-tan, suede) |
Build Sequence for Your First CNC Leather Project
- Day 1: Choose a wallet pattern (free patterns at Leather Wranglers or Makesupply Leather). Import to Carbide Create or VCarve. Verify dimensions match the source.
- Day 2: Lay out 12 wallet pieces nested on a 11″ x 17″ leather sheet. Set tool path: 1/8″ single-flute upcut, 18,000 RPM, 2,500 mm/min, 2 mm depth in 2 passes for 4-oz leather.
- Day 3: Mount leather on sacrificial mat with masking tape around the perimeter. Run the CNC. Verify a single test cut at the corner before committing to all 12 pieces.
- Day 4: For the matching wet-molded element (small leather pouch or pen holder), CNC a hardwood form block at 0.2 mm step-over for smooth surface.
- Day 5+: Wet-mold the leather over the form block. Allow 24-48 hours to dry. Stitch the cut wallet pieces using one of the saddle-stitch techniques covered in our best stitch length for leather guide.
For broader leather workflow context, see our 3D-printed leather tooling guide, the laser engraving vegetable-tanned leather walkthrough, and the best leather for wallets material selection. The leatherworking starter kit guide covers the basic toolset that complements CNC work.
For deeper background on the engineering side, the Make Magazine machining archive remains a broad free resource for hobbyist CNC technique, and the Leatherworker.net forum has practitioner-shared CNC pattern files and settings discussions specific to leather.
Frequently Asked Questions
Can a hobby CNC actually cut leather cleanly?
Yes — a 1/8 inch single-flute carbide upcut spiral at 18,000 RPM cuts vegetable-tanned 4-8 oz leather cleanly with no scorching or fuzzing. For chrome-tanned or softer leathers, a drag knife attachment produces cleaner edges than rotary bits. Standard hobby-class CNCs (Shapeoko, Onefinity, X-Carve) handle leather work without modifications.
What is a form block and why use a CNC for it?
A form block is a positive mold over which damp leather is draped to wet-mold knife sheaths, holsters, watch straps, or shaped bag panels. CNC machining produces dimensionally exact, smooth-surfaced form blocks in 15-45 minutes versus hours of hand-carving, and it’s the only practical way to produce mirrored pairs for two-sided molding.
Can I emboss leather with a CNC?
You CNC-machine the embossing dies, then press them into leather with a vise or arbor press — the CNC doesn’t directly emboss the leather. Wood dies are quick to make and last 50-200 impressions; aluminum dies last 5,000+ impressions. The CNC produces dies with sharper detail than hand-carved equivalents.
Should I use a CNC or a laser for cutting leather?
Both work. CNC handles thicker, denser leather better and produces no char on cut edges. Laser is faster on intricate pierce work and produces a slight cauterized edge that some consider attractive. For matched sets where char might mismatch from piece to piece, CNC is more consistent. For decorative pierced patterns, laser is faster.
How much does it cost to get into CNC leather work?
$1,500-3,000 for a hobby CNC (Shapeoko 5 Pro, Onefinity Standard, MillRight Carve King). $50-100 for leather-specific tooling (single-flute carbide bits). $200-400 for an optional drag-knife attachment. Total: $1,750-3,500. Compared to commercial click-die equipment ($5,000+), CNC leather work is more flexible at lower cost.
What CAM software is best for nesting leather patterns?
Vectric VCarve Desktop ($349) is the hobbyist favorite for both nesting and toolpath generation. SVGNest (free, open-source) is the strongest free option for irregular-shape nesting and exports SVG to any CAM tool. Carbide Create has basic nesting included free for Carbide 3D users.
Can I CNC suede or chrome-tanned leather?
Suede and chrome-tanned leathers fuzz badly with rotary bits — use a drag knife attachment instead. The drag knife pulls a small angled blade through the material like a sharp pen, producing clean cuts on soft and napped leathers. Drag knives are a $200-400 add-on to most hobby CNCs.
Related Articles
- 3D-Printed Leather Tooling
- Laser Engraving Vegetable-Tanned Leather
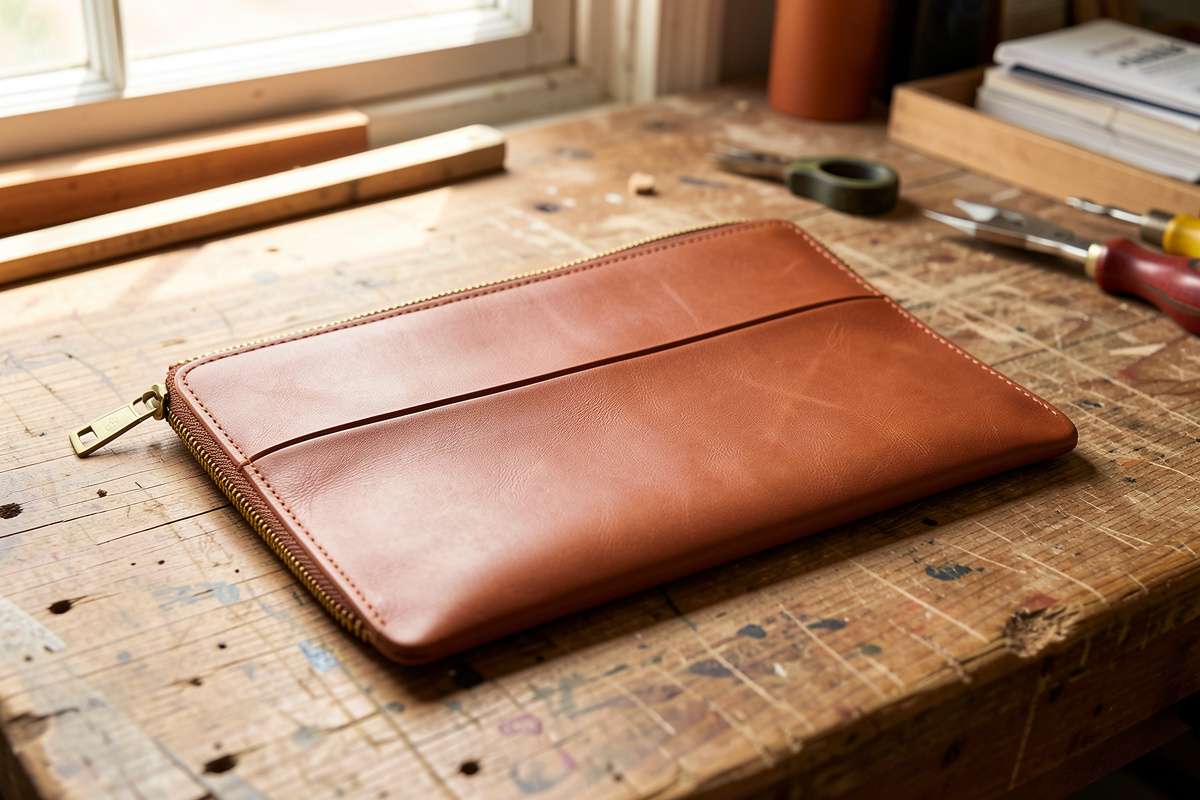
- Best Leather for Wallets
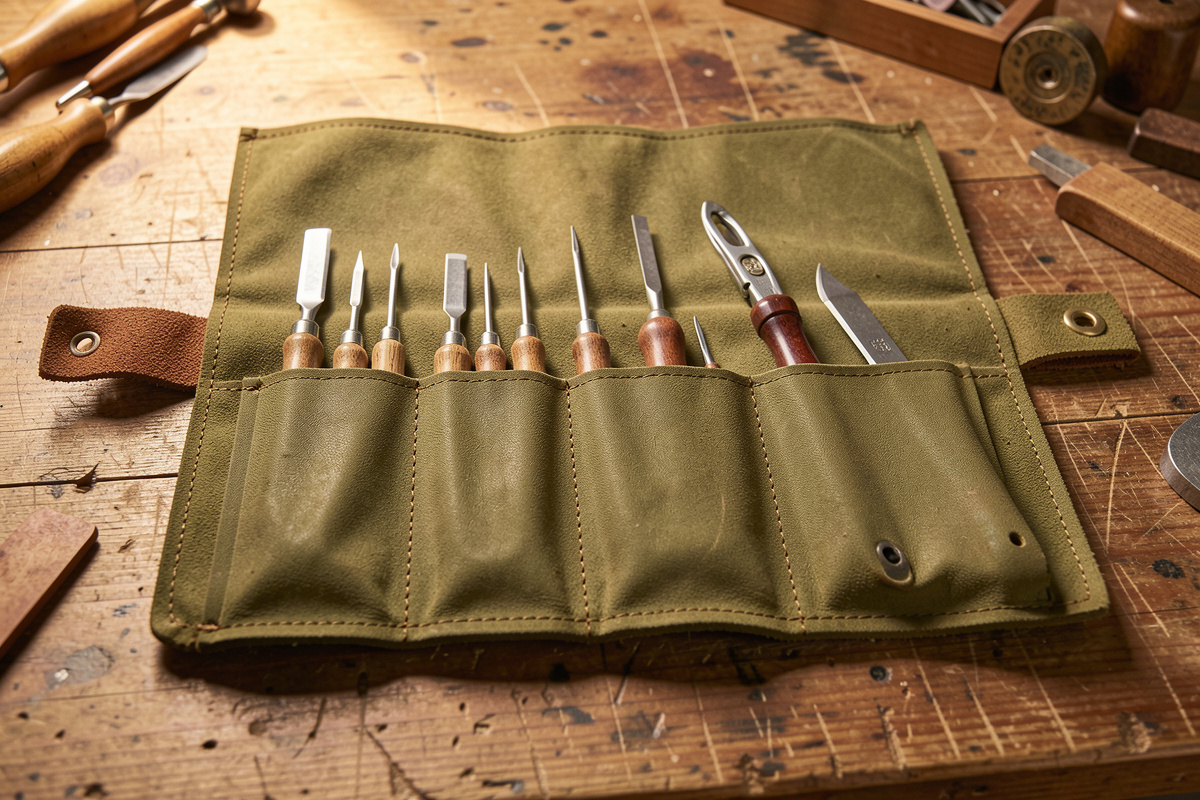
- Leatherworking Starter Kit
- Best Stitch Length for Leather