Sharp leather tools cut clean; dull ones tear fibres and leave fuzz no finishing can fix. The whole system is three steps: a stone re-establishes a worn edge,…
Sharp leather tools cut clean; dull ones tear fibres and leave fuzz no finishing can fix. The whole system is three steps: a stone re-establishes a worn edge, fine sandpaper refines it, and a stropped charge of green compound maintains it between projects. On my bench every knife, awl, and beveler gets a few edge-trailing passes on a green-charged strop before each session — that alone keeps 90% of them in shape.
Most makers blame their leather, their leather knife, or their technique when the real culprit is a blade that went dull two projects ago. Below is exactly how to sharpen every cutting tool on the bench — head knife, skiving knife, edge beveler, diamond awl, and drive punch — which one needs a stone versus just a strop, and the test that tells you when an edge is actually ready.
Disclosure: LeatherCraftHaven is reader-supported. As an Amazon Associate I earn from qualifying purchases made through links in this article, at no extra cost to you. I only point to gear I actually use or would buy for my own bench.
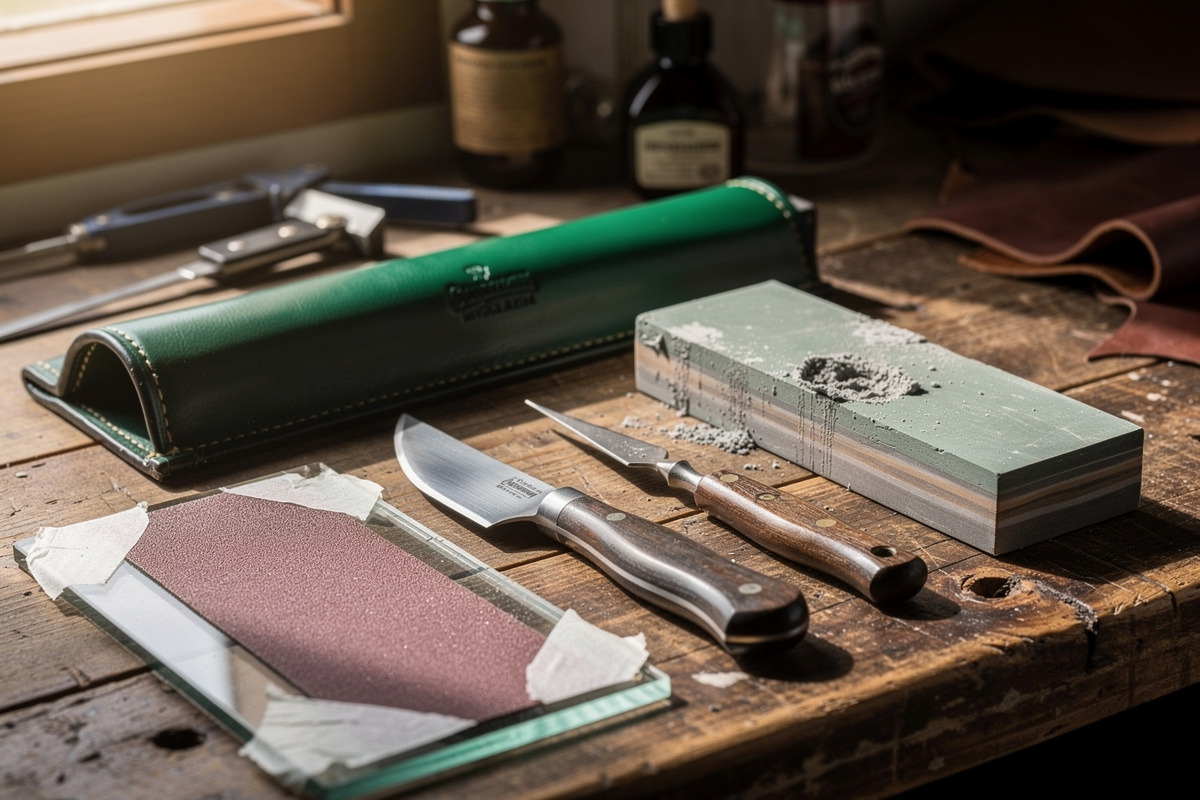
Strop, Stone, Sandpaper: The Three-Step System
Sharpening leather tools uses three escalating steps. A strop — leather charged with green chromium-oxide compound (around 0.5 micron) — polishes and aligns an already-good edge and is the daily maintenance step. Fine wet/dry sandpaper on glass (the “scary sharp” method, 400 up to 2000 grit) refines a dull edge. A whetstone or diamond plate (400/1000/3000) re-cuts a truly blunt or chipped edge. Match the step to how far gone the edge is.
Ninety percent of leather-tool sharpening is just stropping. The strop does not remove metal so much as refine the existing edge, so a tool that is merely tired comes back with ten edge-trailing passes. Only reach for sandpaper or a stone when stropping no longer restores the cut — a chip, a rolled edge, or a tool you bought dull from the factory. This mirrors the maintenance rhythm in my three-tier tools guide: strop before each session, re-edge on a stone only occasionally.
How to Strop Correctly (Edge-Trailing)
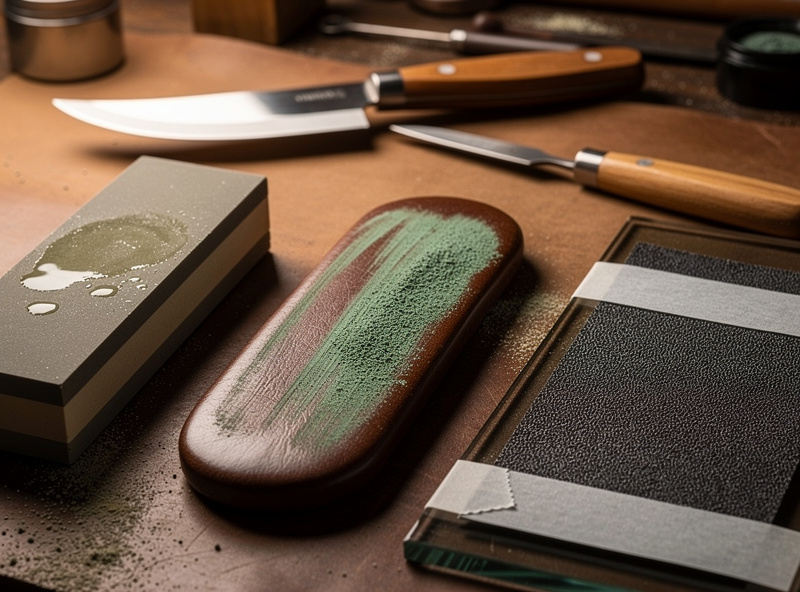
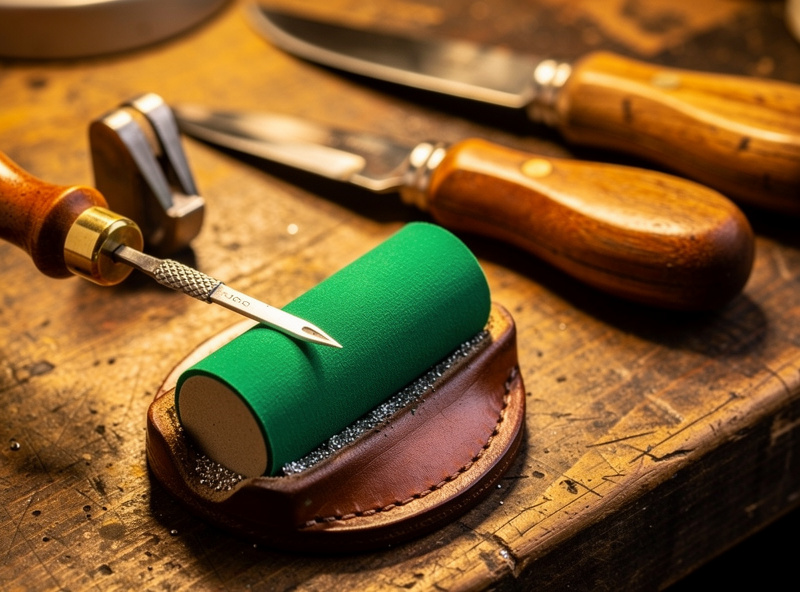
Strop edge-trailing — drag the blade away from the cutting edge, spine leading, never into the leather. Lay the bevel flat on the charged strop, lift to the bevel angle, and pull the blade backward across the surface. Cutting into the strop slices it and rolls the edge; trailing it polishes the edge to a mirror. Eight to ten passes per side restores most edges; finish on the bare (uncharged) end for the final polish.
Charge a strop by rubbing the green compound bar across the leather until it greys evenly; re-charge when it stops looking dark. A single 12-inch paddle strop covers knives, bevelers, and chisels; awls want a strop with a grooved or rounded edge so all facets touch. A paddle strop and green compound kit is the single highest-value sharpening purchase — under $25 and it keeps the whole bench cutting. Strop a skiving knife before every use; that one punishes a dull edge harder than any other tool, as I cover in the skiving knife guide.
Sharpening Each Tool by Type
Different tools have different edge geometry, so the method changes. A single-bevel skiving knife keeps its flat back dead flat and is honed only on the bevel; a head knife carries a slight convex edge stropped on a curve; an edge beveler is honed on the inside of its U-shaped cutting notch; a diamond awl is polished on all four facets; a drive punch is honed on its inside tube bevel only. Maintain the geometry the tool came with rather than reshaping it.
The diamond awl is the one most beginners neglect and the one that matters most for stitching — a polished awl glides through leather and leaves a clean slit that the thread seats into, while a dull awl tears a ragged hole and wanders your stitch line. Strop it on green compound rolled around a slotted strop until it slices a hanging thread. The same edge that makes a clean awl makes a clean saddle stitch. For bevelers, strop the inside angle every 30 minutes of active beveling — the edge bevelers guide covers the resharpening notch for the major brands.
| Tool | Edge Geometry | Primary Method | Maintenance Frequency |
|---|---|---|---|
| Skiving knife | Single bevel, flat back | Stone bevel + strop | Strop before each use |
| Head / round knife | Slight convex bevel | Stone + curved strop | Strop each session, stone yearly |
| Edge beveler | Inside U-notch edge | Slotted strop / cone | Strop every 30 min of use |
| Diamond awl | Four polished facets | Strop all facets | Strop before each stitch session |
| Drive punch | Inside tube bevel | Sandpaper on tapered dowel | When slugs tear, not shear |
| Swivel knife | Flat dual bevel | Ceramic / fine stone + strop | Strop frequently while tooling |
Pricking irons are the exception — they are stitch-marking tools, not cutting tools, so you only lightly strop the teeth tips if they snag, never grind them. Drive punches and other struck tools are covered in the hole punch guide, and the powered splitter and skiver machine blades follow the same inside-bevel logic at a bigger scale.
Re-Edging on a Stone or Sandpaper
When stropping no longer brings a blade back, drop to a stone or sandpaper. Flatten the back of single-bevel tools first — it must be a true plane, or no amount of bevel work makes it sharp. Then work the bevel at its existing angle through the grits: a 1000-grit waterstone to set the edge, 3000 to refine, then onto the strop. Keep waterstones wet and flatten them periodically; a dished stone rounds your edge.
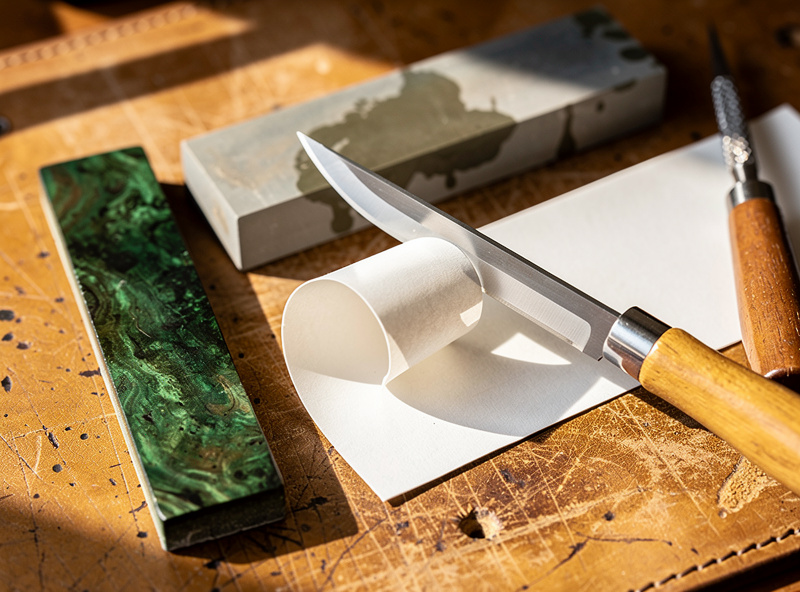
The sandpaper “scary sharp” method is the cheapest route into stone-quality edges: spray-mount wet/dry paper (400, 800, 1500, 2000) to a glass plate or granite offcut and progress through the grits, then strop. It costs a few dollars and produces a shaving edge without buying a stone set. Whichever you use, finish on the green-charged strop — the stone sets the edge, the strop polishes it. A 1000/6000 combination waterstone covers re-edging and refining for every flat-bevel tool on the bench.
Testing the Edge and Avoiding Mistakes
A sharp leather edge passes a simple test: it shaves arm hair, push-cuts printer paper without tearing, or slices a hanging thread cleanly. If it skates, drags, or folds the paper, it is not ready — back to the strop. Test after every sharpening rather than assuming; the two minutes saves a ruined piece of leather later.
The common mistakes: stropping into the edge (rolls it), changing the bevel angle each pass (never converges to sharp), grinding the outside diameter of a punch (changes the hole size), and letting a blade get truly dull before touching it up (turns a 10-pass strop job into a full stone re-edge). Maintain edges continuously — a quick strop before each session beats a long sharpening marathon every month, and your cuts stay clean the whole time. Sharp tools are the quiet foundation under every clean cut, stitch, and edge in the whole tool kit. A wet/dry sandpaper assortment is all you need to start the scary-sharp method tonight.
Frequently Asked Questions
How do you sharpen leather working tools?
Use a three-step system: a whetstone or sandpaper re-edges a dull blade, finer sandpaper refines it, and a strop charged with green chromium-oxide compound maintains the edge between projects. Most sharpening is just edge-trailing strop passes before each session, with stone work reserved for truly blunt or chipped edges.
What is the best strop compound for leather tools?
Green chromium-oxide compound, around 0.5 micron, is the standard for leather tools. It polishes and aligns an edge to a mirror finish. Finer jeweler’s rouge can follow for a final polish, but green compound on a leather paddle strop handles routine maintenance for knives, awls, and bevelers.
Which direction do you strop a leather knife?
Strop edge-trailing, dragging the blade away from the cutting edge with the spine leading, never into the leather. Lay the bevel flat, lift to the bevel angle, and pull backward. Cutting into the strop slices it and rolls the edge, while trailing it polishes the edge to a mirror.
How often should I sharpen my leather tools?
Strop before every session and continuously during heavy cutting or beveling. Reach for a stone only occasionally, when stropping no longer restores the cut or the edge is chipped. Maintaining continuously with a quick strop beats letting a tool go fully dull and needing a full re-edge.
Do you sharpen pricking irons?
No, not like cutting tools. Pricking irons are stitch-marking tools, not cutting tools, so you only lightly strop the teeth tips if they snag in the leather. Never grind their teeth, since that changes the spacing and tooth geometry that mark your stitch line.
How do you sharpen a leather edge beveler?
Hone the inside of its U-shaped cutting notch. Roll fine sandpaper or thread green compound through a slotted strop or a shaped dowel and work the inside angle, then lightly strop the outside. Do this every 30 minutes of active beveling, since a dull beveler tears fibres and leaves fuzz.
How do you know when a leather tool is sharp enough?
Test it: a sharp edge shaves arm hair, push-cuts printer paper without tearing, or slices a hanging thread cleanly. If it skates, drags, or folds the paper, it is not ready and needs more strop or stone work. Test after every sharpening rather than assuming the edge is done.
Related Articles
- Leatherworking Tools Guide: Three Tiers of Buy-In
- Leather Skiving Knife Guide: Types, Use and Sharpening
- Best Edge Bevelers for Leather
- How to Saddle Stitch Leather by Hand
- Leather Hole Punch Guide: Rotary vs Drive