Leather stamping is pressing a shaped steel tool into cased veg-tan to leave a permanent impression — and patterns are what happen when you repeat and arrange those…
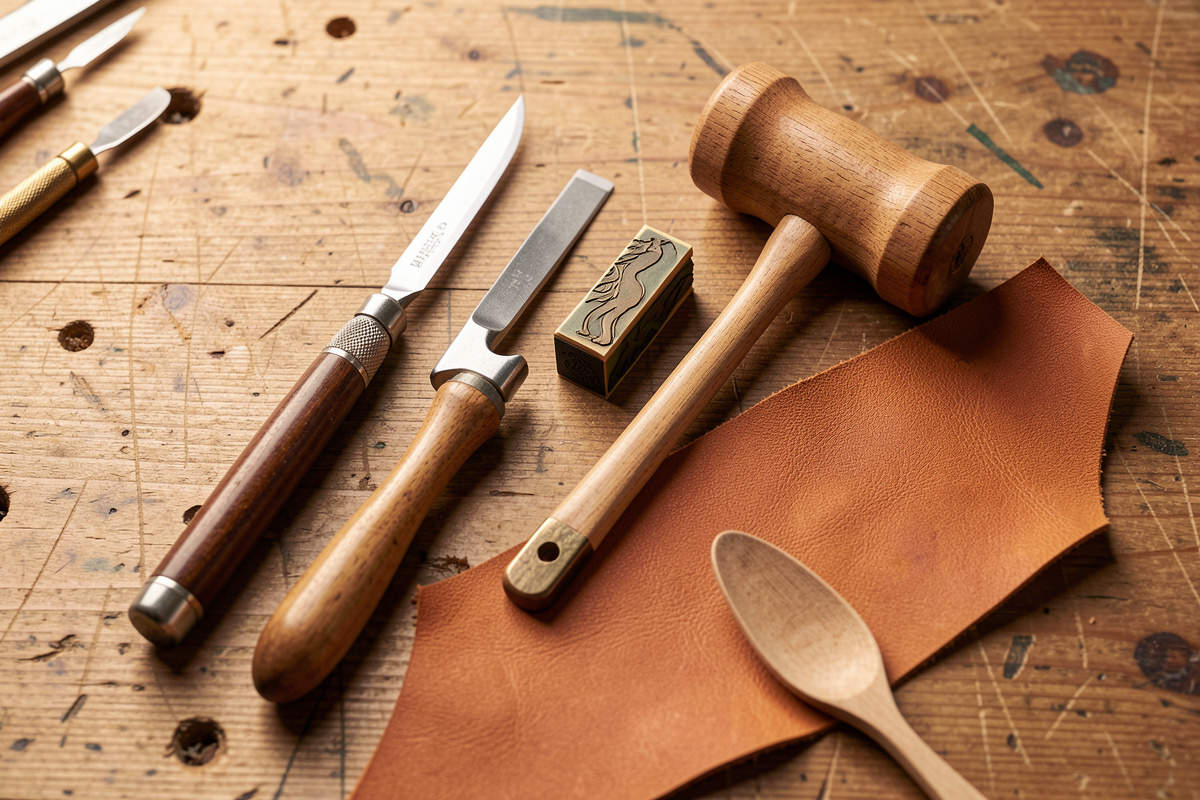
Leather stamping is pressing a shaped steel tool into cased veg-tan to leave a permanent impression — and patterns are what happen when you repeat and arrange those impressions deliberately. A single firm strike with a 12–16 oz poly maul leaves a crisp shoulder; the skill is placing dozens of them in register so a basketweave, border, or geometric field reads as even and intentional.
Stamping is where leatherwork gets its texture and rhythm, and it’s the most beginner-friendly corner of tooling because a stamp presses a fixed shape — you’re not steering a cut, just placing it. On the bench I work on, a good stamp set and a bottle of proper casing solution are the two purchases that change stamping results the most, far more than any single fancy tool. This guide covers the stamp families, how to lay out a repeating pattern in register, and the classic fills, as part of the wider leather tooling guide.
The Families of Stamping Tools
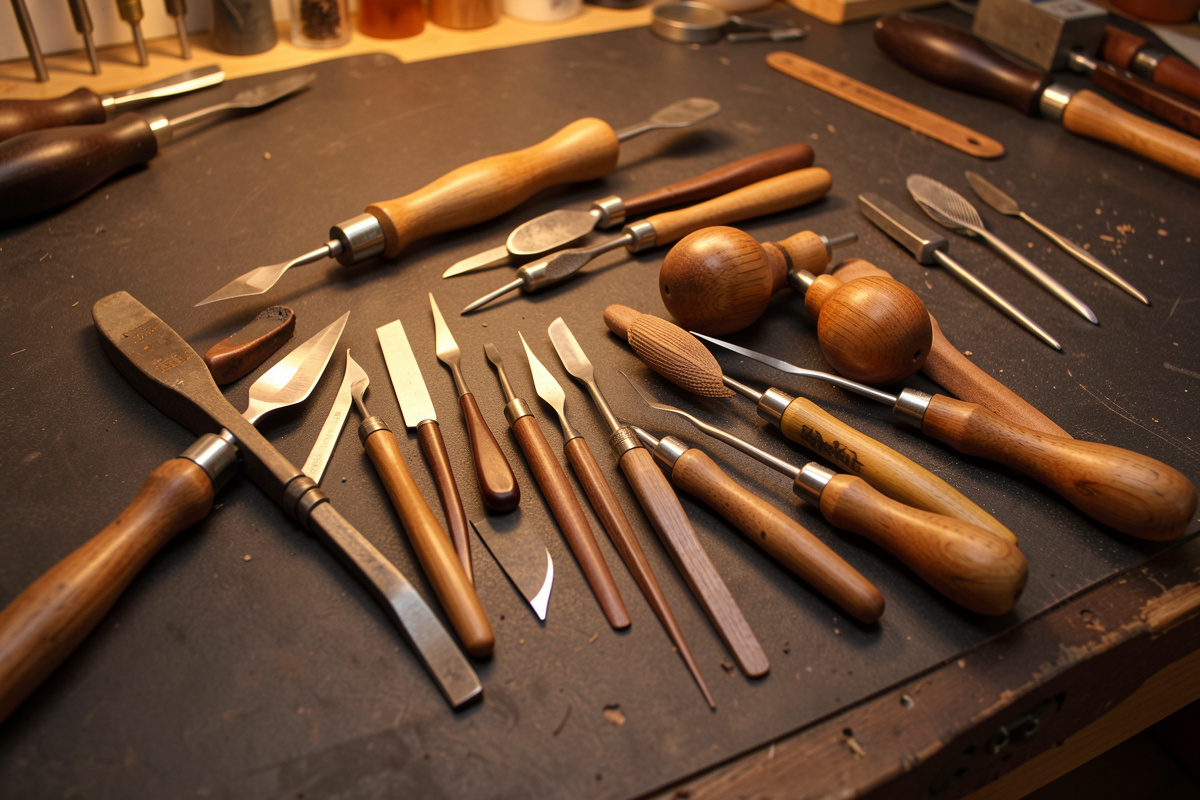
Stamps fall into a handful of families by what they do: geometric stamps that tile into repeating fields, border stamps that run a decorative edge, background stamps that knock down negative space, and figure stamps that press a whole motif at once. Knowing the family tells you how a stamp wants to be used.
You don’t need many to start. A basketweave or geometric stamp, a border stamp, a camouflage stamp, a seeder, and a backgrounder cover an enormous range of patterns between them. The table below sorts the common families by job and typical use, and the tool-by-tool detail on choosing them is in my carving tools guide.
| Stamp family | What it does | Typical use |
|---|---|---|
| Geometric / basketweave | Tiles into a repeating field | All-over texture on belts, panels |
| Border | Runs a repeating decorative edge | Framing a design or a strap |
| Camouflage | Crescent texture | Borders, leaf fills, fast decoration |
| Seeder | Domed dot | Flower centers, accents |
| Backgrounder | Mattes and knocks down negative space | Lifting a design forward |
| Figure | Presses a whole motif at once | Repeated logos, quick motifs |
If you want to make your own figure stamps and registration jigs, I print custom ones — that crossover is documented in 3D-printed leather tooling.
The One Rule: Strike Once, Strike Vertical
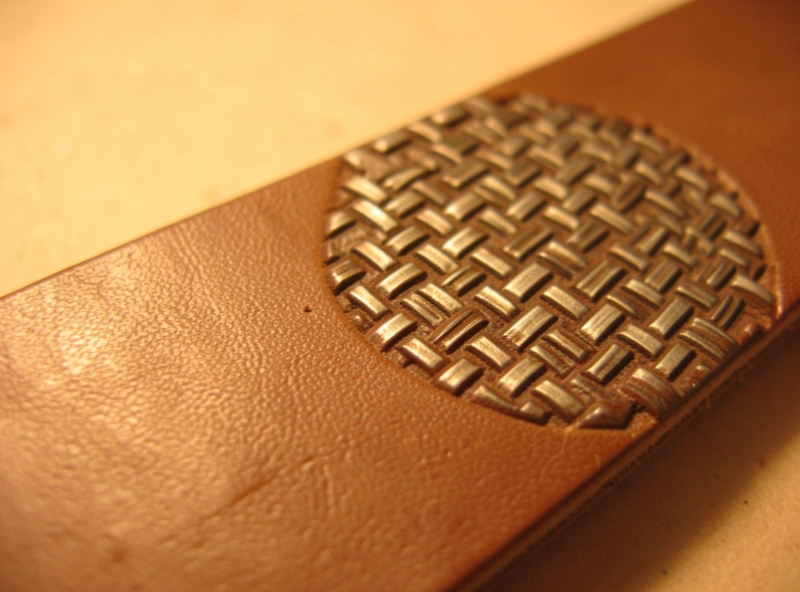
Every clean stamp impression comes from the same technique: hold the stamp perfectly vertical, strike it once firmly with a poly maul, and lift cleanly. One confident blow gives a crisp shoulder; tapping repeatedly blurs it, and tilting the stamp gives a half-impression with one deep edge and one shallow one.
Consistency of pressure and angle is the whole game in pattern stamping, because a repeating field shows every inconsistent strike. The leather must be properly cased — dried back toward its natural color but still cool to the touch — so the fibers compress crisply and hold the shoulder. Too wet and the impression spreads and goes shallow; too dry and it won’t seat. Casing is covered fully in my beginners guide, and it matters even more for stamping than for cutting because an uneven case shows instantly across a tiled field.
Laying Out a Repeating Pattern in Register
A repeating pattern lives or dies on registration — keeping each impression aligned with the last so the field stays even. Most geometric and basketweave stamps have an interlocking shape designed to register against the previous impression, so you place each strike to nest into its neighbor. Working in straight rows with a guideline scribed first keeps the whole field square.
The common beginner error is letting the rows drift, so a basketweave starts square and ends up leaning. The fixes are simple: scribe light guidelines with a stylus and straightedge before stamping, start from a registered edge and work outward, and check alignment every few impressions rather than discovering the drift at the end. Patience and a guideline beat freehand confidence every time here. For repeating motifs over long runs like belts, a printed or laser-cut registration jig drops each impression in exactly the same place, which hand-registration can’t match across a yard of strap.
Basketweave: The Classic All-Over Field
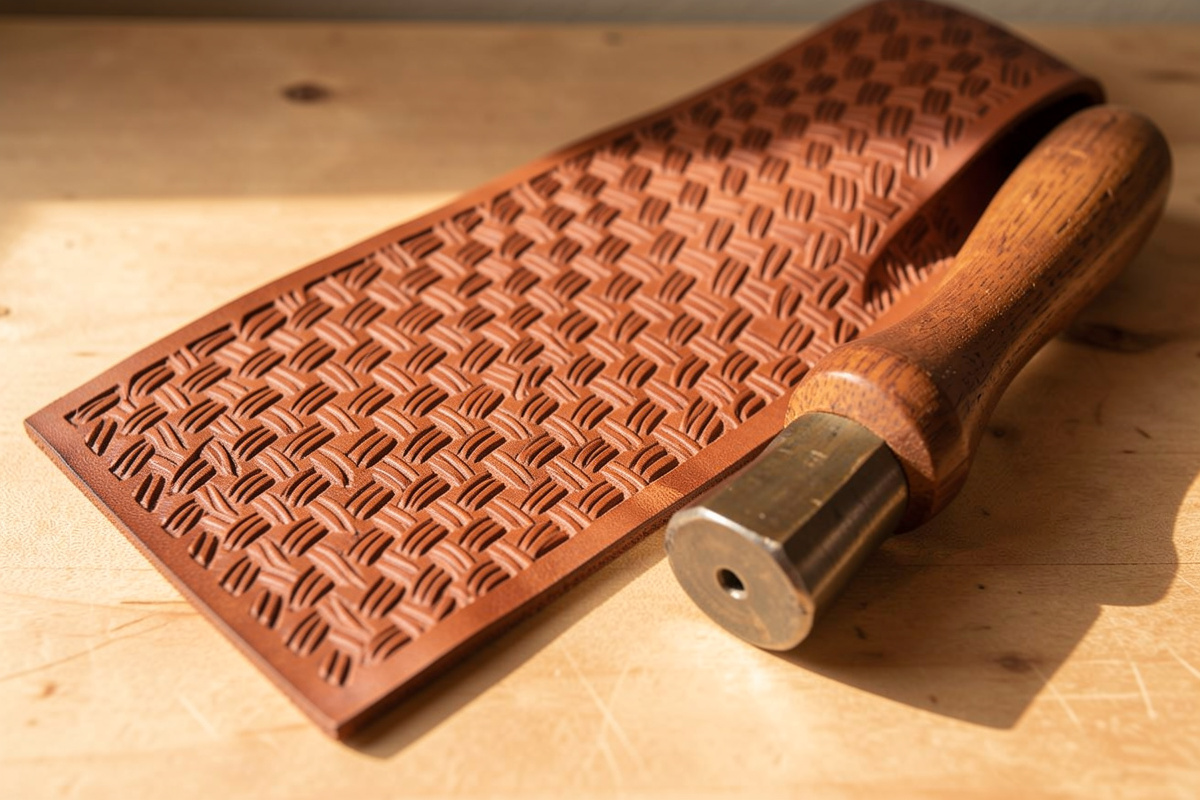
Basketweave is the most recognizable leather stamping pattern — interlocking woven cells covering a whole surface, classic on belts and holsters. The basketweave stamp is cut so each impression nests at an angle into the previous one, building the woven illusion. Worked consistently, it’s hypnotic; worked carelessly, the drift is glaringly obvious.
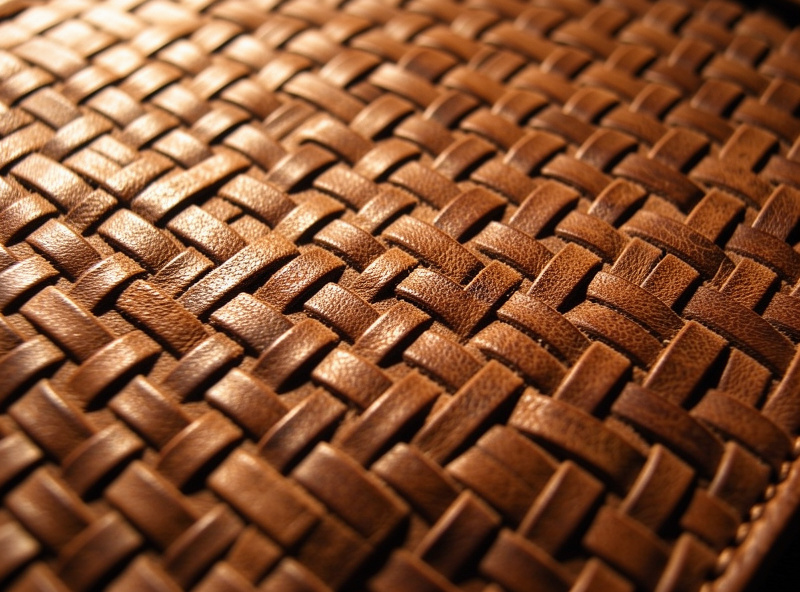
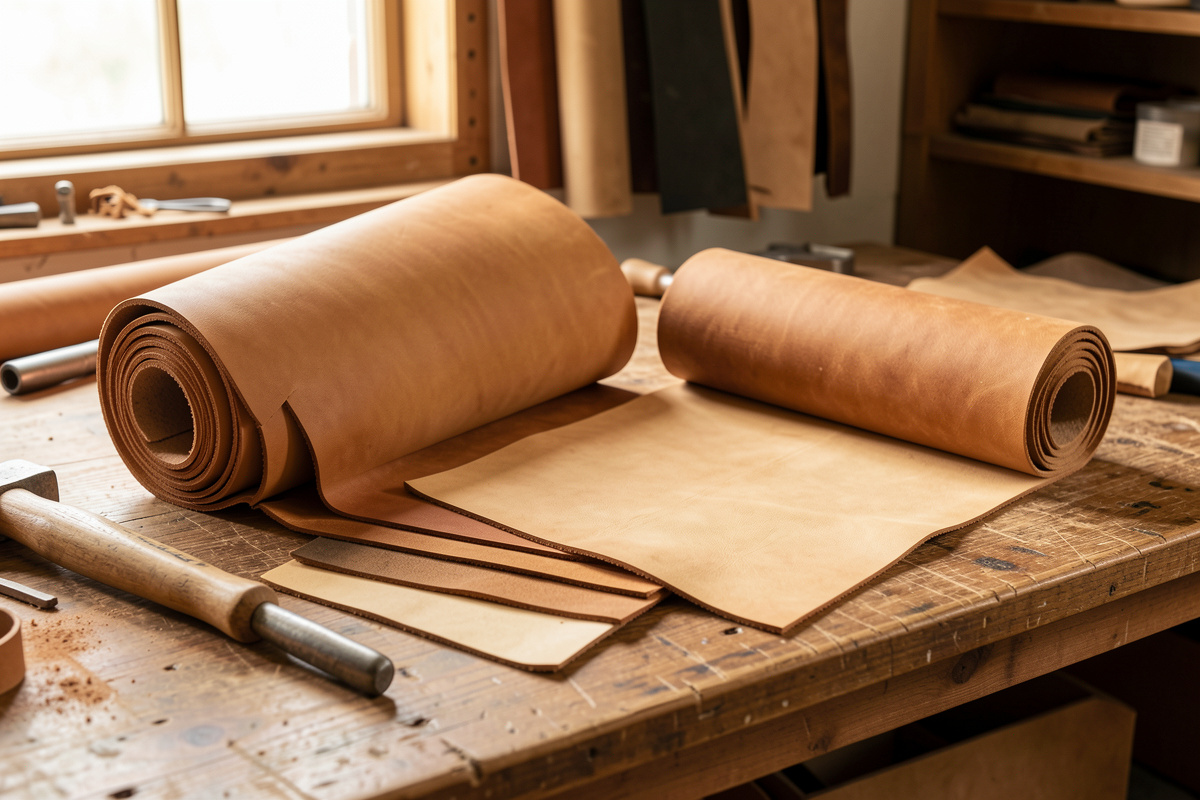
The key is the angle: each strike sits at a consistent diagonal, nesting into its neighbors top and bottom. Scribe a guideline, establish your first row carefully because everything references it, and keep the maul force identical strike to strike so the depth stays even. A basketweave belt is a genuinely satisfying intermediate project that teaches registration discipline better than almost anything. The weight of leather suits it too — belts at 8–10 oz take a bold deep basketweave, which ties back to the selection logic in my tooling leather selection guide.
Geometric Stamping and Tiling a Field
Geometric stamps tile a surface with a repeating shape — diamonds, squares, stars, or interlocking forms — to build texture without the woven look of basketweave. They’re more forgiving than basketweave for a first all-over pattern because many tile in simple straight rows rather than nesting at an angle, so registration is easier to keep square.
The approach is the same discipline as any repeating field: scribe a guideline, establish a clean first row, and reference everything to it. Geometric stamps often leave small gaps between impressions by design, and the negative space becomes part of the pattern, so consistent spacing matters as much as consistent depth. I like geometric fills for panels and the backs of belts where I want texture and grip without a busy decorative statement. Experiment on scrap first to learn how a particular stamp wants to be spaced — some look best butted tight, others with a deliberate gap — because once you commit to a layout on the real piece there’s no taking an impression back. A geometric border around a plain panel is also one of the fastest ways to make a beginner project look deliberately designed, much like the camouflage border covered in the beginners guide.
Borders, Backgrounds, and Combining Stamps
Borders frame a design and backgrounds make it lift, and the two together turn isolated stamping into a composed piece. A camouflage or border stamp run around an edge gives a clean frame; a backgrounder stippling the negative space drops it down so the main motif floats forward. The contrast between a busy stamped element and a quiet matted background is what reads as finished.
The order you work also matters when you combine stamps. Run your border first so it defines the frame, place your main motif or geometric field next, and background last so it fills only the negative space that’s left. Working the background before the motif means you end up stamping texture into areas you later cover, wasting effort and risking a doubled, muddy look where the two overlap. I think of a composed stamped panel the way I think of a tooled one — frame, subject, then the quiet fill that makes the subject stand up. A little planning with a pencil sketch of where each stamp family goes saves a lot of regret on cased leather that won’t take a correction.
Combining stamps is where pattern design gets personal. A bordered panel with a camouflage frame, a central motif, and a matted background uses three or four stamps in deliberate roles. Backgrounding is the tedious, meditative part — lots of small overlapping strikes to fill an area evenly — but it’s the step that separates a floating design from a composed one. Once a stamped piece is done, it wants color and sealing to bring the texture out, which follows the stacking order in my dyeing guide and the antiquing method in how to antique leather, where dark paste settling into stamped recesses makes the whole pattern pop.
Common Stamping Mistakes and How to Avoid Them
Most stamping failures trace to four causes: an uneven case, inconsistent maul force, drifting registration, and double-strikes that blur the shoulder. Each one shows worse in a repeating pattern than in a single stamp, because the eye reads the field as a whole and catches any impression that’s off. Fixing them is process, not talent.
Keep the case even by wetting the whole piece uniformly and letting it equalize before you start, so the leather doesn’t dry out faster at the edges than the middle during a long stamping session — re-mist lightly if it does. Strike every impression with the same single firm blow; if you find yourself tapping to “fix” a shallow one, the leather is too dry or your blow is too soft. Scribe guidelines and check alignment as you go to catch drift early. And resist the urge to re-strike a stamp that landed slightly shallow — a double-strike almost never lands in the exact same place and the doubled shoulder looks worse than a slightly light impression. If a piece does go wrong, keep it as a reference and start fresh; cased leather doesn’t forgive a misplaced stamp, which is exactly why scrap practice before a real piece pays off so well here.
Frequently Asked Questions
How do you stamp leather without blurring the impression?
Hold the stamp perfectly vertical and strike it once firmly with a poly maul, then lift cleanly. Tapping repeatedly blurs the shoulder and tilting the stamp gives a half-impression. The leather must be properly cased, dried back toward its natural color but still cool to the touch.
How do you keep a basketweave pattern straight?
Scribe light guidelines with a stylus and straightedge before stamping, establish your first row carefully because everything references it, nest each impression into its neighbor at a consistent angle, and check alignment every few strikes rather than discovering drift at the end.
What stamps do I need to start stamping patterns?
A geometric or basketweave stamp, a border stamp, a camouflage stamp, a seeder, and a backgrounder cover an enormous range of patterns between them. Buy a good stamp set and proper casing solution first, since those change stamping results more than any single fancy tool.
Why does my stamped pattern look uneven?
Uneven stamping usually means inconsistent maul force or an uneven case. Strike every impression with the same firm single blow and keep the leather evenly cased across the whole field. A repeating pattern shows every inconsistent strike, so consistency of pressure and angle is essential.
More From the Bench
- Leather Tooling Guide — the full cluster overview
- Leather Carving Tools Guide — choosing stamps and mauls
- Beveling and Modeling Guide — adding depth around stamps
- Tooling Leather Selection Guide — the right hide for stamping
- How to Antique Leather — making stamped texture pop