The right leather for tooling is firm, tight-grained vegetable-tanned hide in the 4–9 oz range, cut from the shoulder or bend rather than the belly. Tooling leather has…
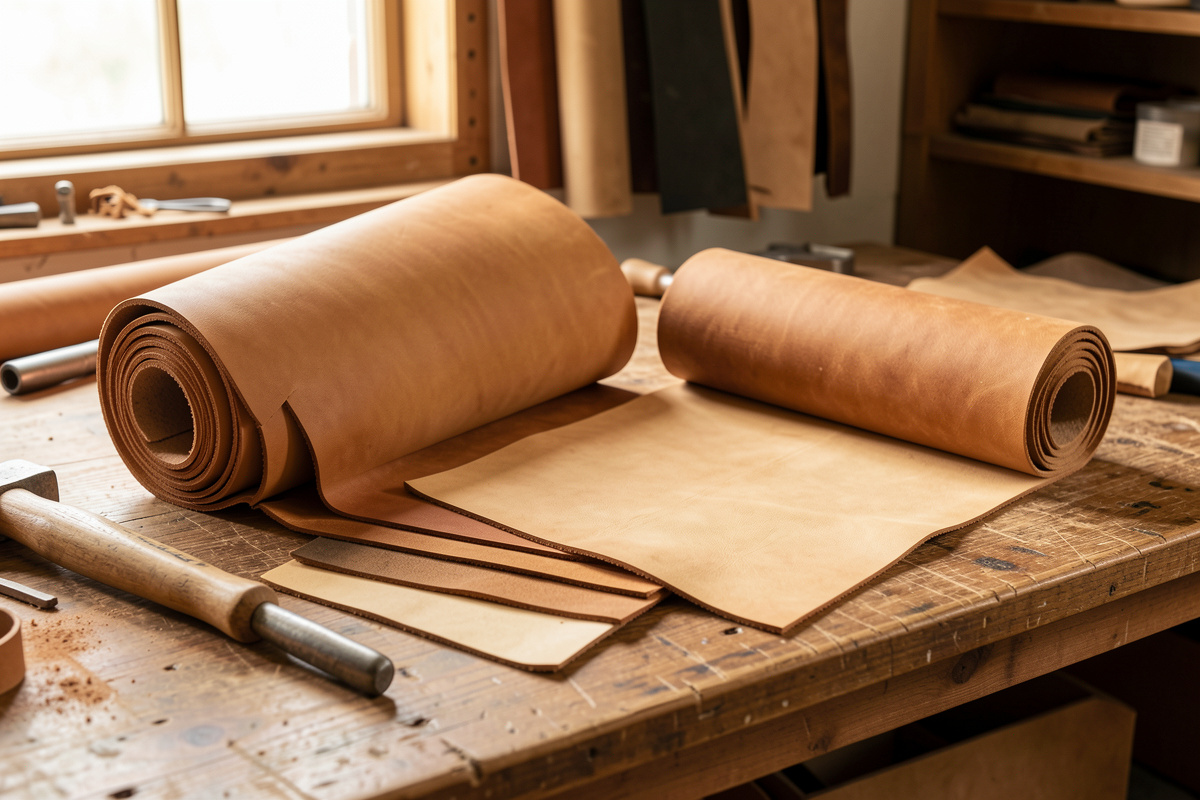
The right leather for tooling is firm, tight-grained vegetable-tanned hide in the 4–9 oz range, cut from the shoulder or bend rather than the belly. Tooling leather has to absorb water evenly, compress crisply under a tool, and hold that impression permanently — and not every veg-tan does all three equally well.
I’ve cased and carved scraps from a lot of different hides on the bench I work on, and the ones that tool cleanly have a few things in common: a smooth blemish-free grain, a firm even temper, and the ability to case evenly without going blotchy. This guide is how I pick a hide for tooling before I ever wet it — weight, temper, region, and grain — and it sits under the broader leather tooling guide as the leather-selection companion.
Why It Has to Be Vegetable-Tanned
Only vegetable-tanned leather tools. Veg-tan is tanned with tannins from tree bark that leave the fibers able to swell with water, compress under a stamp, and lock that compression in when they dry. Chrome-tanned leather, tanned with chromium salts, stays soft and springy and will not hold an impression — a stamp on chrome-tan vanishes as the fibers spring back.
This is the non-negotiable starting point, and it’s worth understanding the full difference because it governs dyeing and burnishing too, not just tooling. My chrome tan vs veg tan guide covers the chemistry and the consequences. For tooling, the takeaway is simple: if a supplier can’t confirm a hide is vegetable-tanned, it’s not tooling leather. Some hides are combination-tanned and tool poorly — pure veg-tan is what you want.
Weight: Matching Ounces to the Project
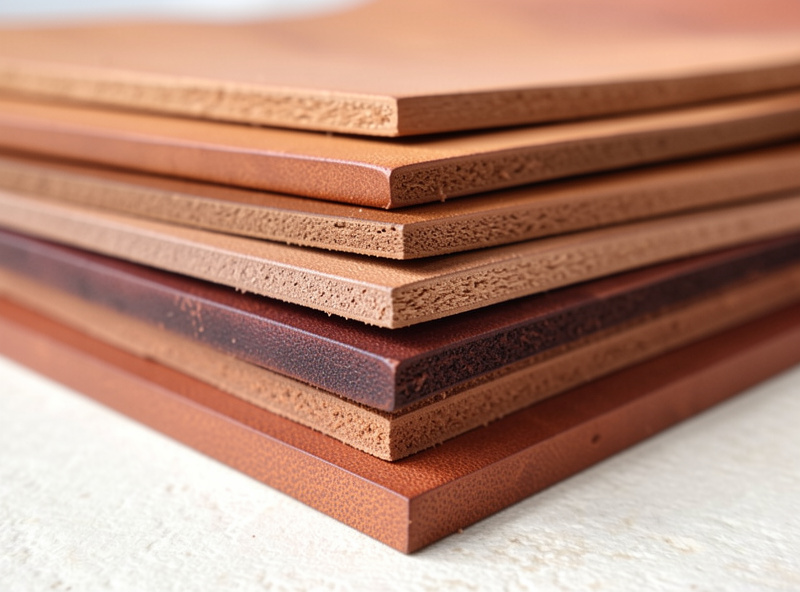
Leather weight, measured in ounces where 1 oz equals roughly 1/64 inch of thickness, decides whether a piece can take a deep bevel without cutting through. Tooling lives in a sweet spot: thick enough to hold a deep impression, thin enough to cut cleanly. For learning and most decorative panels, 5–6 oz is ideal.
The table below maps weight to project. These are the weights I reach for, and the logic is consistent — small goods take lighter leather, structural pieces take heavier. The full ounce-to-millimeter breakdown is in my leather thickness chart.
| Project | Weight | Why |
|---|---|---|
| Wallet interiors / linings | 3–4 oz | Thin enough to fold, takes light tooling |
| Wallet fronts, card sleeves | 4–5 oz | Holds a shallow carve without bulk |
| Decorative panels, coasters | 5–6 oz | The learning sweet spot, deep bevels |
| Notebook covers, small bags | 5–7 oz | Structure plus carving depth |
| Belts, knife sheaths | 8–10 oz | Bold deep tooling, holds wet-forming |
Go too thin and a deep swivel-knife cut weakens or perforates the piece; go too thick on a small item and it won’t fold or sit right. For wallets specifically, where weight choice is fussy, my best leather for wallets guide narrows it further.
Temper: Firm Beats Soft for Tooling
Temper is how firm or soft a hide is, and for tooling you want firm. A firm, dense hide takes a crisp bevel and holds a stamp’s shoulders sharp; a soft, spongy hide spreads under the stamp and gives mushy, shallow impressions even when cased correctly. Two hides of identical weight can tool completely differently because of temper.
Firmness usually tracks where on the animal the leather came from and how it was tanned. Tooling-grade veg-tan is often sold specifically as “tooling leather” or “carving leather” and is processed to be firm and case-friendly. Cheaper or softer veg-tans — sometimes sold for lining or garment use — feel pleasant in hand but frustrate every stamp. When in doubt, press a thumbnail into a corner: a firm hide takes a clean crisp mark, a soft one takes a vague spongy one. The broader picture of tannage, grade and temper is in my types of leather guide.
Hide Region: Where Your Piece Is Cut From
A hide isn’t uniform. The bend and shoulder give firm, tight-grained, even leather that tools beautifully; the belly is stretchy, loose-fibered, and inconsistent — stamps spread on it and cuts wander. For tooling, cut your panels from the back and shoulder and leave the belly for straps you’ll cut down or for practice scrap.
This is why a double shoulder or a bend is a better tooling buy than a full side with all its belly. You pay a little more per square foot but nearly all of it tools cleanly, where a cheap full side has large soft areas you can’t carve well. When I lay out a tooled panel, I position it on the firmest, most even part of the hide and read the grain direction first. The way different regions and tanneries behave is something I get into in my tannery regions guide.
Grain Quality and Surface
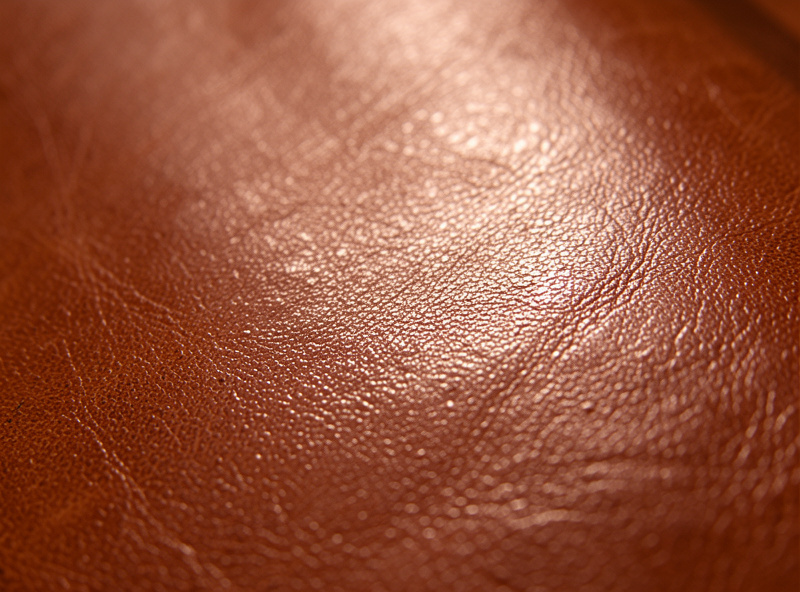
The grain side is where tooling shows, so its quality matters more here than on almost any other project. You want a smooth, tight, blemish-free grain with no deep scars, brands, or loose flaky surface in the area you’ll carve. Small natural marks can be worked around or incorporated, but a loose, snuffed, or corrected grain won’t hold crisp detail.
Full-grain veg-tan — the natural unsanded surface — tools best because the fibers are intact and dense right at the surface. Corrected or heavily buffed grain has had that dense top layer abraded away, so impressions sit shallow and burnish poorly. When buying, look across the grain in raking light for an even, slightly waxy sheen rather than a dull sanded look. Natural undyed hide also lets you see exactly what you’re carving, which is why most carvers tool first and dye afterward, following the stacking order in my dyeing guide.
Natural vs Pre-Dyed, and Casing-Friendliness
For tooling, start with natural undyed veg-tan. It cases evenly, shows your carving clearly, and lets you dye or antique after tooling for the best contrast. Pre-dyed veg-tan can be tooled, but the dye can resist water unevenly and make casing patchy, and you lose the ability to settle antique into fresh cut lines.
Casing-friendliness is the quietly important trait: some over-processed or heavily finished hides won’t absorb water evenly no matter how you wet them, leaving blotchy cases that tool inconsistently. This is hard to judge before buying, which is why sticking to hides sold specifically as tooling or carving leather pays off — they’re chosen for exactly this. Once you’ve selected a good hide, the casing routine itself is covered in the beginners guide, and how leather selection interacts with stamping depth is in the stamping patterns guide.
How Much to Buy, and in What Form
Tooling leather is sold as full hides, sides, double shoulders, bends, and pre-cut panels, and for someone learning I’d start with a double shoulder or a few pre-cut tooling squares rather than a whole side. You waste less, you get a higher proportion of firm carve-able area, and you’re not paying for belly you’ll only use for practice scrap.
A double shoulder gives you a generous run of firm, even leather at a manageable price, and it’s enough to tool a stack of wallets, coasters, and panels while you build skill. Pre-cut tooling panels cost more per square foot but eliminate layout guesswork entirely — handy for a first project. Once you know your weights and you’re carving regularly, buying a bend or a side becomes economical because you can lay out efficiently and use the firmer regions for tooling and the rest for straps and linings. Buy small while you’re learning; the leather you ruin in the first month is tuition, and there’s no reason to pay it on an expensive full hide.
Reading a Hide Before You Commit
Before I cut a tooling panel, I read the hide: I look across the grain in raking light for an even waxy sheen, press a thumbnail into a corner to test temper, flex a section to feel for firmness versus sponge, and map where the firm bend gives way to the softer belly. Thirty seconds of looking saves a ruined panel.
The marks that matter are loose or flaky grain, deep scars in the carve area, and any patch that feels noticeably softer than the rest — all signs that spot won’t hold crisp detail. Natural range marks, healed scratches, and slight color variation are cosmetic and often add character to a finished piece, so don’t reject a good firm hide over them. What you’re really screening for is consistency: a hide that cases evenly and tools the same across the whole panel. Get in the habit of laying your pattern on the best region rather than wherever the leather happens to sit, and your tooling improves before the swivel knife even touches it. These selection instincts overlap heavily with the carving setup covered in the carving tools guide.
Frequently Asked Questions
What weight of leather is best for tooling?
For learning and most decorative panels, 5 to 6 oz vegetable-tanned leather is ideal. It is thick enough to hold a deep bevel and thin enough to cut cleanly. Wallet fronts use 4 to 5 oz, while belts and knife sheaths take bold tooling at 8 to 10 oz.
Can you tool any vegetable-tanned leather?
Most pure veg-tan tools, but firmness and grain quality vary. Firm, tight-grained, full-grain hide sold as tooling or carving leather holds crisp impressions. Soft, spongy, or corrected-grain veg-tan spreads under stamps and gives mushy results even when cased correctly.
Why shouldn’t I tool leather cut from the belly?
The belly is stretchy and loose-fibered, so stamps spread and swivel knife cuts wander. Cut tooling panels from the firm, tight-grained bend and shoulder instead. A double shoulder or bend is a better tooling buy than a full side full of soft belly.
Should I tool natural or pre-dyed leather?
Start with natural undyed veg-tan. It cases evenly, shows your carving clearly, and lets you dye or antique afterward for the best contrast. Pre-dyed leather can resist water unevenly, making casing patchy, and you lose the ability to settle antique into fresh cut lines.
What does casing-friendly leather mean?
Casing-friendly leather absorbs water evenly through its full thickness, which is essential for crisp tooling. Some over-processed or heavily finished hides resist water unevenly and case blotchy. Hides sold specifically as tooling or carving leather are chosen to case evenly.
Keep Building
- Leather Tooling Guide — the full cluster overview
- Leather Thickness Chart — ounces to millimeters for every project
- Chrome Tan vs Veg Tan — why only veg-tan tools
- Types of Leather — tannage, grade and weight explained
- Leather Tooling for Beginners — casing and your first piece