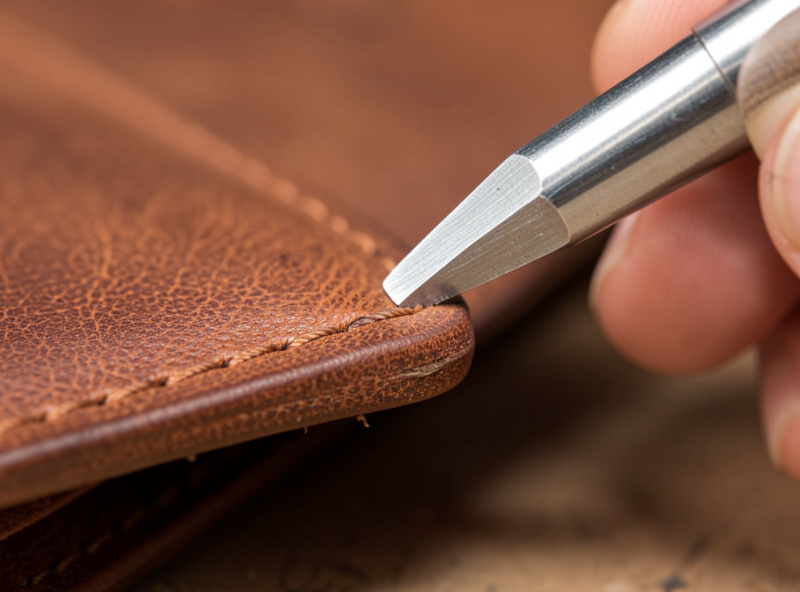
To bevel a leather edge, run a sharp edge beveler down the corner at a steady 45-degree angle in one continuous pull, shaving a thin curl off the…
To bevel a leather edge, run a sharp edge beveler down the corner at a steady 45-degree angle in one continuous pull, shaving a thin curl off the sharp arris so the edge rounds over. On veg-tan I get the cleanest cut casing the edge first with a damp finger and pulling toward me at one consistent speed — a beveler that hangs or chatters is dull, not the leather’s fault.
Beveling is the first move in the whole bevel-sand-slick-wax sequence, and it is the one most beginners rush. Get the cut wrong here and no amount of burnishing later hides a stepped, ragged edge. This is the part of edge work I had to ruin a dozen wallet edges to actually learn, so here is exactly how I dial mine in on the bench.
What an Edge Beveler Actually Does
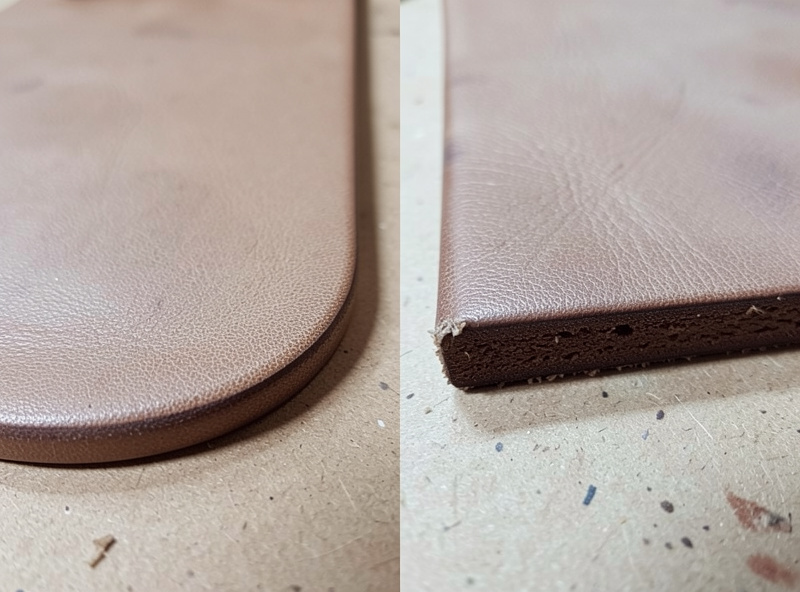
An edge beveler removes the square 90-degree corner from a cut leather edge, turning a sharp two-cornered arris into a rounded profile that burnishes smooth. It does not sand or polish — it shaves a single thin strip from each top corner so the later sanding and slicking have a rounded shape to work with.
The tool is a small gouged blade with a U-shaped channel. As you push or pull it along the edge, the channel guides a sliver of leather up and off. On a 6 oz wallet edge I am taking off maybe a millimetre of corner per pass, both faces, which is enough to kill the hard square without thinning the edge into mush. The cut should come off as one unbroken curl — broken, dusty shavings mean the blade is dull or you are fighting the grain direction.
Choosing the Right Beveler Size
Beveler size is matched to leather weight: a #1 for thin 2-4 oz linings and card sleeves, a #2 for 5-7 oz wallet and small-good edges, and a #3 for 8 oz and up belt and sheath bodies. Too small a beveler on a thick edge barely touches the corner; too large on a thin edge eats half the edge away. I keep a full edge beveler set from #0 to #3 because the right size is the difference between one clean pass and three correcting ones.
If you are buying one tool to start, a #2 covers the most common 5-6 oz small-goods work. I am deliberately not naming a single “best” brand here — that is a different question, and I dug into the actual tool comparison in my guide to the best edge bevelers, where I rank the bevelers I keep on the wall by how long they hold an edge. This article is about technique: a cheap beveler kept razor sharp beats an expensive one gone dull every single time.
How to Bevel a Leather Edge, Step by Step
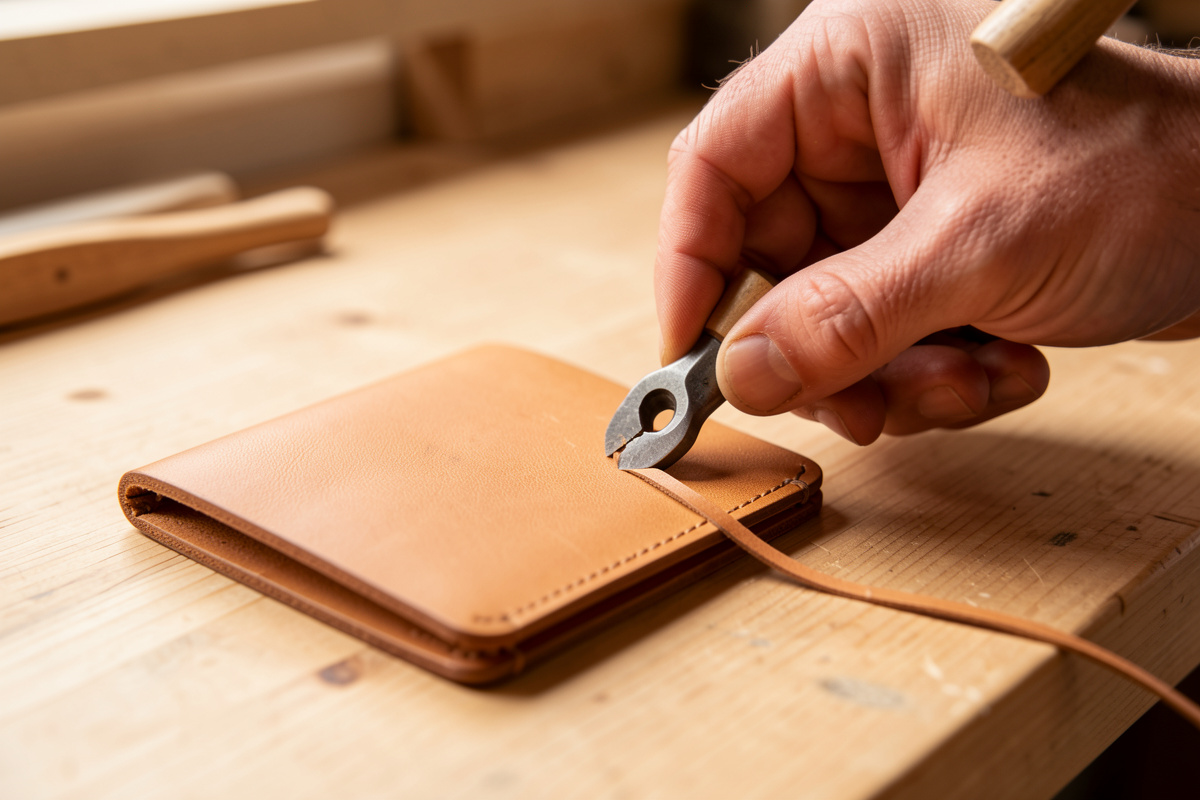
The clean bevel is one steady pull, not a series of nervous nibbles. Cased edge, sharp tool, consistent angle and speed — that is the whole job, and the consistency matters more than strength.
Here is the exact sequence I run on a wallet edge:
- Cut the edge clean first. A beveler cannot rescue a wavy cut. I square the edge against a steel straightedge before I bevel anything.
- Lightly case the edge. A damp finger run along veg-tan, not soaked — slightly damp leather cuts cleaner and curls instead of crumbling. Skip this on chrome-tan, which beveling barely helps anyway.
- Set the angle near 45 degrees. Hold the channel against the top corner so it bites both the face and the edge.
- Pull in one pass. Steady, moderate speed, all the way off the end. Do not stop mid-edge — the pause shows as a divot.
- Flip and repeat the other face. Both top corners get the same treatment so the edge is symmetrical before sanding.
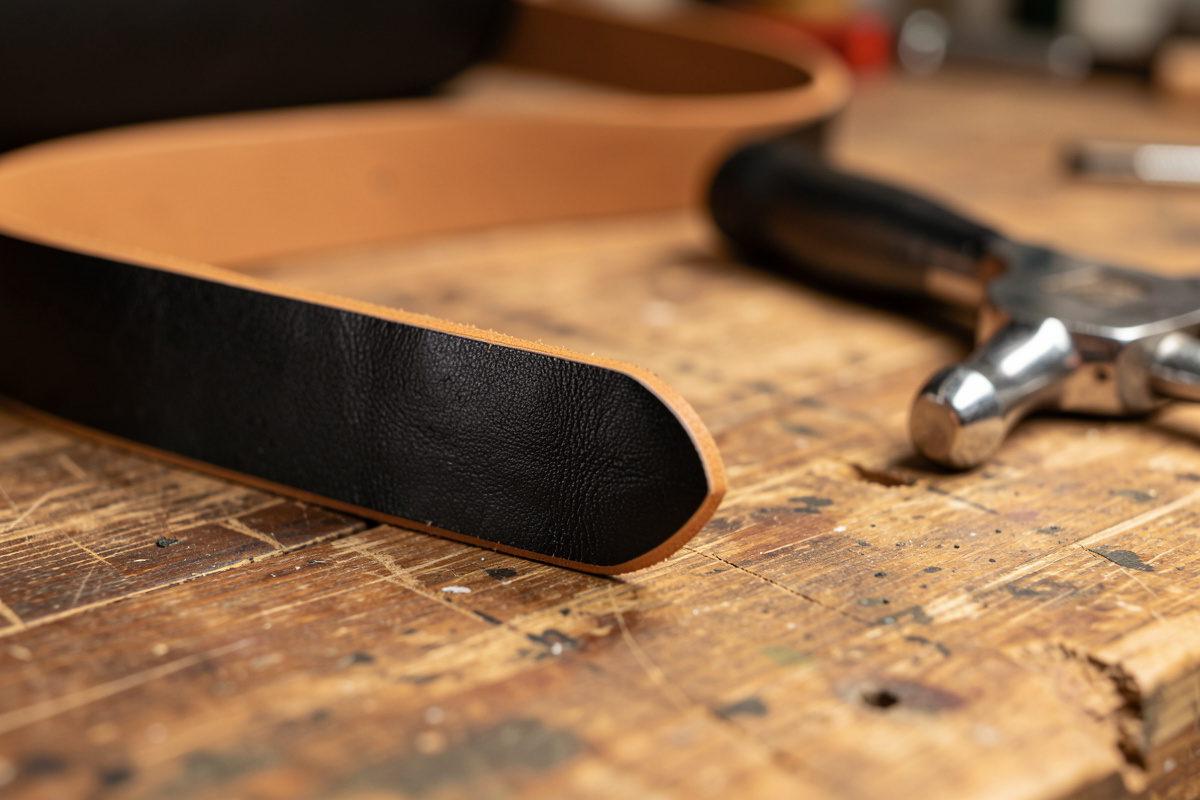
On long belt edges I sometimes push rather than pull for control, but the rule is identical: one continuous stroke at one angle. For a flatter, wider chamfer on thick belt and strap edges I reach for a French edger instead, which slices a broad bevel rather than the narrow rounded one a standard beveler leaves.
Push or Pull? Grain Direction Matters
Whether you push or pull, the beveler should always travel with the grain so the cut stays smooth — if it starts grabbing and tearing, you are going against the leather and should reverse direction. Veg-tan has a subtle directional grain, and a beveler that glides one way will chatter the other. I figure out the good direction on a scrap offcut from the same hide before I touch the real piece.
Most makers pull toward the body for short edges because it is easier to control angle and speed when the tool comes to you. For long straight runs like a belt, a braced push keeps the angle from wandering over 40 inches of edge. Neither is more correct — pick the one that lets you complete the edge in a single unbroken stroke, because the unbroken stroke is what makes the edge look turned rather than cut.
Keep the Beveler Razor Sharp
A dull beveler is the single most common reason edges come out ragged — the channel needs to be sharp enough to slice the corner, not crush it. The blade dulls faster than people expect because it is shaving abrasive leather, and a beveler that worked beautifully a month ago will tear today if you have not touched it.
I strop the inside of the channel with a thin wooden or leather slip charged with green compound, drawing it through the U a few times until it shaves cleanly through scrap. A proper sharpening with a shaped slip stone comes less often. The test is simple: case a scrap edge, pull one stroke, and look at the curl. One unbroken ribbon means sharp; dust and breaks mean strop it before you ruin a real edge. I cover this same edge-on-the-tool discipline in my guide to sharpening leather tools, because a beveler is just another blade that lives and dies by its edge.
What to Do After the Bevel
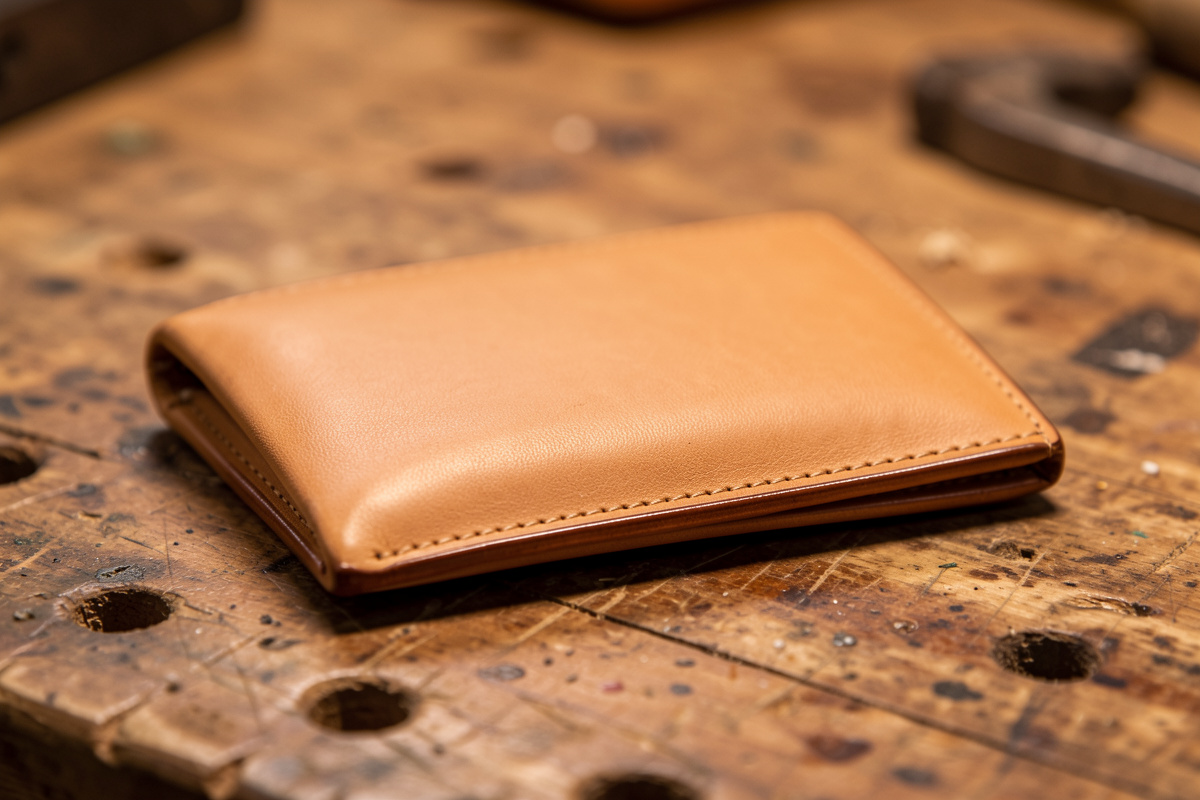
Beveling only rounds the corner — the edge still needs sanding through grits and then burnishing before it looks finished. The bevel is step one of four, and stopping here leaves a rounded-but-rough edge that still reads as homemade. Once both corners are cut, I sand the edge smooth and then slick and wax it, which is where the glassy turned look actually comes from.
If your bevel is clean, every step after it gets easier. A ragged bevel fights the sandpaper and never burnishes evenly. So the discipline is front-loaded: spend the patience on a sharp tool and a single clean stroke here, and the rest of the full edge-finishing sequence falls into place. The hub guide walks the whole bevel-to-burnish chain end to end.
Some links in this article are affiliate links — if you buy through them I may earn a small commission at no extra cost to you.
Frequently Asked Questions
What angle should I bevel a leather edge at?
Hold the beveler at roughly 45 degrees to the edge so the channel bites both the face and the corner. The exact angle matters less than keeping it consistent for the entire pass, since a wandering angle leaves an uneven rounded profile.
Do you bevel both sides of a leather edge?
Yes. Bevel both top corners, the grain-side face and the flesh-side face, so the edge is symmetrical before sanding. Beveling only one side leaves a lopsided edge that never burnishes evenly.
Why does my edge beveler tear instead of cut?
Tearing means the blade is dull or you are cutting against the grain. Strop the inside of the channel with green compound until it shaves scrap cleanly, and try reversing your direction so the tool travels with the grain.
Can you bevel chrome-tan leather edges?
You can, but beveling helps chrome-tan far less than veg-tan because chrome-tan will not burnish to a hard slick edge afterward. Most chrome-tan edges are finished with edge paint rather than the bevel-sand-slick sequence.
What size edge beveler should a beginner buy?
A size 2 beveler covers the most common 5 to 6 ounce small-goods edges like wallets and card sleeves. Add a size 1 for thin linings and a size 3 for belts and sheaths as your projects expand.
Should I bevel before or after stitching?
Bevel after stitching and gluing, when the layers are bonded into one solid edge. Beveling separate layers first leaves the assembled edge uneven, and you would have to re-bevel the whole stack anyway.
Related Guides
- Leather Edge Finishing: The Bevel-to-Burnish Guide
- Best Edge Bevelers for Leather: Size 1 vs 2, Top Brands Ranked
- How to Sharpen Leather Tools
- DIY Leather Edge Slickers and Burnishers