To sand a leather edge, work up through grits in order — start around 220 to knock down the beveled corners, then step to 400, 600 and 800…
To sand a leather edge, work up through grits in order — start around 220 to knock down the beveled corners, then step to 400, 600 and 800 or finer, never skipping more than one grit at a time. Each grit removes the scratches the last one left, and by the time I am at 800 the edge is smooth enough to burnish to a glass finish. Skip a grit and the deeper scratches survive straight through to the final slick.
Sanding is the unglamorous middle of edge finishing, the step between beveling and burnishing that nobody photographs and everybody underrates. It is also the step that decides whether the burnish takes. Here is exactly how I run the grit progression on the bench, and why the order is not negotiable.
Why Grit Progression Matters
Sandpaper grit is a scratch pattern: a 220 grit leaves 220-sized scratches, and the only way to remove them is a finer grit that leaves smaller scratches, repeated until the scratches are too fine to see. Jumping from 220 straight to 800 does not work — the 800 paper cannot reach the bottom of the deep 220 scratches, so they stay, and they show up as a rough band the moment you burnish.
This is the same logic as sharpening a blade or sanding wood, and leather is no different. The progression is cumulative: each grit’s only job is to erase the previous grit’s marks. That is why I never skip more than one step — go 220 to 600 and you are asking the 600 to do two grits of work it cannot do. The edge looks done to the eye but reveals every survived scratch under the gloss of a burnish.
The Grit Progression I Use
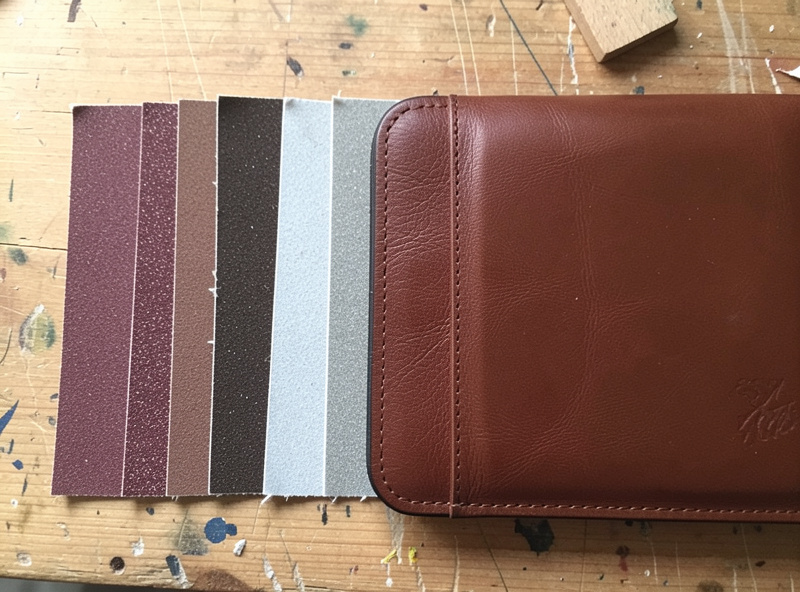
For a typical veg-tan small-good edge I run four grits: 220, 400, 600, and 800, sometimes finishing at 1000 or 1200 on a show edge. Heavier or rougher edges start coarser, around 150, to knock the bevel flat fast before refining. The exact numbers flex, but the spacing — roughly doubling, never tripling — stays constant.
| Grit | Stage | What it does |
|---|---|---|
| 120-150 | Optional rough start | Flattens a rough or stepped edge on thick stacks |
| 220 | Shaping | Knocks down the beveled corners, levels glued layers |
| 400 | Smoothing | Removes the 220 scratches, edge starts to even out |
| 600 | Refining | Edge reads smooth to the eye, ready for pre-burnish |
| 800 | Pre-burnish | Surface fine enough to slick to a glass finish |
| 1000-1200 | Show edge (optional) | Extra polish before burnishing a presentation piece |
Wet or Dry? Sanding Technique
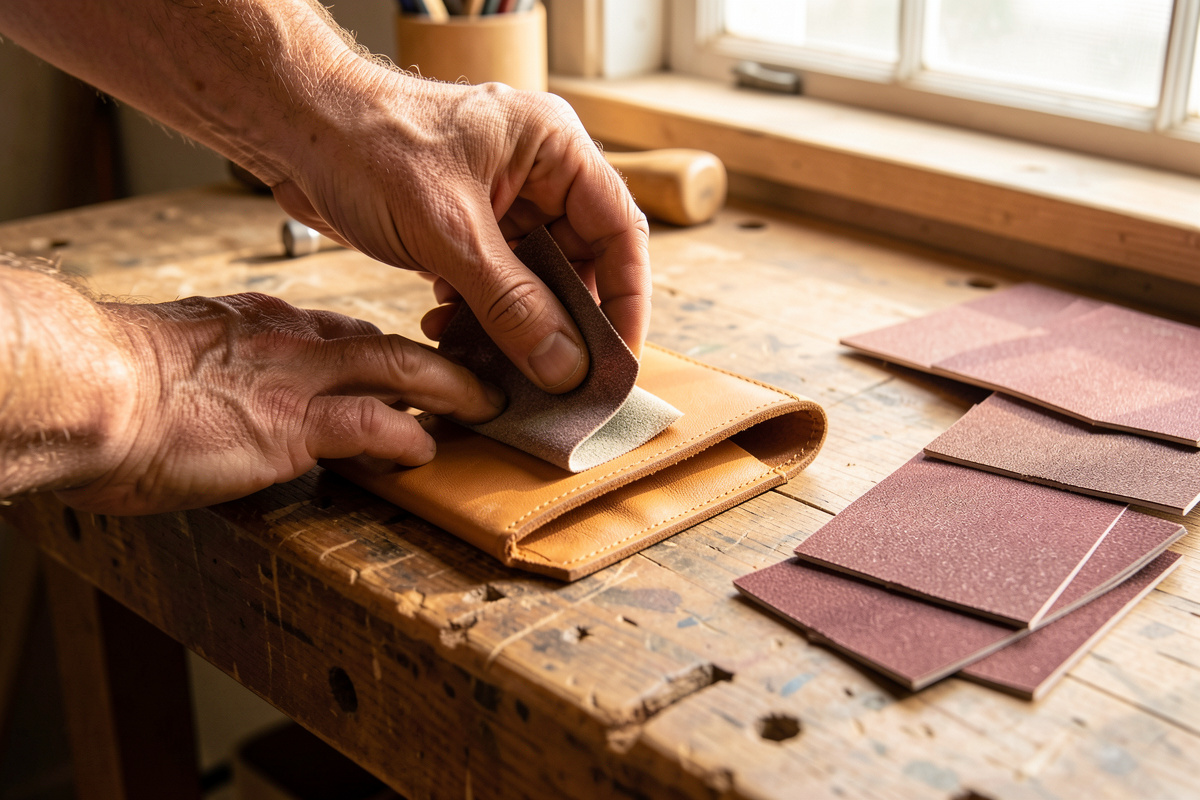
Sand veg-tan edges dry for the shaping grits, then lightly damp from around 600 up, because a touch of moisture helps the finer grits polish rather than fuzz the fibers. Soaking is a mistake — the edge should be barely damp, the same light casing I use before burnishing. Dry sanding at the fine grits tends to raise fuzz; a whisper of water lays it down and lets the paper polish.
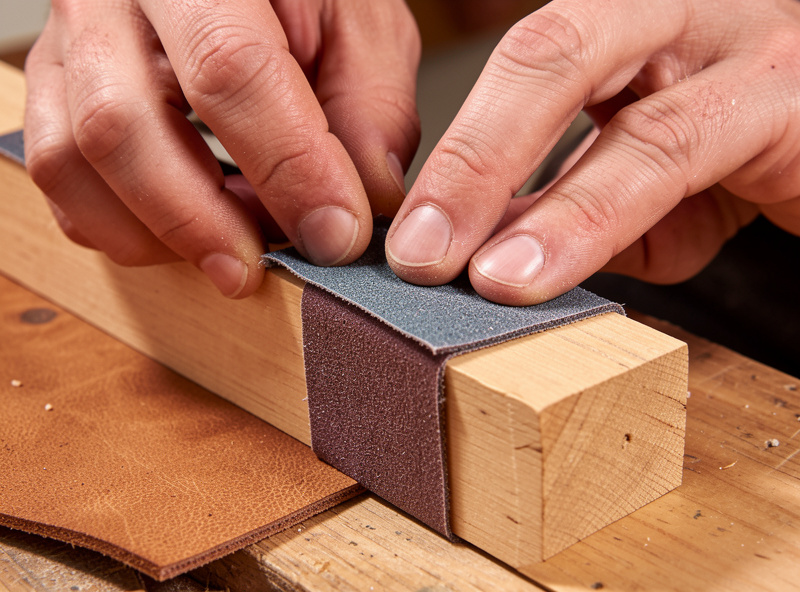
I wrap the paper around a hard flat block or a sanding stick so the edge stays square — sanding freehand rounds the edge unevenly and undoes the clean bevel. A small sanding block with the grit wrapped tight keeps the pressure even across the whole edge. Long straight strokes along the edge, not across it, and consistent light pressure — leaning hard just digs fresh deep scratches the next grit has to chase.
How to Know an Edge Is Sanded Enough
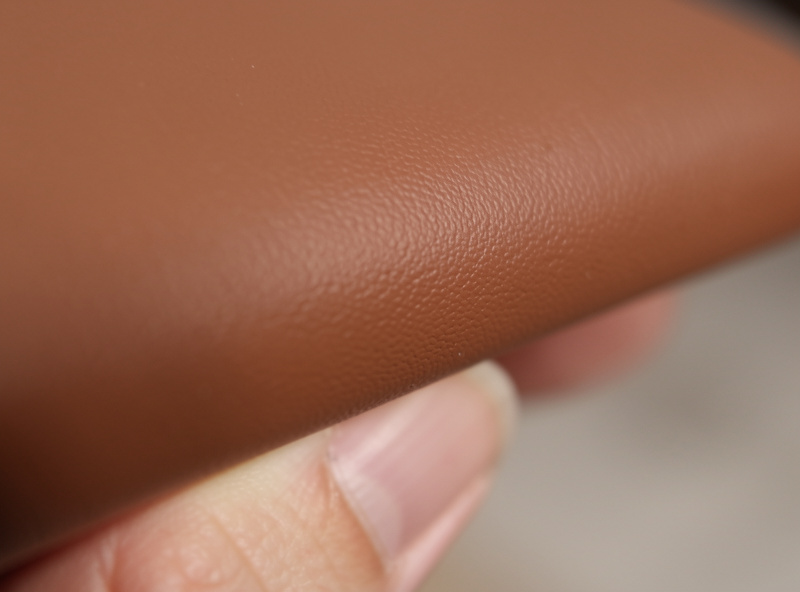
An edge is sanded enough when it feels uniformly smooth under your fingertip with no ridges or fuzz, and when a quick test-burnish on the end produces gloss instead of a rough band. Your finger is the best gauge — run it along the edge and you feel every survived scratch and ridge the eye misses. If it catches anywhere, that grit is not done.
The definitive test is a trial slick. Burnish the very end of the edge with a damp finger or a slicker; if it glasses up cleanly, the sanding is there. If it stays cloudy or rough, you skipped a grit or stopped too coarse, and the fix is to step back down and work up properly. This is why I sand thoroughly before committing to the full burnish — fixing a bad sand after burnishing means undoing the gloss and starting the grits over. A sandpaper grit assortment covering 220 through 1000 covers every edge I sand.
Common Sanding Mistakes and How to Fix Them
The most common sanding fault is a fuzzy edge that will not smooth out, and it almost always means you are sanding bone-dry at the fine grits or pressing too hard. Dry fine-grit sanding lifts the loose fibers instead of cutting them, so the edge gets hairier the more you work it. The fix is to back off the pressure and lightly damp the edge from 600 up, which lays the fuzz down so the paper can polish it flat.
The other frequent problem is an edge that goes wavy or out of square after sanding, which comes from working freehand or rolling the block as you stroke. Every pass should keep the block flat against the edge with even pressure end to end. If the edge already drifted, step back to the shaping grit, re-flatten it square against the block, and rebuild the progression — chasing a wavy edge with fine paper only polishes the wave. And if you find a deep scratch surviving at 800, do not try to buff it out with the fine paper; drop back two grits, kill it properly, and work up again. Trying to erase a coarse scratch with fine paper is the single biggest time-waster at the bench.
Edge Dye Before or After Sanding?
Dye the edge after the shaping grits but before the final fine grits and burnish, so the dye soaks into raw fiber and the last sanding-plus-slick blends it in. Dyeing a fully sanded and slicked edge just sits the color on a sealed surface where it rubs off. I sand to around 400 or 600, apply edge dye and let it dry, then finish the last grit and burnish, which locks the color into the compressed edge.
On a natural veg-tan edge I often skip edge dye entirely and let the burnished tone speak for itself, since a well-slicked veg-tan edge darkens to a handsome natural brown on its own. Where I want a defined black or contrasting edge, the dye-between-grits timing is what keeps it crisp rather than crocking off later. Either way the sanding sequence carries the same weight — color or no color, the edge has to be smooth first.
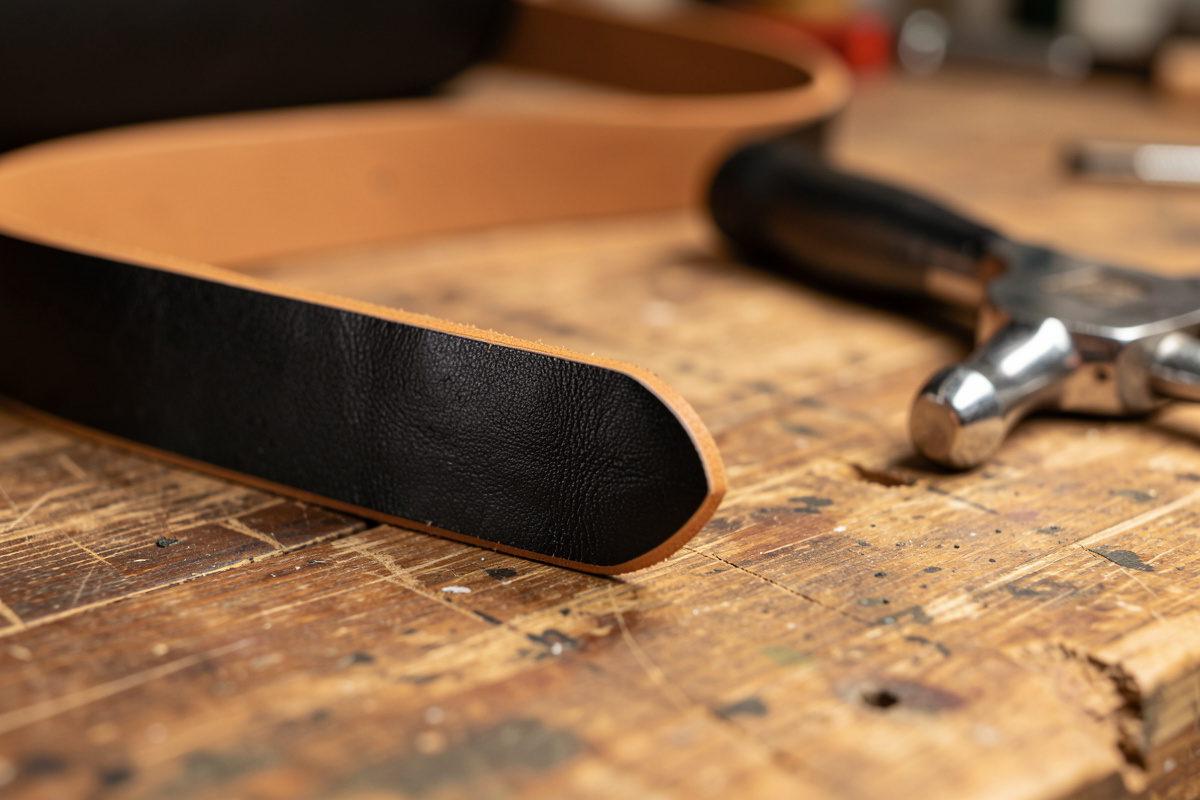
Where Sanding Fits in the Edge Sequence
Sanding sits between beveling and burnishing — you bevel first to round the corners, sand to remove the cut and bevel marks, then slick and wax to finish. Skip or rush the sanding and the burnish has nothing smooth to work with. It is the bridge step, and a clean beveled edge going in makes the sanding faster because there is less corner to chase.
Once the edge is sanded to 800 and passes the trial-slick test, it is ready for the final finish, whether you burnish it or, on chrome-tan and soft leather, switch to edge paint instead. Either way the sanded edge is the foundation. For the whole bevel-to-burnish chain in one place, the edge-finishing hub guide ties every step together.
Some links in this article are affiliate links — if you buy through them I may earn a small commission at no extra cost to you.
Frequently Asked Questions
What grit should I start sanding a leather edge with?
Start around 220 grit for most veg-tan small goods to knock down the beveled corners and level the edge. Thick or rough stacked edges can begin coarser at 120 to 150 grit to flatten fast before refining up through the finer grits.
How high a grit do you sand leather edges to?
Sand to 800 grit before burnishing for a normal edge, which is fine enough to slick to a glass finish. For presentation pieces you can continue to 1000 or 1200 grit for extra polish, but 800 is the practical standard.
Can you skip grits when sanding leather edges?
No, never skip more than one grit at a time. Each grit only removes the scratches the previous one left, so jumping from 220 to 800 leaves deep scratches the fine paper cannot reach, and they show up as a rough band once you burnish.
Should you sand leather edges wet or dry?
Sand dry for the coarse shaping grits, then lightly damp from about 600 grit up. A whisper of moisture helps the fine grits polish instead of raising fuzz, but the edge should be barely damp, not soaked.
How do you keep a leather edge square while sanding?
Wrap the sandpaper tightly around a hard flat block or sanding stick and use long strokes along the edge, not across it. Sanding freehand rounds the edge unevenly and undoes the clean bevel you cut.
Related Guides
- Leather Edge Finishing: The Bevel-to-Burnish Guide
- How to Bevel Leather Edges
- Edge Paint vs Burnishing
- How to Burnish Leather Edges With Tokonole
- Tokonole vs Gum Tragacanth vs Water