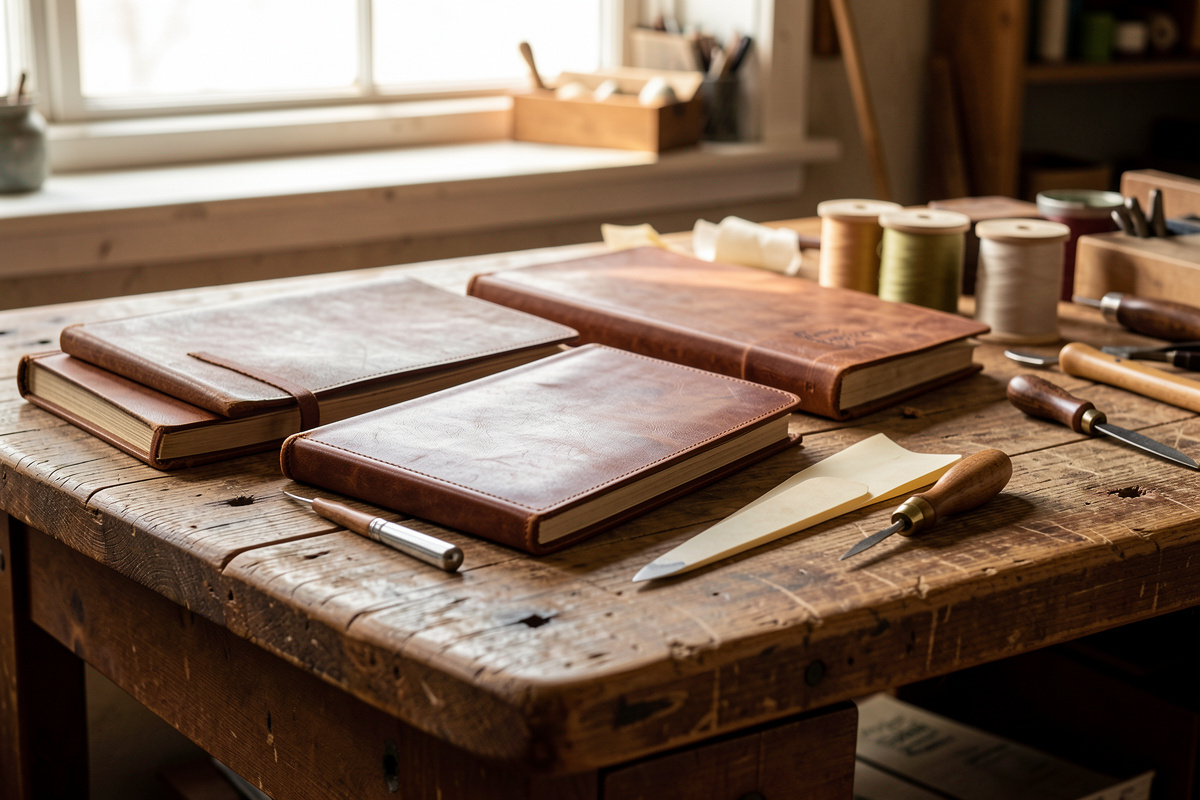
Leather bookbinding is the craft of sewing folded paper signatures into a text block and covering it with leather you’ve cut, dyed, and burnished by hand. For a…
Leather bookbinding is the craft of sewing folded paper signatures into a text block and covering it with leather you’ve cut, dyed, and burnished by hand. For a working journal, a 3-4oz veg-tan goat or calf cover over a 4- or 5-signature block sewn with 18/3 waxed linen is the combination I reach for most. Everything past that is preference and patience.
I bind my own journals and notebook covers on the same low-dust bench where I stitch wallets and sheaths, and the two crafts borrow from each other constantly. The saddle stitch I use on a belt is a cousin of the link stitch on a Coptic spine. The edge slicker I printed in PETG for a wallet does double duty rounding a book’s fore-edge. This guide is the whole picture as I work it: choosing leather by weight and tannage, building the text block, the binding methods worth learning, sewing and gluing, then finishing the cover and spine so it reads as turned rather than cut.
None of this needs a press the size of a washing machine or a shelf of antique tools. It needs sharp edges, the right thread, and the willingness to slow down. Let me walk you through it.
What Leather Bookbinding Actually Involves
At its core, leather bookbinding is three jobs stacked: fold and sew paper into a text block, attach that block to boards or a flexible cover, then wrap and finish leather over the whole thing. The leather is the visible craft, but the sewing is what makes the book open flat and survive use.
A finished leather book has a handful of named parts, and you’ll want the vocabulary before we go deeper. A signature (or section) is a small stack of folded sheets nested together. Several signatures sewn in sequence make the text block. The spine is the sewn edge; the fore-edge is the opening edge opposite it. Endpapers are the sheets that bridge the text block to the cover. The cover itself is either rigid boards wrapped in leather (case binding) or a single flexible piece of leather the block sews directly into (limp or wrap binding).
If you’re coming to this from general leatherwork, you already own most of what matters: a way to cut straight, a way to make holes, needles, thread, and an edge routine. If you’re brand new, start with the leatherworking for beginners primer and the leatherworking tools guide so the terms below land. The leap from flat goods to a bound book is mostly about respecting the grain direction of paper and the squareness of a text block.
Choosing Leather: Weight, Tannage, and Grain
The single most common beginner mistake is using leather that’s too thick. A book cover flexes constantly; an 8oz bend that’s perfect for a belt will fight you at every hinge. For covers I default to 3-4oz veg-tan, sometimes a soft chrome-tan if I want a floppy limp binding. Boards do the rigidity work, not the leather.
Weight is measured in ounces, where 1oz equals roughly 1/64 inch (about 0.4mm) of thickness. So 3-4oz is around 1.2-1.6mm, thin enough to turn cleanly over a board edge. If those numbers feel abstract, the leather thickness oz chart maps every weight to a use, and it’s the chart I check before cutting any cover.
Veg-tan versus chrome-tan for books
Veg-tan is my core material: it tools, dyes, wet-forms, and burnishes, and it ages into a patina that suits a journal you handle daily. Wickett & Craig and Hermann Oak shoulders give me clean, consistent 3-4oz panels for covers. Chrome-tan is the soft, drapey option — better for a limp wrap you want to flop open, worse for anything you’ll dye or burnish at the edge. The full chrome-tan vs veg-tan breakdown covers why, and the types of leather overview helps if you’re sourcing goat, calf, or pigskin specifically.
Grain direction and skiving
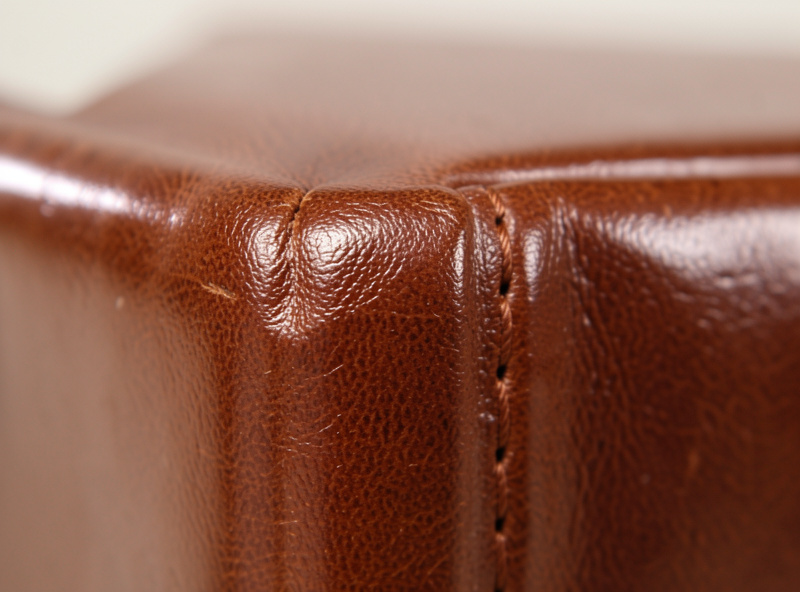
Leather doesn’t have the hard grain direction paper does, but it does have a stretch axis (along the backbone is firmer; toward the belly is stretchier). I cut covers so the firmer axis runs spine-to-fore-edge. Where leather laps over a board edge or meets at a corner, I skive — pare the flesh side thinner so the turn-in doesn’t bulk up. A dedicated skiving knife kept stropped is worth more here than any single other tool; corners that aren’t skived telegraph through the cover forever.
The Core Bookbinding Methods, Compared
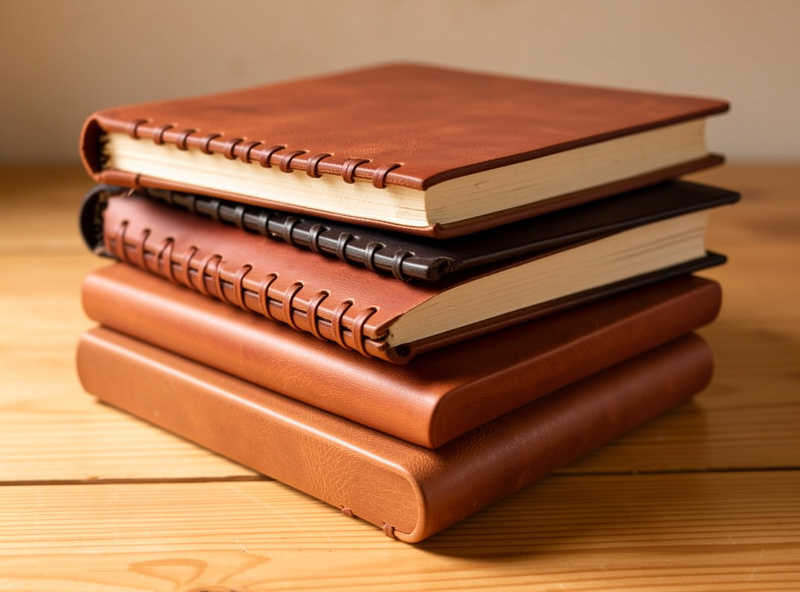
There’s no single “right” binding. The method follows the book: a flat-opening sketchbook wants something different from a slim pocket journal. Below is how I think about the four I actually use, before we build one start to finish.
| Method | Opens flat? | Difficulty | Best for | Spine character |
|---|---|---|---|---|
| Coptic stitch | Yes, fully | Intermediate | Sketchbooks, journals | Exposed chain stitch, no glue |
| Saddle / pamphlet stitch | Mostly | Beginner | Thin journals, single signature | Simple visible stitch line |
| Long-stitch (limp leather) | Mostly | Beginner-Intermediate | Soft wrap journals | Decorative stitches on the leather spine |
| Case binding (sewn + glued) | No (rounded) | Advanced | Hardcover books | Smooth or raised-band, glued |
The Coptic stitch bookbinding method is the one I recommend learning first if you want a book that lies dead flat — the exposed chain spine is forgiving and uses no adhesive. For a single thin signature, pamphlet stitch (a saddle-stitch variant) gets you a finished journal in an afternoon. The saddle-stitch leather journal walkthrough adapts the same two-needle stitch I use on wallets to a book. Case binding is the traditional hardcover; it’s the most involved and the one where I defer to how traditional binders round and back a spine.
Building the Text Block
Before any leather touches the bench, you build the paper. The text block is the book; the cover is dressing. Get the block square and the signatures consistent, and the rest is straightforward. Get it sloppy and no amount of fine leather hides it.
Pick a paper with the grain running parallel to the spine — fold a test sheet both ways and it bends easier with the grain. Cross-grain paper cockles and fights the fold. Cut or tear sheets to twice your finished page width (they fold in half), then nest 4-6 sheets into each signature. I usually run 4 to 6 signatures for a pocket journal, more for a chunky sketchbook.
Paper weight matters more than people expect. A heavy 120gsm drawing paper makes a thick, satisfying signature but you can only nest three or four sheets before the fold splays and the inner pages creep out past the outer ones — that creep is called the fore-edge step, and you trim it flush after sewing if you want a clean opening edge. A lighter 80-90gsm writing paper nests five or six sheets happily and keeps the block slim. I match paper to the book: dense and few-sheets for a sketchbook, light and many-sheets for a daily writing journal. Whatever you choose, keep every signature the same sheet count so the block builds square.
Marking and punching the sewing stations
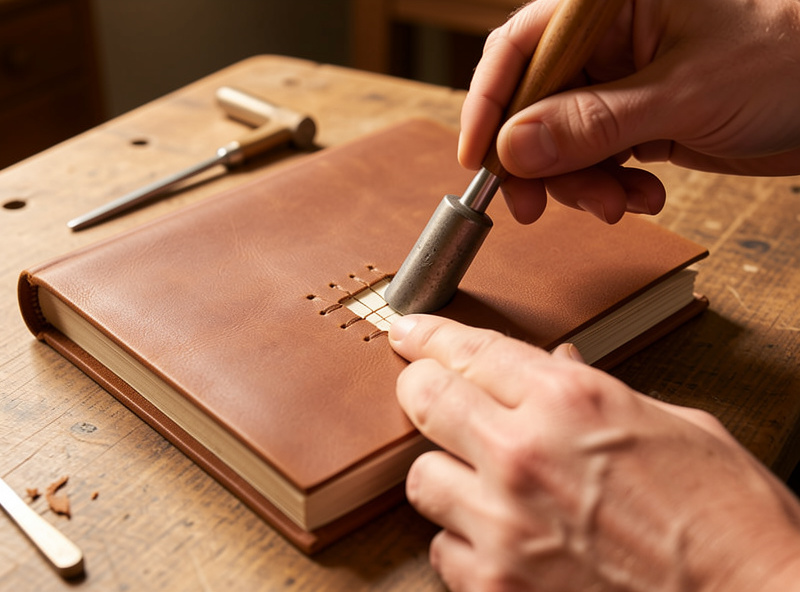
Fold each signature crisply with a bone folder, then mark your sewing stations — the points where the needle passes through the fold. I cut a paper jig the height of the spine, mark the station spacing on it once, and use it for every signature so they all line up. Open a signature over a cradle (or your knee with a foam block) and pierce each station with an awl. This is where leatherwork instinct helps: the diamond awl I keep stropped makes a cleaner station than a round bookbinding awl, though either works. For consistent spacing the same logic as stitch length on leather applies — even spacing reads as intentional, uneven reads as a mistake.
Thread, Needles, and Sewing the Spine
Bookbinding thread is its own small rabbit hole, but the short version: for sewn text blocks I use waxed linen, typically 18/3 or 25/3, because it grips, holds a knot, and ages well against paper. For decorative long-stitch spines on leather I’ll sometimes switch to Ritza 25 “Tiger” 0.6 or 0.8mm — the same waxed polyester I stitch wallets with — because it’s tougher against the leather’s edge and comes in colors that pop on a dyed spine.
Use blunt bookbinding needles for paper signatures — sharp needles split the fibers and wander. Match needle eye to thread so the eye doesn’t drag a too-large hole. If you’re sourcing fresh, bookbinding needles and good waxed linen thread for bookbinding are the two things worth buying right the first time. For the leather-spine work I lean on Ritza Tiger thread in 0.8 or 1.0mm. As an Amazon Associate I earn from qualifying purchases.
The link stitch and the kettle stitch
Most multi-signature bindings rely on two moves. The kettle stitch is the little catch-knot at the head and tail of each signature that locks it to the one below — it’s the bookbinding equivalent of the lock I tie off a saddle stitch with. The link stitch (Coptic) loops each new signature into the chain of the previous one, which is what builds that exposed-chain spine. Tension is everything: too loose and the block sags, too tight and it won’t open. I sew snug but not strangling, checking that the block stays square against a board every few signatures. The muscle memory from saddle stitching leather transfers directly — consistent tension, no twisting the thread, settle each pass before the next.
Covers: Limp, Cased, and Wrap-Around
Once the block is sewn, the cover decides the book’s character. The three families I build are limp leather (block sews straight into a soft cover), case binding (block glued into rigid boards wrapped in leather), and a wrap-around with a flap or strap closure. Each is a project in its own right.
For a handmade leather book cover, the limp approach is the most beginner-friendly and the most “leatherworky” — you’re cutting a single panel, dyeing and finishing it, then sewing the text block directly through the spine. A wrap with a strap is the same panel extended and a buckle or button stud added. Case binding is where you glue endpapers to boards and case-in the block; it’s traditional, sturdy, and the binding I treat with the most respect because a rounded, backed spine is genuinely a learned skill. The full leather journal making guide walks the limp build end to end, and if you want a refillable cover that holds standard inserts, the leather notebook cover pattern is the template I cut from.
Leather weight by book component
People ask me what weight goes where, so here’s the cheat sheet I work from. It’s the same logic as picking weights for a wallet — thin where it flexes, thicker where it carries load.
| Component | Weight (oz) | Thickness (approx.) | Why |
|---|---|---|---|
| Limp cover (flexible) | 3-4oz | 1.2-1.6mm | Folds and drapes without cracking |
| Cased cover (over board) | 2-3oz | 0.8-1.2mm | Turns over board edge without bulk |
| Spine reinforcement / strap | 4-5oz | 1.6-2.0mm | Takes wear and closure tension |
| Endpaper liner (leather) | 2-3oz | 0.8-1.2mm | Thin enough to hinge cleanly |
When you do need adhesive — gluing endpapers, casing-in, or laminating a board — reach for PVA, not contact cement. PVA stays flexible, dries clear, and lets you reposition for a few seconds. The best glue for leather guide covers where PVA wins and where it doesn’t; for bookwork it almost always does. A jar of PVA bookbinding glue and a cheap book binding press (or two boards and a stack of weights) handle most of what a home bench needs.
Cutting, Dyeing, and Finishing the Cover
Cutting a cover panel square matters as much as cutting a wallet square — an off-square cover never looks right no matter how good the stitching. I cut against a steel rule with a fresh blade, scoring lightly first. The cut leather straight guide is the technique; for a book the only addition is allowing turn-in margin around boards before you commit the cut.
Dyeing a book cover is the same discipline as any veg-tan piece. I case the leather lightly, apply Fiebing’s Pro Oil or spirit dye in thin even coats with a wool dauber or airbrush, let it dry fully, buff hard, then seal. The leather dyeing guide and the dye application methods breakdown cover the full routine; the only book-specific caution is that heavy dye can stiffen a thin cover, so I go lighter on limp bindings.
Antiquing and distressing for an aged look
A journal that looks lived-in from day one is its own aesthetic. Fiebing’s antique finish dragged into the tooling and wiped back gives instant depth, and a pull-up leather will bloom lighter wherever you flex it — that pull-up patina is half the appeal. If you want to push it further, the distressing a leather journal cover spoke covers the techniques I use to age a cover deliberately without making it look fake. For the antique step specifically, the how to antique a leather finish walkthrough is the method.
Edge and Spine Finishing
This is where a leatherworker’s edge habits separate a homemade book from a made one. Any raw leather edge on a cover — the fore-edge of a limp binding, the turn-in line, a strap — gets the full treatment: bevel, sand through the grits, then burnish with Tokonole until it’s slick and dark. A raw fuzzy edge is the loudest tell that a book was rushed.
My routine is the same as on a wallet: a #1 or #2 edge beveler knocks the corner, then I sand coarse-to-fine, dampen, and burnish with a slicker. The leather edge finishing overview is the master sequence, with deeper dives on beveling edges, sanding through the grits, and burnishing with Tokonole. I burnish book edges with a slicker I printed in PETG on the workshop FDM printer, profiled to the cover thickness — the same DIY edge slicker approach I use for everything. If you’re unsure whether to reach for Tokonole or gum trag on a particular edge, the Tokonole vs gum tragacanth comparison settles it.
The spine is its own finishing problem. On a limp or long-stitch binding the spine leather is visible, so it gets dyed, burnished at its edges, and lightly waxed. On a cased book you might add raised bands or a smooth glued spine. The leather spine finishing guide is the dedicated spoke for this; I treat the spine as the book’s edge work writ large. To seal the whole cover I finish with a thin coat of Resolene or a carnauba creme depending on the look I want — the Resolene finish sealer guide covers when a sprayed acrylic beats a hand-rubbed wax. A good bone folder earns its place here too, for setting turn-ins and creasing without marking the grain.
Tools You Actually Need to Start
You can bind your first leather journal with a startlingly short list: a sharp knife and steel rule, an awl, blunt needles, waxed linen, a bone folder, and your existing edge-finishing kit. Everything else is comfort and speed, not capability.
That short list is deliberate. I’ve watched plenty of people stall out before they start because they think they need a hundred dollars of specialty bookbinding kit, when in truth a leatherworker’s bench already covers most of it. The bone folder is the one genuinely new purchase, and it’s cheap. Your knife, your rule, your cutting mat, your awl, your edge bevelers and slicker, your dye shelf — all of it carries straight over. The only mental shift is treating paper with the care you’d give a thin lining leather: it has grain, it cockles when wet, and it punishes a crooked fold.
As you progress, a cutting cradle, a small press, and a profiled slicker make the work faster and more repeatable. Keep every cutting edge sharp — a dull skiving knife or awl does more damage than a cheap tool used keen. The sharpen leather tools guide is non-negotiable maintenance. And if you want to brand a cover or inlay a panel, the laser-engraved leather projects guide covers the engraver I keep on the crossover bench. For sourcing fresh consumables, bookbinding needles and thread are the consumables you’ll burn through fastest.
Frequently Asked Questions
What leather weight is best for a journal cover?
For a flexible limp cover I use 3-4oz veg-tan, roughly 1.2-1.6mm. Over rigid boards I drop to 2-3oz so the leather turns over the edge without bulking the corners. Thicker leather fights the hinge.
Do I need a bookbinding press to make a leather book?
No. A press helps glued case bindings dry flat and square, but two boards and a stack of heavy books do the same job. Sewn bindings like Coptic and long-stitch need no press at all.
What thread should I use for bookbinding?
Waxed linen in 18/3 or 25/3 for sewn paper text blocks because it grips and knots well. For decorative leather spines I switch to Ritza Tiger 0.6 or 0.8mm waxed polyester, which is tougher against the leather edge.
Can I use leatherworking tools for bookbinding?
Yes, most transfer directly. A stropped diamond awl pierces cleaner sewing stations than a round awl, and a saddle stitch is the same motion as a pamphlet stitch. Just swap to blunt needles for paper so you do not split fibers.
Which binding method opens the flattest?
Coptic stitch opens completely flat because the exposed chain spine has no glued backing to resist it. That is why it is my first recommendation for sketchbooks and journals where lying flat matters more than a smooth spine.
How do I finish the raw edges on a leather book cover?
Same as any leather edge: bevel the corner, sand coarse to fine, dampen, then burnish with Tokonole and a slicker until slick and dark. A raw fuzzy edge is the clearest sign a cover was rushed.
Related Guides
- Leather Journal Making Guide — the full limp-binding build, start to finish.
- Coptic Stitch Bookbinding — the flat-opening exposed-chain spine.
- Handmade Leather Book Cover Guide — cutting, dyeing, and sewing the cover.
- Saddle-Stitch Leather Journal Guide — adapting the two-needle stitch to a book.
- Distressing a Leather Journal Cover — aging a cover deliberately.
- Leather Spine Finishing Guide — treating the spine as edge work writ large.



