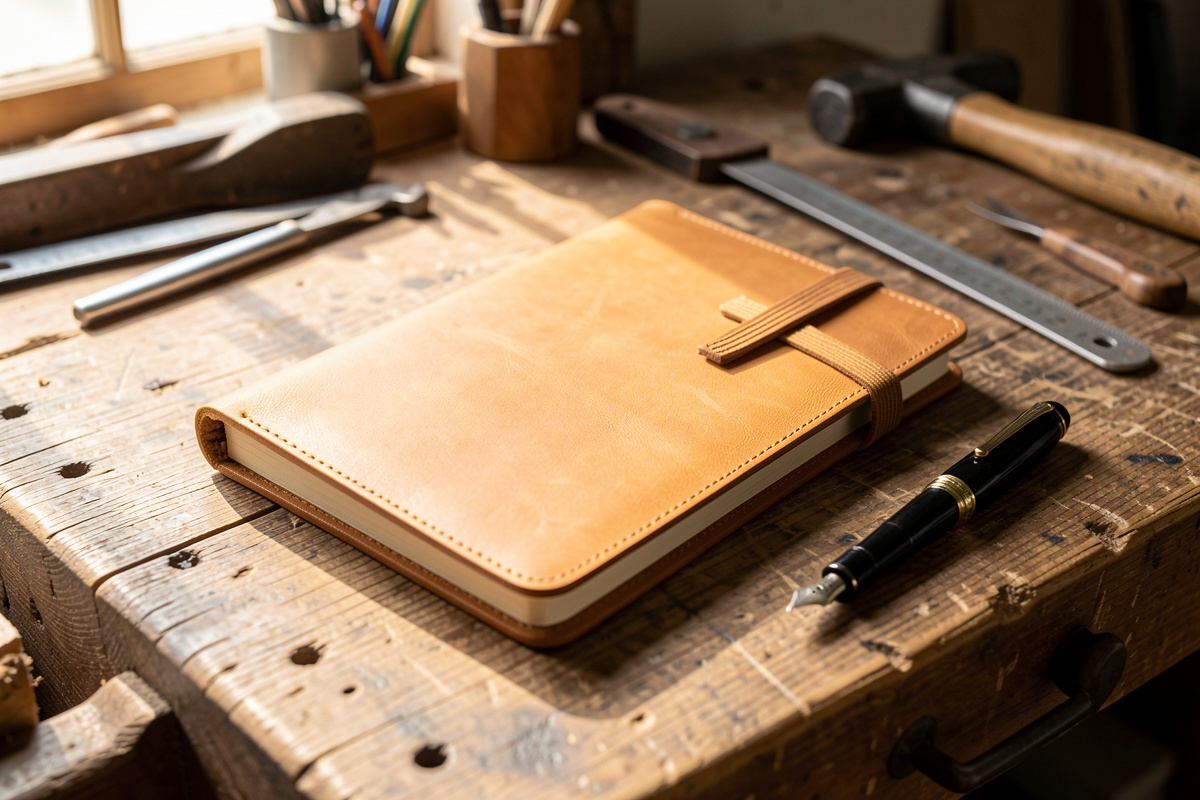
A leather notebook cover is the best second or third project on the bench: one rectangle of 4-5 oz veg-tan, two elastic or leather bands to hold the…
A leather notebook cover is the best second or third project on the bench: one rectangle of 4-5 oz veg-tan, two elastic or leather bands to hold the insert, and roughly two hours of work. My first A5 cover used about $8 of leather and has carried a rotating stack of Field Notes and a fountain-pen journal for two years. There is no hardware to fumble, which makes it a pure leather-and-stitch exercise.
I have built covers for both the small Field Notes (3.5 x 5.5 inch) format and the A5 (5.8 x 8.3 inch) journal, and the pattern logic is identical at both sizes. A cover is essentially a wrapper with retention bands, so the only real measurements are the closed book’s dimensions plus wrap allowance. Get the band placement right and one cover holds refill after refill for years.
What Leather Weight for a Notebook Cover?
A notebook cover wants 4-5 oz veg-tan for a structured A5 cover or 3-4 oz for a slim Field Notes wrap. That weight is stiff enough to protect the pages but flexible enough to fold closed without cracking the spine area. Heavier than 6 oz and the cover will not wrap shut cleanly around a thin insert.
Veg-tan is my default because it tools, takes a maker’s stamp, and develops the patina that makes a daily-carry cover look better with age. A soft chrome-tan works for a floppy wrap-style cover but will not hold the crisp folded form an A5 journal cover wants. The same weight-to-project logic I use for wallets applies: thin enough to fold, thick enough to feel substantial. For a cover that will get tooled or laser-engraved, I stay with veg-tan exclusively because that is the only leather that holds a carved or burned line.
How Do I Measure for the Pattern?
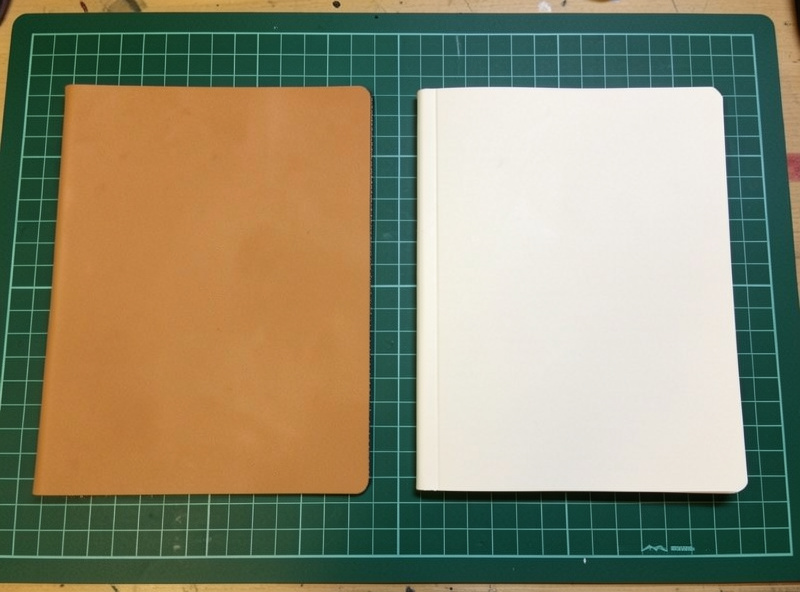
Measure the closed notebook’s height, width, and spine thickness, then build the pattern as: height plus 6-10 mm, and width as (front + spine + back) plus 30-50 mm of wrap on each side for the retention flaps. For a standard A5 that yields a blank roughly 220 mm tall by 360 mm wide. I always mock the pattern in cardstock first.
The wrap allowance on each end is what folds back to form the pockets or holds the elastic that grips the insert covers. For a slip-in cover, the wrap flaps are 40-50 mm so the notebook’s front and back covers tuck inside them. For an elastic-band cover, the wrap is shorter and a length of 3 mm elastic runs vertically to hold the insert at the spine. Mocking it in cardstock costs nothing and catches a too-tight spine before you cut leather, the same discipline that governs any leathercraft template work.
Slip Cover vs Elastic Band Construction
A slip cover holds the notebook by tucking its front and back covers into leather pockets; an elastic-band cover holds loose inserts with vertical elastic at the spine. The slip cover suits a fixed-size journal; the elastic system suits the multi-insert “traveler’s notebook” style. I build both, and the elastic version is more versatile for swapping refills.
For the slip cover, I fold each wrap flap inward and stitch the top and bottom edges to form a pocket, leaving the spine side open so the cover slides on. For the traveler’s style, I punch two small holes at the spine center, run a loop of 3 mm round elastic through, knot it inside, and add one elastic loop per insert so the cover can carry two or three notebooks at once. The elastic does all the retention work, so the leather just needs clean edges and a closure band.
Adding a Closure Strap
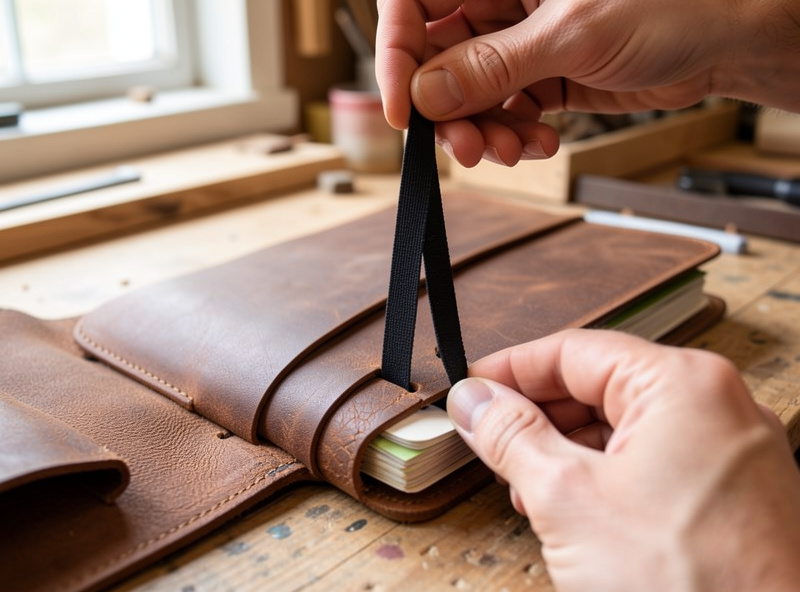
A closure strap is a thin band of leather sewn to the back cover that wraps around to the front, secured with elastic, a button stud, or a wrap-and-tuck. I size mine to wrap fully around a loaded cover plus 30 mm of overlap. The closure is optional on a slip cover but keeps the pages from splaying in a bag.
The simplest reliable closure is a length of elastic cord anchored at the spine that loops over the closed cover and around a horn or button stud on the front. For an all-leather look, I stitch a 12 mm wide strap to the back edge, skive its end thin, and set a button stud on the front to catch it. Setting that stud is the same small-hardware skill covered in my leather hardware guide, scaled to a single stud rather than a row of belt snaps.
Stitching the Cover
Stitch only the pocket edges or the elastic anchor points; a notebook cover needs very little stitching, which makes it forgiving for a newer maker. I saddle-stitch the pockets with 0.6 mm thread at a 3.0-3.85 mm pitch, the same hand stitch I use across small goods. The visible stitch lines at the pockets are the main decorative element.
Because so little of the cover is stitched, every stitch shows, so I take the time to mark the line with a wing divider and punch with a pricking iron rather than eyeballing holes. A wandering pocket seam on an otherwise clean cover is the one thing that drags the whole piece down. I keep the same two-needle saddle stitch and the lock buried, the way I stitch a belt fold or a watch strap, just over a much shorter run.
Adding a Pen Loop and Card Slots
A pen loop is a short strip stitched into one of the pocket seams so it gets anchored during assembly rather than added later. I size the loop to the pen I actually carry, usually 12-14 mm of internal width for a standard fountain pen. Card slots can be added inside the front pocket the same way, caught in the pocket stitch.
The trick with the pen loop is anchoring both ends in a seam you are already sewing, so it adds no extra stitching and no extra holes that could weaken the cover. I cut the loop strip, skive its ends thin so they do not bulk up the pocket seam, and stitch it in as I close the front pocket. For card slots, I add a second thin panel inside the front pocket with two or three horizontal slots, which turns an A5 cover into a notebook-and-wallet in one piece. Keep these add-ons inside existing seams and the cover stays clean and structurally sound.
Finishing the Edges and Surface
Bevel, sand, and burnish every exposed edge, then seal the grain so the cover survives daily handling. I run a #1 beveler, sand to 600 grit, slick with Tokonole, then finish the whole grain side with a neutral creme so skin oils and pocket grime do not blotch it. The edge and the surface seal together decide how the cover ages.
This is the project where I most often add a tooled border or a laser-engraved monogram, because the flat front panel is a blank canvas before assembly. I dye and tool the surface while the leather is still a flat rectangle, then assemble, because tooling an assembled cover is far harder. A sealed edge keeps the wrap flaps from fuzzing where they rub against the inserts every time the notebook opens, and a conditioned grain develops the deep, even patina that makes people ask where you bought it.
Frequently Asked Questions
What leather weight is best for a notebook cover?
Use 4-5 oz veg-tan for a structured A5 cover or 3-4 oz for a slim Field Notes wrap. That range is stiff enough to protect pages but folds shut without cracking. Above 6 oz the cover will not wrap cleanly around a thin insert.
How do I measure for a notebook cover pattern?
Measure the closed notebook height, width, and spine thickness. Make the blank height plus 6-10 mm, and width equal to front plus spine plus back plus 30-50 mm wrap on each side. For a standard A5 that is roughly 220 by 360 mm.
How do traveler’s notebook elastic bands work?
Punch two holes at the spine center, run a loop of 3 mm round elastic through, and knot it inside. Add one vertical elastic loop per insert. The elastic grips each notebook at the spine, letting one cover carry two or three refills at once.
Do I need to stitch a leather notebook cover?
Very little stitching is required. A slip cover only needs the pocket top and bottom edges stitched; a traveler’s style needs only the elastic anchored. This makes a notebook cover a forgiving early project with minimal hand sewing.
Can I tool or engrave a notebook cover?
Yes, and the flat front panel is ideal for it. Tool, dye, or laser-engrave the veg-tan while it is still a flat rectangle before assembly, since working a curved assembled cover is much harder. Veg-tan is the only leather that holds a carved or burned line.
What size is an A5 versus Field Notes cover?
A5 inserts are 5.8 by 8.3 inches and need a larger structured cover in 4-5 oz leather. Field Notes are 3.5 by 5.5 inches and suit a slim 3-4 oz wrap. The pattern logic is identical at both sizes, only the dimensions change.
Related Guides
- Leather Projects for Beginners: The Right First Three Builds
- How to Make a Leather Belt: Step-by-Step Tutorial
- Leather Watch Strap DIY: Make Your Own Band
- Leathercraft Templates and Patterns
- How to Make a Leather Card Holder



