To age a new veg-tan journal cover convincingly you layer four things in order: antique finish wiped into the tooling, mechanical wear at the edges and high spots,…
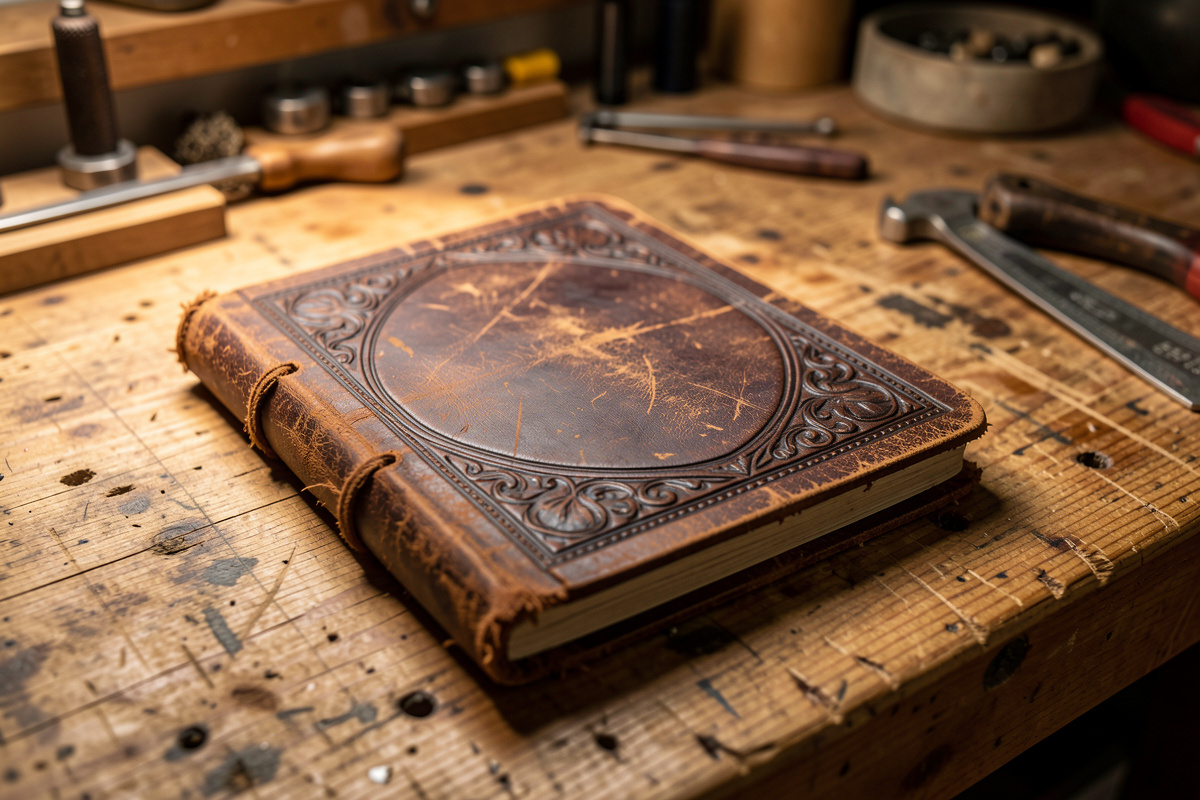
To age a new veg-tan journal cover convincingly you layer four things in order: antique finish wiped into the tooling, mechanical wear at the edges and high spots, oil darkening, then a sealer to freeze the look. Chrome-tan won’t take this work; veg-tan will.
I’ve distressed dozens of book and journal covers on the bench I work on, and the single most common mistake I see is people reaching for sandpaper first. Distressing is a layered process, and order matters as much as it does in a clean dye job. Below is the exact sequence I use, the products that earn their shelf space, and where chrome-tan quietly fails the test.
Why veg-tan distresses and chrome-tan does not
Veg-tan leather is open and absorbent, so dye, oil, and antique finish soak in and darken unevenly the way real age does. Chrome-tan is sealed at the tannery with a plasticky coat that resists oil and antique, so it scuffs grey and fake rather than aging warm.
This is the whole game. The patina you’re chasing is uneven absorption: oil pooling in scratches, dye sitting heavier where the grain is open, antique catching in tooling. Veg-tan gives you that because the fibres are still thirsty. A 5-6oz Wickett & Craig or Hermann Oak skirting takes oil darkening, vinegaroon, and antique paste and holds the contrast for years. Chrome-tan soft goods, by contrast, have a finish layer that the oil can’t get past, so a “scratch” reads as a grey scuff sitting on top of plastic. If you want the difference spelled out further, I covered it in detail in my piece on chrome-tan vs veg-tan leather, and the broader types of leather overview is worth a read if you’re still picking stock. For a cover I plan to age, I never go below 4oz; thin linings curl and crack when you start working the surface.
Antique finish: the fastest believable age
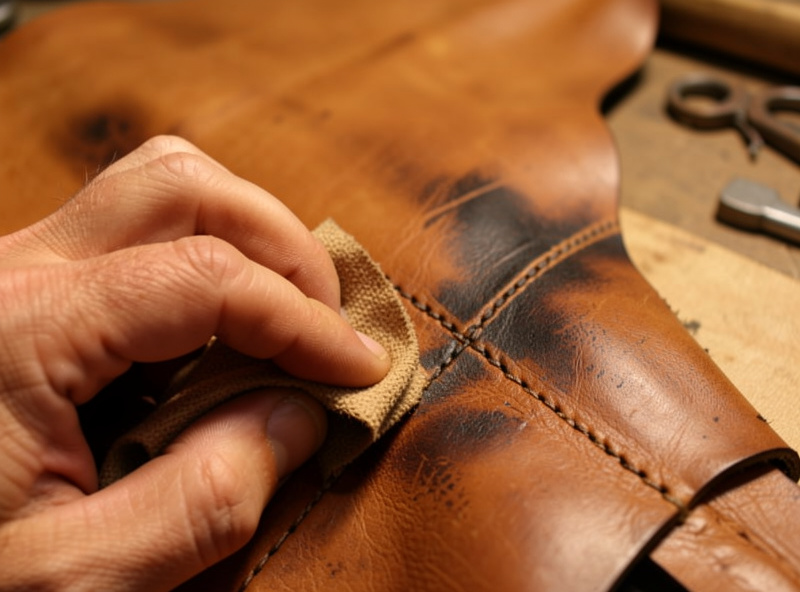
Antique finish is a wiping pigment that lodges in tooling lines and grain texture while wiping clean off the high spots. On a tooled cover it instantly reads as decades of handling dirt settling into the recesses. It’s the single highest-impact step and the place I always start.
The way I dial mine in: tool or stamp the cover first, because antique needs texture to catch in. If the leather is smooth, I’ll deliberately scuff and scratch the surface beforehand so there’s something for the pigment to grab. Apply Fiebing’s Antique Finish with a wool dauber or rag, work it into every line, then wipe back across the high spots with a clean cloth before it sets. The longer you leave it before wiping, the darker and grubbier it reads.
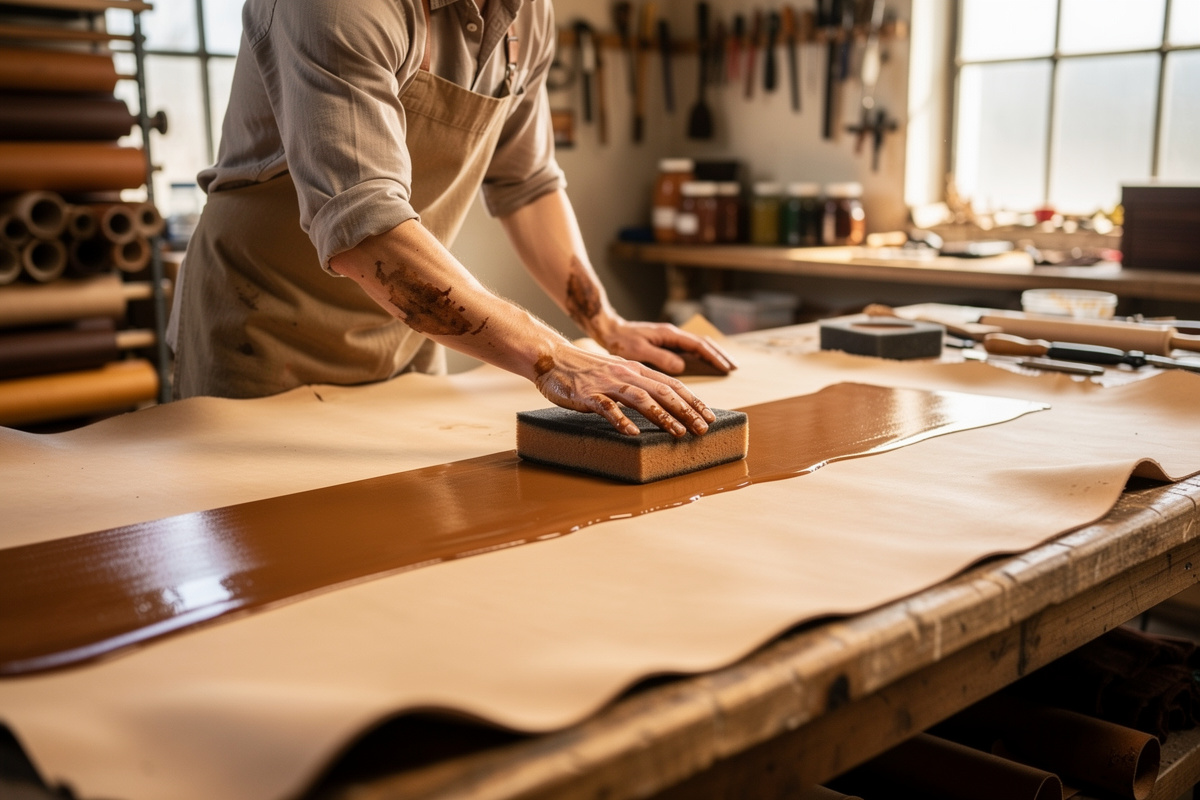
The trick that makes it look real is a resist. If I want crisp contrast — bright high spots, dark recesses — I lay down a coat of neutral Resolene first, let it cure, then apply antique over it. The Resolene-sealed high spots reject the pigment and wipe clean, while the unsealed tooling lines drink it in. I walk through that resist technique step by step in my guide on how to antique leather finish, and the sealer side is covered in Resolene leather finish sealer. Skip the resist and the whole surface just goes muddy and uniform — which is the opposite of age.
Mechanical wear: edges, corners, and high spots
Real old covers wear where hands and pockets touch them: corners rounded and frayed, edges rubbed pale, spine and front-board high spots burnished smooth. You replicate this with abrasion and burnishing, applied selectively. Random sanding all over looks fake; targeted wear looks lived-in.
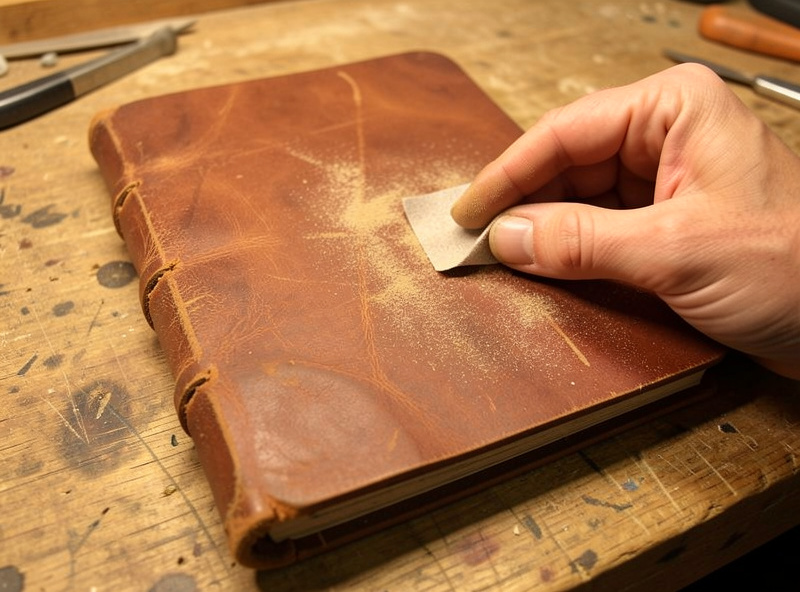
On the pieces I’ve made, I round the corners with a few passes of a French edger or a knife, then knock the crispness off with 220-grit paper. I scuff the front high spots — where a thumb would sit opening it — with a grey Scotch-Brite pad, going lighter than feels right because you can always add more. For edges, I’ll burnish them hard with a slicker and Tokonole so they look rubbed-smooth from years in a bag, then sand a few spots back through the burnish to expose pale raw edge. That contrast of slick-dark-edge against pale-worn-spot is exactly what real wear does. If you’re new to edge work, my leather edge finishing walkthrough covers the burnishing fundamentals you’re about to deliberately wreck.
Oil darkening and pull-up patina
Neatsfoot oil darkens veg-tan and brings out a pull-up effect — lighter where the leather flexes, darker where it’s saturated. Applied unevenly and worked into the flex lines, it mimics the way old leather darkens at the spine hinge and lightens on the stretched corners.
I apply pure neatsfoot oil sparingly with a rag — one thin coat, let it absorb and equalise overnight, judge, then add a second only if needed. Over-oiling is the classic beginner error; it goes blotchy-dark and limp and you can’t take it back out. For a journal cover I deliberately oil the spine hinge heavier so it darkens like a well-opened book, and leave the corners lighter so they read sun-faded and worn. The flex of opening and closing then creates real pull-up over time. I dig into that lightening-on-flex behaviour in my pull-up leather patina article. If you’d rather drive the colour with dye than oil, the leather dyeing guide and the leather dye application methods breakdown cover building tone in controlled layers.
Vinegaroon: permanent aged black
Vinegaroon is steel wool dissolved in vinegar; brushed onto veg-tan it reacts with the leather’s tannins to turn it a deep, flat, weathered black — permanently, with no pigment to scuff off. It’s the most authentic aged-black there is because the colour is a chemical change in the fibre itself.
I brew mine by dropping degreased 0000 steel wool into white vinegar and leaving it loosely capped for a week or two until the wool dissolves. It goes on looking pale grey-green and turns black on the leather over a minute as it reacts — slightly alarming the first time. Because it’s acidic, I always neutralise afterward with a baking-soda-water wipe, then condition with neatsfoot to bring back suppleness, because vinegaroon can leave the leather feeling dry and a touch brittle. The result is a flat aged black that distresses beautifully: sand the corners and the brown veg-tan shows through the black exactly like a genuinely old worn cover. This only works on veg-tan; chrome-tan has no free tannins to react with, so vinegaroon does essentially nothing.
The distressing stack at a glance
Each method targets a different signature of age, and they layer. Here’s how I match the tool to the effect, in roughly the order I apply them on a cover.
| Method | Tool / Product | Effect it creates |
|---|---|---|
| Resist + antique | Neutral Resolene, Fiebing’s Antique Finish | Ingrained dirt in tooling, crisp high-low contrast |
| Edge / corner wear | French edger, 220-grit, Scotch-Brite, slicker + Tokonole | Rounded frayed corners, rubbed-pale edges |
| Surface scuffing | Grey Scotch-Brite pad, knife back | Worn high spots where hands sit |
| Oil darkening | Pure neatsfoot oil, rag | Pull-up: dark spine hinge, light flexed corners |
| Aged black | Vinegaroon (steel wool + vinegar) | Permanent weathered black, browns through when sanded |
| Stop the aging | Neutral Resolene or carnauba creme | Seals the look in place, halts further darkening |
Sealing: stopping the clock where you want
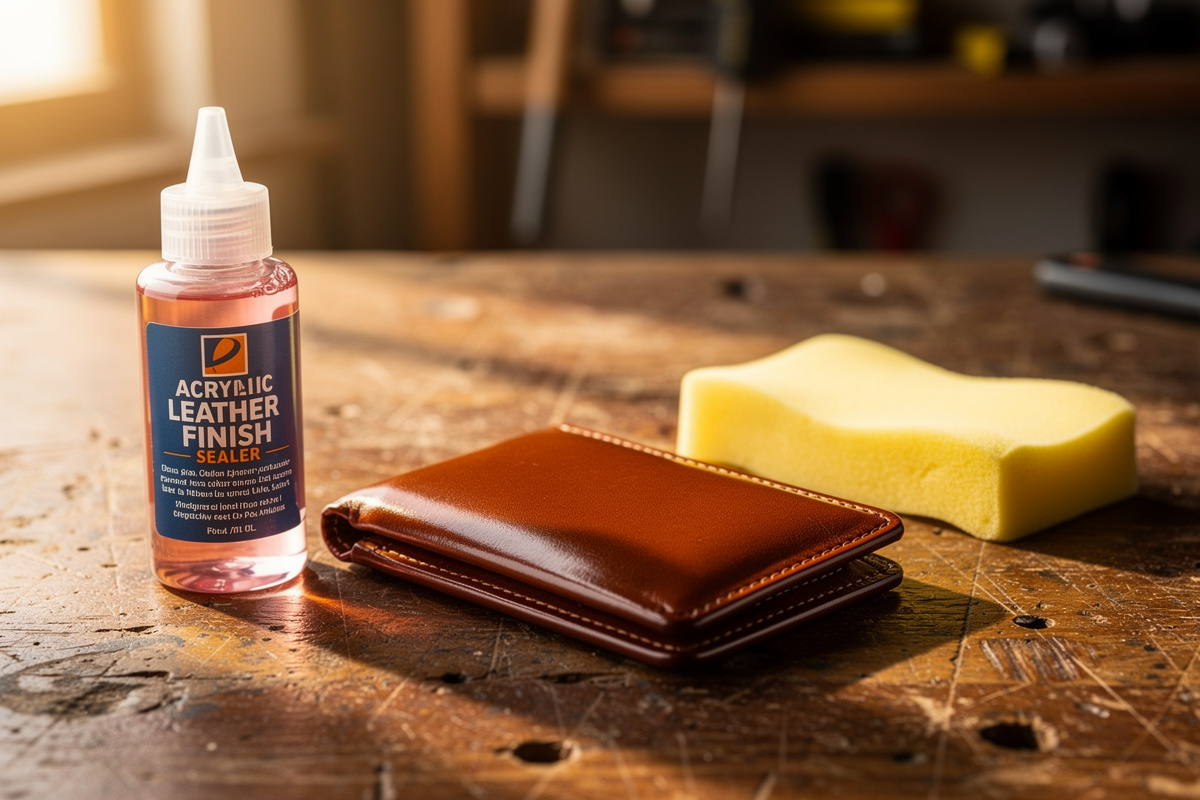
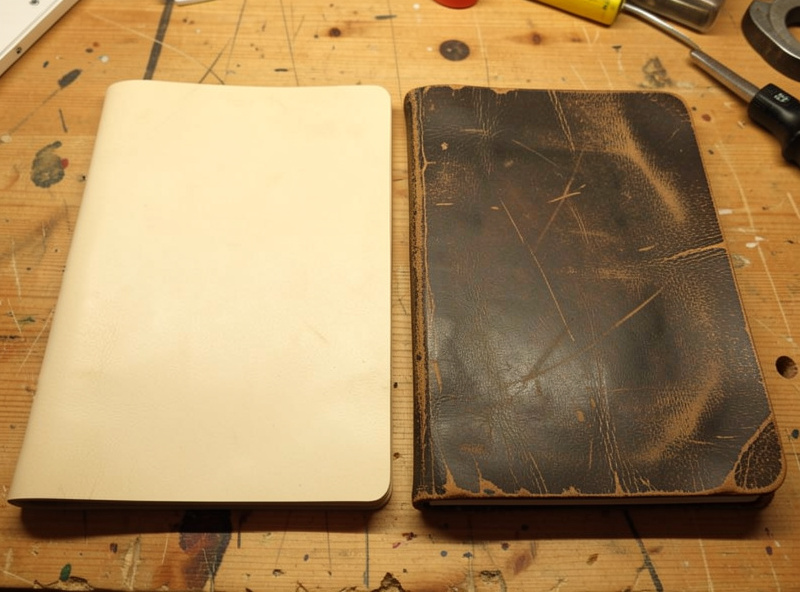
Once the cover looks right, you seal it so it stops aging. Unsealed veg-tan keeps darkening with oil and handling, so without a sealer your carefully balanced patina will drift dark over months. A thin coat of neutral Resolene or carnauba creme freezes the look.
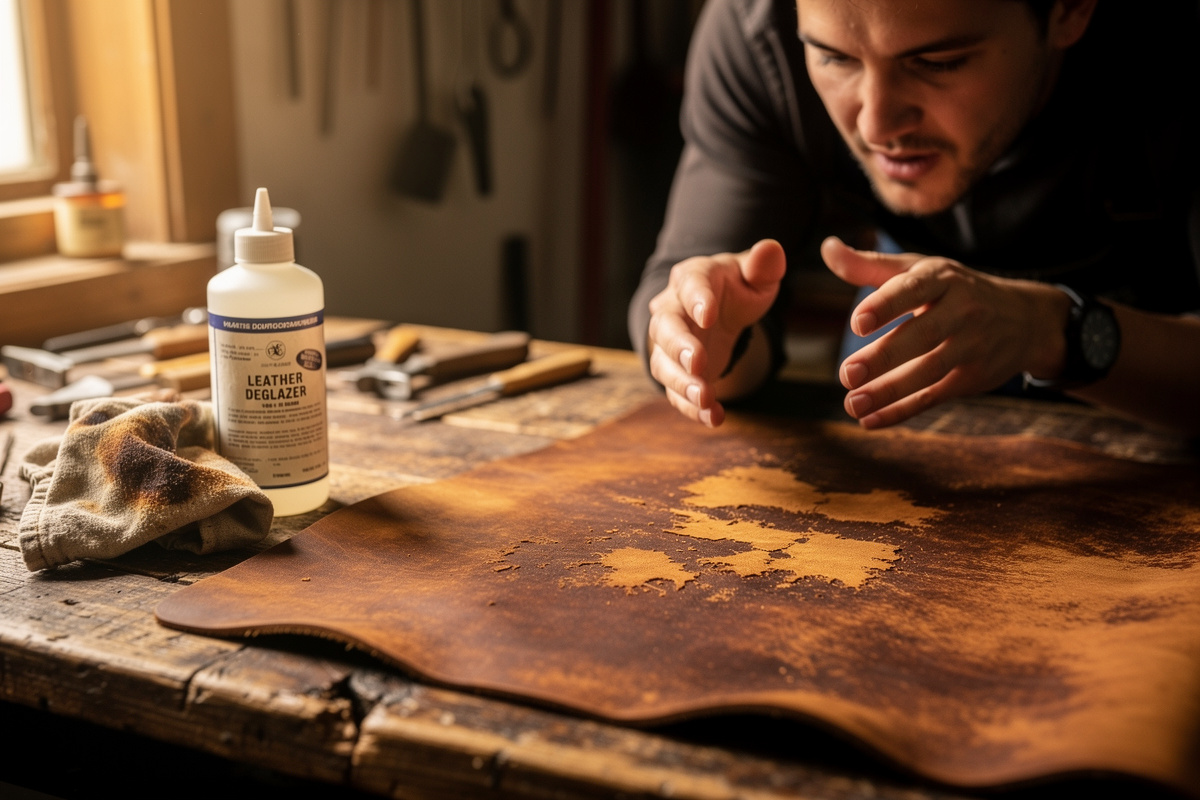
I prefer carnauba creme for distressed work because it leaves a low, hand-rubbed sheen that suits an old cover better than Resolene’s slight plasticky gloss — though Resolene seals harder if the piece will see rain or rough handling. Either way, buff it well. One thing I always do before sealing a piece I’ve dyed or vinegarooned: a light deglaze of any spots that feel greasy or sit too dark, because trapped oil under a sealer goes blotchy. Whatever you choose, seal lightly — a heavy coat kills the matte worn texture you just spent hours building and makes the whole thing look like a costume prop.
My order of operations
Putting it together: tool or scuff for texture, optional resist coat, antique and wipe back, mechanical edge and corner wear, oil darkening worked into the flex lines, vinegaroon if you want aged black, neutralise and condition, then seal. Judge between every step under good light — distressing is subtractive in feel, you can always add more wear but you can’t un-darken oil.
If you’re building the cover from scratch rather than just aging a blank, start with the fundamentals in leather working for beginners before you take a $40 hide and start deliberately wrecking it. Practice the whole stack on a scrap of the same weight first — the way each leather drinks oil and antique varies hide to hide, and a five-minute test panel saves a ruined cover.
One more thing worth saying plainly: restraint is the whole skill here. The covers I’ve ruined were never under-distressed, they were over-distressed — too much oil, too much antique left too long, every corner sanded the same amount, the black sanded back in a tidy even band. Real wear is uneven and stingy. A genuinely old cover is dark at the spine and one front corner because that’s where a right hand opened it ten thousand times, and almost untouched on the back. Pick where the imaginary owner held it, concentrate the wear there, and leave the rest comparatively clean. Walk away between steps, look at it in daylight the next morning, and you’ll catch the spots that read costume rather than history. Distressing rewards the same patience as a clean build; you’re just pointing it at the opposite goal.
Recommended products
The dye and finish shelf this article leans on:
- Fiebing’s Antique Finish
- Fiebing’s leather dye
- Neatsfoot oil
- Leather deglazer
- Resolene leather finish
As an Amazon Associate I earn from qualifying purchases.
Frequently asked questions
Can you distress chrome-tan leather?
Not convincingly. Chrome-tan has a sealed tannery finish that rejects oil, antique, and vinegaroon, so it scuffs grey and plasticky rather than aging warm. Distressing techniques rely on veg-tan’s open, absorbent fibres, so use veg-tan for any cover you plan to age.
What weight of leather is best for a distressed journal cover?
I use 4 to 6oz veg-tan for covers. Below 4oz the leather curls and cracks when you work the surface and round the corners. A 5 to 6oz skirting from a quality veg-tan tannery takes oil, antique, and vinegaroon well and holds the contrast for years.
How do I keep antique finish from going muddy and uniform?
Lay down a neutral Resolene resist coat first and let it cure, then apply antique over it. The sealed high spots reject the pigment and wipe clean while the unsealed tooling lines drink it in, giving crisp contrast instead of an even muddy wash across the whole surface.
Is vinegaroon safe for the leather long term?
It is, if you neutralise it. Vinegaroon is acidic, so after it turns the leather black I wipe it down with baking-soda water to neutralise, then condition with neatsfoot oil to restore suppleness. Skipping that leaves the leather dry and slightly brittle over time.
Why does my oiled cover look blotchy?
Almost always over-oiling. Neatsfoot darkens veg-tan and you cannot pull it back out once it is in. Apply one thin coat with a rag, let it absorb and equalise overnight, judge under good light, then add a second only if the piece still needs it.
How do I stop a distressed cover from aging further?
Seal it. Unsealed veg-tan keeps darkening with oil and handling, so your balanced patina will drift dark over months. A thin coat of neutral Resolene or carnauba creme freezes the look. Seal lightly, or you kill the matte worn texture you built.
Further Reading
- Leather Bookbinding Guide
- Handmade Leather Book Cover Guide
- Leather Journal Making Guide
- Leather Spine Finishing Guide
- Saddle Stitch Leather Journal Guide