To fix a leather dye mistake, remember the one rule that governs every repair: you can almost always go darker, rarely lighter. Blotchy or streaky dye is fixed…
To fix a leather dye mistake, remember the one rule that governs every repair: you can almost always go darker, rarely lighter. Blotchy or streaky dye is fixed by an even overdye, often a shade darker; rub-off is fixed by hard buffing then sealing; over-dark leather is the hardest case, lightened only by stripping color back with deglazer. Diagnose which mistake you have first, then apply its specific fix.
This is the article for the moment after it has already gone wrong — the panel came out patchy, the black is rubbing off on your hands, or you went two shades too dark. Preventing streaks in the first place is its own job, covered in how to dye leather without streaks; this guide is purely about salvage. I have rescued plenty of pieces I was ready to bin, and most dye disasters are more fixable than they look once you know which lever to pull. It sits under the complete leather dyeing guide.
The One Rule Behind Every Dye Fix
You can almost always make dyed leather darker, and only rarely make it lighter. Dye is transparent and additive — every coat adds color and can never subtract it — so darkening to blend or cover is easy, while lightening means physically stripping pigment back out with a solvent, which is slow, partial, and risky. Plan every repair around this asymmetry.
Understanding this saves you from the most common second mistake: trying to fix a too-dark piece by adding something, or trying to “even out” a blotch by dabbing more dye only on the light spots, which just creates new dark spots. Because dye only adds, the reliable fixes nearly all involve going darker — a full even overdye, or a jump to a color dark enough to bury the problem. Lightening is the exception that exists only through deglazer or repeated alcohol wiping, and even then you are removing surface color, not truly bleaching the leather. So before you touch anything, ask whether your target is darker than what you have (easy) or lighter (hard). That answer decides the whole repair. The same transparent-additive logic drives custom color in the dye mixing chart.
Fixing Blotchy, Patchy, or Streaky Dye
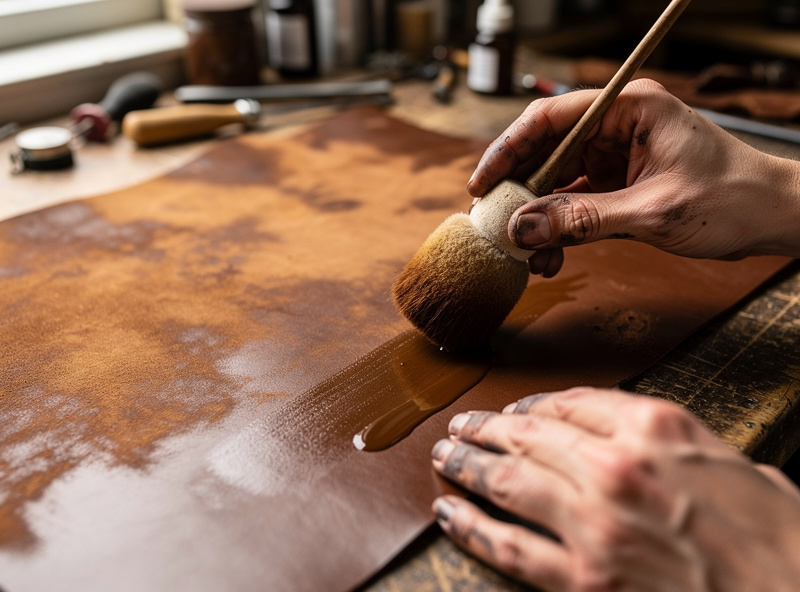
Fix already-dyed blotches and streaks with a full, even overdye coat across the entire piece — not spot-touching the light areas. If a same-color overdye does not blend it, step to a darker shade that swallows the unevenness. Patches caused by finger-oil resist spots need deglazing first so they will finally accept dye.
The instinct to dab dye only onto the pale streaks is exactly wrong — it turns a soft unevenness into hard new dark marks. Instead, re-coat the whole surface evenly, which raises every area together and averages the blotchiness toward uniform. Often one even overdye in the same color is enough. When it is not — when the original is badly mottled — go a definite step darker, because a darker even coat has more pigment to bury the variation underneath. The nuclear option for a truly ruined light-brown blotch is to take it to black, which hides almost anything. One special case: pale patches that simply refuse to take color are usually sealed by finger oils or buffing compound, so wipe those areas with deglazer to strip the film, then re-dye and they will finally absorb. For laying that corrective coat down evenly, the wide-applicator and wet-edge technique in the application methods guide applies.
Fixing Over-Dyed, Too-Dark Leather
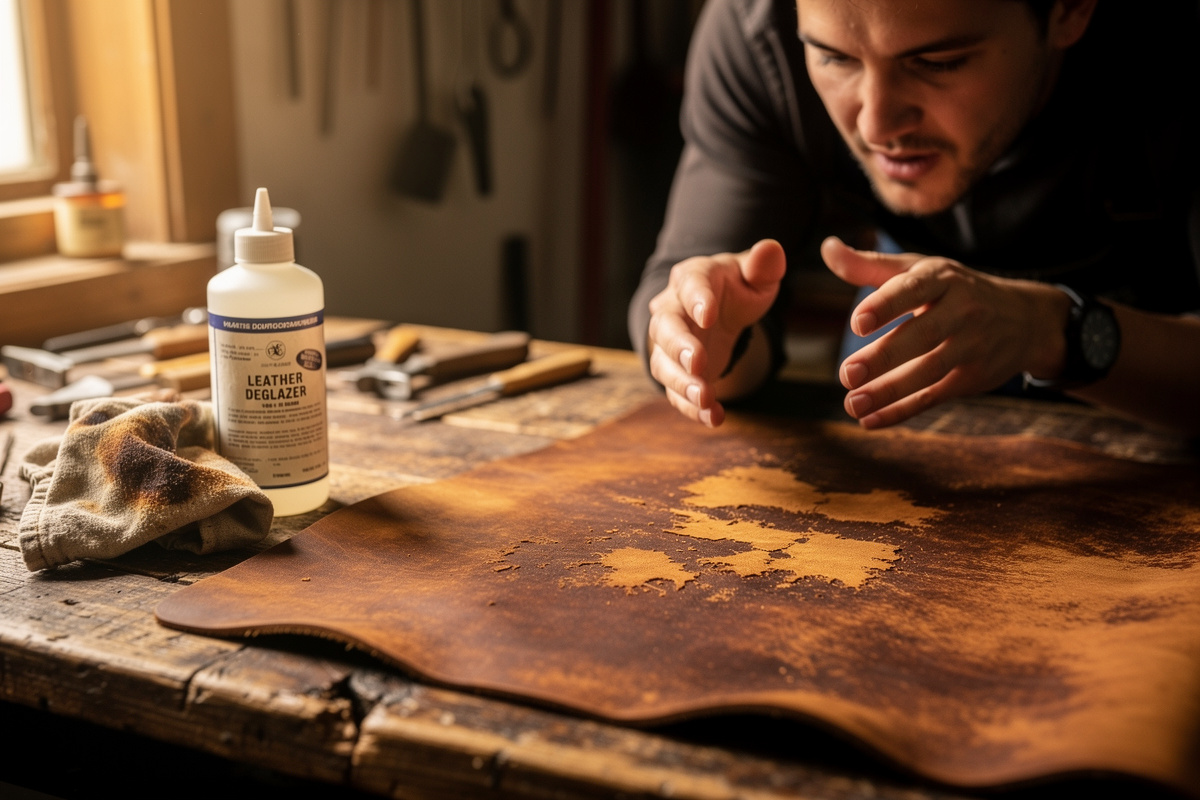
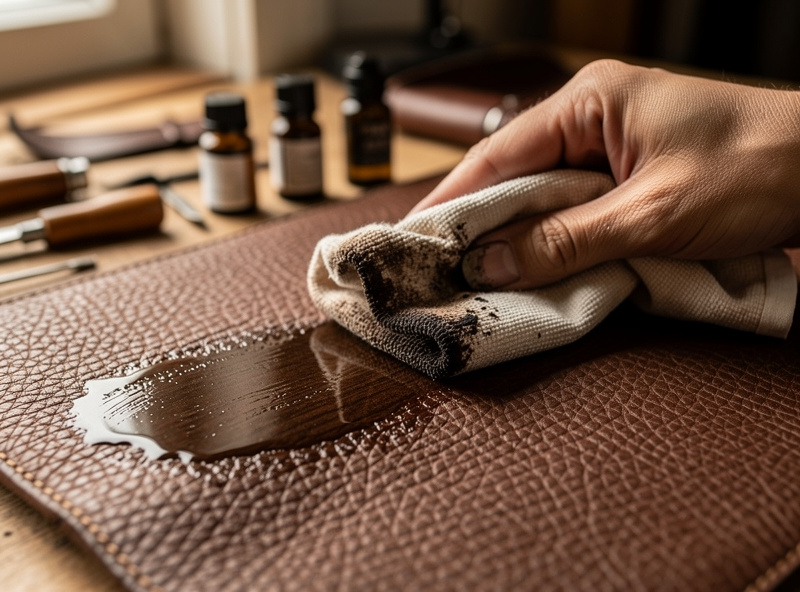
Lighten too-dark leather by wiping it with leather deglazer or denatured alcohol on a cloth, which dissolves and lifts surface dye. Work in light repeated passes, changing to clean cloth as it loads with color, and accept that you can only pull it back partway. Then re-oil the leather, because deglazing dries it out.
This is the hardest repair because you are fighting the additive nature of dye. Deglazer is the only tool that removes color, and it removes only what sits near the surface — it will take a near-black down to a dark brown, but it will not return it to natural tan. Wipe gently and repeatedly rather than scrubbing hard once; each pass lifts a little more, and a fresh cloth surface keeps you from just smearing dissolved dye back on. Expect an uneven result as you go, since color lifts faster where the dye was thinner, so chase it toward even rather than light. Once you are as light as deglazer will take you, the leather will be thirsty and stripped, so condition it with a light coat of neatsfoot oil to restore suppleness. Honestly, for a badly over-dark piece the faster path is often to commit to going darker still — to a clean even dark brown or black — rather than fighting to lighten. Lightening is the exception, not the plan.
Fixing Dye That Rubs Off (Crocking)
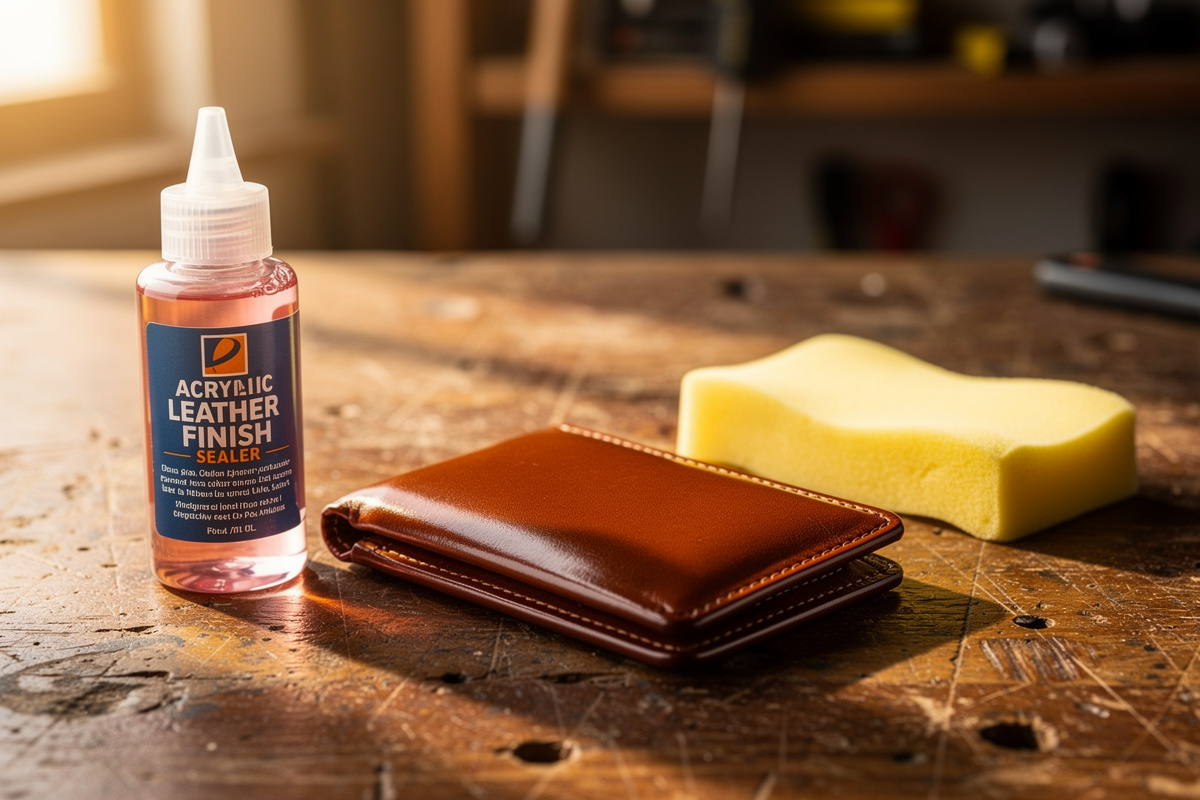
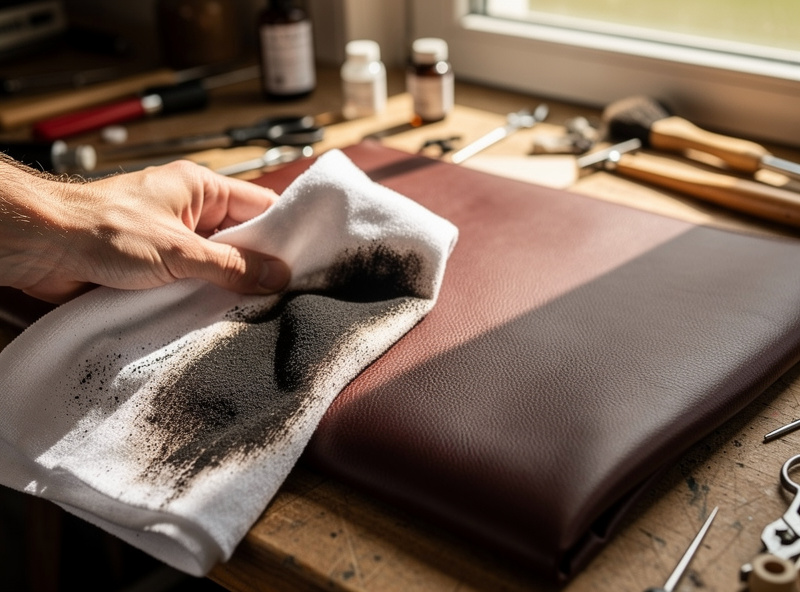
Fix dye that rubs off onto hands and clothing by buffing the surface hard with a clean cloth to remove the loose excess pigment, then sealing with two thin coats of acrylic resolene. Rub-off is not a dye failure — it is unbuffed, unsealed surface pigment, and buffing plus sealing solves it almost every time.
Crocking panics people into thinking they used a bad dye, but it is the most fixable mistake of all (the trade term for this is “crocking” — The Leather Colour Doctor’s rub-off explainer confirms the same root cause and the same buff-and-seal fix). After dye dries it always leaves loose pigment sitting on the surface that never bonded; if you skip buffing and sealing, that pigment transfers to everything it touches. The fix is exactly the two steps that were missed. Buff aggressively with a dry cloth, moving to clean sections as they load up with color, and keep going until a pass comes away only lightly marked. Black is the worst offender and takes the most buffing. Then seal with thinned resolene in two thin coats to lock down whatever remains — the full sealing method is in the resolene finish guide. If the leather keeps shedding heavy color even after a lot of buffing, it was over-dyed wet; a wipe with a barely-damp cloth settles it before you seal. Sealed properly, even a heavy black stops marking.
Fixing Color Bleed onto Stitches and Edges
Color bleed — dye migrating onto thread, hardware, or an adjacent panel — is best prevented by sealing before assembly, but once it has happened you can blot fresh bleed immediately, deglaze a bled edge, or dye the affected stitching to match. Bleed onto light contrast thread is the hardest to undo and sometimes means re-stitching.
Bleed usually shows up when an unsealed dyed piece gets damp or is assembled too soon and color wicks where you did not want it. If you catch it wet, blot (do not rub) with a clean cloth to lift what you can. On a bled edge or an adjacent panel, a careful wipe of deglazer can pull some of the stray color back, though it risks lifting the intended dye too, so work small and gently. The most stubborn case is dye that has bled into pale stitching: thread soaks up color readily and rarely gives it back, so the realistic fixes are to dye the whole thread line a matching darker color to make it look intentional, or, on a show piece, to pick out and re-stitch with fresh thread. The lasting fix is sequencing — seal the dyed piece fully before it meets thread, hardware, or other panels.
Dye Mistake Diagnosis and Fix Chart
Match your symptom to its cause and fix. The repair is almost always “go darker or seal,” with lightening as the rare, harder exception.
| Mistake | Likely cause | The fix |
|---|---|---|
| Blotchy / uneven | Poor prep or uneven coat | Full even overdye; go darker if needed |
| Streaks / lap lines | Lost wet edge while dyeing | Even overdye, or darker shade to bury |
| Pale resist patches | Finger oils blocking dye | Deglaze the spot, then re-dye |
| Too dark / over-dyed | Too many coats or undiluted dye | Deglaze to lift color; re-oil after |
| Rubs off (crocking) | Unbuffed, unsealed pigment | Buff hard, then seal with resolene |
| Grey instead of black | Thin coverage, poor prep | Deglaze, re-dye in full crossed coats |
| Color bleed onto thread | Assembled before sealing | Dye thread to match or re-stitch |
| Dull / hazy after drying | Normal loose pigment | Buff, light oil, then seal |
When to Overdye, When to Strip, When to Accept
Choose your repair by how far off you are. Minor unevenness and rub-off are easy overdye-or-seal fixes; a wrong-but-darker target is a clean overdye; only a too-dark or wrong-but-lighter target forces the slow deglaze route. If deglazing cannot reach your target, accept the darker color or recut the part.
The judgment that saves the most pieces is knowing when to stop fighting. A small blotch, a dull haze, or crocking — fix and move on, ten minutes of work. A color that is wrong but where your desired result is darker — one even overdye and you are done, and it often looks better than the first attempt. A piece that is too dark or where you wanted something lighter is the only genuinely painful case, and even then deglazer gets you partway; if it cannot reach the look you want, the honest call is to either embrace a deliberately dark finish (a clean black hides everything) or, on a structural part you have not yet stitched, simply cut a fresh piece. There is no shame in a recut — leather is cheaper than the hours you would sink chasing an impossible lightening. For avoiding the whole problem next time, the prevention fundamentals live in the streak-free dyeing guide, and the broader beginner pitfalls in common leatherworking mistakes.
Safety When Stripping Dye
Deglazer and the denatured alcohol used to lift dye are strong solvents — stronger-smelling than the dye itself — so strip color in a well-ventilated space with a fan running and nitrile gloves on. The dissolved dye stains skin instantly, and the fumes are real, so keep windows open and do not strip a large piece in a closed room. Dispose of dye-loaded cloths safely. It is the same solvent caution as dyeing, just a touch more of it — Fiebing’s own Deglazer safety data sheet lists it as flammable with explicit ventilation requirements, not just a strong smell to tolerate.
As an Amazon Associate I earn from qualifying purchases.
The Repair Kit
Most dye rescues need only three things beyond your existing dye: a deglazer to lift and prep, a sealer to stop rub-off, and conditioner to recover stripped leather.
Keep a bottle of leather deglazer on the shelf — it is the one tool that both lifts too-dark color and rescues finger-oil resist patches. Lock down a fixed job with acrylic resolene to stop crocking, and recover deglazed leather with a little neatsfoot oil. When an overdye is the fix, choose a reliable bottle from the best leather dye for veg-tan roundup, and lay the corrective coat down with the even-application technique from the application methods guide.
Frequently Asked Questions
How do you fix blotchy leather dye?
Apply a full even overdye coat across the whole piece rather than spot-touching the light areas, which only creates new dark marks. If a same-color overdye does not blend it, step to a darker shade that swallows the unevenness. Pale resist patches need deglazing first so they accept dye.
Can you lighten leather that was dyed too dark?
Only partly. Wipe it with leather deglazer or denatured alcohol to dissolve and lift surface dye, working in light repeated passes with a clean cloth. It pulls color back partway but cannot return leather to its natural shade, and you must re-oil afterward because deglazing dries the leather.
How do you stop leather dye from rubbing off?
Buff the surface hard with a clean cloth to remove the loose excess pigment, then seal with two thin coats of acrylic resolene. Rub-off is unbuffed, unsealed surface pigment, not a dye failure, so buffing plus sealing fixes it almost every time. Black needs the most buffing.
Can you dye over leather that is already dyed?
Yes, as long as you are going the same shade or darker, because dye is transparent and additive. An even overdye is the standard fix for blotches and wrong colors. You cannot overdye to a lighter color, since each coat only adds pigment and never removes it.
Why is my leather dye patchy in some spots?
Those spots are usually sealed by finger oils or buffing residue that block the dye. Wipe the patches with deglazer to strip the film, then re-dye and they will finally absorb. This is why handling dyed-side leather by the edges and deglazing before dyeing prevents the problem.
How do you fix leather dye that bled onto the stitching?
Bleed into pale thread is the hardest to undo because thread soaks up color and rarely gives it back. The realistic fixes are dyeing the whole stitch line a matching darker color so it looks intentional, or picking out and re-stitching with fresh thread on a show piece.
Is it better to overdye or strip a leather dye mistake?
Overdye whenever your target is the same shade or darker, since it is fast and reliable. Only strip with deglazer when you need to go lighter, which is slow and partial. If deglazing cannot reach the look you want, accept a darker finish or recut the part.
Related Articles
- Leather Dyeing: The Complete Veg-Tan Guide
- How to Dye Leather Without Streaks or Blotches
- Resolene Leather Finish: Seal Dye Without Streaks
- Dye Application: Dip vs Sponge vs Airbrush
- Common Leatherworking Mistakes Beginners Make