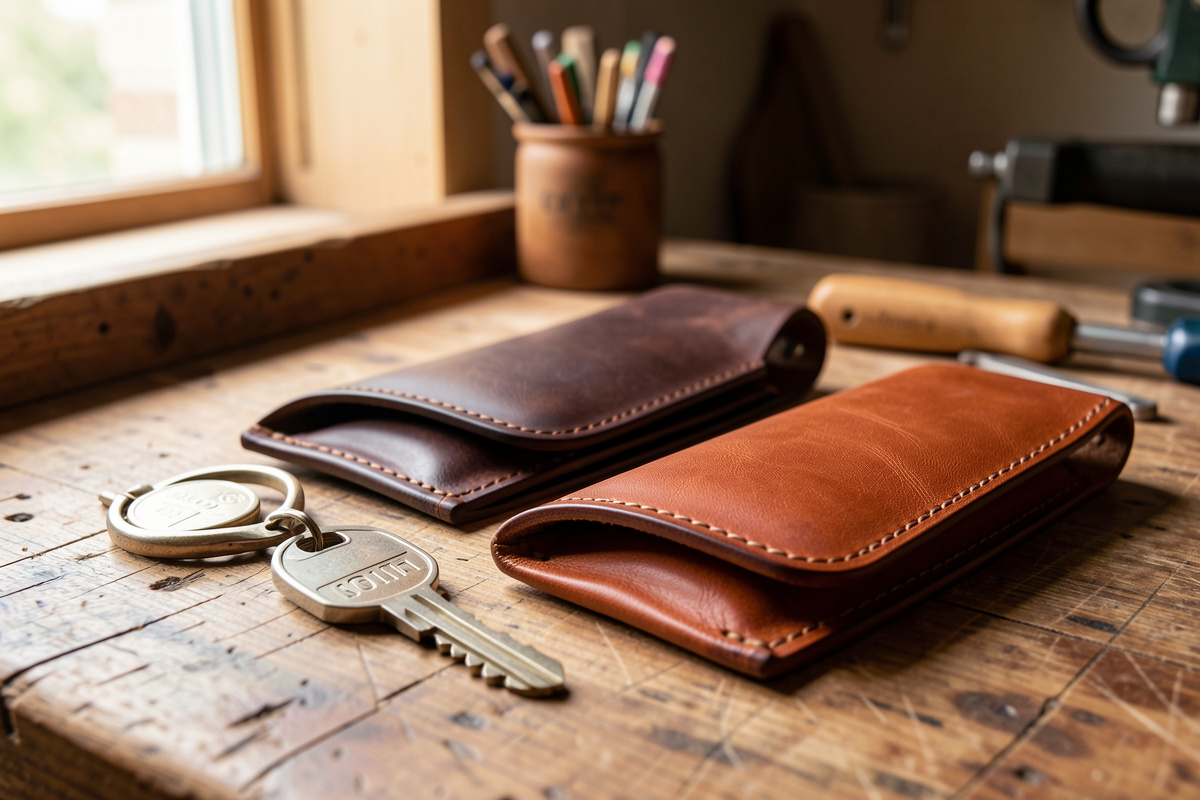
Leather EDC projects are the small, hard-used carry goods you can finish in an afternoon on a modest bench: key cases, fobs, AirPods sleeves, pen slips, sunglasses pouches,…
Leather EDC projects are the small, hard-used carry goods you can finish in an afternoon on a modest bench: key cases, fobs, AirPods sleeves, pen slips, sunglasses pouches, phone sleeves, and desk mats. Most take a single hand-sized panel, one row of saddle stitch, and a properly finished edge — under $15 of veg-tan and a weekend.
I make these on the same low-dust bench where I stitch wallets and belts, and they are where I send anyone who wants to get good fast. A wallet punishes a wandering stitch line across a hundred holes; a key fob forgives you while it teaches the same grip. Every project on this page shares one skill stack — cut clean, stitch straight, bevel and slick the edge — so the reps compound. Build three of these and your wallet edges suddenly look bought rather than made. This guide is the map: what leather and weight each object wants, the hardware that belongs in a pocket, and the one detail (the edge) that separates a finished piece from a cut-out shape.
What Makes a Leather Object a Good EDC Project
A good everyday-carry project is small, structurally simple, and gets handled daily — which means it teaches you fast and shows every flaw in strong light. The best first builds use one or two panels, need five to forty stitches, and are done in one to three hours. That short loop is why I push beginners toward pocket goods before bags.
Everyday carry also sets a hard design brief that bags never do: the object has to survive a pocket. It rubs against keys, denim, and a phone all day, so the grain has to be sealed, the edge has to be slick enough not to snag, and the stitch has to be a hand saddle stitch that will not unzip when a single thread eventually abrades through. That is the difference between EDC leather and decorative leather — pocket goods are a durability test disguised as a beginner project. Get the fundamentals right on a $6 key case and the same hands build a $120 bag that lasts a decade.
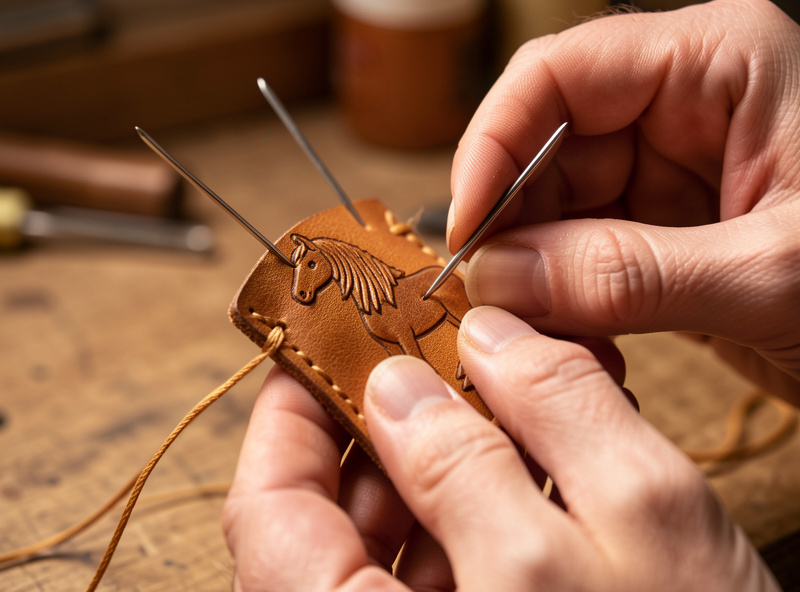
The other thing pocket carry rewards is honest sizing. A phone sleeve that is 2 mm too tight never gets used; an AirPods case whose snap sits 3 mm off will not close. Small goods have no slack to hide a bad measurement, so they train the habit that makes every larger project fit — measuring the actual object, not the spec sheet, and adding the leather’s own thickness back into the pattern. If you have never cut a straight edge under a steel rule, start with my guide on cutting leather straight before anything here.
Choosing Leather and Weight for Pocket Carry
For most EDC goods I reach for 3–4 oz veg-tan when the piece folds or needs a slim profile, and 5–6 oz when it needs to hold a shape. Veg-tan is the default because it tools, molds, dyes, and — critically — burnishes to a glassy edge; chrome-tan stays soft and won’t slick the same way, so I save it for pouches where drape matters more than structure. The ounce-to-millimeter chart is worth memorizing: 1 oz equals roughly 0.4 mm, so a 4 oz panel is about 1.6 mm. Tanneries like Hermann Oak and Wickett & Craig grade veg-tan by this ounce weight, so you can buy to a target thickness.
The weight decision is really a decision about how the object behaves in the pocket. A key case folds around a hook rack, so it needs to bend without cracking the grain — 3 oz veg-tan or a supple 4 oz. A sunglasses case that protects glass wants either a soft 2–3 oz chrome-tan pouch that packs flat, or a wet-formed 5–6 oz veg-tan shell that holds its mouth open. A desk mat wants heft and flatness, which means a single 8–9 oz veg-tan bend or two lighter panels laminated. Match the weight to the job and half the “why won’t this sit right” problems disappear before you cut. If you are still deciding between the two tannages, my chrome-tan vs veg-tan breakdown covers which does which job.
Here is how the seven projects on this page sort by leather, weight, hardware, and how hard they are to get right:
| Project | Best Leather | Weight | Hardware | Difficulty |
|---|---|---|---|---|
| Key fob | Veg-tan | 5–7 oz | 1 rivet + split ring | Beginner |
| Key case | Veg-tan | 3–4 oz | 6-hook rack + snap | Intermediate |
| Pen / tool slip | Veg-tan | 4–5 oz | None | Beginner |
| AirPods case | Veg-tan | 4–5 oz | 1 line-20 snap | Intermediate |
| Sunglasses case | Veg or chrome | 3–6 oz | Optional snap | Intermediate |
| Phone sleeve | Veg-tan | 3–4 oz | None | Beginner |
| Mouse pad / desk mat | Veg-tan | 8–9 oz | None | Beginner |
The Seven Projects, Loosely Ranked
If you are starting from zero, build them roughly in this order — each one adds exactly one new skill without stacking three at once. Start with the fob to learn the saddle stitch on a forgiving strap, then move up to the goods that add folds, snaps, and wet-forming.
The leather key fob is the true first project: one strap, a fold, a rivet, and about a dozen stitches, done in thirty minutes. It teaches thread tension and edge burnishing on a piece you cannot really ruin. From there, the pen and tool pocket slip introduces a folded pocket and a stitched seam with no hardware to distract you, and the phone sleeve teaches you to size a snug two-panel pocket to a real object rather than a spec.
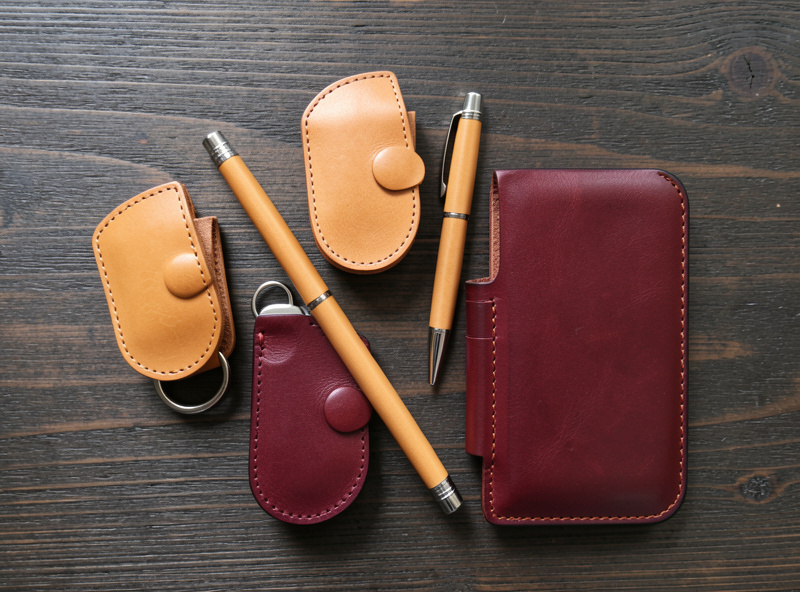
Step up from there. The AirPods case adds your first snap closure and a small wrap that has to clear the charging case’s lid. The six-hook key case is the fiddliest of the set — a hook rack, clean folds, and a snap that all have to line up — which is exactly why it is worth building third or fourth. The sunglasses case gives you a choice between a soft stitched pouch and a wet-formed hard shell, so it is really two projects in one. And the leather mouse pad and desk mat is the one that looks trivial and isn’t: a big flat panel exposes every wobble in your cutting and edging, so it is the best test of whether your fundamentals actually hold at scale.
None of these needs a machine. Every one is a hand saddle stitch, which on small goods is genuinely stronger than a lockstitch — a single abraded thread can’t unravel the row. If you want the reasoning, I laid it out in saddle stitch vs machine stitch.
The Shared Skill Stack
Every project here is the same three moves in a different shape: cut the panel, stitch the seam, finish the edge. Learn those three properly and you can build any small good in the category without a new tutorial. The stitching is a two-needle saddle stitch — the backbone technique — and my step-by-step saddle stitch guide is the one page to read before you punch a single hole.
The chain that actually determines stitch quality is iron pitch, awl blade, and thread diameter working as one tuned system, not three separate purchases. I default to a European-pitch pricking iron around 3.85 mm (roughly 7 SPI) for wallet-class goods and match it with 0.6 mm waxed polyester thread; go up to 0.8 mm and a wider pitch on heavier pieces like the desk mat so the stitch reads in proportion. The thread guide and the stitch-length breakdown cover how to size those to each other so the thread seats into the hole instead of pulling the grain.
Keep the awl stropped razor-sharp — a dull awl is the single most common reason a beginner’s stitch line wanders, because you fight the blade instead of guiding it. A quick pass on the strop before each session is not optional; it is the fix for half the problems people blame on their hands. My sharpening and stropping guide covers the five-minute routine.
Hardware That Belongs in a Pocket
EDC hardware should be small, low-profile, and set well enough that it never becomes the failure point. The three you will actually use across these projects are line-20 snaps, small copper or brass rivets, and split rings — and you can set every one of them by hand without a press. My guide on setting snaps without a press covers the hand-tool method, and the rivet guide explains why I reach for copper on anything that has to survive years of pocket abuse.
The mistake I see most is oversizing hardware for the object. A line-24 snap on a thin AirPods wrap looks like a manhole cover and fights the fold; a line-20 sits flush and closes with a satisfying click. Rivets follow the same rule — a #9 copper rivet is plenty for a key fob, and a burr set flush and domed reads as intentional rather than industrial. Spend your money on the leather and the setter, not on chunky findings. The full hardware guide walks through sizing snaps, rivets, and buckles to the piece. As an Amazon Associate I earn from qualifying purchases. A decent line-20 snap setter kit is the one hardware purchase worth making before you start these builds.
Edge Finishing Is the Whole Game on Small Goods
On a piece this small, the edge is most of what a person sees and touches — so a beveled, sanded, slicked, and waxed edge is the single biggest tell between a piece that looks made and one that looks bought. I treat the edge as a four-step system, not a final tidy-up: bevel both faces, sand up through the grits, slick with Tokonole or gum tragacanth, then seal with a wax pass.
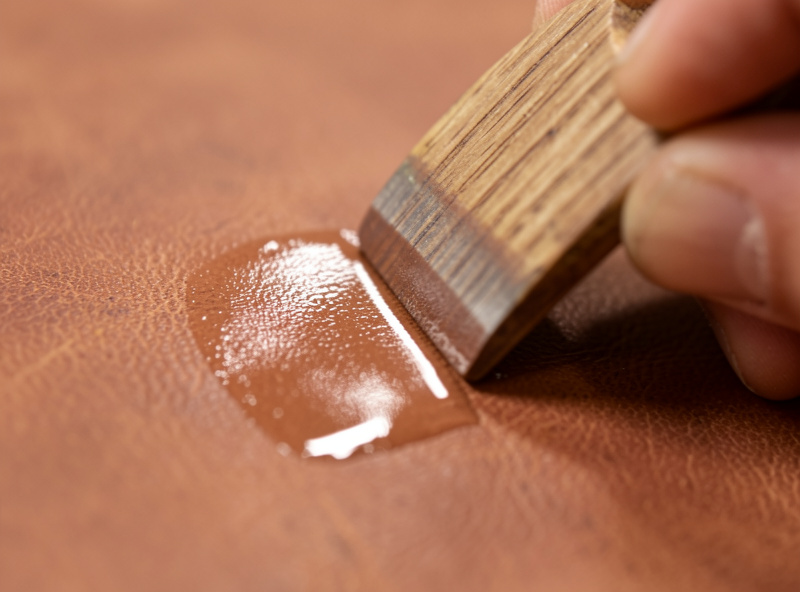
The sequence matters and skipping any step shows. Bevel first with a #1 or #2 edger to knock off the square corners — my edge beveling guide covers picking the size. Then sand through the grit progression from 400 up to about 1000 until the edge is a single uniform surface with no visible layers. Only then do you burnish: a little water or Tokonole, then friction from a slicker until the fibers lay down and gloss. I run slickers I printed in PETG on my own FDM printer — one profile per edge thickness — which is the kind of workshop crossover most leather blogs can’t replicate. The full method lives in my bevel-to-burnish edge guide, and if you are working chrome-tan pouches, burnishing chrome-tan edges explains why that leather behaves differently and when to paint instead of slick.
Veg-tan burnishes because its tightly packed fibers compress and gloss under friction; chrome-tan won’t, which is why a chrome-tan sunglasses pouch usually gets a folded or painted edge instead. Knowing which finish each tannage takes is half of choosing the right leather in the first place. My Tokonole vs gum tragacanth comparison covers which slicking compound I reach for and why.
Dyeing and Sealing for Daily Abuse
Pocket goods live against denim, keys, and sweat, so the finish has to do more than look good — it has to seal the grain against moisture and hold color under constant rub. On veg-tan I dye, buff the excess pigment hard with a wool dauber cloth until nothing transfers, then seal with a thin coat of neutral Resolene cut roughly 1:1 with water to avoid a plasticky sheen. That buffing step is what stops a black key fob from rubbing off onto a white shirt.
The stack order is not negotiable: deglaze if the leather has a factory finish, dye, buff, condition lightly with neatsfoot, then seal. Skip the buff and the dye crocks; seal before the dye is fully buffed and you trap loose pigment under the topcoat where it can never be fixed. My dye application guide covers dip versus sponge versus airbrush for even color on these small panels, and the Resolene sealing guide explains how to seal without streaks. For a key fob or pen slip that will see a decade of pocket time, I lean toward a slightly heavier seal coat than I would on a display piece — the abrasion resistance is worth the marginal loss of that raw veg-tan hand-feel. Chrome-tan pieces take acrylic finishes and paints rather than the same water-based seal, which is one more reason the tannage choice drives the whole finishing plan.
Sizing the Pattern to the Actual Object
The recurring failure on pocket goods is designing to the device’s published dimensions instead of the physical object plus the leather’s own thickness. A phone that is listed at 71.5 mm wide needs a sleeve interior of roughly 74 mm to slide without scuffing, and every wrap-around seam adds two leather thicknesses to the girth. Miss that and the case is either a vice or a bag.
My habit is to wrap the actual object in a strip of the exact leather I will use, mark where it meets, and build the pattern from that wrap — not from a caliper reading of the bare device. It takes ninety seconds and it is the difference between a sleeve that grips with a reassuring friction and one that either won’t accept the phone or lets it drop out. For anything with a lid or a charging port — AirPods cases especially — I also check clearance in the open position, because a case that closes beautifully but blocks the lid is a failed case. When you are ready to turn that wrap into a reusable pattern, my templates and patterns guide covers moving from a paper mock-up to a durable acrylic or laser-cut template.
Mistakes I Made So You Don’t Have To
The three errors that cost me the most leather early on were all avoidable: gluing before I dyed, skiving too late, and finishing the edge after assembly instead of before. Fix those three habits and your reject pile shrinks fast.
Dye and burnish the edges you can’t reach before you stitch the panels together — the inside edge of a folded pen slip or a phone sleeve is impossible to finish once the seam is closed, so those edges get their bevel, sand, and slick while the panel is still flat. Skive any overlapping seams down before assembly so the join isn’t a hard ridge; a French skiver taken to 50% thickness where two panels meet keeps the piece slim. And glue with contact cement only along the stitch line, not the whole panel, so the leather can still be adjusted and the seam isn’t stiff. These are the small-goods-specific versions of the errors in my common beginner mistakes roundup — worth reading before your first build.
Frequently Asked Questions
What is the easiest leather EDC project for a complete beginner?
A key fob. It is one strap of 5-7 oz veg-tan, a single fold, one rivet, and about a dozen saddle stitches, finished in roughly 30 minutes. It teaches thread tension and edge burnishing on a piece you cannot really ruin, which is why I start every beginner there.
How much leather do I need to make a set of EDC goods?
Very little. Most single pocket goods use a panel smaller than a sheet of paper, so a single 5-6 oz veg-tan shoulder of about 8-10 square feet will make a dozen key cases, fobs, and card sleeves with offcuts to spare. Budget roughly $6-15 of leather per small piece.
Do I need a sewing machine for leather EDC projects?
No. Every project in this guide is a hand saddle stitch with two needles, and on small goods a hand stitch is genuinely stronger than a machine lockstitch because a single abraded thread cannot unravel the row. A machine only pays off at production volume, not on pocket goods.
What leather weight is best for pocket-carry small goods?
3-4 oz veg-tan for anything that folds or needs a slim profile, 5-6 oz when the piece must hold a shape like a snap tab, and 8-9 oz for a flat desk mat. One ounce equals about 0.4 mm, so a 4 oz panel is roughly 1.6 mm thick.
Should EDC leather goods be veg-tan or chrome-tan?
Veg-tan for most, because it tools, molds, dyes, and burnishes to a glassy edge. Reach for chrome-tan only where drape matters more than structure, such as a soft sunglasses pouch that packs flat, since chrome-tan stays supple but will not slick the same way.
Why does the edge finish matter so much on small leather goods?
Because on a hand-sized piece the edge is most of what someone sees and touches. A beveled, sanded, slicked, and waxed edge is the single biggest visual difference between a piece that looks made and one that looks bought, and a rough edge also snags in the pocket and abrades faster.
Related Guides
- How to Make a Leather Key Fob: The 30-Minute First Project
- How to Make a Leather Key Case: Six-Hook Pattern and Clean Folds
- How to Make a Leather AirPods Case: Pattern, Snap, and Fit
- How to Make a Leather Phone Sleeve That Actually Fits
- How to Make a Leather Mouse Pad and Desk Mat
- How to Make a Leather Bifold Wallet



