A leather key fob is the fastest real project in leatherwork: one strap of 5–7 oz veg-tan, a single fold around a split ring, one rivet, and about a…
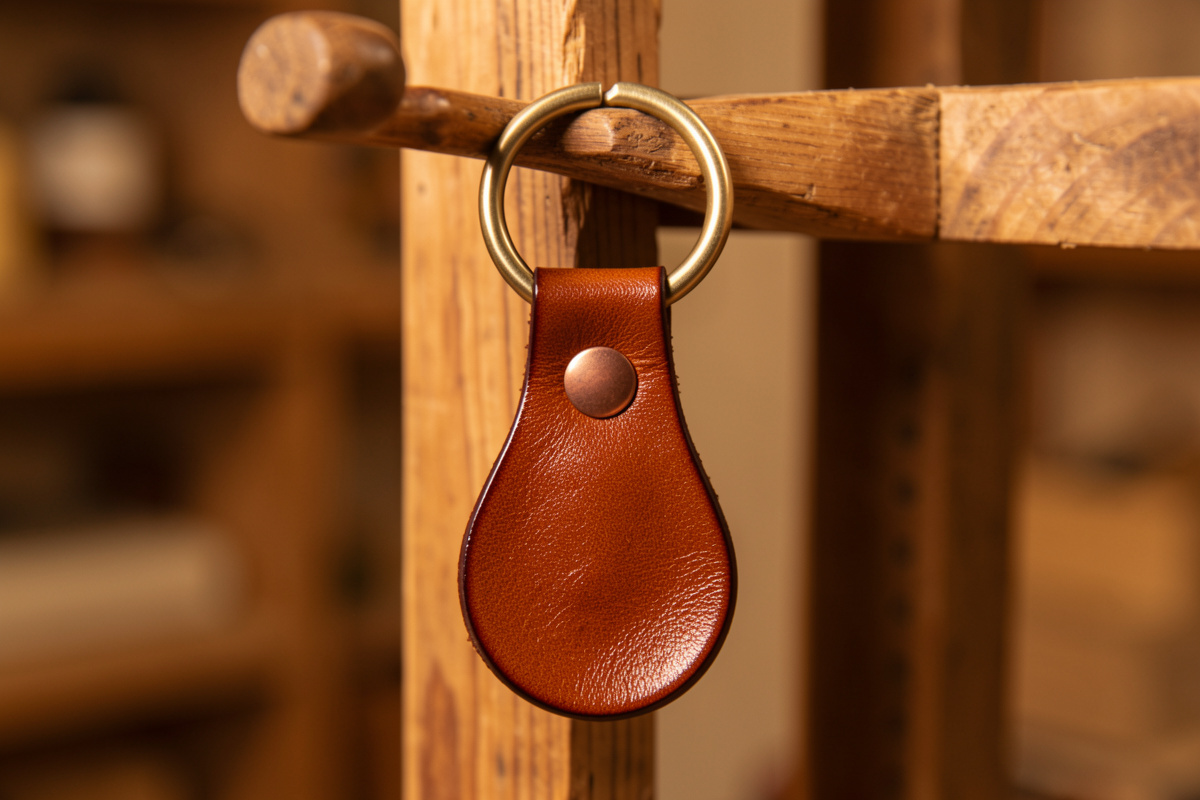
A leather key fob is the fastest real project in leatherwork: one strap of 5–7 oz veg-tan, a single fold around a split ring, one rivet, and about a dozen saddle stitches. Start to finish it takes roughly 30 minutes and under $4 of leather, which is why it is the first thing I hand a beginner. You cannot really ruin it, and it teaches the two skills every later project depends on.
Those two skills are thread tension and edge burnishing, and a fob isolates them beautifully. There is no lining to line up, no snap to align, no fold math — just a strap, a fold, and a short run of stitches you can actually see all the way around. Get the tension even and the edge glassy on this little piece and you have the muscle memory for a wallet. Below is exactly how I build one, the rivet-and-stitch combination that keeps it from ever pulling apart, and why I burnish the edges before the fob is even assembled.
Cut the Strap
Cut a strip of 5–7 oz veg-tan about 130 mm long and 25 mm wide — that folds down to a fob roughly 60 mm long, which sits well in the hand and clears a pocket. Heavier leather here is a feature, not a problem: a fob wants to feel substantial, and 6–7 oz gives it the reassuring heft that reads as quality. This is one of the few small goods where I deliberately reach for thicker stock. Suppliers like Tandy Leather sell veg-tan strap stock by the ounce, so a 5–7 oz strip is easy to source.
Cut it clean and straight, because on a piece this simple the cut edge is most of what people see. A rotary cutter against a steel straightedge, or a head knife if you have the confidence, both work — my guide on cutting leather straight covers keeping the line true. Round the two free ends with an over-punch or a coin traced with a knife; a squared-off fob end looks unfinished, and the rounded end is also easier to burnish evenly. If you want to personalize it, this flat strap is the ideal canvas for laser-engraved initials before you fold it — I run mine on the workshop laser while the strap is still flat and easy to jig.
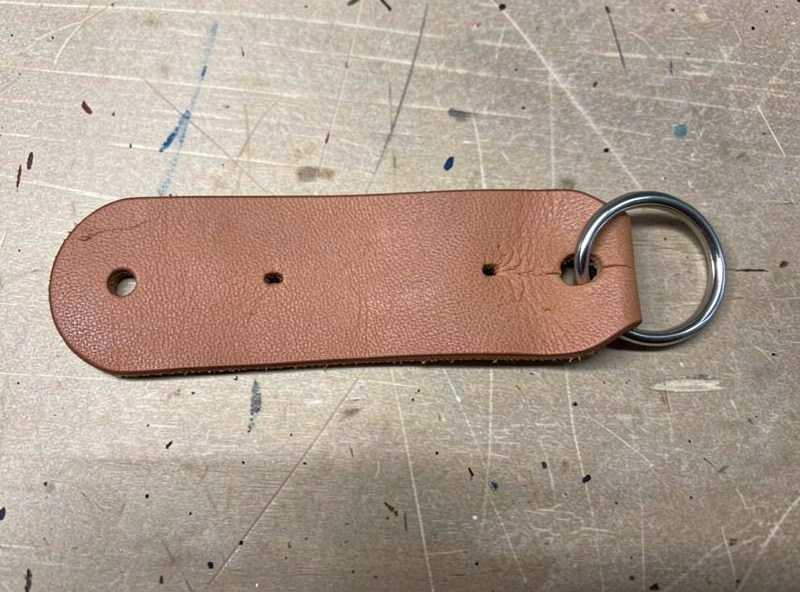
Punch the two stitching holes and the rivet hole while the strap is still flat and unfolded. Mark them so that when the strap folds in half around the split ring, the holes on both halves line up perfectly — measure from the fold, not from the ends, or a slightly uneven cut will throw the alignment off. This is the one bit of precision the fob asks for, and it is worth a careful minute.
Fold, Rivet, and Stitch
Slip a split ring onto the strap, fold it in half so the flesh sides meet, and you have the fob’s shape. The join is held two ways — a rivet for shear strength and a row of saddle stitches for security — and using both is why a well-made fob outlasts the keychain it hangs on. The rivet alone can work loose; the stitches alone can abrade; together they never fail.
Set a single #9 copper rivet through the pre-punched hole nearest the split ring, domed side out, using the hand-set method from my no-press hardware guide — copper is my default here because it survives years of pocket abuse and ages honestly rather than flaking like cheap plated rivets. The rivet guide covers why copper over brass or steel for a piece that lives on a keyring. Then saddle-stitch the remaining holes with two needles and 0.8 mm waxed thread. A dozen stitches is enough to practice even tension — pull each stitch with the same force so the row looks machine-regular, which is the whole point of building this first. If the two-needle stitch is new, my saddle stitch tutorial walks it step by step. As an Amazon Associate I earn from qualifying purchases. A pack of split rings and copper rivets makes a whole batch of fobs.
Burnish Before You Assemble
Here is the move that turns a strap into a fob: burnish the long edges before you fold and rivet, while the strap is still flat and every edge is reachable. Once it is folded, the inner edges of the fold are impossible to finish, so all the edge work happens up front — bevel both faces, sand up through 400 to 1000 grit, then slick with Tokonole until the edge glosses and darkens.
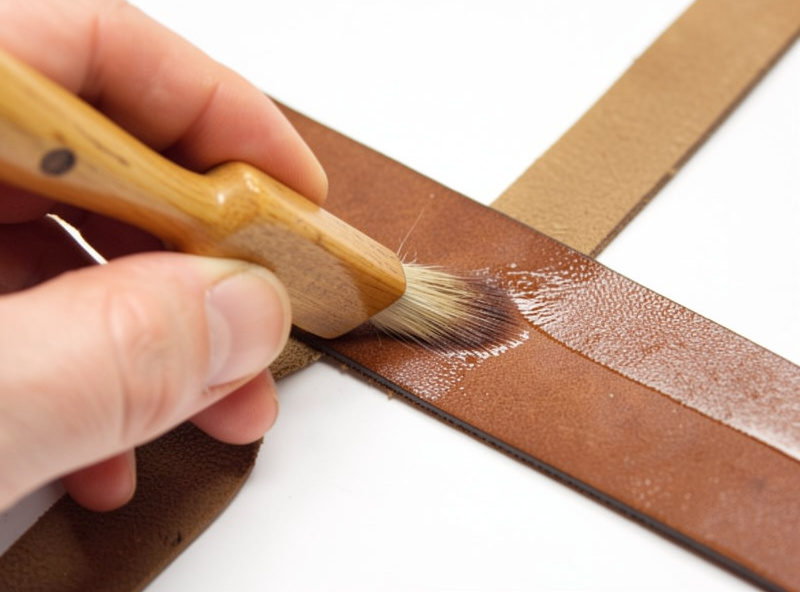
On a fob the burnished edge is doing most of the aesthetic work because there is so little else to look at, so this is the step that separates a $4 strap from something that looks like it came off a maker’s bench. I run a hardwood slicker I turned for narrow straps, but a canvas rag and elbow grease will get you 80% of the way. My bevel-to-burnish guide covers the full sequence and which slicking compound I reach for. Dye it first if you want color — a fob is also the perfect low-stakes piece to practice dyeing without streaks, since a blotch on a fob is a lesson, not a ruined wallet. My own first fob came out with a streaky dye and one loose stitch, and it still rode on my keys for a year — proof the fob forgives what a wallet would not. Seal the dye, let it dry, and only then fold and finish. Once you have made a few, the fob becomes the natural gateway to the rest of the EDC small-goods lineup.
Why This Is the Right First Project
The fob works as a first build because it fails safe. Every mistake you can make on it — an uneven stitch, a blotchy dye, an edge that is not quite glassy — costs you thirty minutes and a scrap of leather, not a piece you were emotionally invested in. That low stakes is exactly what lets you actually learn instead of tightening up over a wallet you are terrified to wreck.
It also delivers a finished, useful object on day one, which matters more than people admit — nothing kills a new hobby faster than three weeks of practice scraps with nothing to show. A fob goes on your keys the same evening. Build three or four in an afternoon, each one a little cleaner than the last, and you will feel your tension and burnish improve in real time. That is why it leads my list of first builds for beginners, ahead of anything more ambitious.
Frequently Asked Questions
How long does it take to make a leather key fob?
About 30 minutes once you have your leather cut, plus drying time if you dye it. The build itself is one fold, one rivet, and roughly a dozen saddle stitches. It is the fastest genuinely useful project in leatherwork, which is why it is the standard first build.
What leather weight should I use for a key fob?
5-7 oz veg-tan. Unlike most small goods, a fob benefits from heavier leather because the extra weight reads as quality and the thicker strap feels substantial in the hand. This is one of the few pocket projects where I deliberately reach for thicker stock.
Do I need to both rivet and stitch a key fob?
Using both is why a good fob never fails. The rivet gives shear strength and the saddle stitches give security; a rivet alone can work loose over time and stitches alone can abrade through. Together they far outlast the keyring the fob hangs on.
Why should I burnish the edges before folding the fob?
Because once the strap is folded and riveted, the inner edges of the fold are impossible to reach. All edge finishing has to happen while the strap is flat: bevel, sand through the grits, then slick with Tokonole. On a fob the burnished edge does most of the visual work.
Can I make a key fob without special tools?
Mostly, yes. You need a way to cut straight, punch a few holes, set one rivet, and two needles for the saddle stitch. A canvas rag will burnish the edge if you have no slicker. It is the lowest-tool-barrier project in the whole EDC category.
Keep Building
- Leather EDC Projects: The Small-Goods Guide
- How to Make a Leather Key Case
- How to Make a Leather Pen and Tool Slip
- How to Saddle Stitch Leather by Hand
- Leather Projects for Beginners: First Builds



