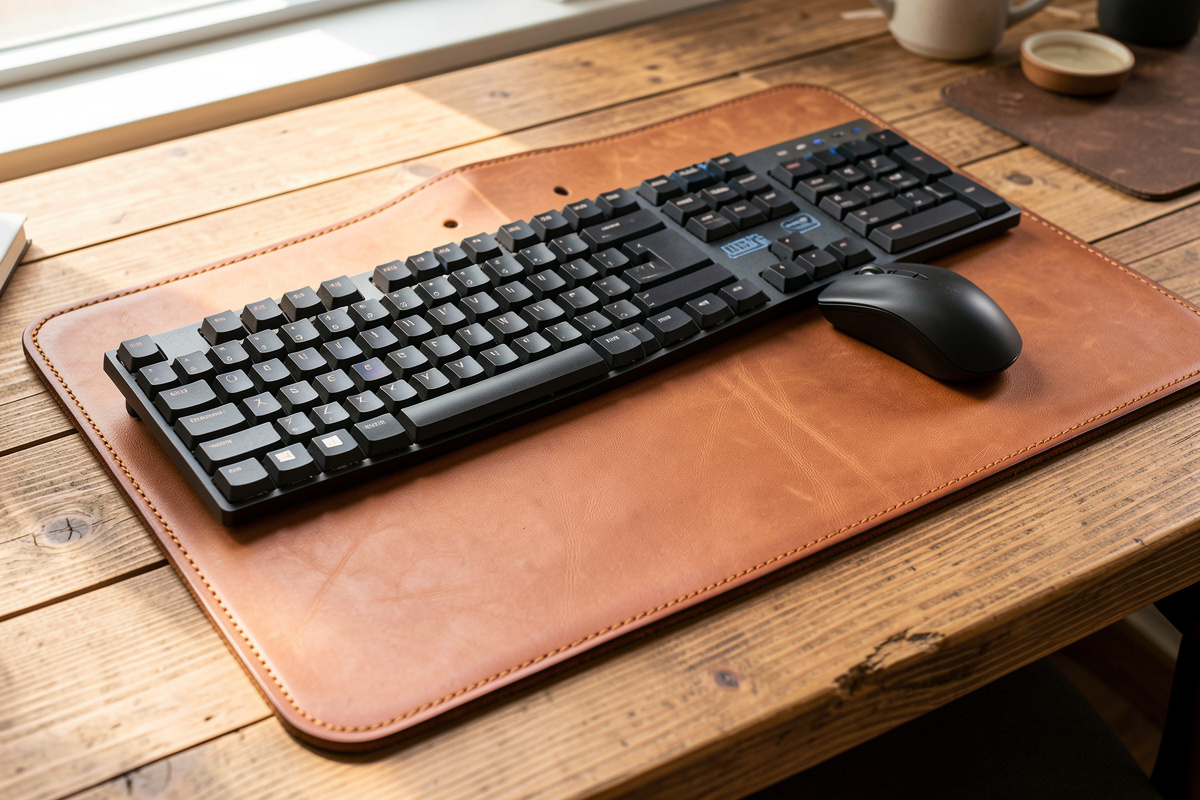
A leather mouse pad or desk mat is the simplest project in the whole small-goods category and the most unforgiving: one flat panel of 8–9 oz veg-tan, cut clean,…
A leather mouse pad or desk mat is the simplest project in the whole small-goods category and the most unforgiving: one flat panel of 8–9 oz veg-tan, cut clean, edged smooth, and treated so it lies dead flat instead of curling. No stitching, no hardware — just a single big surface where every wobble in your cut and every rough spot on your edge shows in bright light. That honesty is exactly why it is the best test of whether your fundamentals hold.
A mouse pad reads as trivial until you cut one and watch the edges lift off the desk within a day. The two real challenges are getting a genuinely straight cut over a long run — much harder than a hand-sized panel — and stopping the finished mat from curling as the veg-tan dries and relaxes. Solve those two and you have a desk surface that feels better under a mouse than any foam pad and gets better-looking with age. Below is the leather and weight that lie flat, the cutting method that keeps the long edges true, and the finishing that stops the curl for good.
Leather and Weight for a Flat Mat
Reach for 8–9 oz veg-tan for a desk mat and 6–8 oz for a smaller mouse pad — the heft is what keeps the mat flat and planted instead of sliding or lifting. A thin panel curls and shifts; a heavy one has the mass to stay put. This is the one project in the EDC category where you want the thickest leather on the shelf, the opposite of the wallets and sleeves that want 3–4 oz. Tanneries like Hermann Oak sell veg-tan graded by ounce weight, so buying to a target thickness is straightforward.
Veg-tan is the right choice because it takes a burnished edge and a hard-wearing finish, and because a full firm bend lies flatter than a soft hide. If you cannot get a single panel thick enough, you can laminate two lighter panels flesh-to-flesh with contact cement for the same rigidity — a good use for offcuts. A single 8–9 oz panel is simpler, though, and the ounce-to-millimeter chart helps you buy the right weight. Here is how to size the two common versions:
| Type | Size | Weight | Best Use |
|---|---|---|---|
| Mouse pad | ~200 x 240 mm | 6–8 oz | Mouse only |
| Compact desk mat | ~600 x 300 mm | 8–9 oz | Keyboard + mouse |
| Full desk mat | ~800 x 400 mm | 8–9 oz | Whole workspace |
Chrome-tan is a defensible choice here if you want a softer mat with more give and you do not mind painting the edge instead of burnishing it — a padded desk mat feel. But for the classic firm mat that ages to a patina, veg-tan is the one, and it is the only tannage that gives you the glassy burnished edge that makes a mat look made rather than cut from a sheet. The veg-tan versus chrome-tan breakdown covers the trade-off if you are undecided.
Cutting a Long, Straight Edge
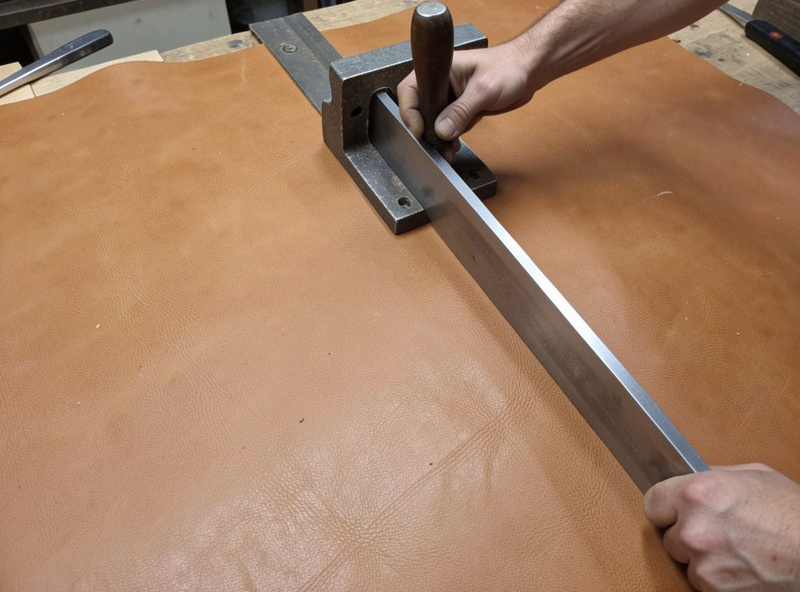
The whole quality of a mat lives in its four cut edges, and cutting a straight 600 mm line is genuinely harder than a hand-sized panel — one slip shows down the whole length. Use a heavy steel straightedge clamped to the leather, not just held, and make several light passes with a sharp knife rather than one deep hack. A rotary cutter works for thinner mats; a head knife or a utility knife with a fresh blade suits the heavy stuff.
Let the straightedge do the guiding and keep the blade vertical so the edge is square, not beveled inward — a leaning cut gives you an edge that is impossible to burnish evenly later. My guide on cutting leather straight covers clamping and multi-pass technique in detail, and this is the project where that skill pays off most visibly. Cut on a self-healing mat big enough for the whole panel, and change your blade the moment it starts to drag — a dull blade wanders and tears the grain on a long pull. If you want perfectly identical edges or rounded corners, this is also a natural fit for laser-cut templates or a laser cut of the whole panel, which is how I make matched sets.
Stopping the Curl
The failure that defines a homemade leather mat is curling — the panel lifts at the edges as the veg-tan dries and relaxes. The first desk mat I made cupped off the bench overnight because I sealed only the grain side and left the flesh side raw; it dried faster on the back and pulled itself into a taco. The fix is a combination of conditioning the flesh side, weighting the panel flat while it dries, and, on lighter mats, backing it so it cannot cup. A mat that lies dead flat on day one and stays there is entirely achievable if you treat both sides, not just the grain.
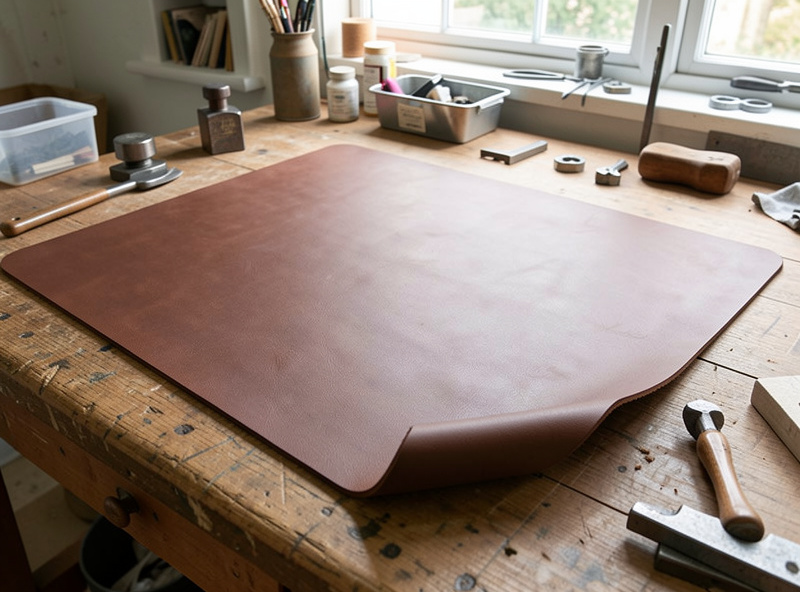
Lightly condition the flesh side with neatsfoot oil so it does not dry out and contract faster than the grain — uneven moisture between the two faces is what pulls a panel into a curl. Then press the finished mat flat under weight for a day or two so it sets in the flat state. For a mouse pad especially, gluing a thin rubber or cork backing to the flesh side both stops the curl and keeps the pad from sliding — the same principle as a stitched leather turntable mat, where flatness and grip decide whether the mat works at all. A full-size desk mat is heavy enough to stay put on its own once it is trained flat, but a light mouse pad benefits from the backing.
Edging and Finishing the Surface
With no stitching to do, all your craft goes into the edges and the surface finish — and on a big flat panel the burnished edge is the single detail that separates a real piece from a rectangle cut off a hide. Bevel all four edges, sand up through the grits, and slick with Tokonole until every edge glosses evenly. On a long edge, consistency is the challenge: a slicker profile I printed for heavy edges keeps the pressure even over the whole run.
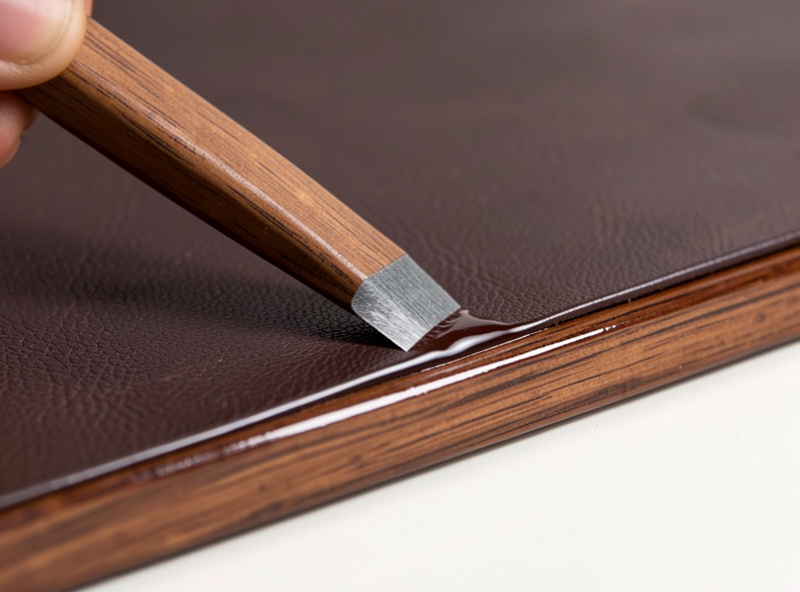
Finish the top surface so it wears well and feels good under a mouse — a light coat of neutral Resolene or a carnauba creme seals the grain without making it slick or shiny, and the mouse tracks better on a matte sealed surface than on raw leather. Dye the panel first if you want color, buff hard, and seal; the full edge sequence is in my bevel-to-burnish guide, and picking the right beveler size matters on a thick mat where an undersized edger barely touches the edge. A desk mat rounds out a matching EDC and desk small-goods set, and it is the piece that shows your edge work at the largest scale — get it right and it anchors the whole desk.
Frequently Asked Questions
What leather weight is best for a mouse pad or desk mat?
8-9 oz veg-tan for a desk mat and 6-8 oz for a smaller mouse pad. The heft is what keeps the mat flat and planted instead of curling or sliding. This is the one small-goods project where you want the thickest leather on the shelf rather than the thin stock wallets use.
How do I stop a leather mouse pad from curling?
Condition the flesh side lightly with neatsfoot oil so it does not dry faster than the grain, press the finished mat flat under weight for a day or two, and on lighter mats glue a thin rubber or cork backing to the flesh side. Uneven moisture between the two faces is what causes the curl.
Does a leather mouse pad need to be sealed?
A light seal helps. A thin coat of neutral Resolene or a carnauba creme seals the grain and gives a matte surface that a mouse actually tracks better on than raw leather. Avoid a heavy glossy finish, which can be too slick for smooth mouse movement.
Do I need to stitch a leather desk mat?
No. A desk mat is a single flat panel with no stitching or hardware, which is what makes it a good beginner project. All the craft goes into cutting straight edges, burnishing them smooth, and finishing the surface so the panel lies flat and wears well.
Should I use veg-tan or chrome-tan for a desk mat?
Veg-tan for a firm mat that lies flat, burnishes to a glassy edge, and ages to a patina. Chrome-tan gives a softer, more padded feel but will not burnish, so its edges must be painted instead of slicked. For the classic hard-wearing mat, veg-tan is the choice.
Keep Building
- Leather EDC Projects: The Small-Goods Guide
- How to Cut Leather Straight
- Leather Edge Finishing: Bevel to Burnish
- DIY 3D-Printed Leather Edge Slickers
- Leather Pen and Tool Pocket Slip



