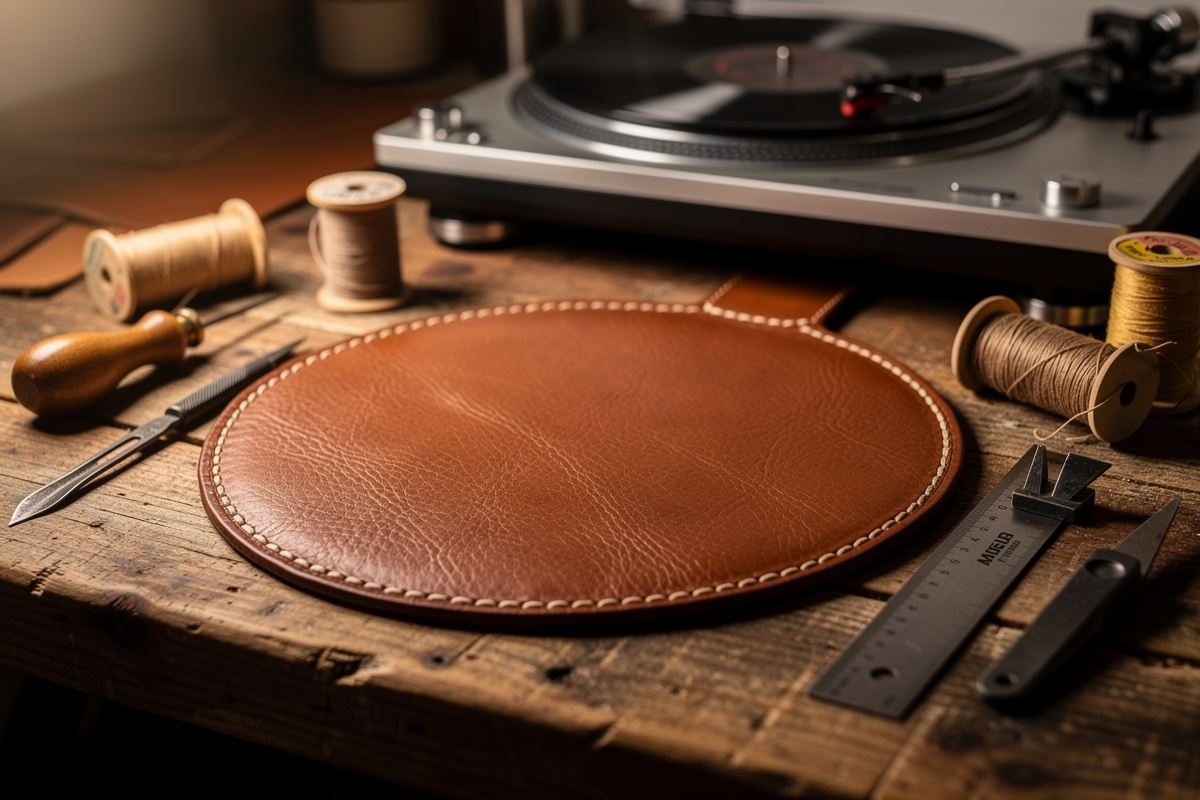
A hand-stitched full-grain leather turntable mat costs roughly $15-25 in materials and 3-4 hours of leatherworking time, and it lands in a real, well-documented middle ground between the…
A hand-stitched full-grain leather turntable mat costs roughly $15-25 in materials and 3-4 hours of leatherworking time, and it lands in a real, well-documented middle ground between the common mat materials. Felt is the neutral factory-default most turntables ship with, but audiophile consensus (see the material comparison from The Vinyl Factory’s guide to turntable mats) is that it under-damps compared to denser materials — some listeners find it lets more motor and bearing noise through than they’d like. Cork brings warmth and absorbs micro-vibration differently than felt, adding midrange lift. Rubber is the heaviest-handed option — dense butyl rubber mats grip hard and damp aggressively, tightening bass, but that same mass (400-600 grams isn’t unusual for a premium rubber mat) is more load than a lightweight belt-drive platter and bearing were designed to spin every time you drop the needle. Leather sits between felt and rubber: dense enough to damp meaningfully, light enough (100-150 grams at 2-3mm) not to add real mass to the platter, and — per material comparisons like Sound Matters’ breakdown of how mat material affects playback — generally described as smooth and balanced rather than pushing the sound warm (cork) or tight (rubber).
Leather Selection for Acoustic Properties
The leather’s density and grain structure determine how it interacts with platter resonance. Full-grain vegetable-tanned leather at 2-3mm thickness (roughly 5-7 ounce weight in leatherworking terms) provides the best acoustic balance — tight grain structure that couples the record to the platter without slipping, enough internal fiber density to absorb vibration rather than reflect it, and a smooth top surface that will not imprint its grain pattern onto the record’s playing surface over time. Avoid chrome-tanned leather — the same reason it’s wrong for any tooled or molded leatherwork applies here: chrome-tan stays soft and doesn’t hold a flat, dimensionally stable shape the way veg-tan does, and a mat that isn’t perfectly flat is a mat that’s working against you. Avoid suede too — the nap creates an uneven support surface under the record, which can be enough to throw off the tonearm’s vertical tracking angle and shift the tonal balance audibly, even if the exact degree of tilt is hard to pin down without measuring your specific setup.
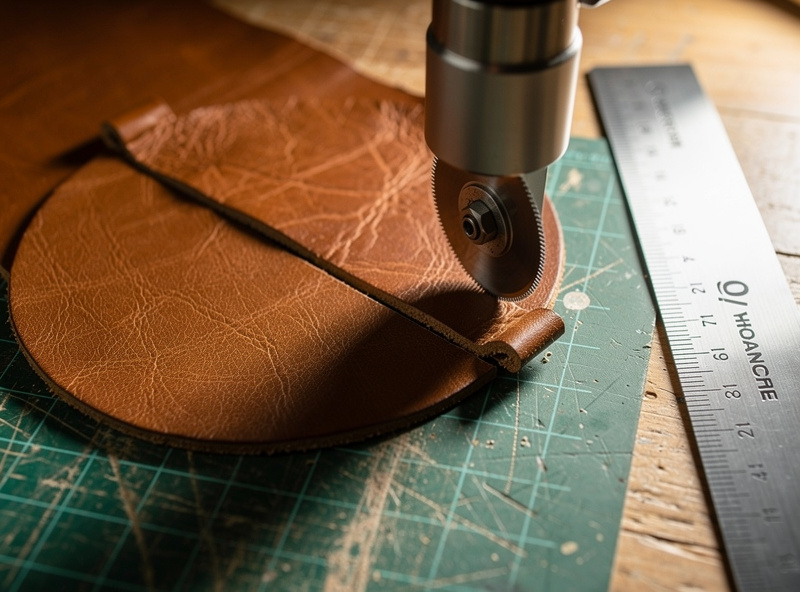
Cut the mat to exact platter diameter using the original felt mat as a template. Mark the circle with an awl, cut 2mm outside the line with a sharp rotary knife, and bevel the edge with an edge beveler at 45 degrees — a square-cut leather edge at 3mm thickness can catch the record’s outer lip when placing the LP, and the bevel prevents this. Burnish the edge with gum tragacanth and a wooden slicker until it is smooth and sealed — an unsealed leather edge sheds microscopic fibers that settle in the record grooves and produce audible ticks on playback.
Tools and Materials for This Build
This is a small-format project by leatherwork standards, closer in scope to a card holder than a wallet, and it doesn’t call for anything outside the standard bench kit. You’ll want: a piece of 2-3mm veg-tan large enough to clear your platter diameter with margin (a scrap offcut from a belt or sheath project is usually plenty), a sharp rotary cutter or head knife, an edge beveler, gum tragacanth and a wooden slicker for the burnish, an awl for marking, a stitching pony or clamp small enough to work the tight curve of a 100mm center recess, and a two-needle saddle stitch kit in a contrasting thread color if you want the recess stitch to read as a visible design detail rather than disappear into the leather. Nothing here needs a tool you wouldn’t already own if you’ve built a wallet or card holder before — the whole appeal of this project for me was that it used the existing bench kit on a completely different kind of object.
Stitching the Label Recess
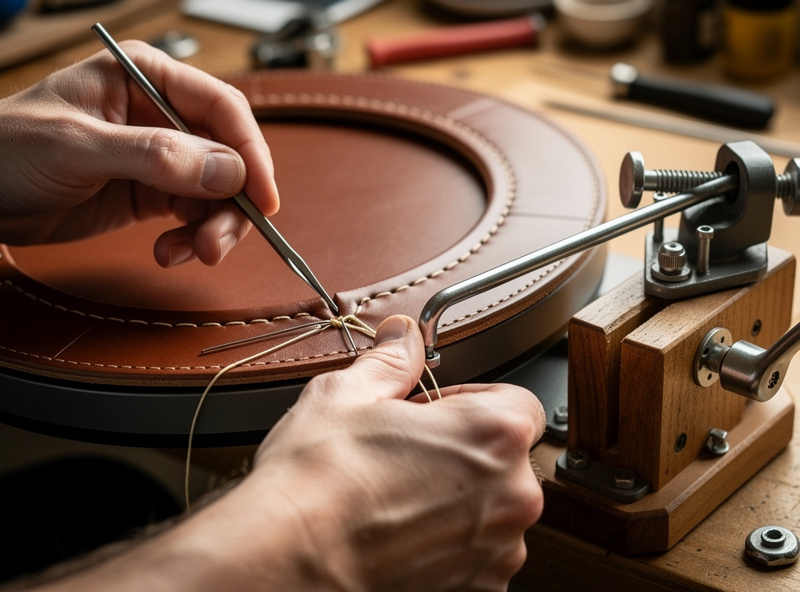
Records have a raised label area in the center — the paper label sits slightly thicker than the vinyl playing surface around it, and without a recess in the mat, the record sits tilted with the outer edge riding higher than the center. A stitched recess solves this by removing a 100mm-diameter circle of leather from the center of the mat and replacing it with a thin 0.5mm leather disc held in place by a circular saddle stitch. The recess depth matches the label thickness, so the record’s playing surface sits perfectly flat across its entire diameter. The stitch is decorative — a contrasting thread color in a 3mm spacing saddle stitch — but it also prevents the thin center disc from curling over time, which thinner leather inevitably does in a dry indoor environment.
For the wider turntable setup picture — platter leveling, VTA adjustment, and how mat, cartridge, and tonearm all interact — the guides library on VinylGearHQ covers the playback system that the leather mat serves as the interface layer between record and platter.
Why Leather Damps Differently: The Material Science
Leather’s damping behavior comes from being viscoelastic — it combines elastic (spring-like) and viscous (fluid-like) response, which lets it dissipate vibrational energy as internal friction and low-grade heat rather than reflecting it straight back into the platter and record. That’s the same general mechanism that makes purpose-built damping polymers like Sorbothane effective — though Sorbothane is engineered specifically to maximize that property and outperforms most general-purpose materials at it, leather included. I’m not aware of any published lab measurement of leather’s damping coefficient at audio frequencies, and I don’t have the equipment on my own bench to generate one, so I won’t hand you a fabricated number for it. What I can tell you from handling both: leather flexes and returns slower than felt does under the same finger pressure, and slower elastic recovery is a real, observable sign of higher internal damping — it’s just not one I can put a precise figure on.
The leather’s fiber structure is the other half of the story — vegetable-tanned hide is an interlocking three-dimensional mesh of collagen fibrils rather than the parallel-aligned fibers you get in felt, and that mesh structure is what gives leather its combination of flex and density. It’s the same structural reason leather takes a burnish and holds an edge bevel shape rather than fraying like felt does under a beveler — a genuinely tighter, denser fiber network than a pressed-fiber mat material.
Fitting and Testing the Mat Before You Commit to the Edge
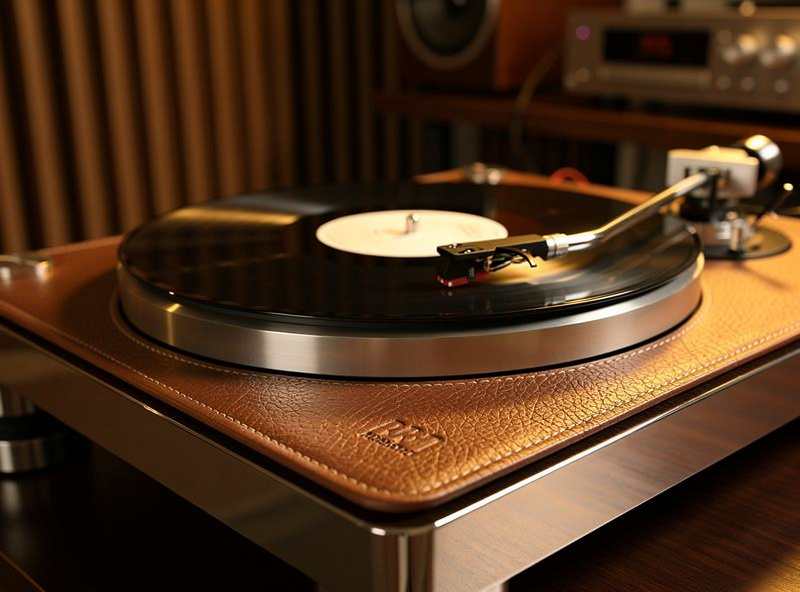
Don’t burnish the edge until you’ve test-fit the mat dry, record on top, platter spinning. This is the step I skip at my own peril whenever I’m impatient to get to the finishing stage. Set the cut-but-unfinished mat on the platter, drop a record on it, and check three things: the record sits flat with no visible rock at the outer edge, the label recess seats the record’s raised center without a gap or a proud edge, and the platter spins freely with the mat centered — a mat cut even 1-2mm off-center will show up immediately as a visible wobble at the label once the platter’s turning. Fix centering and label-recess fit now, while the edge is still raw and easy to re-cut, not after you’ve spent twenty minutes burnishing a bevel you’ll have to sand back off.
Static is the other thing worth checking before you call the project done. Leather is generally better behaved than synthetic mat materials for static buildup, but a bone-dry workshop in winter can still leave a mat that crackles when you lift a record off it. If that happens on your test-fit, a light once-over with a dedicated anti-static record brush before each play solves it — I wouldn’t reach for any kind of spray or liquid anti-static treatment on the leather itself, since that’s introducing a chemical you don’t need on a surface that already handles the job passively once it’s broken in.
Living With a Leather Mat: Care and When to Replace It
A leather turntable mat asks for almost nothing once it’s built, which is part of the appeal next to felt (which mats down and picks up static over a couple of years) or rubber (which can develop a faint sulfur smell as the compound ages). Wipe it down occasionally with a barely-damp cloth — never wet, never any leather conditioner or oil, since anything that leaves the surface tacky will transfer to the next record you set down. Keep it out of direct sun when the turntable isn’t in use if the setup sits near a window; veg-tan darkens with UV exposure the same way any of my other veg-tan projects do, and an evenly-aged mat looks intentional while a half-sun-faded one looks like a mistake.
The edge is the wear point, the same as it is on every leather project I build. Years of setting records down at the same angle burnishes a slight polish into the edge nearest wherever you naturally place the LP first — cosmetic only, not a functional problem, and if anything it’s the kind of patina that makes a hand-built mat look more like an instrument and less like an accessory. What does eventually call for a rebuild is the center disc over the label recess: it’s the thinnest, most flexed part of the whole mat, and after several years of records going on and off it can start to show stitch wear at the recess edge before the rest of the mat shows anything at all. When that happens, it’s a twenty-minute fix — pick the old stitching, cut a fresh 0.5mm disc, restitch — not a reason to rebuild the whole mat.
Frequently Asked Questions
Does a leather turntable mat sound better than felt?
Better is subjective, but leather is denser and damps more than the neutral felt most turntables ship with, without adding the mass a heavy rubber mat does. Audiophile consensus (see comparisons on sites like The Vinyl Factory and Sound Matters) puts leather as smooth and balanced rather than warm like cork or tight like rubber. It weighs roughly a third to half what a heavy rubber mat does.
What type of leather is best for a turntable mat?
Full-grain vegetable-tanned leather at 2-3mm thickness (5-7 oz). Avoid chrome-tanned leather — like any tooled leatherwork, chrome-tan stays soft and won’t hold the flat, dimensionally stable shape veg-tan does. Avoid suede — the nap creates an uneven surface that can tilt the record and shift the tonearm’s tracking geometry. Veg-tan provides the tightest grain structure and best acoustic coupling.
How do I make a leather turntable mat?
Trace your platter diameter onto 2-3mm veg-tan leather using the original mat as a template. Cut with a rotary knife, bevel the edge at 45 degrees to prevent catching records, and stitch a 100mm center recess for the record label area. Burnish edges with gum tragacanth to seal fibers that could shed into record grooves.
Will a leather mat damage my records?
No if the leather surface is smooth full-grain with sealed edges. Unsealed edges shed microscopic leather fibers that settle in record grooves and produce audible ticks. Burnish all edges with gum tragacanth and a wooden slicker until smooth and sealed. The smooth grain surface does not imprint onto the record’s playing surface.
How thick should a leather turntable mat be?
2-3mm matches the thickness of most standard felt mats and stays within the vertical tracking angle (VTA) range most tonearms are set up for. Mats thicker than 3mm raise the record surface enough to tilt the cartridge body back and shift VTA toward brighter, more treble-forward playback — the exact audible shift depends on your specific arm and cartridge, so re-check VTA after any mat-thickness change.
Does a leather mat work on all turntables?
Yes on any belt-drive or direct-drive turntable with a flat, unrecessed platter. Be careful on turntables with a recessed platter and raised lip (Rega’s Planar series is the well-known example) — the mat has to sit inside that recess, and Rega’s own accessory mats for these decks run thin (around 2 to 2.4mm), so a 3mm leather mat is likely too thick and will sit proud of the lip. Check your specific model’s recess depth before cutting.
Related Articles
- Types of Leather: Complete Guide for Leatherworking
- Leatherworking Tools: Complete Beginner’s Guide
- Leather Stitching: Complete Hand-Stitching Guide
- Leather Edge Finishing: Complete Guide to Burnishing and Dyeing
- Laser Engraving Vegetable-Tanned Leather: Settings and Techniques



