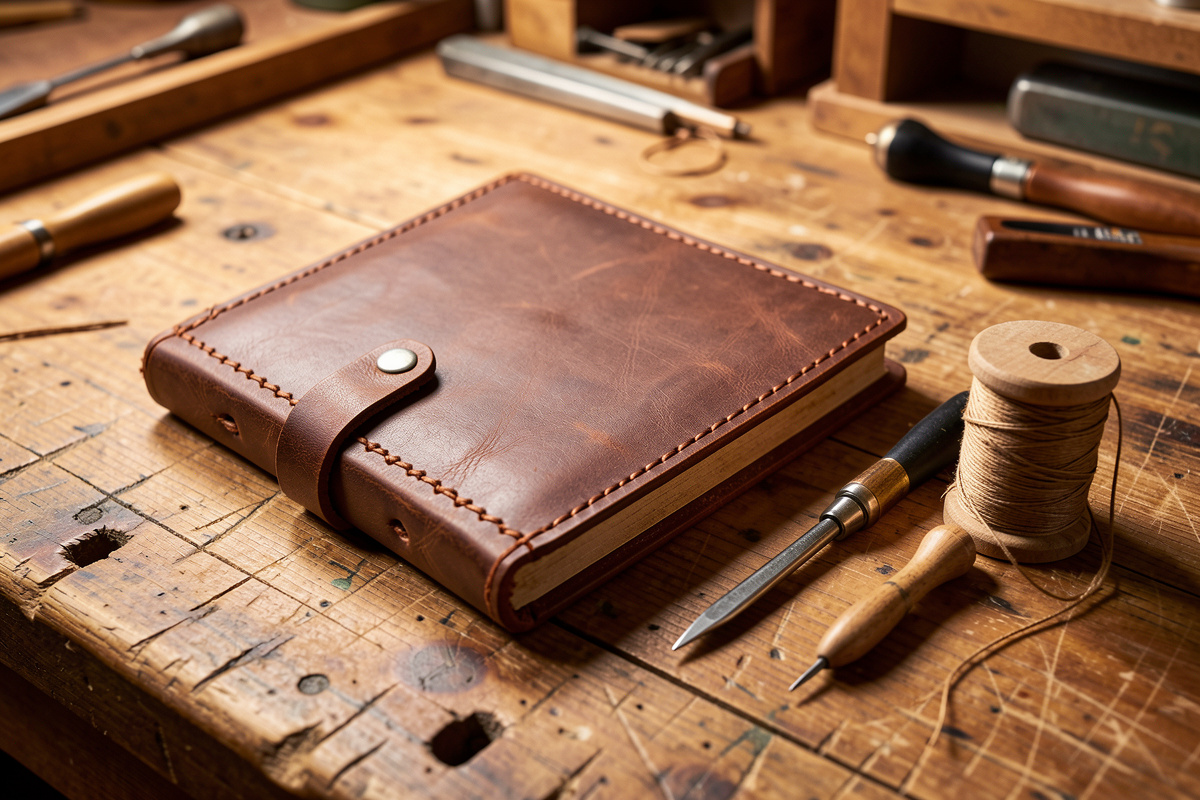
A bound leather journal is really three projects stacked together: a folded paper block, a cover cut from the right weight of leather, and a binding that holds…
A bound leather journal is really three projects stacked together: a folded paper block, a cover cut from the right weight of leather, and a binding that holds them. I can finish a clean A5 journal in an afternoon — roughly two hours of folding and sewing the block, one for the cover and edges — and the single thing that decides whether it lasts a decade or a year is the weight of leather you pick. This is the overview; every deep step links out below.
The mistakes I see most are a cover that flops because the leather is too light, a text block that won’t lie flat because the signatures were over-stuffed, and edges left raw because the maker ran out of patience. None of that is hard to avoid. Below is the whole make from a stack of paper to a finished, burnished cover, with pointers to the spokes where I go deep on each stage.
What You’re Actually Building
A journal has three parts: signatures (folded paper sheets nested into booklets), a cover, and the stitching that joins them. Get the paper grain, the leather weight, and the binding style matched to each other and the rest is patience. Everything else is detail.
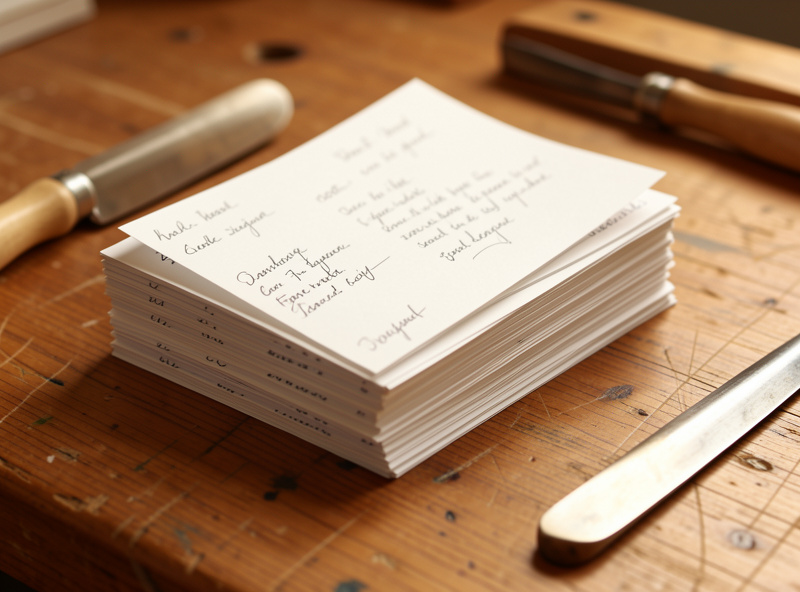
For my own journals I size the block first and cut the cover to it, never the reverse. A signature is typically 4 to 6 sheets of paper folded in half — 8 to 12 pages — and an A5 journal runs 5 to 8 signatures depending on how thick you want the spine. Paper grain matters more than people expect: the grain should run parallel to the spine so the pages fold without cracking and the closed book lies flat. Hold a sheet, flex it both ways, and the direction that bends with less resistance is the grain. Fold along that.
Choosing the Leather and the Size
Match the leather weight to the journal size. A pocket cover wants 3-4oz so it stays flexible; an A5 wants 4-5oz for body without bulk; an A4 desk journal can take 5-6oz. Too heavy and the cover won’t wrap; too light and it flops.
I work veg-tan for journal covers almost every time. It tools, dyes, and burnishes the way I want, and it takes a crease cleanly down the spine. A 4 to 5oz veg-tan shoulder is my default for an A5 — firm enough to protect the block, supple enough to fold. If you want a softer, drapier cover that wraps and ties shut, a chrome-tan or oil-tanned leather around 3-4oz behaves better; it won’t burnish the same, but it folds without a hard spine crease. If the weights here are new to you, my leather thickness oz chart lays out what each ounce range actually feels like, and the chrome-tan vs veg-tan comparison covers why I reach for one over the other. Beginners unsure what hide to buy at all should start with types of leather.
| Journal size | Cover dimensions (approx) | Leather weight | Signatures (typical) |
|---|---|---|---|
| Pocket / A6 | 105 x 148mm pages | 3-4oz | 3-5 |
| A5 | 148 x 210mm pages | 4-5oz | 5-8 |
| A4 / desk | 210 x 297mm pages | 5-6oz | 6-10 |
Cut the cover with a generous wrap — for a softer cover I leave 30 to 50mm of overhang on the fore-edge so it folds over the front like a flap. For a flush hardcover-style journal I cut the leather to the block plus a few millimetres. Cut straight and square or nothing downstream lines up; if your cuts wander, fix that first with my notes on cutting leather straight.
Folding and Assembling the Text Block
Fold each signature with a bone folder along the paper grain, nest 4-6 sheets per signature, then stack 5-8 signatures for an A5. Press the block under weight overnight so it lies flat before you ever pick up a needle. A flat block is half the battle.
Crease every fold hard with the bone folder — a soft fold springs back and fattens the spine. I tap the signatures square on the bench, jog the heads, and clamp the whole block between two boards under a few kilos overnight. While it presses, I mark my sewing stations. For a simple journal I use three or four stations down the spine fold; I prick them through the fold with an awl from the inside so the holes sit dead on the crease. Even spacing here is what makes the finished spine look intentional rather than improvised.
This block-first approach is the backbone of every binding style. If you want the exposed, decorative spine where each signature chains to the next, that’s the coptic stitch bookbinding route. If you want the block sewn straight into a wraparound cover with a saddle stitch, follow the saddle stitch journal build.
Stitching the Block to the Cover
Mark stations on the spine, prick through cover and signature folds together, then sew with two needles and waxed thread. A coptic stitch leaves the spine exposed and lets the book open flat; a saddle-stitched pamphlet sews each signature into the cover fold. Both hold for years.
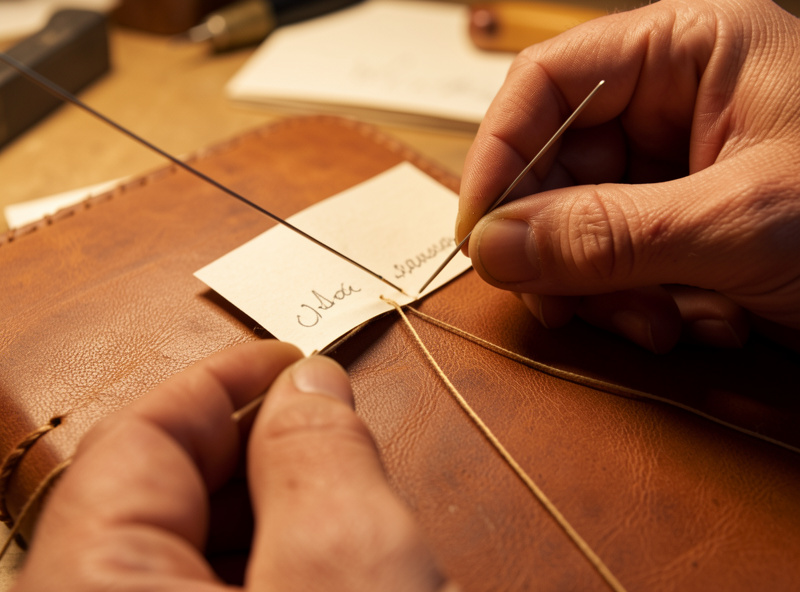
Thread choice matters. For a sewn block I use a waxed linen — it grips the paper, sits into the fold, and ages well; for the leather cover stitching itself I reach for Ritza 25 “Tiger” in 0.6 or 0.8mm. I cut a length about four times the spine height per signature, thread both ends with bookbinding needles, and sew. The saddle stitch — two needles passing opposite directions through each hole so every stitch is locked — is the most durable join I know, and it’s worth learning properly before you commit it to a journal. My full walk-through of the technique and the lock is in how to saddle stitch leather, and for picking the right thread weight to your hole spacing see best thread for leather stitching.
Keep your tension even and consistent — a saddle stitch is only as good as the rhythm of your pull. Too loose and the signatures shift; too tight and the paper buckles at the fold. I seat each stitch with the same firm tug and let the wax do the holding.
The Cover: Pattern, Crease, and Closure
Lay out the cover flat, mark the spine crease and any flap, then groove or crease the spine fold so the leather bends in one clean line. A wraparound cover with a leather tie or wrap strap is the simplest reliable closure — no hardware to fail.
I pattern the cover from the pressed block: measure the block height, the closed thickness across the spine, and the two page widths, then add my wrap allowance. Mark the fold lines and run a light crease (or a shallow groove on heavier leather) so the spine bends predictably instead of bulging. For a full pattern and the closure options I actually use, the leather notebook cover pattern and the deeper handmade leather book cover guide cover layout, flaps, and ties in detail. The spine is the part that takes the most stress, so finish it carefully — I treat that as its own job in the leather spine finishing guide.
Dyeing, Edges, and Finish
Dye before assembly if you’re colouring the cover, then bevel, sand, and burnish every exposed edge before final stitching. A burnished edge sheds water and looks turned rather than cut; a raw edge is the dead giveaway of a rushed first journal.
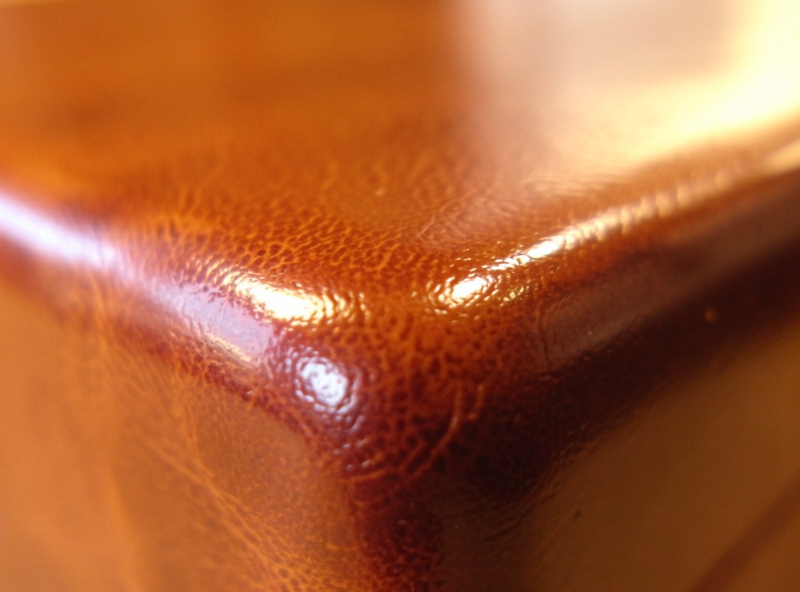
On veg-tan I dye first — Fiebing’s Pro Oil or a spirit dye, deglazed and buffed, then a thin coat of Resolene or a carnauba creme to seal. Do the colour on flat leather before you fold and sew; chasing dye into a finished book is misery. For the full colour workflow see my leather dyeing guide. Then the edges: bevel with a #1 or #2 edger, sand coarse to fine, case the edge lightly, and burnish with Tokonole or gum tragacanth and a slicker until it goes glassy. That edge work is what separates a homemade journal from a made one — I go step by step in leather edge finishing and compare the two burnishing compounds in Tokonole vs gum tragacanth. If you want the cover to look weathered and broken-in from day one, the distressing a leather journal cover spoke shows how I age veg-tan on purpose.
Tools You Actually Need
For a first journal: a bone folder, a bookbinding awl, two needles, waxed thread, a cutting mat and straightedge, and edge tools if you’re finishing veg-tan. You can build a clean journal with a handful of tools long before you own a full bench of irons.
Don’t over-buy at the start. A bone folder and a sharp awl do most of the work; the edge tools matter only if you’re burnishing veg-tan. As you go further, a proper set of leatherworking tools and the fundamentals in leatherworking for beginners will fill out the bench. Here are the consumables I’d point a first-timer at:
- Bookbinding awl — for pricking sewing stations through the fold.
- Bone folder — sharp creases on every signature.
- Waxed linen thread — for sewing the text block.
- Ritza Tiger thread — 0.6/0.8mm for the leather cover stitching.
- Bookbinding needles — blunt, two per signature for saddle stitching.
As an Amazon Associate I earn from qualifying purchases.
Frequently Asked Questions
What weight of leather is best for a journal cover?
For an A5 journal I default to 4-5oz veg-tan: firm enough to protect the block, supple enough to fold cleanly down the spine. Pocket covers do better in 3-4oz, and an A4 desk journal can take 5-6oz. Going heavier than the size needs leaves a cover that won’t wrap.
How many signatures do I need for an A5 journal?
Five to eight signatures of 4-6 folded sheets each suits most A5 journals. That gives roughly 80 to 190 usable pages and a spine thick enough to feel substantial without bulging. More signatures means a fatter spine, so adjust your cover thickness allowance to match.
Veg-tan or chrome-tan for a leather journal?
Veg-tan if you want to tool, dye, and burnish a firm cover with a crisp spine crease. Chrome-tan or oil-tanned around 3-4oz if you want a soft, drapey wraparound cover that ties shut. Veg-tan burnishes; chrome-tan does not, but folds more easily.
Do I need special tools to bind a leather journal?
No. A bone folder, a bookbinding awl, two blunt needles, waxed thread, and a straightedge will produce a clean journal. Edge bevelers and a slicker only matter if you are burnishing veg-tan edges. Build your first one with the basics before buying a full bench.
Should I dye the leather before or after binding?
Dye before assembly, while the cover is flat. Chasing dye into the corners of a folded, sewn book is frustrating and uneven. Colour the flat leather, deglaze, buff, seal with Resolene or a carnauba creme, then fold and stitch once it is fully dry.
Which binding style opens flattest?
A coptic stitch opens completely flat because the exposed chain-stitched spine has no rigid backing. A saddle-stitched pamphlet sewn into a wraparound cover opens well too but not quite dead flat. Choose coptic for a writing journal you want to lie open on the desk.
Keep Building
This overview ties together every stage of the make. For the full method start at the leather bookbinding guide hub, then dive into the spoke that matches your build: coptic stitch bookbinding, the saddle stitch journal, the handmade book cover, spine finishing, or distressing the cover for a worn-in look. And if you want a clean glue-up where the cover meets the endpapers, my notes on the best glue for leather will save you a warped board.



