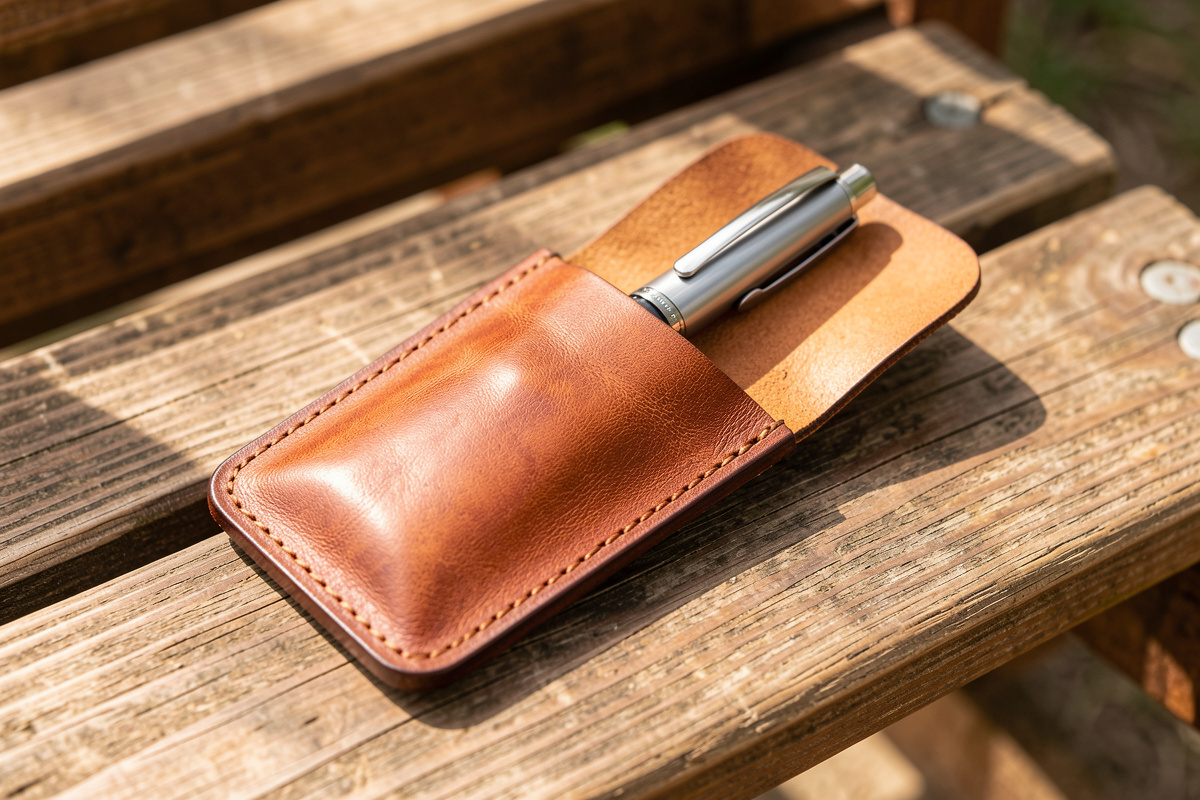
A leather pocket slip is the simplest useful case you can build: a single folded panel of 4–5 oz veg-tan, stitched up two sides, that holds a pen, a…
A leather pocket slip is the simplest useful case you can build: a single folded panel of 4–5 oz veg-tan, stitched up two sides, that holds a pen, a knife, a flashlight, or a small multitool without rattle or scratch. No hardware, no lining, no closure — just a snug open-top sleeve. It takes under an hour and about $5 of leather, and it is the project I use to teach a clean stitched seam.
The slip earns its place in a pocket by protecting the good stuff. A machined pen or a titanium light shares a pocket with keys and coins, and every one of those contacts is a scratch waiting to happen; a leather slip ends that. Because there is no closure to align and no snap to set, the whole build is about two things done well — sizing the sleeve to the tool and stitching a straight, strong seam. Below is how I size it so the pen slides without dropping, the seam that holds up to daily draw-and-return, and why the interior edges get finished before anything is folded.
Size the Sleeve to the Tool
Measure the tool at its widest point — the clip on a pen, the pocket clip on a flashlight — and build the sleeve interior about 3–4 mm wider than that, then add two leather thicknesses for the wrap. A slip that grips too hard makes the tool a fight to draw; one that is too loose lets it slide out in the pocket. The sweet spot is a light friction hold where the tool stays put upside down but draws with one finger.
The pattern is a single rectangle folded in half, so the height is twice the tool length plus a little so the top of the tool sits proud enough to grab. For a standard pen that means a panel about 320 mm long folded to a 150 mm sleeve. I like the tool clip to sit just above the sleeve mouth so it can hook a pocket seam if you want it to, or tuck fully in if you don’t — either way, cut the mouth clean and slightly lower on the front panel than the back so the clip clears. A common question I get is whether one slip can hold several tools; it can, but a two- or three-pen slip needs internal stitched divisions to keep each tool in its own channel, or they clatter together and scratch anyway.
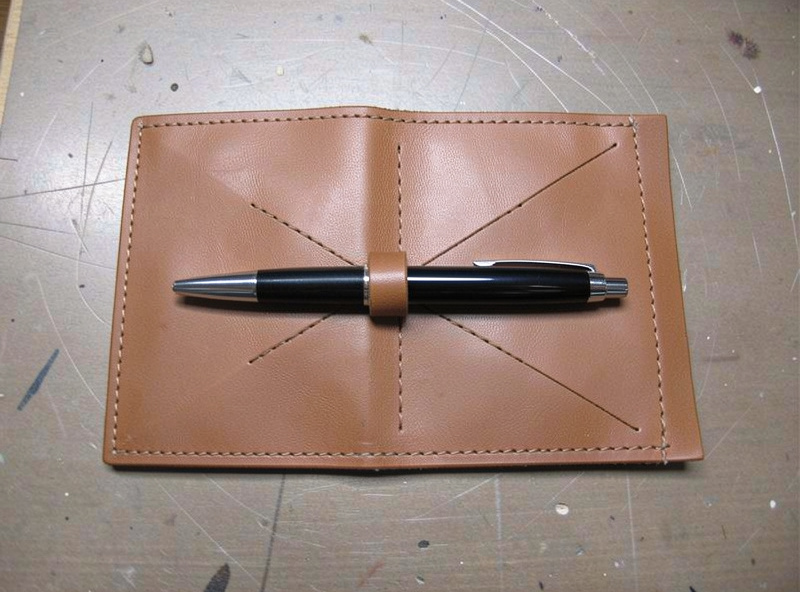
Veg-tan at 4–5 oz is the right leather because the slip needs enough body to hold its mouth open for a one-handed return — a floppy chrome-tan sleeve collapses and you end up fishing for the opening. If you want a softer slip that packs flatter, a firm 4 oz chrome-tan works, but you lose the burnished edge and the self-supporting mouth. For most people the veg-tan version is the one worth building. Suppliers like Tandy Leather sell veg-tan by the ounce, so buying to a 4–5 oz target is easy. My ounce-to-millimeter chart helps translate that weight if you are buying leather for the first time, and the veg-tan versus chrome-tan breakdown covers the trade-off in full.
Finish the Inside Edges First
Here is the order that trips people up: burnish the top-mouth edges of both panels before you fold and stitch, because once the sleeve is closed those inner edges are impossible to reach. The mouth of the slip is the most-seen and most-handled edge — every time you draw the tool your thumb runs across it — so it needs the full bevel, sand, and slick treatment while the panel is still flat.
Bevel both faces of the mouth edges, sand up through 400 to 1000 grit, and slick with Tokonole until the edge glosses. The long side seams get finished after stitching, when both layers can be beveled and burnished together into one clean edge — but the mouth cannot wait. This before-and-after edge sequencing is the single most useful habit small goods teach, and it carries straight into wallets and card holders. The full method is in my bevel-to-burnish edge guide, and if you have not settled on a slicking compound, my Tokonole versus gum tragacanth comparison covers what I reach for and why.
If you are dyeing the slip, do it while the panel is flat and dye both faces, because the inside of the sleeve shows every time you draw the tool and an undyed flesh side looks unfinished against a colored exterior. Buff the dye hard until nothing transfers, then seal with a thin coat of neutral Resolene so the color does not rub onto a light pen barrel or a shirt pocket — a step my Resolene sealing guide walks through. A slip that lives in a pocket takes more abrasion than a display piece, so I lean toward a slightly heavier seal coat here for the extra rub resistance.
Stitch a Seam That Survives Daily Draw
The two side seams take all the stress of drawing and returning the tool, so this is where the saddle stitch earns its keep. A hand saddle stitch with two needles locks each stitch independently, so even if one thread eventually abrades through against a pocket, the seam does not unravel — which is exactly why I never machine-stitch a slip that gets daily use. Mark the stitch line with a pricking iron a consistent 3–4 mm from the edge.
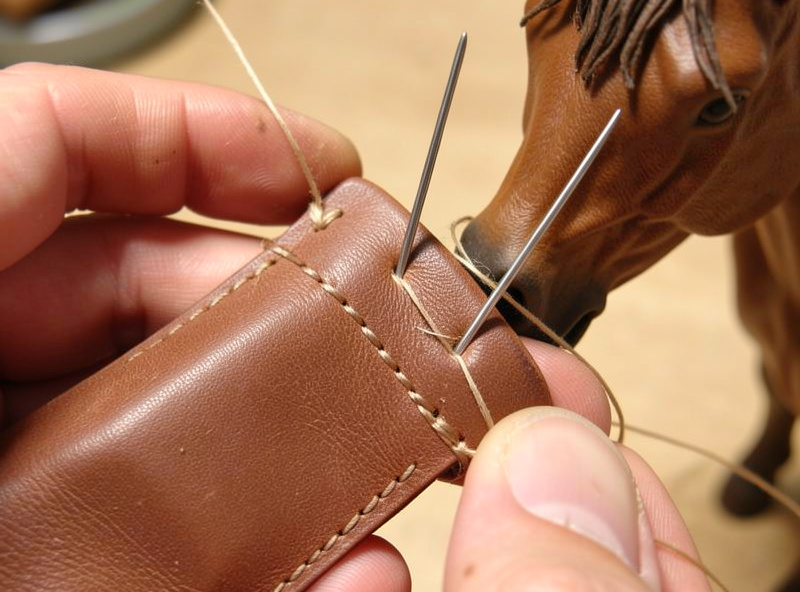
I default to a European-pitch iron around 3.85 mm and 0.8 mm waxed polyester thread here — slightly heavier thread than a wallet because the seam is structural and takes repeated load. Backstitch two or three stitches at each end and finish the thread properly so nothing works loose; my seam-locking guide covers ending a run so it holds for good. If the two-needle stitch itself is new to you, start with the saddle stitch tutorial, and the thread guide and stitch-length breakdown cover sizing thread to your iron so the stitch seats cleanly. Glue the seam allowance with a thin line of contact cement before stitching so the two panels do not shift under the awl — just along the stitch line, never the whole panel, so the sleeve stays flexible.
Fitting Pens, Knives, and Lights
Each tool class wants a slightly different sleeve, and getting the fit right is the difference between a slip you use daily and one that lives in a drawer. A pen wants the gentlest hold — enough friction to stay put but an easy one-finger draw, because you reach for it constantly. Size a pen sleeve about 3 mm wider than the barrel and keep the mouth low on the front so the clip clears and can hook a pocket edge if you like.
A folding knife is heavier and rides harder against the seam, so its slip wants a firmer grip and a stouter seam — I go up to 0.8 mm thread and add a stitch or two of backstitch at the mouth where the draw loads the seam most. Size it to the closed knife’s widest point, usually the bolster or the clip, and check that the pocket clip either clears the mouth or is removed, because a clip catching on the sleeve mouth wears a groove fast. A flashlight is the fussiest of the three: the tail cap and the pocket clip both add width, and a light is round, so it needs a touch more clearance than a flat pen to slide without binding. I learned that the hard way: my first flashlight slip, sized like a pen, bound halfway in against the round body. For a round-body tool I sometimes wet-form a shallow curve into the front panel so the sleeve cradles the body instead of pinching it flat.
The recurring question across all three is what to do about a tool that is too loose after a few weeks — leather relaxes with use, and a snug slip can loosen. The fix is to build it slightly tighter than feels right on day one, because the break-in will bring it to the sweet spot; a slip that fits perfectly when brand new will be loose in a month. If it does go loose, a light dampening and re-forming of the sleeve around the tool tightens it back up without a rebuild.
Variations Worth Building
Once the basic slip works, it becomes a template for a small family of pocket cases. The same fold-and-stitch pattern scales up to a slim tool roll for a few small tools, down to a tight sleeve for a single fountain pen, or wider for a folding knife. The only thing that changes is the internal width and whether you add stitched divisions. People often ask whether the slip needs a closure flap; for a friction-fit sleeve it does not, and adding one usually just slows the draw — the open top is the point.
If you want to dress it up, the flat front panel takes a laser-engraved mark or a small stamped border cleanly before assembly, while the leather is flat and easy to jig. A pen slip also makes an ideal companion to a notebook cover — build them in matching leather and they read as a set. And once you have the seam dialed here, the same stitched-pocket skill carries straight into the rest of the EDC small-goods lineup, from phone sleeves to sunglasses cases. It is a small project that unlocks a lot.
More From the Bench
- Leather EDC Projects: The Small-Goods Guide
- How to Make a Leather Phone Sleeve
- How to Make a Leather Notebook Cover
- How to Saddle Stitch Leather by Hand
- How to Make a Leather Sunglasses Case



