Leather molding for custom fit is wet-forming aimed at one goal: capturing the exact shape of an object so the finished piece holds it precisely. It is the…
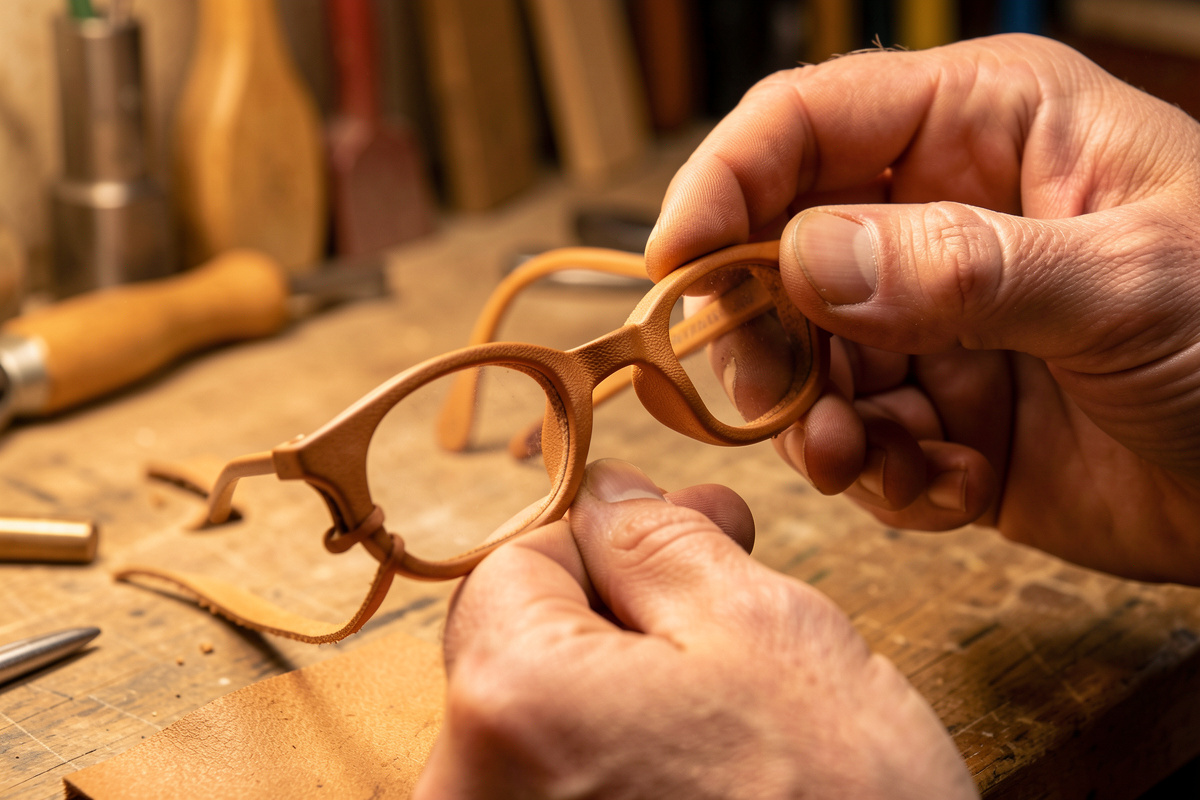
Leather molding for custom fit is wet-forming aimed at one goal: capturing the exact shape of an object so the finished piece holds it precisely. It is the same casing-and-boning skill used for sheaths and holsters, but the emphasis shifts from making a generic pouch to capturing a specific contour — an eyeglass frame, a camera body, a lens, a multi-tool, a fountain pen. Get the fit right and the object seats with a satisfying, deliberate grip; get it loose and the whole point of molding is lost. The leather, as always for molded work, is vegetable-tanned, because only veg-tan holds a form.
This guide is about fit specifically — how tight to mold, how to capture awkward shapes, and how to control the tolerance so the object slides in and stays put. For the underlying casing and boning method, read the wet forming technique guide first; here I assume you can already case leather to the clay-like state and want to dial in a precise fit.
Fit for Protection vs Fit for Retention
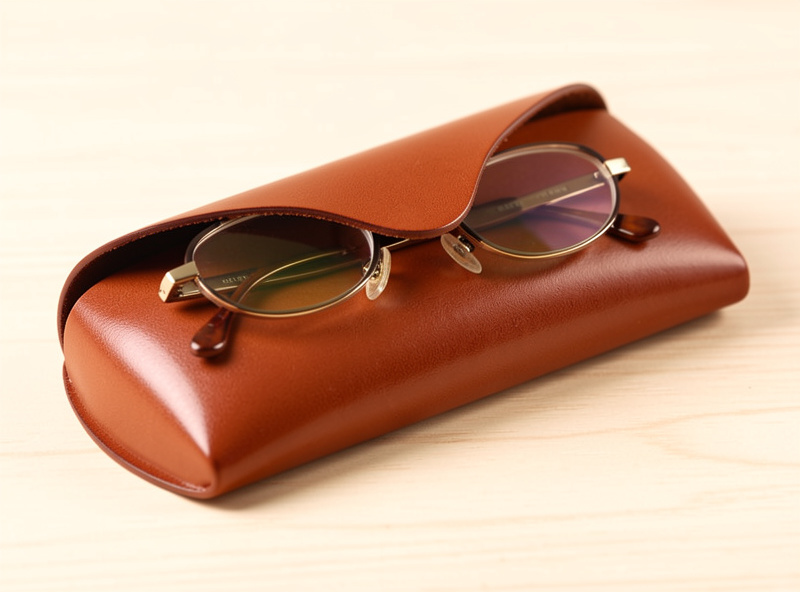
Before you mold anything, decide what the fit is for, because it changes how tight you go. A protective case — for glasses, a lens, a camera — wants a snug but easy fit: the object should slide in and out without forcing, with the leather cradling it to stop rattling and impact. A retention fit — a knife throat, a tool that must not fall out — wants a tighter, boned-in grip that holds against gravity. Mold a protective case as tight as a retention case and the object scuffs going in and out; mold a retention piece as loose as a protective case and it falls out. Name the goal first.
The fit also depends on whether the object is rigid or delicate. A steel multi-tool can take an aggressive friction fit; a camera or a pair of glasses cannot, so you mold to cradle rather than clamp. This judgment — how much grip the object can take — is exactly the kind of thing you learn by molding real pieces, and it is where lived bench time shows.
Capturing Complex and Awkward Shapes
Simple convex shapes — a knife, a lens barrel — mold easily because the leather drapes over them. The challenge is shapes with undercuts, recesses or compound curves, where the leather has to be worked into a hollow it would rather bridge. The trick is patience and a boning tool sized to the feature: a narrow profile to push leather down into a recess, a wide one for broad faces. Work the deep features first while the leather is at its most pliable, then the surrounding surface.
For shapes with a real undercut — where a tight mold would lock the object permanently inside — you have to mold to the widest cross-section, not the narrowest, or build the piece in parts. This is the same problem mold-makers face, and the answer is the same: capture the shape up to the point the object can still be removed, and no tighter. A two-part case, molded as a tray and a lid, solves undercuts that a single pouch cannot. Planning the parting line before you wet anything is the difference between a clean custom fit and a piece the object cannot escape.
Forms, Bags and Protecting the Object
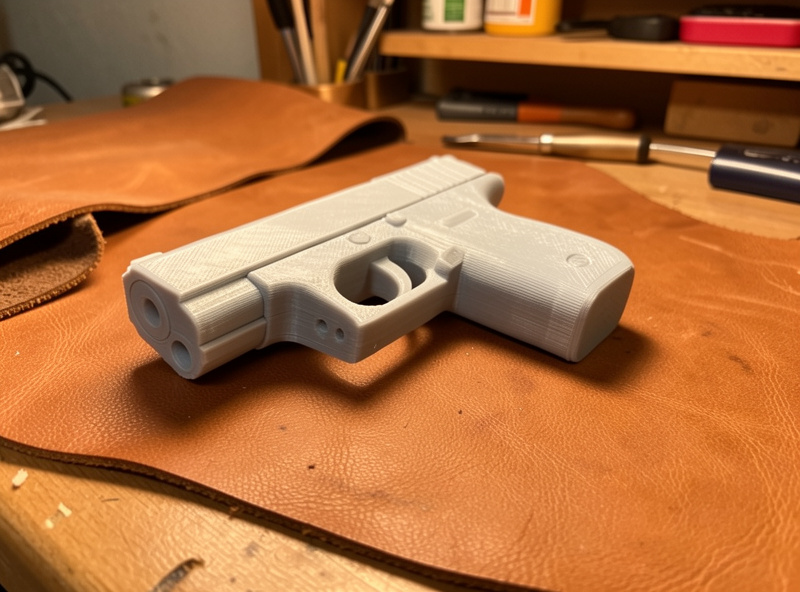
You can mold over the real object or over a made form. Molding over the real object gives the most exact fit but risks staining or soaking it — so bag it in cling film first, always, the same as bagging a knife to keep wet leather off steel. For valuable or moisture-sensitive objects (electronics, optics), mold over a made replica instead: a 3D print of the object, or a carved wooden buck. I print bucks for repeat fits on the FDM printer — the same machine that prints my edge slickers — and cut larger form blocks on the desktop CNC when I want a repeatable cavity.
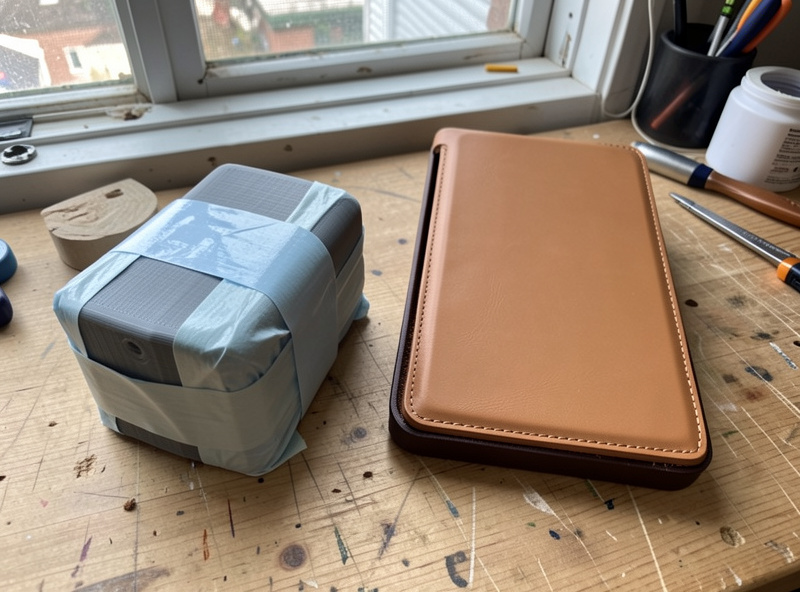
A made form has another advantage: you can mold to a buck that is very slightly larger than the object, building in the tolerance you want so the real object seats easily. A buck wrapped in a layer or two of tape adds a controlled amount of clearance — a simple way to dial protective fit without guesswork. This is how you turn molding from a one-shot gamble into a repeatable, tunable process.
Controlling Tolerance and the Dry-Down
Tolerance — the clearance between leather and object — is set by three things: how tightly you bone, how much the leather is allowed to relax as it dries, and any padding on the form. Leather shrinks very slightly as it dries from the cased state, which tightens the fit, so a mold that feels perfectly snug while damp can end up a touch tight when dry. For a protective fit, mold a hair looser than the final feel you want; for a retention fit, mold tight and let the dry-down close it the rest of the way.
As with every molded piece, the dry-down has to be slow and complete — 12 to 48 hours at room temperature, away from direct heat — or the fit you carefully captured relaxes as trapped moisture migrates out. Do not test the final fit, dye, or seal until the leather is pale throughout and room-temperature. If the dried fit is too tight, a light re-case and gentle stretch over the object can open it; if too loose, you can re-case and re-bone tighter. That recoverability is the quiet advantage of veg-tan, and the reason custom-fit molding is forgiving enough to keep refining until it is right.
Fitting More Than One Object
Some of the best custom-fit pieces hold several objects in defined positions — a tool roll with a slot per tool, an EDC tray with a recess for a knife, a pen and a light. Molding a multi-object piece means molding several fits at once, and the key is spacing: leave enough leather between recesses that each can be boned in without the walls of one collapsing the next. Lay the objects out dry first, mark their positions, and mold from the center outward so the leather is not fighting itself.
For pieces like this, a made form earns its keep — arrange the bagged objects (or printed replicas) on a backer at their final spacing, then case and bone a single sheet down around all of them. The leather captures each shape and the valleys between them in one dry-down, giving a tray where everything has its own seat. It is more planning than a single-object case, but the result — everything held in place, nothing rattling — is the kind of piece that looks made rather than bought.
Common Custom-Fit Mistakes
The errors that wreck a custom fit are consistent. Molding to the narrowest cross-section of an object with an undercut — the leather dries and locks the object inside; mold to the widest removable section instead. Forgetting that leather tightens as it dries — a damp-perfect protective fit ends up too tight; mold a hair looser for slide-in cases. Over-boning a delicate object’s case — a camera or glasses want a cradle, not a clamp, and an aggressive friction fit scuffs them. Skipping the cling-film bag — staining or soaking the real object you are molding around.
And the most common of all: testing and sealing the fit before the leather is fully dry. A fit checked while the core is still damp reads tighter than the final dried fit, so you open it up — then it dries looser than you wanted. Wait for the full dry-down, check the fit once at room-temperature dryness, and only then decide whether to adjust. Every one of these I have done on a real piece, which is exactly how you learn to stop doing them.
Finishing a Custom-Fit Piece
Once the fit is locked and the leather is dry, finish in the usual order: dye, stitch any seams, then bevel, sand and burnish the edges and seal. Keep oil light on a fitted piece — heavy conditioning softens the leather and can loosen a fit you worked hard to capture. A thin sealing coat protects the surface without flooding the structure. Then treat it like any molded piece: keep it out of soaking and high heat, because the same water and warmth that captured the fit can relax it.
Custom-fit molding is where wet-forming stops being a generic technique and becomes a way to make something that fits one object and nothing else — the most personal thing leather can do. Once you are comfortable with it, take the skill into a full knife sheath or a molded holster, both built on this same fit-capturing foundation; read the wet forming hub for the full project sequence, and the hardening guide if you want a fitted case stiffened to hold its shape even harder. The fit is the skill; everything else is finishing.
Related Guides
- Leather Wet Forming: The Complete Guide
- Leather Wet Forming Technique: Casing to Boning
- How to Make a Leather Knife Sheath
- Leather Holster Making Guide: Mold, Stitch, Finish
- Hardening Molded Leather: Heat, Water and Wax



