Leather wet forming technique comes down to one skill the tutorials gloss over: casing. Casing is bringing vegetable-tanned leather to an even, uniform dampness all the way through…
Leather wet forming technique comes down to one skill the tutorials gloss over: casing. Casing is bringing vegetable-tanned leather to an even, uniform dampness all the way through — the state where it feels like cool modeling clay and takes an impression without mushing. Get the casing right and the boning, shaping and drying all fall into place. Get it wrong and no amount of pressing saves the piece.
I have molded enough sheaths and trays to know that the difference between a crisp, vacuum-formed look and a vague lumpy one is almost never the form or the tool — it is the water content at the moment you start working. This guide walks the technique itself, step by step, the way I run it on the bench. For the wider picture of weights, sequencing and projects, start at the wet forming hub guide.
Step One: Cut and Prep Before Any Water
Everything that is easier to do dry, do dry. Cut your parts, bevel the edges that will not be re-cut, punch your stitch line if the design calls for it, and dry-fit the piece around the form once. Veg-tan that is already wet is harder to cut cleanly and the grain tears more easily, so all the knife work happens first. I even pre-burnish edges that will be hard to reach once the piece is molded into a closed shape.
This dry-prep discipline is what keeps the wet stage short and controlled. Once water is involved you are on a clock — the leather is at its workable window for a limited time — so you do not want to be fumbling for a beveler with a dripping piece in your hand. Use the veg-tan only; chrome-tan will not hold the form no matter how perfectly you case it.
Step Two: Wet the Leather (Dunk, Don’t Soak)
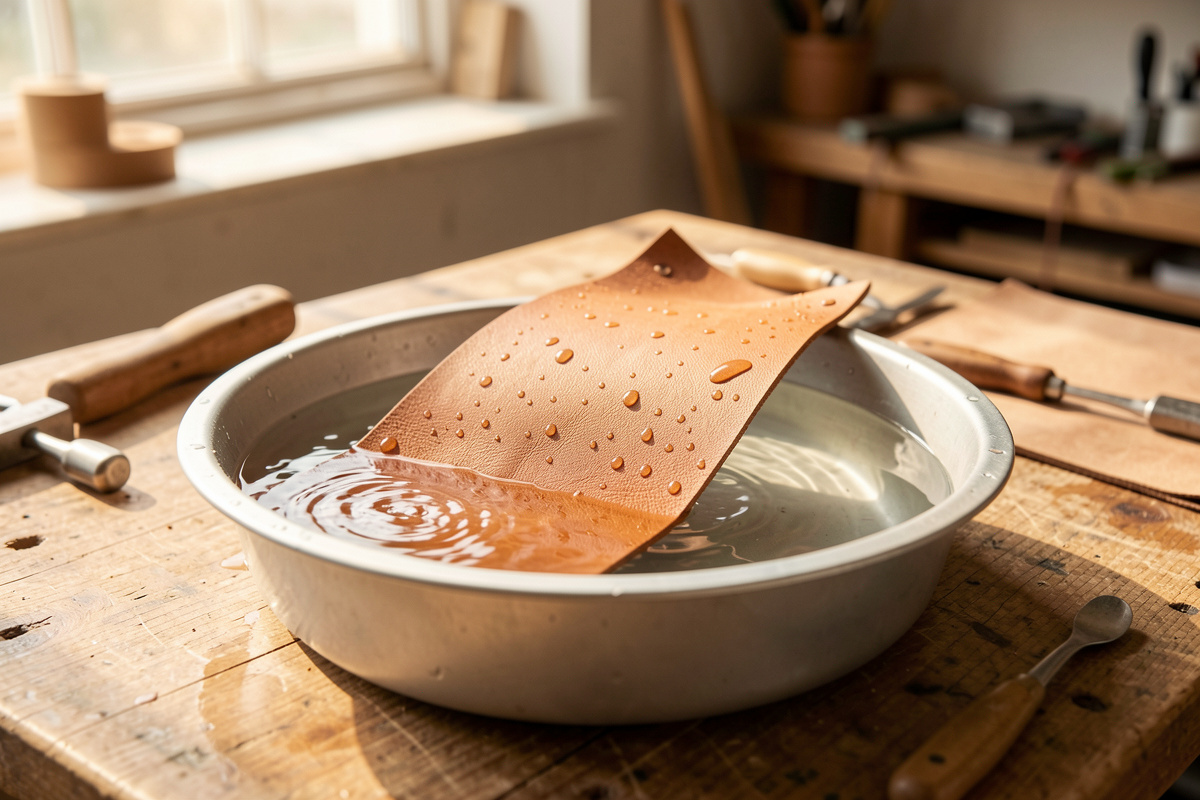
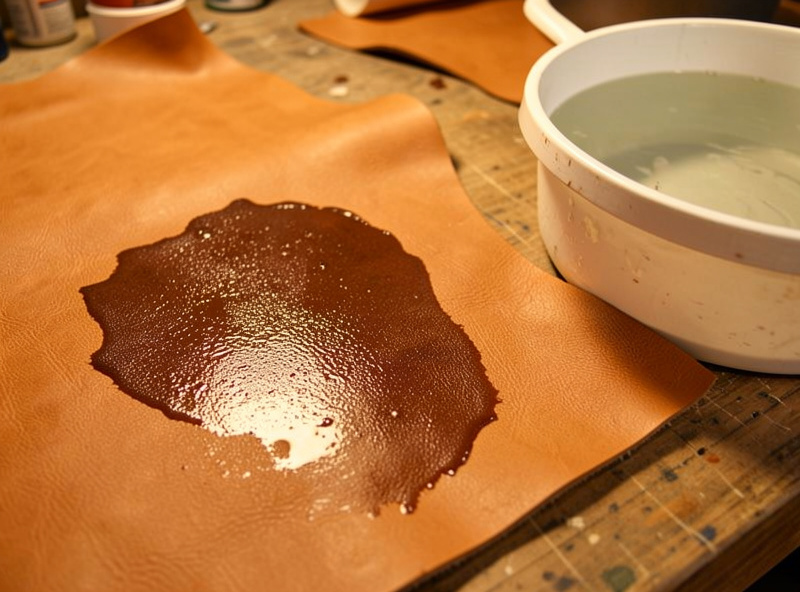
Dunk the cut piece in room-temperature water and pull it straight back out — 10 to 15 seconds for 4-6 oz, 20 to 30 seconds for 8-9 oz. You are not trying to saturate it; you are introducing water that will then migrate inward and even out. The surface will go dark and saturated immediately. That dark, glistening state is too wet to mold, and trying to bone it now is the single most common beginner error — the surface fibers are slick and they smear instead of taking a clean line.
Use cool or room-temperature water for shaping. Hot water is a separate operation — it begins to shrink and harden the leather, which is the front end of hardening, not molding. For dialing in a fit, you want the leather workable and dimensionally stable, which means keeping the heat out of it.
Step Three: Wait for the Cased State
This is the step that separates good molders from frustrated ones. After dunking, wait — bag the piece in plastic or wrap it in a damp cloth and let the water redistribute. The surface will return from dark-saturated toward its natural tone, going slightly cool and matte. That is the cased state, and it is the window you mold in. On 8-9 oz this can take 15 to 30 minutes; on thin leather, less.
| Leather State | Look & Feel | Can You Mold? |
|---|---|---|
| Dry | Pale, stiff, room-temp | No — will crack |
| Just dunked | Dark, wet, glossy, cool | No — surface smears |
| Cased (ideal) | Slightly darkened, matte, cool, clay-like | Yes — crisp detail |
| Drying past cased | Returning to pale, firming up | Briefly — re-wet surface |
If you are not sure, press a thumbnail into a scrap corner: a cased piece holds the impression cleanly without the surrounding surface going milky. With reps you stop testing and just know by the cool, matte feel. This is feel-based, and it is why molding rewards the patient bench more than the fast one.
Step Four: Bone In the Detail
With the leather cased, press it onto the bagged form and work it tight with a smooth boning tool — a modeling spoon, a hardwood folder, or a printed profile. Start at the center and push outward, forcing the leather down into recesses and around raised features. For a sheath that means defining the spine line and the throat; for any molded piece it means working a crisp, defined edge where the leather meets the object.
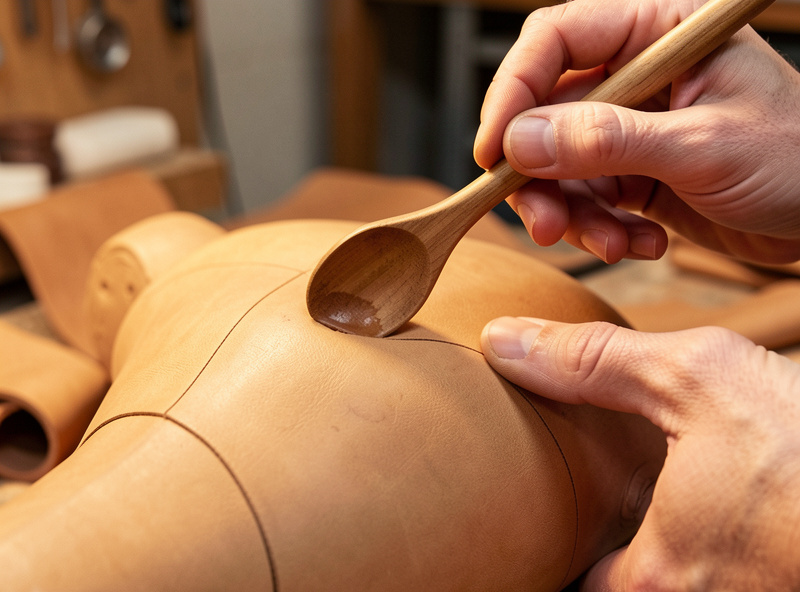
Re-wet the surface with a damp sponge if it dries before you finish; you can refresh the surface several times within one casing. Work deliberately — the line you bone in while damp is the line that stays after it dries. Over-boning a too-wet piece tears the grain; under-boning leaves a soft, vague shape. The boning tool wants to be glass-smooth so it burnishes rather than drags; I keep my printed and hardwood tools polished for exactly this. If your tools wander or chatter, the sharpening and stropping guide applies to modeling tools too.
Step Five: Clamp and Dry Slowly
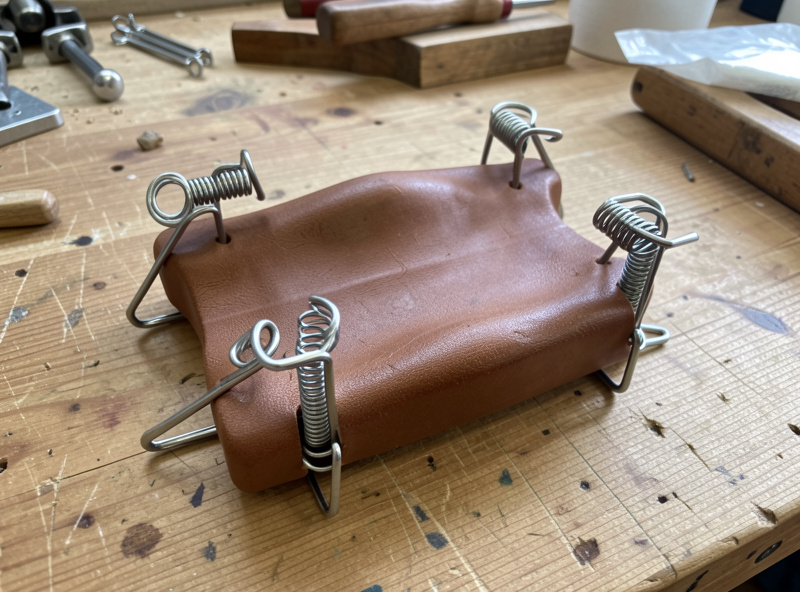
Once the detail is boned in, hold the shape while it dries. Spring clamps or binder clips keep a molded face against its backer; a sheath can stay on its bagged form until firm. Then air-dry slowly at room temperature, out of direct sun and well away from radiators or heat guns. Forced heat dries the surface ahead of the core, traps moisture, and warps the shape — the leather looks dry and is not.
Full dry-down is 12 to 48 hours depending on weight and humidity. The piece is ready when it has returned to its natural pale color throughout and feels room-temperature, not cool. Only then do you dye, stitch the welt and seal — in that order. Rushing this stage is how a clean molding job relaxes a week later, and it is the mistake I see most after under-casing.
Tools That Make Casing Repeatable
You can case leather with nothing but a tub and a plastic bag, but a few cheap additions make the cased state easier to hit consistently. A dedicated shallow tub means you control dunk time instead of guessing at the sink. Thin produce bags conform to a form better than thick freezer bags and trap moisture evenly during the wait. A natural sponge re-wets the surface mid-bone without flooding it. And a simple kitchen timer turns casing from a guess into a recorded process — I log dunk seconds and wait minutes for the weights I use most, so the next piece in that weight is repeatable rather than a fresh experiment.
For the boning itself, a glass-smooth tool matters more than its material. I run a hardwood folder and a modeling spoon for general work and print specialty profiles in PETG on the FDM printer — a narrow tip for tight channels, a wide flat for sheath faces — the same machine that prints my edge slickers. Whatever you use, polish out any tool marks first; a rough boning tool drags and dulls the very crispness you are trying to create. None of this is expensive, and all of it shifts casing from luck toward a controlled, repeatable step.
Dialing It In: The Feel That Comes With Reps
No chart replaces the muscle memory of casing. The first few pieces you will mold too wet, get mushy detail, and learn the matte-cool cue. After that it becomes automatic — dunk, bag, go do something else, come back when it feels right. Practice on cheap offcuts before you mold a knife you care about, and keep notes on dunk time and wait time for the weights you use most. That recorded feel is the real technique. For applying it to specific projects, see the knife sheath build and molding for custom fit.
Frequently Asked Questions
What does casing leather mean?
Casing means bringing vegetable-tanned leather to an even, uniform dampness all the way through, so it feels like cool modeling clay and takes an impression cleanly. It is the workable state you mold in, reached by dunking the leather then letting the water redistribute for 15 to 30 minutes.
Why is my wet-formed leather surface mushy?
You molded it while it was still too wet. Right after dunking, the surface is dark and saturated and the fibers smear instead of taking a clean line. Wait until the surface returns to a slightly darkened, matte, cool tone before boning in detail.
How long should I soak leather before molding?
Dunk rather than soak: 10 to 15 seconds for 4-6 oz leather and 20 to 30 seconds for 8-9 oz. You are introducing water that then migrates evenly through the piece during the wait, not saturating it. Over-soaking makes the surface mushy and slow to reach the cased state.
Can I speed up drying with a hair dryer or oven?
No, for shaping. Forced heat dries the surface ahead of the core, traps moisture and warps the molded shape. Air-dry slowly at room temperature for 12 to 48 hours. Heat is only used deliberately as a separate hardening step after the shape is already set.
Why did my molded shape relax after a few days?
Almost always because you stitched or sealed it before the core was fully dry, so trapped moisture later migrated out and the leather relaxed. Wait until the piece is pale throughout and room-temperature before any further work. Under-casing can also set a weak shape memory.
Can I re-wet and re-mold a piece I got wrong?
Yes. Veg-tan can be re-cased and re-formed if the molding went wrong, as long as you have not sealed it. Re-wet evenly, wait for the cased state, re-bone the detail and dry slowly. This is why practicing on offcuts is forgiving and worth doing first.
Related Guides
- Leather Wet Forming: The Complete Guide
- How to Make a Leather Knife Sheath
- Leather Molding for Custom Fit
- Hardening Molded Leather
- Chrome Tan vs Veg Tan Leather



