Hardening molded leather is the step that turns a firm-but-flexible wet-formed piece into something rigid and impact-resistant — the difference between a sheath that holds its shape and…
Hardening molded leather is the step that turns a firm-but-flexible wet-formed piece into something rigid and impact-resistant — the difference between a sheath that holds its shape and an armor panel that resists a blow. It is a separate operation from shaping: you mold with cool water and dry the piece first, then harden it deliberately with heat, hot wax or a hot-water dip. The classic method, cuir bouilli (“boiled leather”), has hardened veg-tan into armor for centuries, and the modern bench versions are refinements of the same idea. Hardening only works on vegetable-tanned leather, the same reason only veg-tan molds.
This guide covers when to harden, the three practical methods, and the trade-offs each carries in color, shrinkage and stiffness. Shape and fit your piece first using the wet forming technique, dry it fully, and only then decide whether it needs hardening — many sheaths and holsters never do. The full project sequence lives in the wet forming hub.
When You Actually Need to Harden
Most molded everyday pieces do not need a hardening step. A correctly molded 8-9 oz sheath, dried fully, is already firm and protective. Hardening is for pieces that must be genuinely rigid: armor and cosplay panels, masks, heavy-duty sheaths meant to take abuse, structural cases. The cost of hardening is that it makes the leather brittle-stiff, darkens it, and can shrink it slightly — so you harden only when rigidity matters more than flexibility, and you do it after the shape is set so the shrinkage does not ruin your fit.
The single most important rule: harden after molding and drying, never instead of it. Heat and hot water shrink and set leather unpredictably, so if you try to shape and harden in one hot step, you lose dimensional control. Shape cool, dry, confirm the fit, then harden. Treat them as two stages and you keep control of both the shape and the final stiffness.
On my own bench I keep a coffee can of veg-tan scrap purely for hardening tests, because every hide and every weight behaves a little differently under heat. Before I harden a sheath I run a matching offcut through the exact method and temperature I plan to use, time it, and watch how far it darkens and shrinks — five minutes of scrap testing has saved me more finished pieces than any other habit on this bench. The 8-9 oz veg-tan I reach for on sheaths takes oven heat-setting predictably; thinner 4-5 oz panels firm up faster and scorch faster, so I drop the temperature and shorten the intervals for them. I learned that the hard way after pulling a thin liner panel out of the oven curled like a potato chip.
Method 1: Oven Heat-Setting
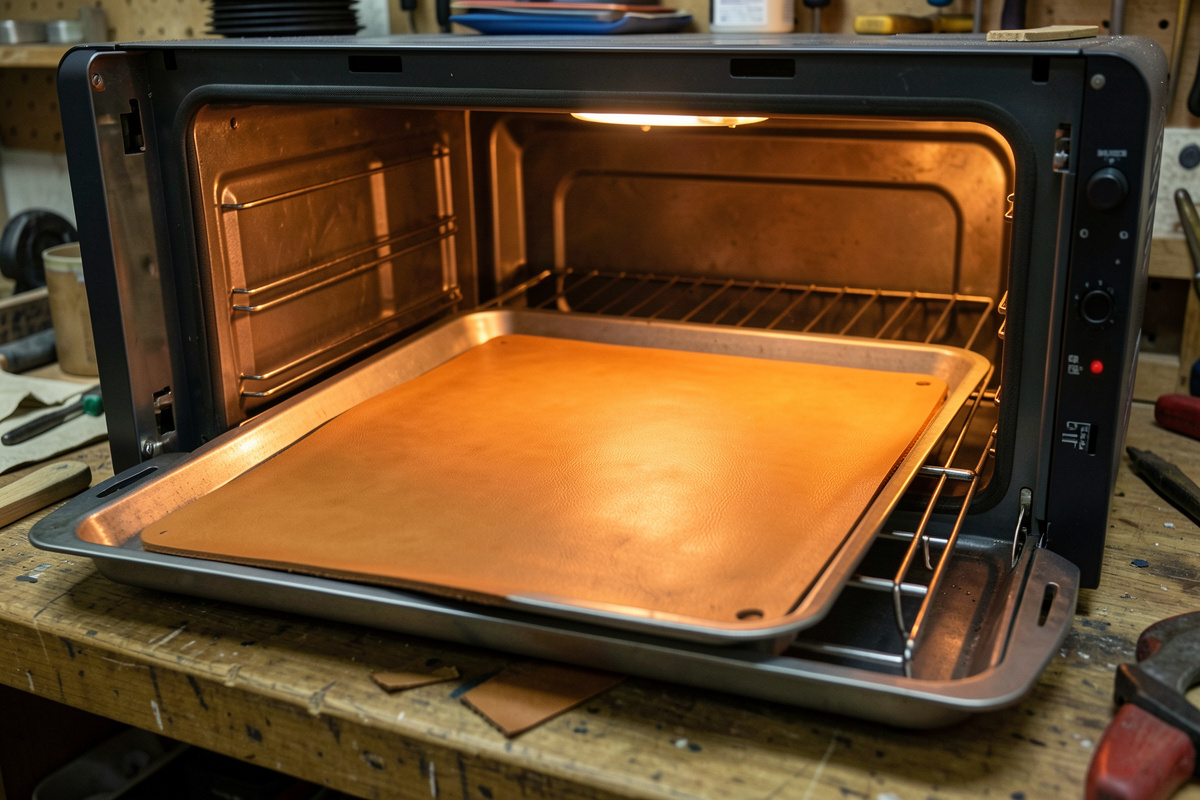
The most controllable bench method is a low oven. After the molded piece is fully dry, warm it in an oven at roughly 65 to 90°C (150 to 195°F) for short, watched intervals. The gentle heat firms the leather and sets the molded shape harder, with modest darkening and minimal shrinkage if you keep the temperature low and the time short. Watch it closely — too hot or too long and leather scorches, shrinks hard and turns brittle. Start cool, check often, and pull it when it has firmed.
Oven heat-setting is my preferred method for sheaths and holsters that want a little extra rigidity without going full armor-stiff, because it is gradual and reversible in judgment: you can always give it more heat, but you cannot un-scorch it. Pair it with a wax or oil finish afterward to restore a little surface life, since heat dries the leather out.
Method 2: Hot Water Dip (Cuir Bouilli)
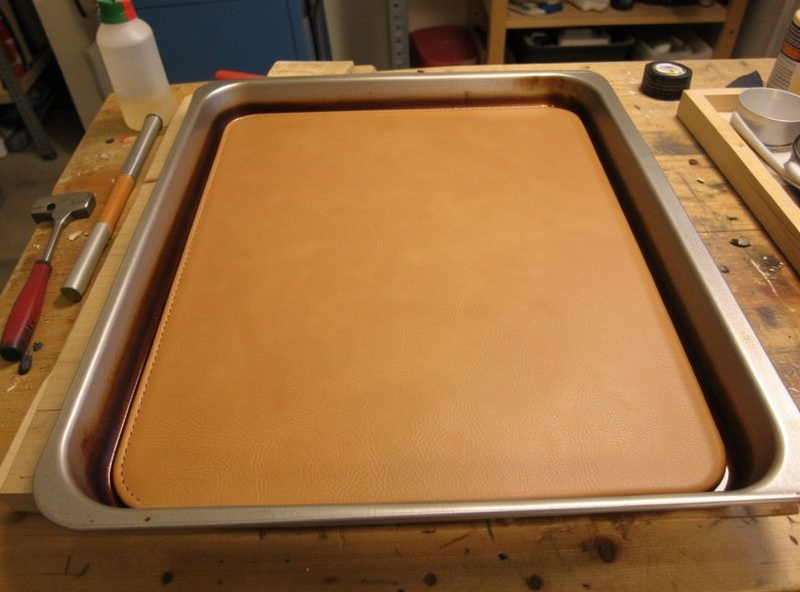
The traditional method briefly immerses the molded, dried piece in hot water — not boiling, despite the name, but roughly 80°C (175°F) — for a short, controlled dip. The hot water causes the collagen to shrink and the leather to harden dramatically as it then dries, producing the rigid, slightly shrunken, darkened result seen in historical armor. It is the most aggressive hardening and the hardest to control: dwell too long and the piece shrinks and distorts badly, so timing is everything and you test on scrap first. The first time I tried it I left a test chip in for a slow count to fifteen and pulled out a curled, two-sizes-smaller scrap — now I dip for three to five seconds, pull, and check, every single time.
Because the hot dip shrinks the leather, makers who use it for fitted pieces mold slightly oversize to allow for it. The result is genuinely armor-hard, which is why this is the method for shields, bracers and masks rather than everyday carry goods. It darkens the leather significantly — often to a deep brown — which you either want for the aesthetic or plan around with later finishing.
Method 3: Hot Wax Hardening
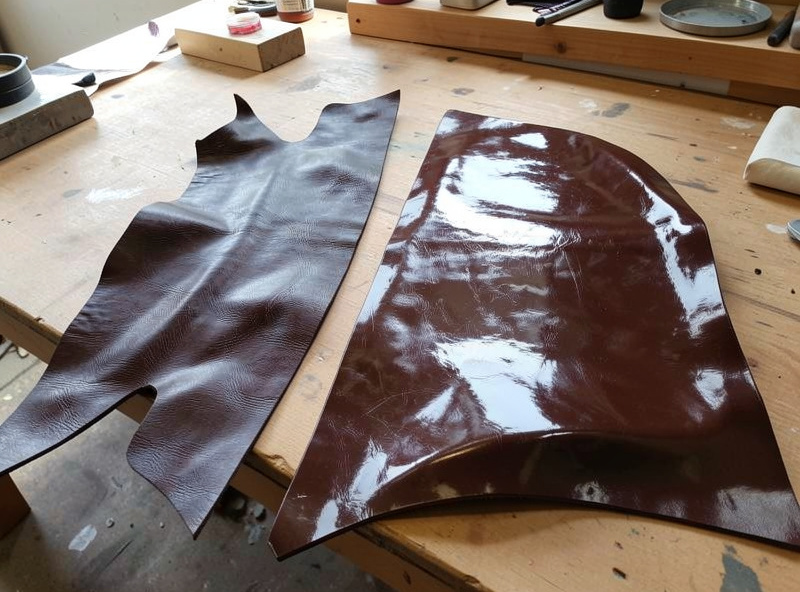
Wax hardening immerses the dried, molded piece in melted wax — beeswax (melt point around 62 to 64°C), often blended with a harder wax — so the wax penetrates and displaces moisture, then sets solid within the leather as it cools. The result is hard, dense, and highly water-resistant, with a rich darkened color. It is the method when you want both rigidity and weatherproofing, since the wax that stiffens the leather also seals it. Keep the wax just hot enough to stay liquid and penetrate; too hot and it scorches the leather.
Wax hardening is more involved — you need a melting pot, ventilation, and care with hot wax — but it produces the toughest, most weather-resistant result of the three, and the wax doubles as the final finish. It is popular for tankards, masks, and rugged sheaths. The trade-off is that it is essentially permanent and very dark; do it when you are sure of the shape, because there is no going back.
| Method | Approx. Temp | Result | Best For |
|---|---|---|---|
| Oven heat-set | 65-90C / 150-195F | Firmer, modest darkening, controllable | Sheaths, holsters wanting extra rigidity |
| Hot water dip (cuir bouilli) | ~80C / 175F brief | Armor-hard, shrinks, darkens deeply | Armor, bracers, masks, shields |
| Hot wax immersion | ~65C / 150F (melted wax) | Hard, dense, waterproof, very dark | Rugged weatherproof pieces, tankards |
Finishing and Caring for Hardened Leather
Hardened leather is drier and more brittle than soft leather, so its finish matters. After oven or water hardening, restore a little life with a light oil and seal with wax or Resolene; wax-hardened pieces are already sealed by the wax itself. Avoid over-oiling — the point of hardening is stiffness, and oil softens it back. In use, keep hardened pieces away from prolonged high heat, which can soften wax-hardened leather, and from hard impacts on very brittle cuir-bouilli pieces, which can crack rather than flex. Done right, a hardened molded piece holds a rigid shape for decades, which is exactly why the technique outlived the armor it was invented for.
Frequently Asked Questions
What is cuir bouilli?
Cuir bouilli, French for boiled leather, is vegetable-tanned leather hardened by a brief dip in hot water around 175F, which shrinks the collagen and makes the leather rigid as it dries. It has been used to make armor for centuries. Despite the name the water is hot, not actually boiling, since boiling distorts the leather.
Do I have to harden wet-formed leather?
No. Most molded everyday pieces like sheaths and holsters are already firm enough once shaped in the right weight and dried fully. Hardening is only for pieces that must be genuinely rigid, such as armor, masks and heavy-duty cases. It darkens and stiffens the leather, which you only want when rigidity matters.
What temperature hardens leather in the oven?
Warm a fully dried molded piece at roughly 65 to 90C, or 150 to 195F, in short watched intervals. The gentle heat firms the leather and sets the shape with modest darkening. Too hot or too long and the leather scorches, shrinks hard and turns brittle, so check it often and pull it once firm.
Should I harden leather before or after molding?
Always after. Shape the piece with cool water and dry it fully first, because heat and hot water shrink and set leather unpredictably. If you try to shape and harden in one hot step you lose dimensional control. Confirm the molded fit, then harden as a separate stage.
Does hardening shrink leather?
The hot-water dip method shrinks leather noticeably as the collagen contracts, which is why makers mold fitted pieces slightly oversize before a cuir bouilli dip. Oven heat-setting at low temperature shrinks much less, and wax hardening shrinks little. Always test your method on scrap of the same leather first.
What does wax hardening do to leather?
Hot wax immersion drives melted wax into the dried leather, displacing moisture and setting solid as it cools, which makes the leather hard, dense and highly water-resistant with a deep dark color. The wax both stiffens and seals the piece, so it doubles as the final finish. It is essentially permanent.
Further Reading
- Leather Wet Forming: The Complete Guide
- Leather Wet Forming Technique: Casing to Boning
- How to Make a Leather Knife Sheath
- Leather Molding for Custom Fit
- Leather Holster Making Guide: Mold, Stitch, Finish



