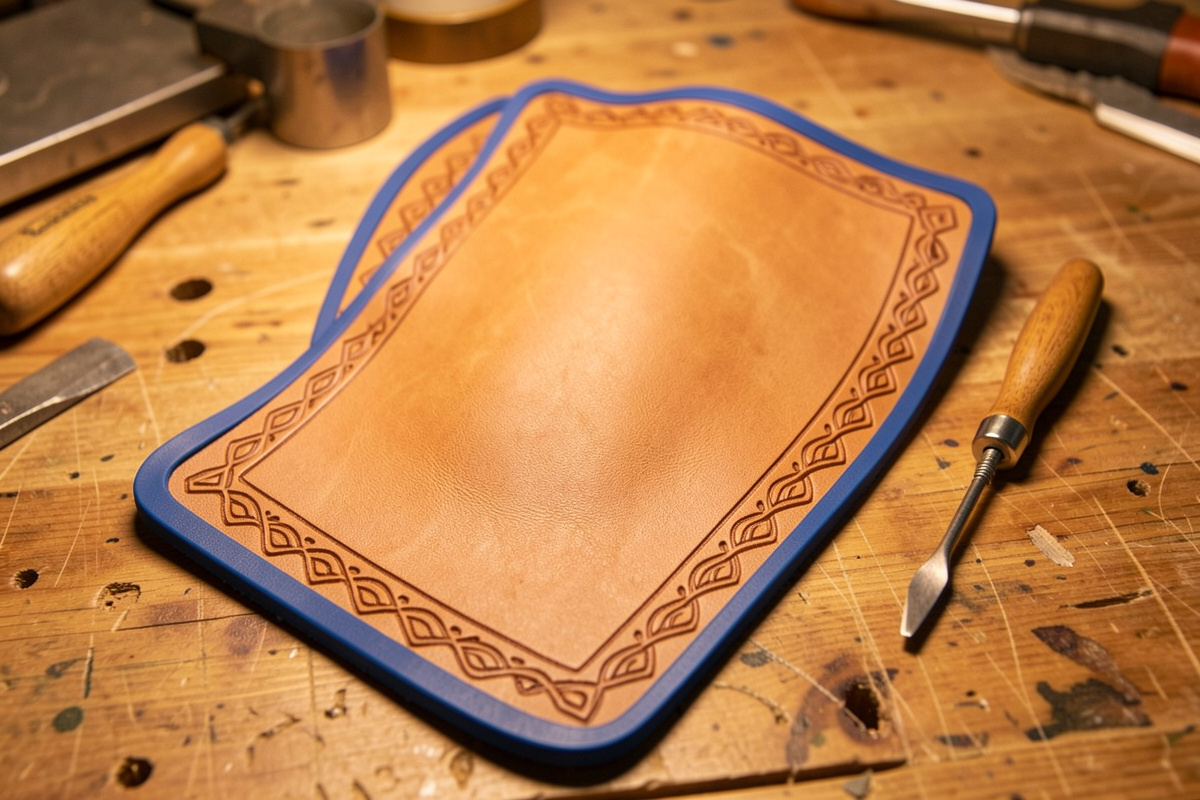
A leather holster is, to a leatherworker, a wet-forming project: you mold 7-8 oz vegetable-tanned leather around a form until it grips the shape, then stitch and finish…
A leather holster is, to a leatherworker, a wet-forming project: you mold 7-8 oz vegetable-tanned leather around a form until it grips the shape, then stitch and finish it like any molded piece. The leathercraft skills are the same ones you use on a knife sheath — casing, boning, welt construction, saddle stitching and edge finishing — applied to a deeper, more contoured form. This guide covers the making: leather, molding, stitching and finishing. It does not cover firearm handling, carry positioning or defensive use, which are outside a leatherworking guide.
One safety point up front and it is absolute: you never wet-form around a live firearm. You mold around an inert replica — a moulding prop (a “blue gun”), a dummy, or a 3D-printed model of the exact shape — with no live ammunition anywhere near the bench. With that established, the rest is leathercraft. For the molding fundamentals, see the wet forming hub and the technique guide.
Leather Weight and Pattern
Use 7-8 oz veg-tan for a holster body — heavy enough to hold a rigid molded shape and provide retention, light enough not to be a brick on the belt. A pancake-style holster is two panels (or one folded piece) stitched around the form with the molding pressed in from both faces. Your pattern is the form’s outline plus margin for the seam, the stitch line and the belt slots. As with a sheath, the leather must be veg-tan; chrome-tan will not mold or hold the form.
Trace the replica, add your margins, and mark the belt slot positions before cutting. Cut clean templates by hand or on the laser so repeat builds of the same model come out identical. Test-fit the dry pattern around the replica and through a belt before committing leather — the slot spacing has to suit your belt width.
Wet-Forming Around the Form
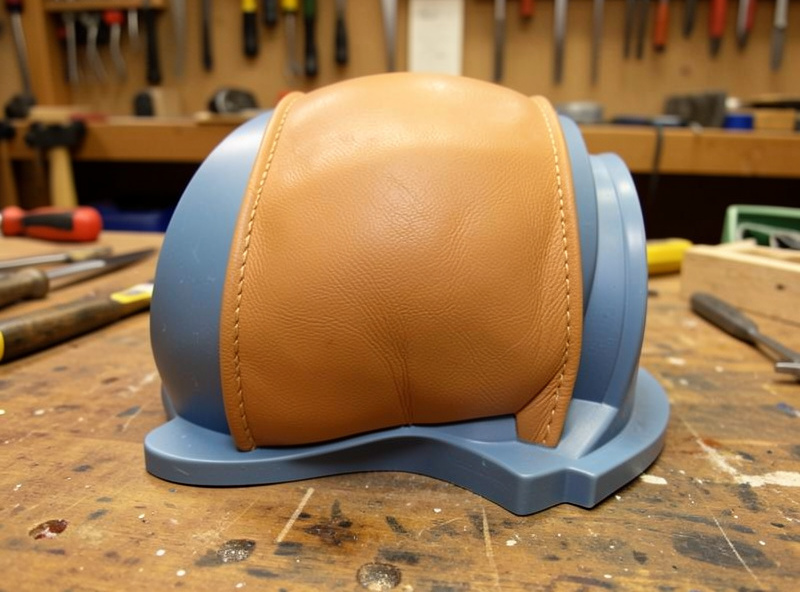
Glue the seam, then wet-form before final stitching so the leather takes the form’s exact contour. Bag the replica in cling film — even an inert prop benefits from a clean barrier so moisture does not stain or swell it, and the wrap releases cleanly. Case the assembled holster to the cool, matte, clay-like state, slide the bagged form in, and bone the leather tight to every contour: the body of the form, the defined edges, and the area that creates retention.
Retention in a molded holster comes from a precisely boned channel that grips a defined feature of the form — a crisp boned line where the leather hugs the shape. Work it firmly with a smooth boning tool, the same way you define a sheath throat. The line you bone in while damp is the line that holds after it dries, so take your time and work from the center outward. Then pull the form, clip the shape, and let it dry fully.
The retention channel is where my own early holsters went wrong. On the first one I molded I boned the body beautifully but barely defined the retention line, and once it dried the prop dropped straight out under its own weight — a holster with no hold. Now I spend the most boning time on that single feature, working a smooth bone folder hard along the trigger-guard line until the leather burnishes faintly from the friction. I also learned to bag the prop in two layers of cling film rather than one: a holster I molded over a single thin layer picked up a faint mottled stain where water wicked through, and on a natural-finish piece that mark never came out.
The Welt and Dry-Down
A welt — a leather strip set into the seam — gives the holster body, sets the mouth open so it does not collapse when the form is out, and spaces the stitching. Glue it before stitching with contact cement so it cannot shift. Then dry the whole assembly slowly at room temperature for 24 to 48 hours, out of direct sun and away from heat. Force-drying warps the molded shape and the holster will not fit the form it was built around.
This patience is the same discipline every molded piece demands — the leather looks dry on the surface long before the core is, and stitching or sealing too early lets the shape relax later. The piece is ready when it has returned to its natural pale tone throughout and feels room-temperature. Only then do you stitch.
Stitching and Edge Finishing
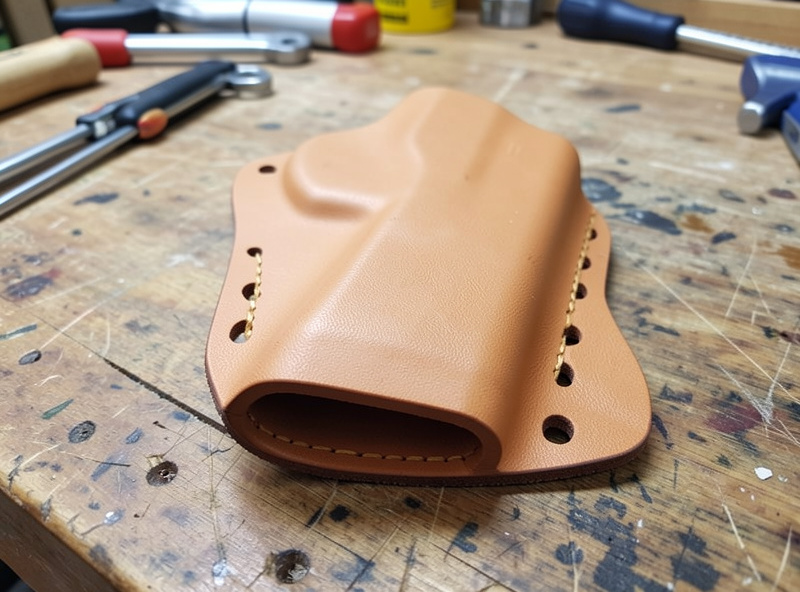
Once bone-dry, hand saddle stitch the seam through both faces and the welt with waxed thread sized to your iron pitch. A hand saddle stitch is the right call on a piece that flexes and takes abuse: if one stitch is ever damaged the rest hold, where a machine lockstitch unravels. Keep your stitch line a consistent setback from the edge and backstitch the ends to lock the seam. Because you molded before stitching, the seam follows the final shape instead of fighting it.
Then finish the edges — bevel, sand through the grits, and burnish slick. A holster edge rides constantly against a belt and clothing, so a properly finished edge resists fraying and is the difference between looking made and looking bought. Punch the belt slots cleanly to your belt width. Dye and seal last, after the molded shape and stitching are locked; a molded piece relaxes if you flood it with water-based dye before it is fully set.
Belt Slots, Loops and Attachment
How the holster attaches to a belt is pure leatherwork, and you have a few clean options. Integrated belt slots — two punched-and-finished slots in the molded body that the belt threads through — are the simplest and lowest-profile; cut them to your exact belt width plus a millimeter so the belt seats without slop. Punch them with a slot punch or drill the ends and cut between, then bevel and burnish the inside edges so the belt does not abrade the raw flesh side over time.
Separate stitched-on loops are the alternative: a folded leather tab stitched to the back panel, sized to the belt, which lets you build the body in one weight and the loop in another. Snap straps — a strap with a setting snap — add removability at the cost of more hardware and stitching. Whichever you choose, finish every cut edge the belt touches; an unburnished slot frays and the holster loosens on the belt within a season. Match the slot or loop spacing to the belt before you punch, because a slot cut too wide cannot be made narrower. For hardware sizing, the hardware guide covers snaps and setting.
Fit, Care and Longevity
A correctly molded holster grips the form with friction from the boned channel alone. Heat and soaking are its enemies — the same water and warmth that molded it can soften and un-mold it — so keep it out of hot cars and do not soak it. Condition lightly once or twice a year with neatsfoot oil, lightly so you keep the rigidity, and seal with a thin Resolene or wax coat. A holster built in the right weight, molded patiently and dried fully holds its shape for many years, which is exactly the payoff veg-tan rewards. For a different material trade-off, see Kydex vs leather.
Frequently Asked Questions
What leather weight is best for a holster?
Use 7-8 oz vegetable-tanned leather for a holster body. It is heavy enough to hold a rigid molded shape and provide retention, but light enough to be comfortable on a belt. Thinner leather flexes and will not hold the molded channel that grips the form.
Do you mold a holster around a real firearm?
No, never. You wet-form around an inert replica such as a moulding prop, a dummy or a 3D-printed model of the exact shape, with no live ammunition near the bench. This is a leatherworking guide, so it covers only construction, not firearm handling or carry.
What creates retention in a molded leather holster?
A precisely boned channel that grips a defined feature of the form. When you work the cased leather tight against the form with a smooth boning tool, the dried shape holds with friction. The crisp boned line you set while the leather is damp is what provides retention after it dries.
Why does a holster need a welt?
The welt is a leather strip set into the seam that gives the holster body, keeps the mouth open so it does not collapse when the form is removed, and spaces the stitching from the contents. Glue it in place with contact cement before stitching so it cannot shift during assembly.
Should I stitch the holster before or after molding?
Mold first, dry fully, then stitch. Wet-forming before stitching lets the seam follow the final three-dimensional shape. Stitch flat and then mold and the seam puckers and fights the form. Glue the seam and welt before forming so nothing shifts while you bone in the contour.
Keep Building
- Leather Wet Forming: The Complete Guide
- Leather Wet Forming Technique: Casing to Boning
- Kydex vs Leather Holster: Which to Make
- How to Make a Leather Knife Sheath
- Hardening Molded Leather



