Working with garment leather comes down to one rule: stop treating it like firm leather. Stabilize it, cut it clean in a single pass, skive away bulk at…
Working with garment leather comes down to one rule: stop treating it like firm leather. Stabilize it, cut it clean in a single pass, skive away bulk at the seams, glue before you sew, and use a fine leather needle. A soft 2 oz lambskin will stretch, curl and skip stitches if you bring veg-tan habits to it — and behave beautifully once you switch your approach.
I learned this the expensive way. My bench is set up for firm vegetable-tanned wallets and belts, so my first garment panel stretched out of shape before I had even finished cutting it. The techniques below are what turned soft leather from a fight into a pleasure. If you want the wider context on how this leather differs from the rest, start with my garment and upholstery leather guide, then come back here for the hands-on workflow.
Why Garment Leather Behaves Differently
Garment leather is thin, soft chrome-tanned hide — usually 1.5 to 3 oz, around 0.6 to 1.2 mm — tanned to drape rather than hold a shape. That softness is the whole point of a jacket, and also the source of every problem you will hit. It stretches under tension, it curls at cut edges, and it has no body to support a wandering stitch line. The tannage is the reason: as I cover in chrome tan vs veg tan leather, chrome-tan stays permanently supple where veg-tan firms up.
The practical upshot is that almost everything you do is about adding temporary structure. You stabilize the leather to cut it, you glue panels to control them before stitching, and you skive seam allowances so layers do not build into stiff lumps. Get those three habits down and soft leather stops misbehaving.
Cutting Soft Leather Cleanly
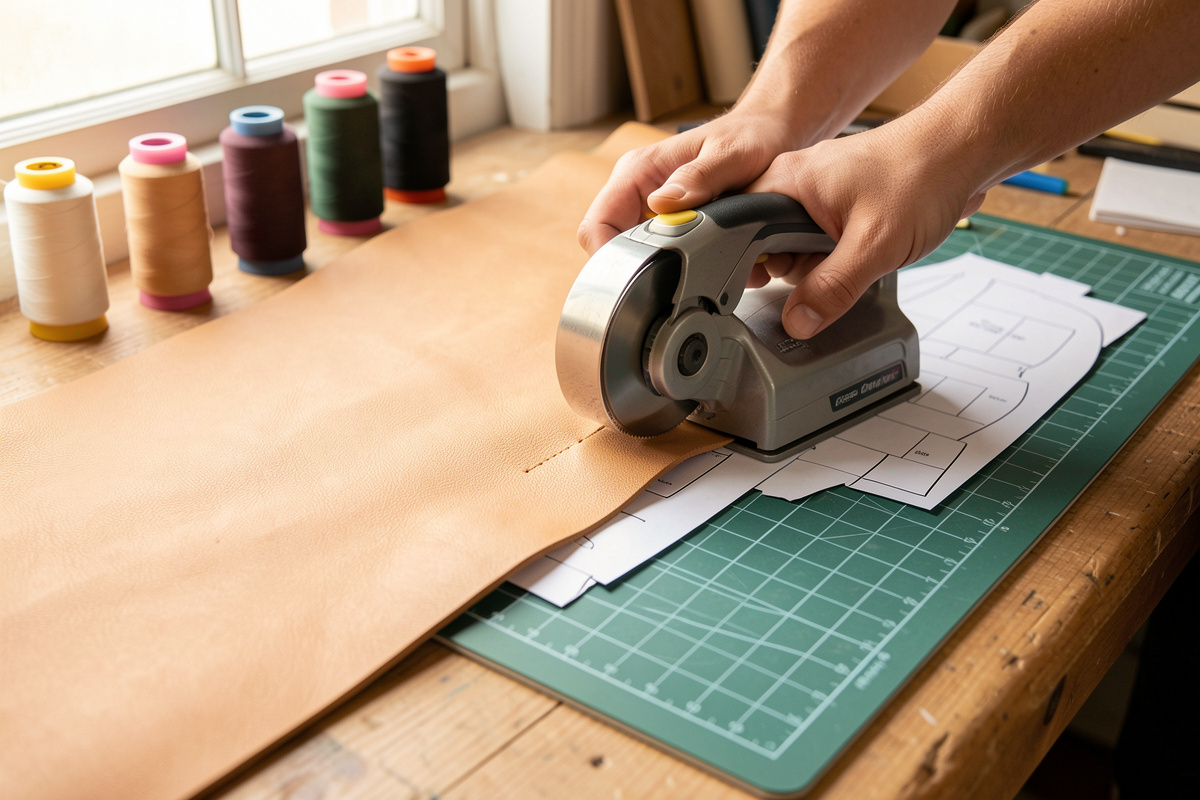
Cut garment leather on a self-healing mat with a fresh rotary blade, not a head knife. A pulling, drawing cut drags thin hide out of true; a rolling rotary cut shears it in place. I weight the pattern flat with steel bar weights rather than holding it, because any hand pressure stretches the panel as the blade passes. Lay the leather grain side up, mark on the flesh side with a silver pen, and make each cut in a single confident pass — sawing back and forth frays the edge.
For curves and notches, a sharp pair of leather shears often beats a blade on the softest skins. Whatever you use, change blades far more often than you would on fabric. Soft leather dulls an edge fast, and a dull blade is what causes the dragging and stretching that ruins a clean line. My guide to cutting leather straight covers the straightedge technique that carries over here.
Skiving and Managing Bulk
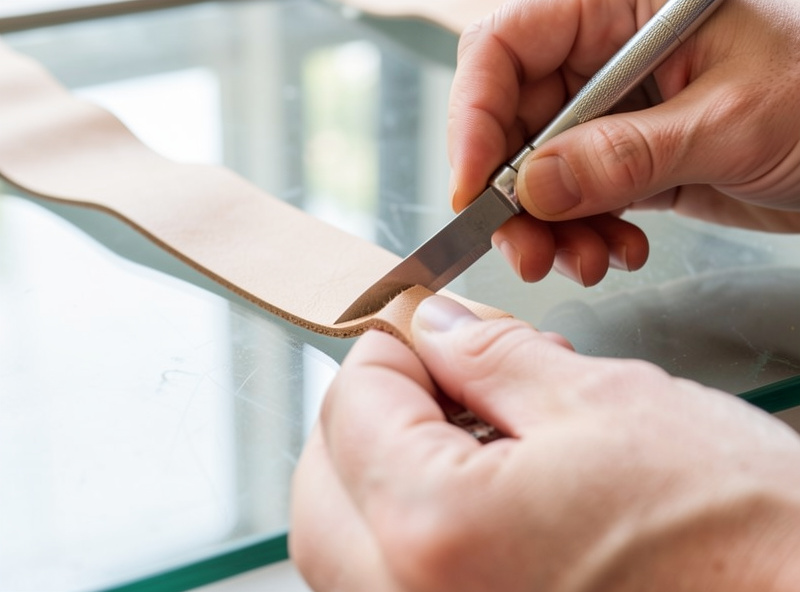
Skiving — shaving down the thickness at edges and seam allowances — is non-negotiable on garment leather. Every place two or more layers meet (collars, plackets, hems, zipper lines) builds bulk that looks clumsy and stitches badly. I thin those allowances with a sharp French skiver or a skiving knife to roughly half thickness, working on a hard glass or marble surface. A razor-sharp blade is everything; a dull skiver tears soft leather instead of slicing it, so I strop before every session. My skiving knife guide covers the sharpening and angle in detail.
Where you turn an edge over for a clean finish, skive the fold line thinner still so it folds without a hard ridge. This is the single technique that most separates a homemade-looking garment from one that looks bought.
Gluing and Finishing Edges
You never pin garment leather — pins leave permanent holes. Instead, glue and tape do the holding. I use a thin coat of contact cement on seam allowances I want permanently bonded, and double-sided basting tape for temporary positioning before a machine seam. My best glue for leather rundown covers which adhesive flexes with soft hide rather than stiffening the seam into a board.
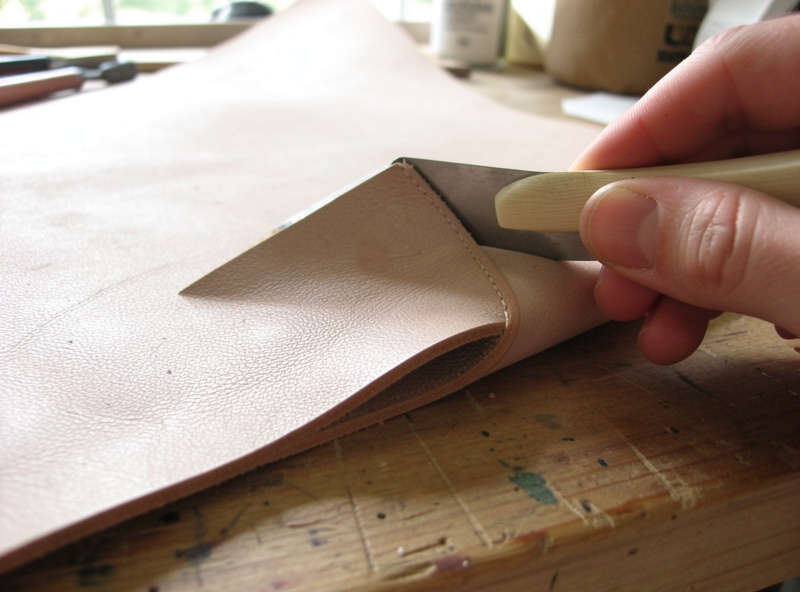
Edges on garment leather are not beveled and burnished the way veg-tan is — that whole ritual from my edge finishing guide does not apply to soft chrome-tan. Instead you either leave the cut edge raw (it does not fray badly), turn it over and glue or stitch it down for a clean folded finish, or bind it with a strip of matching leather or fabric. Turned edges look the most finished and are worth the extra skiving.
Sewing: Needles, Thread and Tension
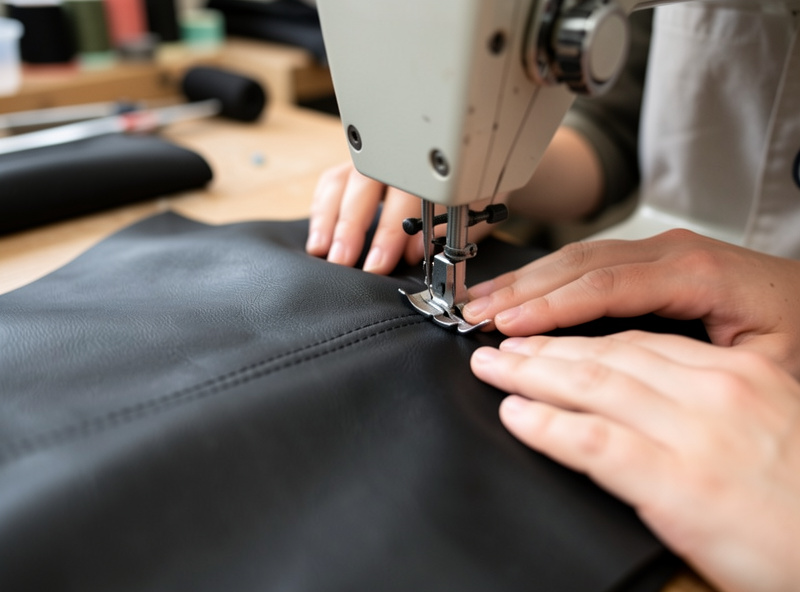
Hand saddle stitch still works for small soft-leather goods — my saddle stitch tutorial applies — but for jacket-length seams a machine is the sane choice, as I argue in saddle stitch vs machine stitch. On a machine, three things matter most: a leather needle (a chisel or wedge point that cuts rather than punches), thread matched to the leather weight, and a presser foot that will not stick. A walking foot, roller foot or Teflon foot all stop soft leather from dragging. For choosing a machine, see my best sewing machines for leather picks and the machine sewing leather guide.
Here is the rough pairing I use as a starting point, then test on a scrap of the actual hide before committing to a panel:
| Leather weight | Leather needle size | Thread (Tex / type) | Stitch length |
|---|---|---|---|
| 1.5–2 oz (lamb, kid) | 80/12 – 90/14 | Tex 40 polyester | 2.5–3 mm |
| 2–3 oz (goat, calf) | 90/14 – 100/16 | Tex 40–60 polyester | 3 mm |
| 3–4 oz (heavy garment) | 100/16 – 110/18 | Tex 60–70 polyester / bonded nylon | 3–3.5 mm |
Match thread to the job with my best thread for leather stitching notes, and lengthen the stitch slightly versus fabric — stitches too close together perforate soft leather into a tear-away line. For weight references across all of this, my leather thickness chart converts ounces to millimeters.
Common Problems and How I Fix Them
Skipped stitches usually mean the wrong needle — swap to a fresh leather point one size up. Stretched, wavy seams mean you let the feed dogs and your hands fight each other; let the walking foot pull and only guide, never push or pull the panel. Puckering at the seam means the stitch is too tight or too dense — loosen top tension a touch and lengthen the stitch. And if an edge curls after cutting, a light pass with a roller or a warm (not hot) press flattens it before you glue.
The biggest fix of all is testing on scrap from the same hide. Every soft leather behaves a little differently, and five minutes of test stitching saves a ruined panel. Once you have the needle, thread and foot dialed for that specific hide, garment leather sews as predictably as anything on the bench.
As an Amazon Associate I earn from qualifying purchases. The two upgrades that helped my soft-leather sewing most were a walking foot attachment and a pack of assorted leather machine needles.
Frequently Asked Questions
What is the best way to cut garment leather?
Use a fresh rotary blade on a self-healing mat with the pattern weighted flat, and cut in a single pass. A rolling rotary cut shears thin hide in place, while a drawing knife cut drags and stretches it. Change blades often.
Do you need to skive garment leather?
Yes, anywhere layers overlap. Skiving seam allowances to about half thickness prevents stiff, bulky seams and is the single technique that most separates a homemade look from a bought one. Use a razor-sharp skiver on a hard surface.
Can you hand sew a leather jacket?
You can hand saddle stitch small soft-leather goods, but jacket seams are too long to hand stitch sanely. A machine with a leather needle and a walking or Teflon foot is the practical tool for jacket-length seams.
What needle do you use for garment leather?
A leather needle with a chisel or wedge point that cuts rather than punches. For 1.5 to 3 oz garment leather, sizes 80/12 to 100/16 cover most work. Step up a size if you get skipped stitches.
How do you keep garment leather from stretching?
Stabilize it at every step: weight patterns instead of holding them, glue or tape panels before sewing, let the walking foot feed the leather rather than pulling it, and skive seam allowances so layers do not distort.
Should you glue leather before sewing?
Yes. Pins leave permanent holes in leather, so contact cement bonds permanent seams and double-sided basting tape positions panels temporarily before stitching. Gluing first keeps soft panels aligned and stops them shifting under the foot.
Related Guides
- Garment and Upholstery Leather: The Complete Bench Guide
- Leather Jacket Alterations
- Saddle Stitch vs Machine Stitch
- Leather Skiving Knife Guide
- Best Glue for Leather



