The strap is the part of a bag that fails first and is judged hardest, because it carries the entire load through a narrow band that flexes with…
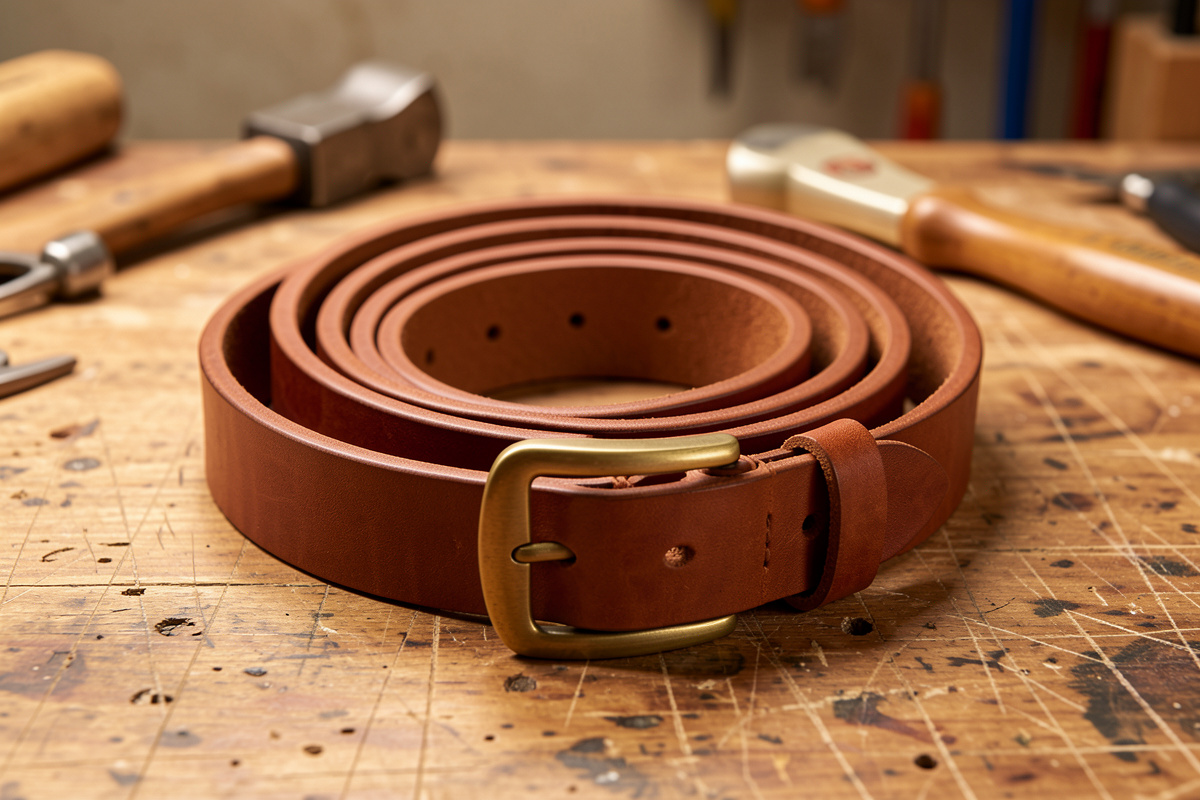
The strap is the part of a bag that fails first and is judged hardest, because it carries the entire load through a narrow band that flexes with every step. This leather bag strap making guide covers how I cut, build and attach a strap that holds — the leather and weight to use, how wide to go for the load, when to double it, how to edge it, and the hardware that lets it move without tearing out. A strap on a working bag should be the firmest leather in the whole build, cut from the bend of the hide at 8–10 oz, never from the soft belly that stretches and sags.
I have re-strapped more bags than I would like to admit — mostly other people’s, where a thin or belly-cut strap stretched, curled or pulled its rivets within a year. A strap is not the place to use up offcuts. It is the one component where the leather choice is non-negotiable, and getting it right is half of whether a finished bag feels reassuring on the shoulder or feels like it might let go at the worst moment. Start from the broader leather bag making guide for how the strap fits the whole build, then use this for the strap itself.
The Right Leather and Weight for a Strap
A strap wants firm, dense leather that resists stretch under sustained load — which rules out the soft, drapey leathers that work for a bag body. My default is 8–10 oz (3.2–4.0 mm) bridle or harness leather, the stuffed strap leathers built for exactly this job, cut from the bend (the firm spine of the hide) where the fibers are tightest. Tanneries like Wickett & Craig sell English bridle in exactly these strap weights, so you are not asking a soft body leather to behave like a strap leather. Belly leather stretches because its fibers are loose, so a strap cut from the belly will sag and lengthen over months even if it starts the right size.
The reason these strap leathers exist is the same reason saddlers reach for them: they are stuffed with oils and waxes during tanning so they flex without cracking and resist water and stretch. If you want the full picture on these stuffed leathers, the latigo and harness leather guide explains the difference and where each shines. For a lighter bag a single 8–9 oz strap is plenty; for a heavy laptop bag I either go to 10 oz or double the strap, which I cover below.
| Bag type | Strap width | Strap weight | Single or doubled |
|---|---|---|---|
| Light tote / market bag | 2.5–3.2 cm | 8 oz | Single, edged |
| Everyday messenger | 3.8–4.5 cm | 8–9 oz | Single or doubled |
| Loaded laptop bag | 4–5 cm | 9–10 oz | Doubled, stitched |
| Heavy duffel / weekender | 5–6.5 cm | 10 oz | Doubled, stitched |
Cutting a Strap Straight and Long
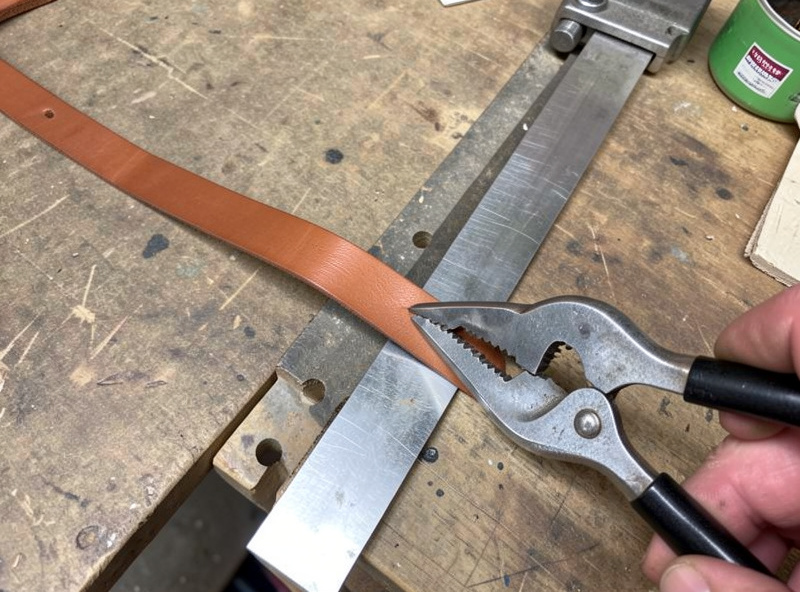
A strap has to be cut dead straight, because any waver in the cut becomes a visible wobble down a meter of leather and a weak point where the width narrows. I cut straps with a strap cutter or against a clamped steel straightedge, in one confident pass where possible — a wandering, sawed cut frays the edge you will later have to slick. Cut along the spine of the hide, parallel to the backbone, where the leather is firmest and most uniform.
Length is easy to underestimate. For a crossbody strap, measure from the bag’s anchor point, across the body the way it will be worn, and back to the other anchor, then add length for the buckle adjustment and the fold-backs at each end. I always cut a strap a little long and trim to final length after fitting, because you can shorten a strap and you cannot lengthen one. Clean, straight cutting is its own skill — the cutting leather straight guide covers the technique that keeps a long cut true.
Single, Doubled, or Lined Straps
You have three ways to build a strap, and the choice is about load and looks. A single-layer strap is the simplest — one thickness of firm leather, edges beveled and slicked, hardware at each end. It works for light and medium bags and shows the leather’s flesh side on the underside, which I slick smooth so it does not drag on clothing. A doubled strap glues and stitches two layers flesh-to-flesh, hiding both flesh sides and giving a strap that is stiffer, stronger and finished on both faces — this is what I build for heavy bags.
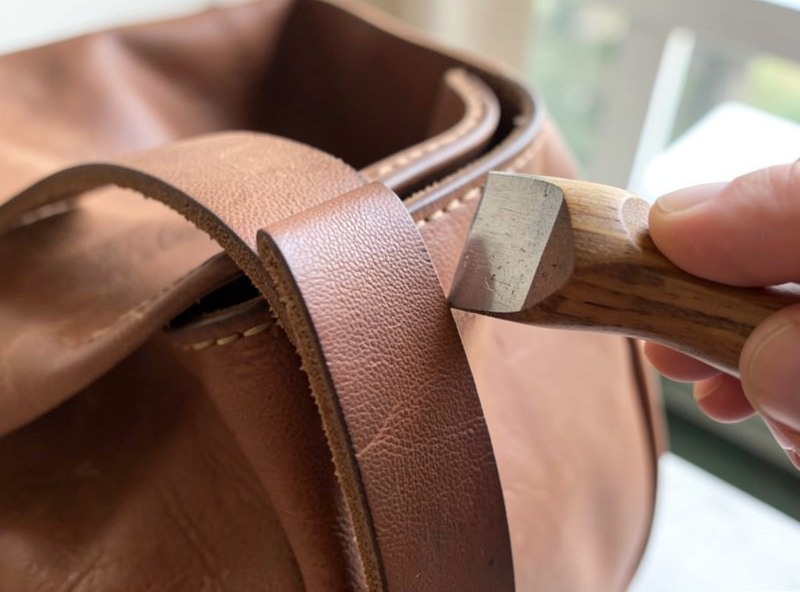
A lined strap is a variation: a firm core with a softer, smoother leather glued to the shoulder side for comfort, useful on a strap that will carry real weight against the body. Whichever you build, the stitching matters — a doubled strap is saddle stitched down both edges to lock the layers together, not just glued, because glue alone lets the layers shear apart under load. My saddle stitch tutorial covers the stitch, and the skive at the fold-back ends keeps the doubled leather from bulking up where it wraps the hardware — the skiving knife guide covers that pare.
Edging a Strap So It Lasts
Strap edges take more handling than any other edge on a bag — they run through your hand every time you sling the bag — so they are worth the full finishing sequence. On firm veg-tan or bridle I bevel both edges, sand up through the grits, wet with Tokonole and slick hard with a profiled slicker, then wax. A well-slicked strap edge does not just look right; it stops the edge fibers from fraying and fuzzing where they rub against clothing and hands over years of use.
This is one place my bench differs from most: I run edge slickers I printed in PETG sized to specific strap weights, so a 10 oz doubled strap gets a slicker profile cut for that exact thickness rather than a one-size-fits-nothing tool. The full bevel-to-burnish sequence and the compounds are in the leather edge finishing guide. Do not skip it on a strap — a raw strap edge fuzzes within weeks and never looks made.
Attaching the Strap: Hardware and Anchors
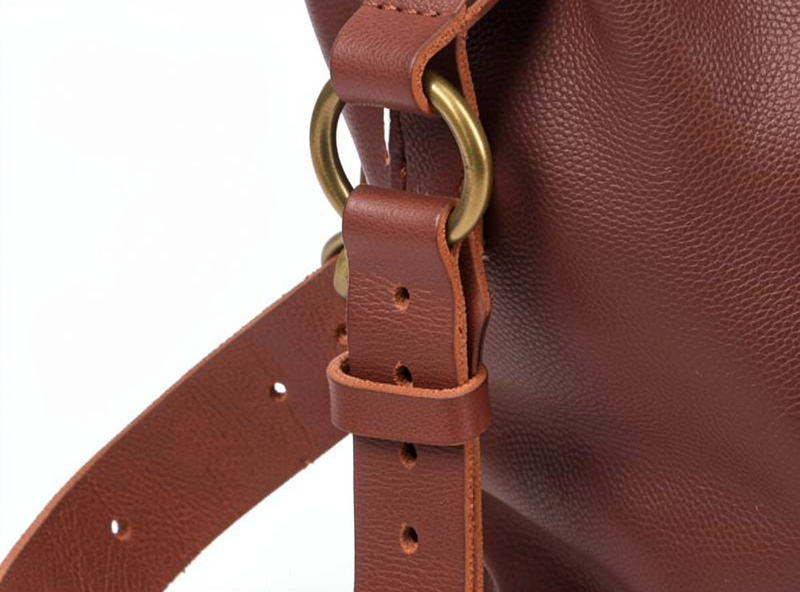
How you attach the strap decides whether it spreads load or concentrates it. I almost never stitch a strap directly to the bag body — instead I anchor it through D-rings or rectangular rings riveted and stitched to reinforced patches on the bag, and the strap clips or buckles to those rings. The rings let the strap pivot as the bag swings, which spreads the load across the anchor instead of tearing at one fixed stitch line every time the bag moves.
Size the hardware to the strap and the load — a ring or clip that looks fine on a light bag becomes the weak link under a loaded one, so oversize slightly for heavy bags. Set the rivets that anchor the rings on scrap of the exact stack first; a strap anchor is the single most loaded fastening on the bag and a rivet set badly there is a strap that lets go. The leather hardware guide covers ring types, buckles and setting, and best rivets for leather covers sizing the rivets for a thick, loaded anchor. A solid brass or stainless ring set is worth the small upcharge, and bag-hardware specialists like Buckleguy publish ring working loads so you size to the load, not the look; you can also browse solid brass D-rings sized to your strap width. As an Amazon Associate I earn from qualifying purchases.
Adjustable vs Fixed-Length Straps
An adjustable strap earns its place on a bag that will be shared or worn both crossbody and on the shoulder; a fixed-length strap is simpler, has one fewer failure point, and can be built to the exact drop the wearer wants. For adjustment I use a roller buckle and a row of punched holes, or a slide-and-loop, mounted on the strap where it will not dig into the shoulder. Whatever you use, reinforce the adjustment zone — the holes for a buckle are a line of weakness, so I keep them in the firmest part of the strap and never near a fold or a thin spot.
A removable strap is a third option worth considering: swivel snap hooks at each end let you take the strap off entirely, swap it between bags, or replace it without rebuilding the bag. The trade-off is that snap hooks are a moving part and a potential failure point, so for a heavy bag I size them generously in solid brass and test the spring under load before trusting them. For a light bag a removable strap is a genuine convenience; for a loaded laptop bag I usually prefer a fixed or buckled attachment with no spring gate to wear out.
If you have made a watch strap or a belt, the strap-and-buckle logic here is familiar territory — the leather watch strap build and the leather belt tutorial both work the same buckle, billet and hole-punching skills at a smaller scale, and they are good practice before you commit a long bag strap. The strap is just a belt that carries a bag instead of holding up trousers, built from the same firm leather and finished to the same standard.
Strap Comfort: Width, Curve and Shoulder Pads
A strap can be strong and still be miserable to carry, and comfort comes down to how the load meets the shoulder. The single biggest comfort lever is width: a wider strap spreads the same weight over more shoulder, so a heavy bag wants 4–5 cm or more while a light one is fine at 2.5 cm. Past a point, width stops helping and starts feeling like a board, so I match width to load rather than maxing it out — an over-wide strap on a light bag is just stiff.
For genuinely heavy bags I add a shoulder pad: a wider, softer section of leather (often lined) that sits where the strap crosses the shoulder, either fixed or sliding on the strap. A sliding pad lets you position it for crossbody or shoulder carry. Some makers also build a gentle curve into the strap so it follows the shoulder instead of bridging it flat — a subtle thing that makes a loaded strap noticeably more comfortable. None of this matters on a light tote, but on a laptop bag you carry daily it is the difference between a bag you reach for and one you leave at home.
Common Strap Mistakes
Most strap failures trace to a handful of avoidable errors. Cutting from the belly instead of the bend is the first — the strap stretches and sags within months. The second is going too thin: a single 5 oz strap on a bag that wants 9 oz doubled will curl and feel flimsy. The third is gluing a doubled strap without stitching it, so the layers shear apart under load. The fourth is stitching the strap directly to the body instead of anchoring through pivoting rings, which tears the body at one fixed point. And the fifth is skipping the edge finish, so the strap fuzzes and looks worn within weeks. Every one of these is a step skipped under impatience, and every one shows. Get the leather, the weight, the stitch, the anchor and the edge right, and the strap simply works for years.
The Strap Is Worth Getting Right
A bag is remembered by how its strap felt — reassuring and broken-in, or thin and worrying. Firm bend leather at the right weight, cut straight, doubled or lined for heavy loads, edged properly, and anchored through pivoting rings is the whole recipe, and none of it is hard once you stop treating the strap as an afterthought. Build the strap to outlast the bag, because a body can be patched but a strap that lets go usually does it with the bag full.
Leatherwork rewards this kind of patience — the strap is where a maker’s discipline shows, the same steady focus that the slow crafts all demand. Cut it from the right part of the hide, finish the edges you will hold a thousand times, and the strap becomes the part of the bag people compliment without quite knowing why.
Keep Building
- Leather Bag Making: The Complete Guide
- Leather Messenger Bag Pattern Guide
- Leather Laptop Bag Making Guide
- Latigo and Harness Leather Explained
- Leather Hardware Guide: Rivets, Snaps, Buckles



