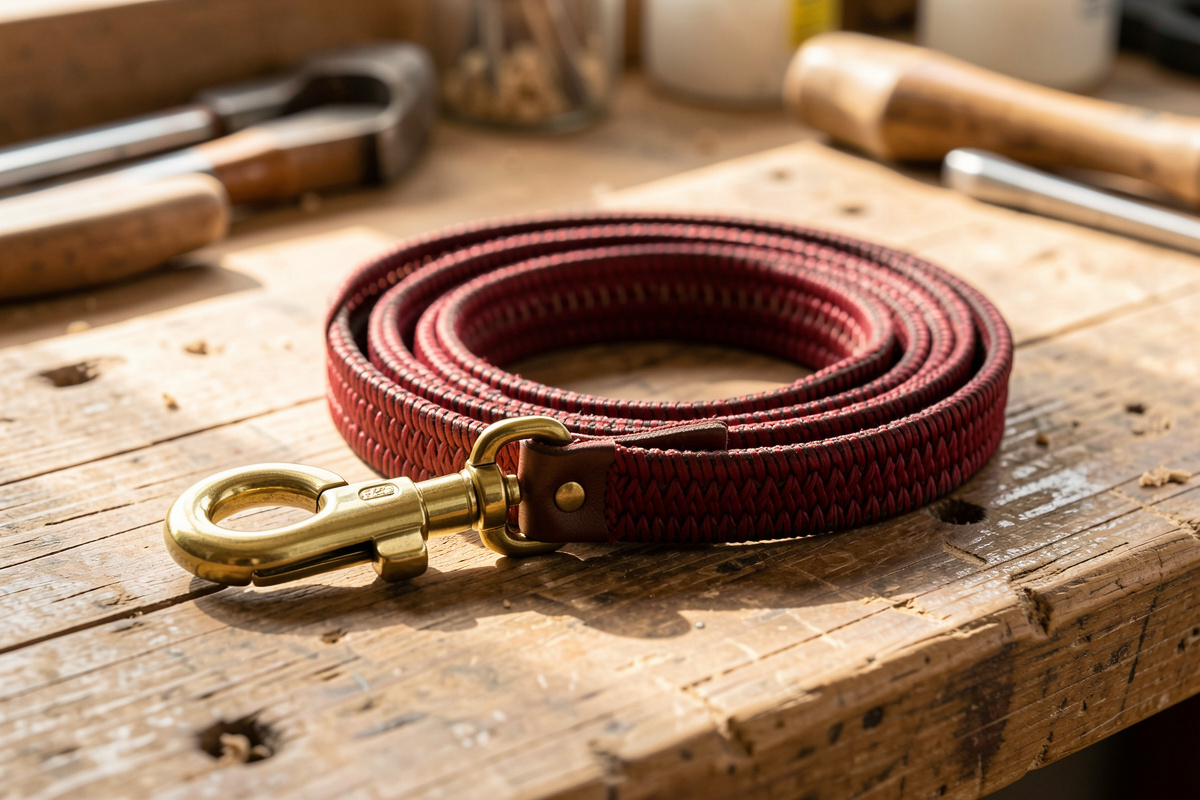
Making a leather dog leash is collar work stretched long: cut a 3/4-inch strap about 6 feet from 8–9 oz bridle, fold and stitch a swivel snap at…
Making a leather dog leash is collar work stretched long: cut a 3/4-inch strap about 6 feet from 8–9 oz bridle, fold and stitch a swivel snap at one end and a hand loop at the other, then bevel, sand, and slick every edge. A hand-stitched bridle leash carries a hard lunge well past 200 lb at the snap and ages into something that softens to your hand instead of fraying. It is the project I hand people right after their first collar.
A leash has exactly two jobs the collar does not: it needs a comfortable handle that takes your weight all walk long, and it needs a snap connection that will not fail when the dog hits the end of it. Everything between those two ends is just clean strap work. Here is how I build mine, from the strap to the snap.
Leather and Length
For a standard walking leash I cut 3/4-inch wide from 8–9 oz bridle — firm enough to hold a snap fold and handle loop, supple enough to coil in the hand. Six feet is the everyday length; 4 feet for close city control, 8 feet for loose-lead training. Bridle’s stuffed waxes matter even more on a leash than a collar because the leash takes constant hand sweat and the occasional drop in a puddle.
Cut the strap a foot longer than your target finished length to cover both folds: roughly 8–10 inches for the handle loop and 3–4 inches for the snap fold. A 6-foot finished leash starts around a 7-foot cut strap. The leather logic is the same as the collar — see the weight guide and the bridle vs latigo comparison for why I default to bridle, and the collar making guide for the parent build.
Cutting and Prepping the Strap
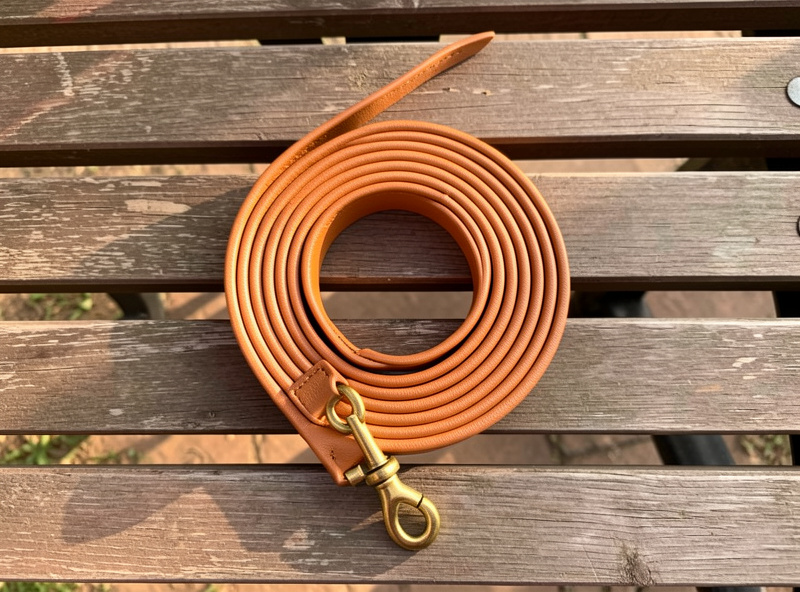
Cut a dead-straight strap against a steel straightedge — a 7-foot strap that wanders even slightly will telegraph the wobble down its whole length. A strap cutter set to 3/4 inch is the fastest way to get an even width over that distance; a rotary cutter and straightedge works in overlapping passes if you keep the line true.
Before any folding, bevel and sand both edges along the full length while the strap is flat and easy to work — it is far harder to finish edges cleanly once the snap and handle are attached. The cutting method is in the cutting straight guide; the same long-strap discipline carries over from the belt tutorial.
Building the Snap End
The snap end is the leash’s life-or-death joint. Use a solid cast bronze or stainless swivel snap (bolt or trigger) rated well above your dog’s weight, never a cheap die-cast one — the snap is where leashes fail. Thread the strap through the snap’s loop, fold back 3–4 inches, glue the fold with contact cement, then saddle stitch a tight block through both layers and back-stitch each end to lock it.
I reinforce the fold with a copper rivet behind the stitch block on a big-dog leash — belt and braces. Match thread to iron pitch (0.8–1.0 mm Tiger thread on a 3.85 mm iron) so it seats flush. The stitch method is in the saddle stitch guide, snap and swivel selection in the hardware guide and broader hardware reference, and riveting in the rivet guide.
Building the Handle Loop
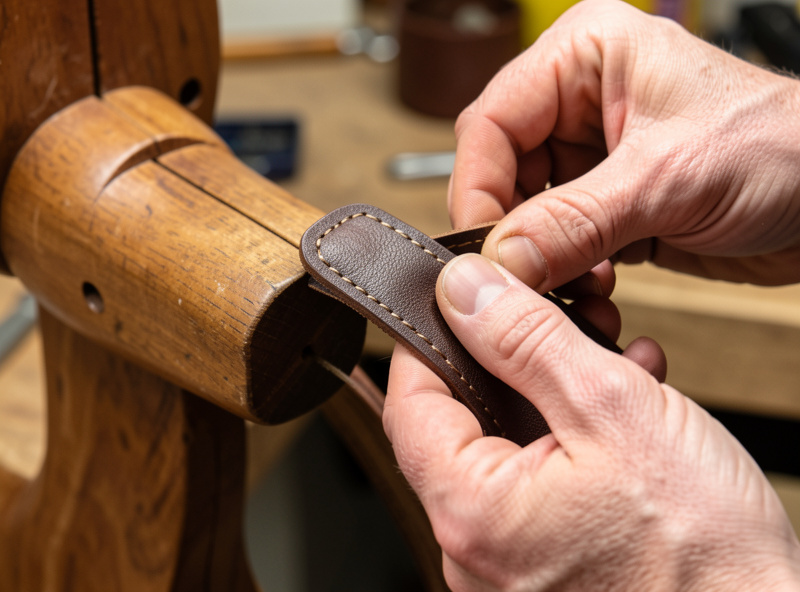
The handle is what your hand lives with, so size it generously: an 8–10 inch fold makes a loop big enough for a gloved winter hand without being so large it whips around. Fold the strap back on itself, glue, and stitch the same way as the snap end — a tight saddle-stitched block, back-stitched, optionally rivet-reinforced.
For comfort I sometimes skive the inside of the fold thinner so the doubled handle is not too bulky, and round the loop’s outer edges hard in burnishing so nothing bites the palm. Skiving is covered in the skiving knife guide. A stitching pony holds the work for both folds — see pony vs clamps.
Finishing the Edges
Edge finish is comfort, not just looks, on a leash — raw edges saw at your hand over a mile walk. Bevel both grain corners, sand 400 then 800 then 1000, case with Tokonole, and slick hard until the edge glazes glassy. Do the full length, paying extra attention to the handle loop where your hand rides.
Bridle’s waxes take a beautiful slick. The complete sequence is in the edge finishing guide, broken out across beveling, the grit progression, and burnishing with Tokonole. I run a 3/4-inch profile slicker I printed for exactly this strap, from the DIY edge slicker project.
Matching the Leash to the Collar
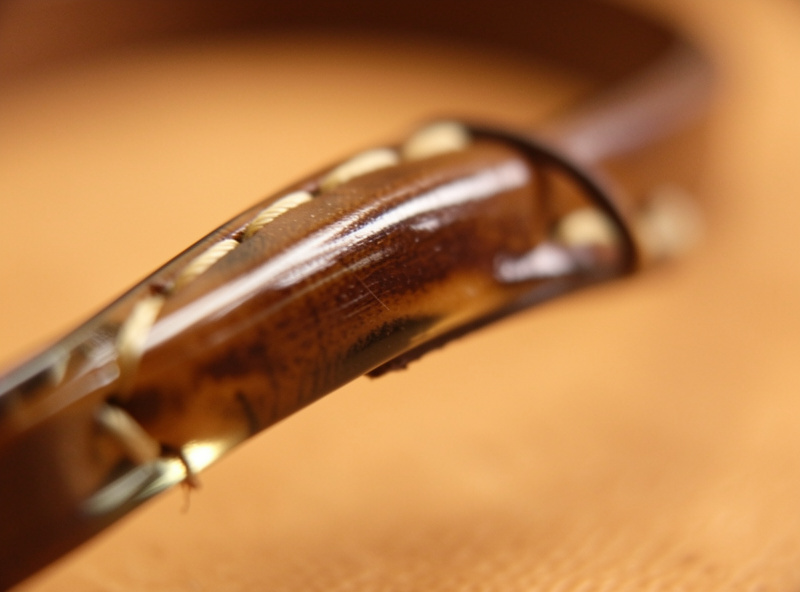
A leash, collar, and harness cut from the same bridle side with matching hardware read as a deliberate set. Use the same buckle and snap finish — all brass or all stainless — and the same edge treatment, and three separate pieces look like one commission. Dye them together if you are using natural veg-tan so the color matches exactly.
Once the leash build is comfortable, the harness is the next step up in pattern work. The harness guide covers fit and load points, and the personalization guide shows how to stamp or laser a name onto the handle to finish the set.
As an Amazon Associate I earn from qualifying purchases. I buy solid bronze swivel snap hooks for leash ends — the snap is the one part I never buy cheap.
Frequently Asked Questions
What leather is best for a dog leash?
8 to 9 oz bridle leather at 3/4 inch wide is best for a standard walking leash. It holds the snap and handle folds firmly, coils comfortably in the hand, and its stuffed waxes resist hand sweat and rain.
How long should a leather dog leash be?
Six feet is the everyday standard. Use 4 feet for close city control and 8 feet for loose-lead training. Cut the strap about a foot longer than the finished length to cover the handle and snap folds.
How do I attach the snap to a leather leash?
Thread the strap through the swivel snap loop, fold back 3 to 4 inches, glue with contact cement, then saddle stitch a tight block through both layers and back-stitch each end. A copper rivet behind the stitch adds security on large dogs.
What kind of snap should I use on a dog leash?
Use a solid cast bronze or stainless swivel snap rated well above your dog’s weight, in bolt or trigger style. Avoid cheap die-cast snaps, because the snap is the most common failure point on any leash.
How big should the handle loop be?
Fold 8 to 10 inches back to form the handle, giving a loop large enough for a gloved winter hand without being so big it whips around. Skive the inside of the fold if the doubled handle feels too bulky.
Do I need to rivet the leash or is stitching enough?
A well-executed saddle stitch through a glued fold is strong on its own. On large or strong dogs I add a copper rivet behind the stitch block at both the snap and handle as a belt-and-braces backup.
Related Guides
- Leather Dog Collar Making: The Complete Guide
- Best Hardware for Leather Dog Collars
- How to Make a Leather Dog Harness
- How to Saddle Stitch Leather by Hand
- Leather Edge Finishing: Bevel to Burnish



