If you searched “saddle stitch leather journal guide” expecting the two-needle seam stitch, hold on: in bookbinding, “saddle stitch” means sewing signatures through the spine fold. This guide…
If you searched “saddle stitch leather journal guide” expecting the two-needle seam stitch, hold on: in bookbinding, “saddle stitch” means sewing signatures through the spine fold. This guide covers binding a leather journal where the thread shows on the spine, using pamphlet stitch and long stitch. A single signature needs three holes; a multi-signature long stitch can run twenty or more.
Two Crafts, One Confusing Name
The word “saddle stitch” means two completely different things depending on whose bench you stand at. In leatherwork it is a seam stitch; in bookbinding it is a binding stitch sewn through a folded spine. Same words, different geometry, different tools.
On my bench I do both, and the overlap in vocabulary trips up nearly everyone who crosses over from one craft to the other. Let me draw the line clearly before we cut a single hole, because the mistake is easy and the disappointment is real.
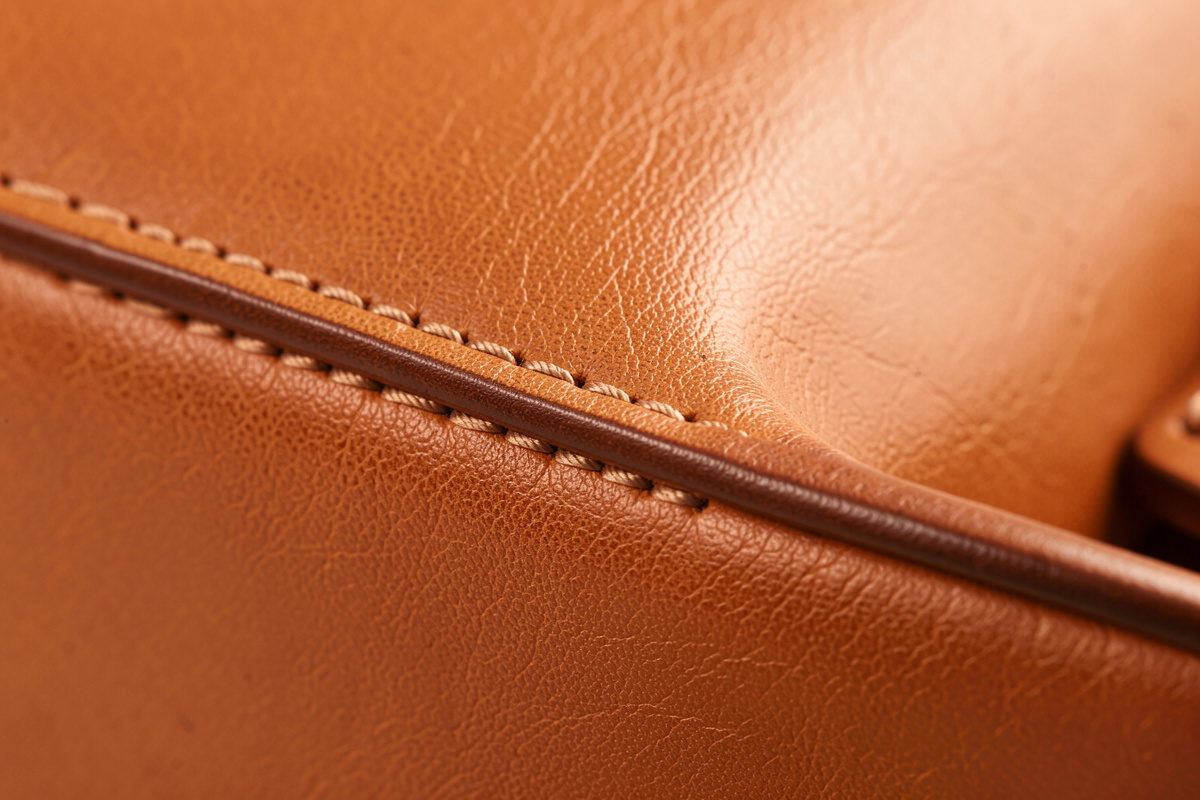
In leatherwork, the saddle stitch is the two-needle lockstitch I use to join two layers along a seam: punch a row of holes with a pricking iron and diamond awl, thread two needles on one length of waxed thread, and pass them through each hole from opposite sides so they cross and lock inside the leather. That is the stitch behind every wallet, belt and sheath I make. If that is what you came for, I wrote it up in full in my how to saddle stitch leather tutorial, and the present article is not it.
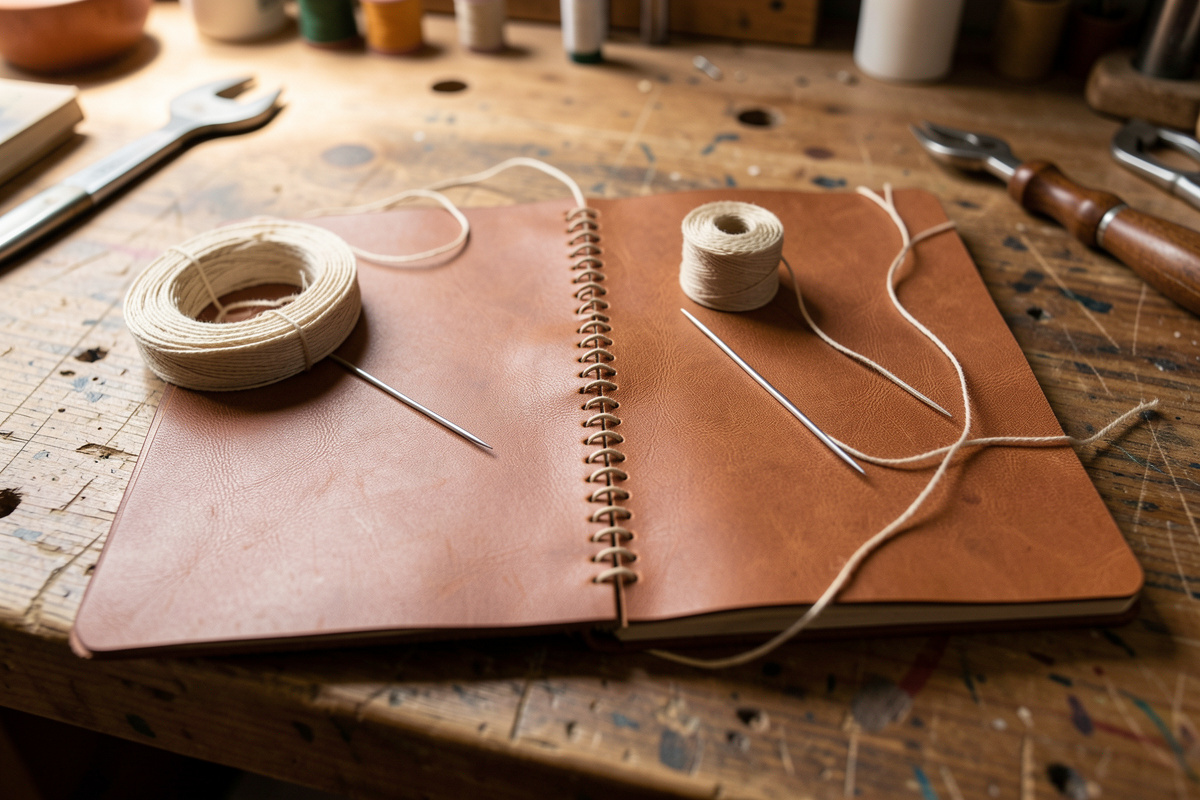
In bookbinding, “saddle stitch” describes sewing a single folded signature through the fold from the inside out and back, the way a stapled pamphlet is held together. Bookbinders also call the loose family of through-the-spine sewing “saddle sewing.” When you bind a leather journal, the stitches are part of the show: they run down the spine where everyone sees them. So this guide is about pamphlet stitch for one signature and long stitch for several, both sewn directly through a leather cover.
If you are new to leather generally, start with my leather working for beginners primer, then come back here. And this whole journal-binding topic lives under my leather bookbinding guide hub, which maps every stitch style and cover style I use.
Choosing Leather and Paper for the Cover
For a journal cover I reach for a softer, drapier leather than I would for a wallet: 3-4oz chrome-tan or a supple veg-tan that folds without cracking. Stiff 5-6oz veg-tan makes a lovely rigid case but fights you on the spine fold.
The cover has to wrap and flex, so weight matters more than grade marketing. I keep cover leather in the 2-4oz range (roughly 0.8-1.6mm). Anything heavier and the spine holes crack at the fold the first time the book opens flat. If you only have firm veg-tan, skive the spine zone thinner or accept a rigid, board-style cover. To match weight to project, my leather thickness oz chart lays out every range, and if you are unsure which tannage drapes versus stands up, see types of leather.
Paper folds into signatures: stacks of sheets nested inside one another and creased down the middle with a bone folder. Four to six sheets per signature is my default; that gives twelve to twenty-four writing pages without the fold getting fat. For a thin pocket journal I use one signature and a pamphlet stitch. For a fat sketchbook I use five to eight signatures and a long stitch sewn through the cover.
Mark and crease every sheet on the same axis, nest them, and tap the spine square on the bench before you punch. A crooked nest punches crooked, and no amount of careful sewing hides it.
Pamphlet Stitch: One Signature, Three Holes
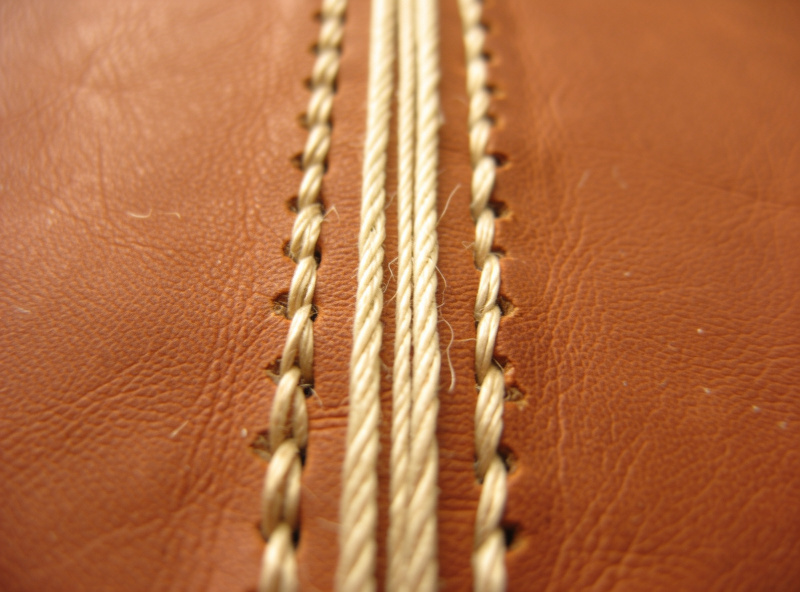
The pamphlet stitch is the simplest binding I teach: a single signature sewn to the cover through three holes down the spine fold. One length of waxed thread, no needle crossing, and the knot ties around the long center float. It takes about ten minutes once the holes are punched.
Punch three holes through the fold of the signature and the matching line on the cover spine: one centered, and one each about 20-25mm from the head and tail. I mark the line with dividers and pierce with a bookbinder’s awl, not a diamond awl, because I want a round hole the thread fills, not the slit a leather awl cuts.
Sew it in five passes. Start from inside the signature through the center hole, leaving a 100mm tail. Go out, then back in through the head hole, run the thread down the inside, out through the tail hole, and finally back in through the center hole. You end up inside again with the working thread and the tail straddling the long center float that now runs the full length of the inside. Tie a square knot around that float, snug it, and trim to about 8mm.
That float is the whole trick: tying around it locks every pass at once. Pull each pass firm as you go so the signature seats into the spine without puckering. The thread you see outside on the spine is two short stitches at head and tail and one long stitch up the middle, which is the classic pamphlet look.
Long Stitch: Multiple Signatures Through the Cover
When one signature is not enough, the long stitch sews several signatures directly through the leather spine, each on its own vertical line of thread. There is no separate spine piece and no glue: the cover leather IS the binding, and the stitch columns are the decoration. This is my favorite journal binding by a wide margin.
Lay out your spine. Decide how many signatures (say four), then mark that many vertical sewing stations along the cover spine, evenly spaced. On each station, mark two to four holes down its length matching the holes you will punch in each signature fold. A common four-signature, three-hole-per-station layout gives you a clean three-band look across the spine.
Punch the cover stations and every signature fold to match, then sew each signature in turn with its own thread, passing from inside the signature out through the cover, along the outside to the next hole, and back in. Because each signature is independent, you can swap thread color per band or run them all the same. Knot off inside each signature with a square knot around an interior pass, the same locking idea as the pamphlet.
Tension is everything here. Too loose and the signatures sag away from the spine; too tight and the leather puckers between stations. I pull each stitch firm and consistent, the same discipline I bring to a saddle-stitched seam even though the geometry is different. For long-stitch work I lengthen my stitch spacing a touch versus seam work, which my best stitch length leather notes get into; longer, fewer stitches sit better on a flexing spine.
Thread, Needles and Awl for Bookbinding
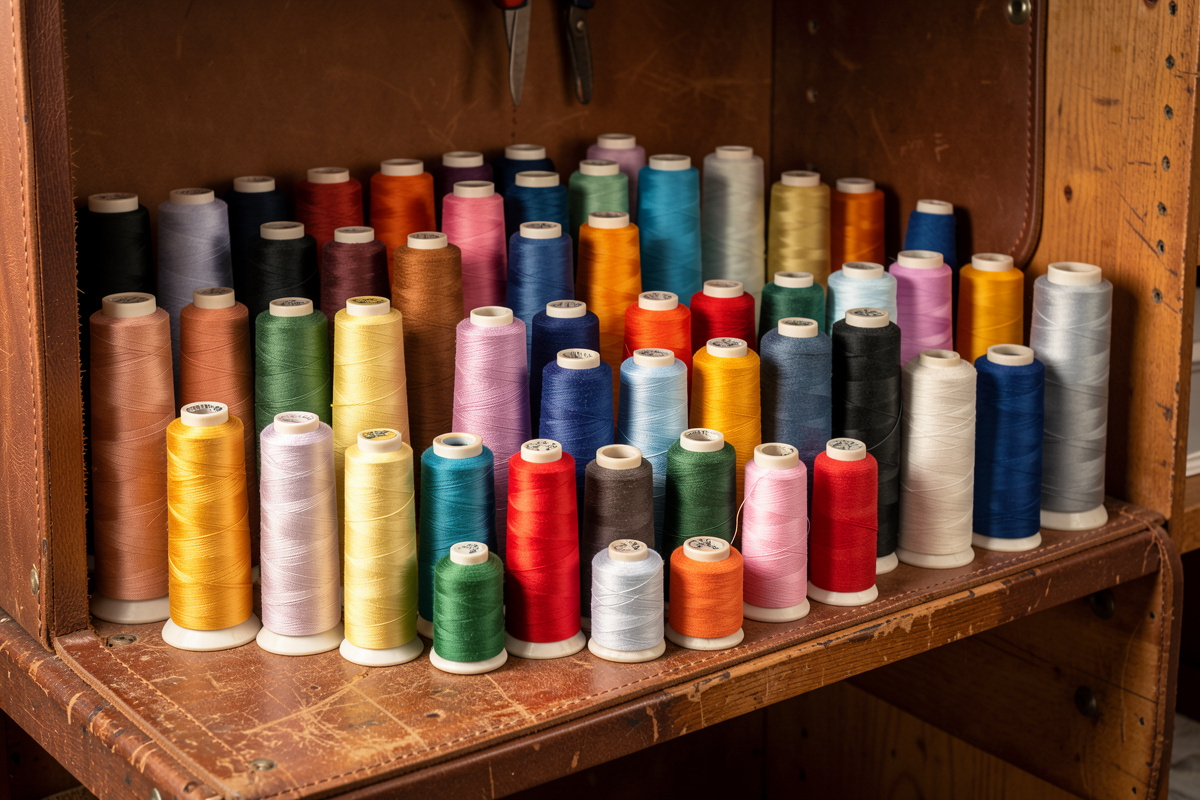
Bookbinding thread is not the same as my seam thread. For the spine work I want waxed linen, because it grips itself, holds a knot, and looks right against leather; the polyester Tiger thread I love for wallet seams is too slick and too round-shouldered for the friction-knots in a book.
I use waxed linen in roughly 18/3 or 25/3 for journals: heavy enough to show on the spine, fine enough to pass twice through a fold without splitting the paper. Blunt bookbinder’s needles, not the sharp harness needles I use for leather seams, because a sharp needle in the paper fold tears it. The awl is a fine round bookbinder’s awl that makes a hole the round thread fills; a diamond awl leaves a slit that frays the paper. If you want the full thread breakdown for both crafts, see best thread for leather stitching, and keep that awl sharp using my how to sharpen leather tools method.
For punching the cover spine I do sometimes reach for fine leather stitching chisels to keep the spacing perfect, then open the holes round with the awl; if you go that route, my leather stitching chisels guide covers pitch and pricking. A bone folder for creasing signatures and a stitching pony to hold the cover round out the kit.
Pamphlet vs Long Stitch vs Link Stitch
Three through-the-spine bindings cover almost every journal I make. The pamphlet is for one signature, the long stitch for several sewn flat, and the link stitch (a long-stitch variant) loops adjacent stations together for a chained spine look. Here is how they compare.
| Binding | Signatures | Holes per station | Spine look | Best for |
|---|---|---|---|---|
| Pamphlet stitch | 1 | 3 (or 5) | One long center stitch, two short ends | Thin pocket journals, zines |
| Long stitch | 2-8+ | 2-4 per station | Parallel vertical bands | Sketchbooks, everyday journals |
| Link stitch | 2-8+ | 2-4 per station | Chained loops between bands | Decorative spines, gift books |
If you want the spine to lie flat and open to 180 degrees, long stitch wins. If you want maximum decoration on the spine, link stitch. For a quick single-signature gift, pamphlet stitch is done before your coffee cools.
Finishing the Cover and Edges
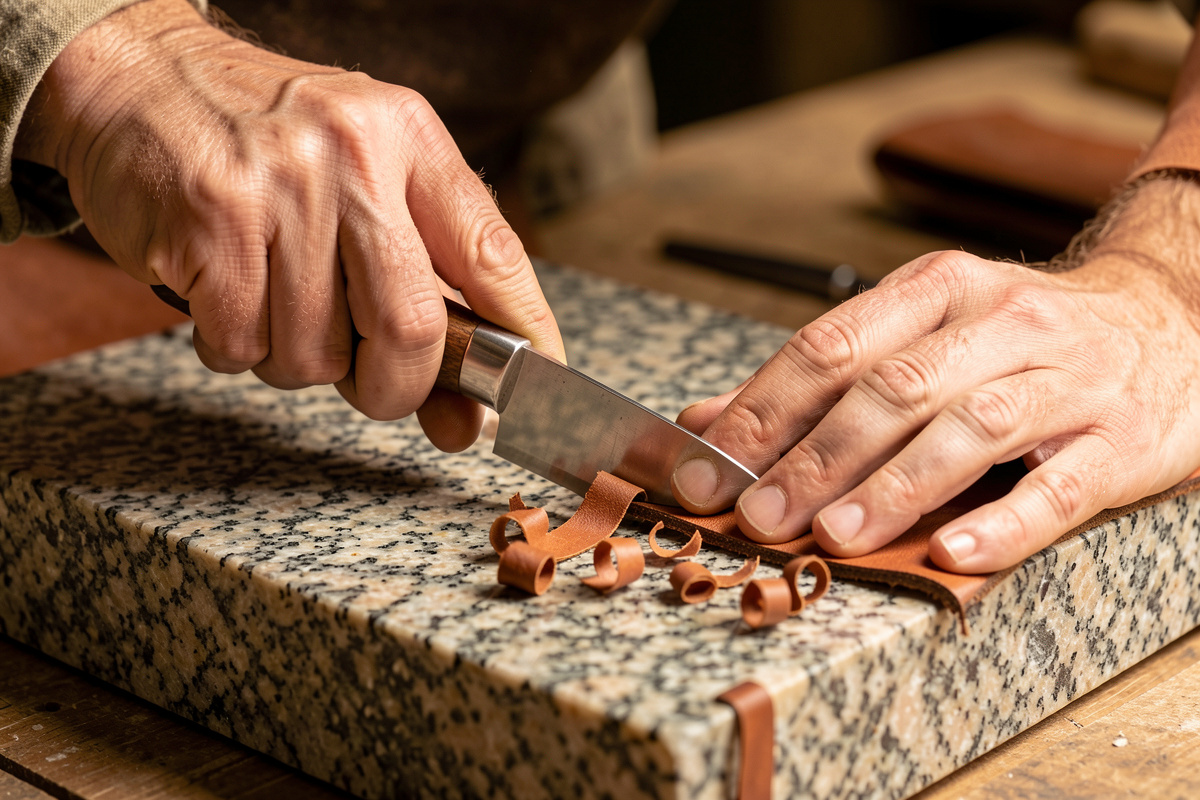
A journal is leather, so it earns the same edge treatment as any small good I make: bevel the raw cover edges, sand coarse to fine, and burnish with Tokonole or gum trag and a slicker until they go glassy. A neat slicked edge is the difference between a book that looks made and one that looks cut.
I bevel the cover perimeter with a #1 or #2 edge beveler, sand through the grits, dampen, and burnish on my DIY PETG slicker. If the cover is veg-tan I will dye and seal it with Resolene or an antique finish before sewing, never after, so dye does not bleed onto the paper. My full leather edge finishing walkthrough applies directly to journal covers. A wrap strap or button closure is optional; I usually add a simple leather thong tie sewn or riveted at the fore-edge.
Once it is bound and burnished, condition the cover lightly with neatsfoot and let it sit. The leather will darken and settle into the spine creases over the first few weeks of use, which is exactly what you want from a book you actually write in.
Tools I reach for
For the bookbinding-specific kit you will want blunt needles, waxed linen thread, a round awl and a bone folder. As an Amazon Associate I earn from qualifying purchases.
- Bookbinding needles (blunt, for sewing through folds)
- Waxed linen thread in 18/3 or 25/3
- Bookbinding awl (round point, not diamond)
- Bone folder for creasing signatures
Frequently Asked Questions
Is bookbinding saddle stitch the same as leather saddle stitch?
No. In leatherwork the saddle stitch is a two-needle lockstitch that joins a seam through punched holes. In bookbinding, saddle stitch means sewing a folded signature through the spine fold, like a stapled pamphlet. Same name, different geometry and tools.
What leather weight is best for a journal cover?
A drapey 2-4oz leather, roughly 0.8 to 1.6mm, folds at the spine without cracking. Stiff 5-6oz veg-tan makes a rigid board cover but fights the spine fold. Skive the spine zone thinner if your only leather is firm.
How many holes does a pamphlet stitch need?
Three holes is the classic pamphlet stitch: one centered and one each about 20-25mm from the head and tail. Larger signatures sometimes use five holes for extra support. You sew in five passes and knot around the long center float.
What thread should I use for binding a leather journal?
Waxed linen in roughly 18/3 or 25/3 is my default. It grips itself, holds a knot, and looks right on the spine. The slick polyester thread used for leather seams is too smooth to hold the friction-knots a book needs.
Can I sew signatures directly through the leather cover?
Yes, that is the long stitch. Each signature is sewn through punched stations in the cover spine with no glue and no separate spine piece. The cover leather becomes the binding and the stitch columns are the visible decoration.
Related Guides
- Leather Bookbinding Guide (hub)
- Leather Journal Making Guide
- Coptic Stitch Bookbinding
- Handmade Leather Book Cover Guide
- Leather Spine Finishing Guide
- Distressing a Leather Journal Cover