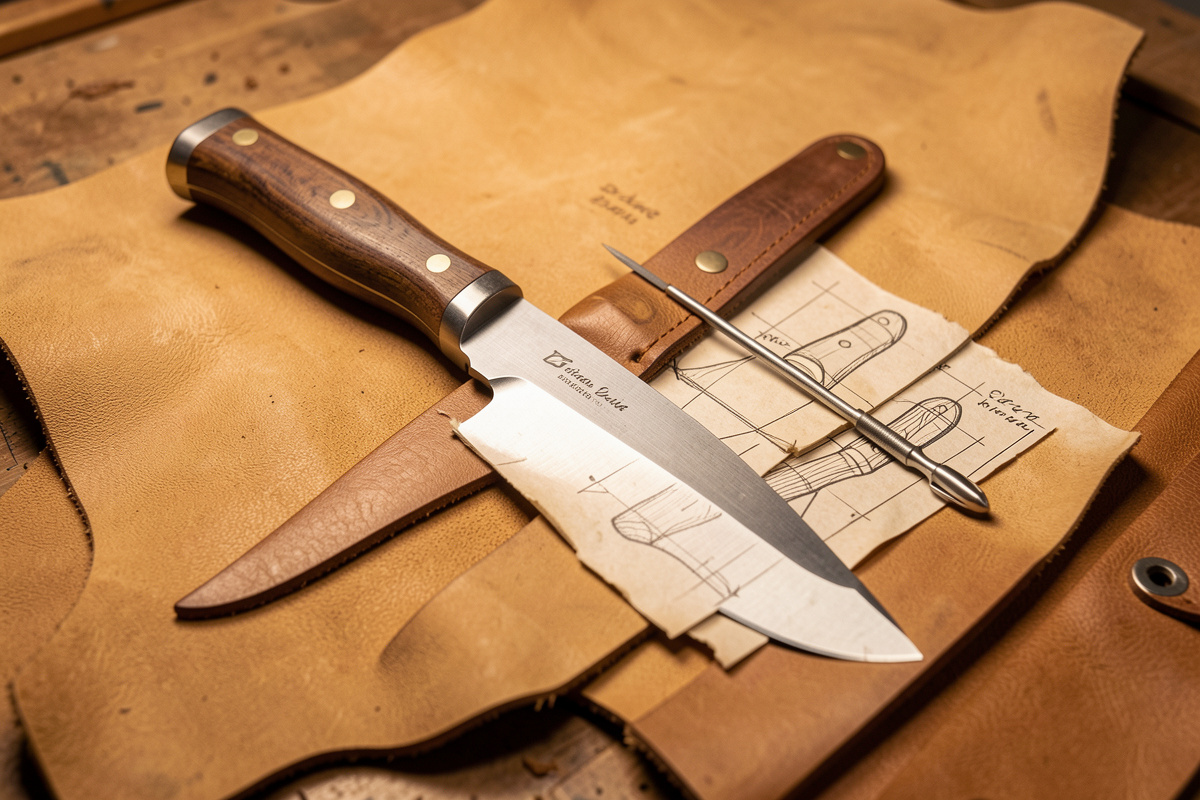
A leather knife sheath is one of the best wet-forming projects you can build: it teaches casing, boning, welt construction, hand-stitching and edge finishing in a single piece…
A leather knife sheath is one of the best wet-forming projects you can build: it teaches casing, boning, welt construction, hand-stitching and edge finishing in a single piece you will actually carry. The body wants 8-9 oz vegetable-tanned leather, the blade gets a welt to keep it off the stitches, and the whole thing is molded to the knife so it holds with friction alone. I have made enough of these to know where they go wrong — and almost all of it traces to skipping the welt or molding too wet.
This guide walks a pouch-style sheath from pattern to finish, the way I build mine on the bench. It assumes you can already saddle stitch; if not, learn that first on a flat piece. For the underlying molding skill, the wet forming technique guide covers casing in depth, and the wet forming hub covers the wider picture.
Leather and Pattern
Use 8-9 oz veg-tan for the sheath body — roughly 3.2 to 3.6 mm — because it has to be rigid enough to protect the edge and hold the molded shape. Thinner leather flexes and lets the blade work against the stitching; this is the most common beginner miss, picking 5-6 oz because it is easier to cut and stitch. A pouch sheath is a single piece folded around the blade with a welt sandwiched at the cutting edge, so your pattern is the knife outline plus a generous margin for the welt, the stitch line and the fold.
Trace the knife on paper, add about 10 mm beyond the spine and edge for the seam and welt, and mark the fold. Cut the pattern in card or cut it cleanly on the laser if you want repeatable templates. Test-fold it around the knife before you ever touch leather. Veg-tan is the only correct choice here — chrome-tan will not mold or hold the form.
The Welt: The Part You Cannot Skip
The welt is a strip of leather sandwiched between the front and back of the sheath along the cutting edge. It does two jobs: it spaces the blade away from the stitching so a sharp edge cannot saw through your thread, and it gives the sheath body at the throat. Skip the welt and the first time the knife shifts, the edge sits directly against the saddle stitch and slowly cuts it — the sheath fails at the seam. Every knife sheath that takes a real edge needs one.
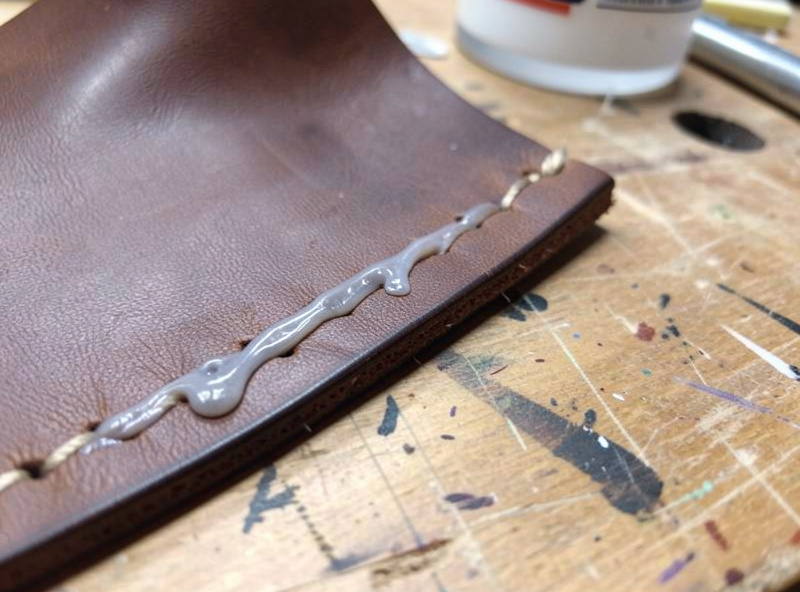
Cut the welt from the same 8-9 oz (or laminate two thinner pieces) to follow the edge-side seam, stopping at the throat. Glue it in place with contact cement before stitching so it does not shift, and bevel its inner edge so the blade slides past it cleanly. The welt is the difference between a sheath that lasts decades and one that splits open the first season.
Wet-Forming to the Blade
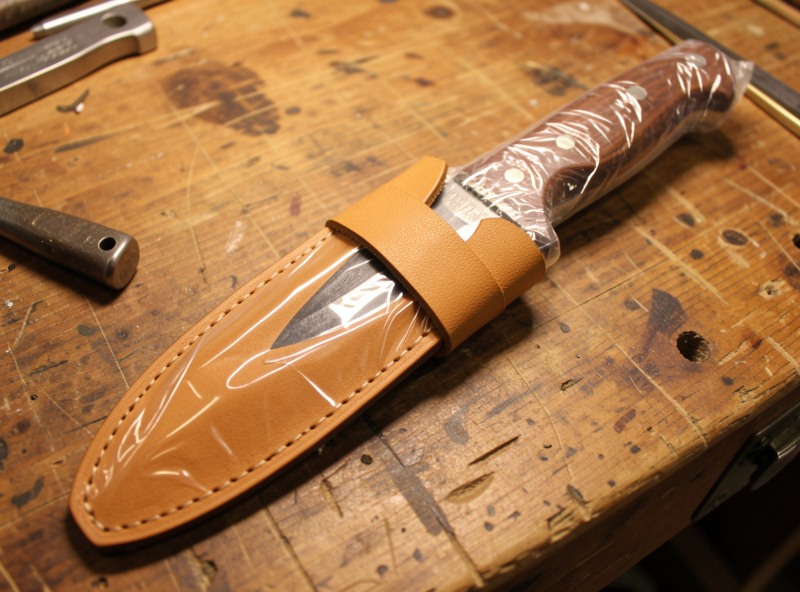
Glue the seam and welt, then wet-form before final stitching so the leather takes the knife’s exact contour. Bag the knife in cling film first — wet veg-tan and carbon steel make rust and dark tannic stains within minutes, so the plastic barrier is non-negotiable. Case the assembled sheath to the cool, matte, clay-like state described in the technique guide, slide the bagged knife in, and bone the leather tight around the spine, the bolster and the handle transition.
Work the throat especially well — a crisp, boned throat is what creates the friction retention that holds the knife without a strap. Then pull the knife, hold the shape with clips, and let the sheath air-dry fully at room temperature for 24 to 48 hours. Do not stitch it wet and do not force-dry it; both ruin the molded fit you just worked in. The full dry-down rule is in the hub guide.
Stitching the Welt
Once bone-dry, stitch the edge-side seam through both faces and the welt with a hand saddle stitch. Mark and punch your stitch line a consistent setback from the edge, then stitch with two needles and waxed thread — I use a waxed polyester in 0.6 to 1.0 mm matched to my iron pitch. A hand saddle stitch out-survives a machine lockstitch here because if one stitch is ever damaged, the rest hold; a lockstitch unravels. For threads, irons and awls if you are still building your kit, a basic saddle-stitching kit covers the essentials.
As an Amazon Associate I earn from qualifying purchases.
Backstitch and finish the thread ends cleanly so the seam locks. Because you molded before stitching, the stitch line follows the final three-dimensional shape instead of fighting it — stitch a sheath flat and then mold it and the seam puckers. This sequence, mold-then-stitch, is the whole reason the technique order matters.
Edge Finishing and Retention
Now finish the edges: bevel, sand through the grits, and burnish with Tokonole or gum trag until they are slick and turned rather than cut. On a sheath the edge takes constant friction against a belt and clothing, so a properly finished edge is not cosmetic — it is what keeps the edge from fraying open. This is the single biggest tell between a sheath that looks made and one that looks bought.
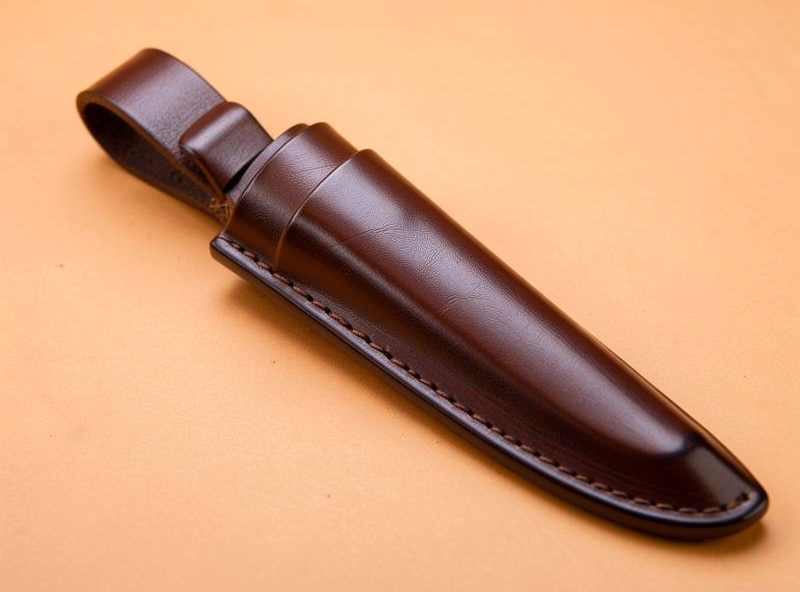
Test the retention by inserting the knife and turning the sheath upside down — a well-molded throat holds it with friction alone. If it is loose, you cased too wet or did not bone the throat tightly; re-wet and re-form. For carry, add a belt loop sized to your belt; a simple folded-and-stitched loop or a separate stitched-on loop both work. Dye and seal last, after the shape and stitching are locked.
The throat is where I spend my patience now. On my early sheaths I treated boning as a quick press, and they held the knife about as well as a loose pocket. A properly boned throat takes minutes of firm, repeated strokes with the bone folder until the leather goes slightly glassy and you can feel it lock around the blade’s choil. I also stopped trusting a same-day fit: a sheath can feel snug while the core is still cool and damp, then dry looser overnight as the trapped moisture leaves. I check retention only once the leather is pale and room-temperature throughout, and if it has loosened I re-case just the throat and bone it again rather than rebuilding the whole piece. That single habit — bone hard, wait for full dry, then judge the fit — fixed more of my early failures than any tool I bought.
Caring for the Sheath
A molded sheath’s enemies are heat and soaking — the same water and warmth that molded it can un-mold it. Keep it out of a hot car, do not store a knife in it wet, and condition lightly once or twice a year with neatsfoot oil, lightly so you do not soften the rigidity. Sealed with a thin coat of Resolene or a wax finish, a correctly built and dried sheath holds its shape and protects the edge for decades. That permanence is the payoff for getting the welt and the dry-down right.
Frequently Asked Questions
What leather weight is best for a knife sheath?
Use 8-9 oz vegetable-tanned leather for the sheath body, roughly 3.2 to 3.6 mm thick. It is rigid enough to protect the edge and hold the molded shape. Thinner leather flexes and lets the blade work against the stitching, which is the most common beginner mistake.
Do I really need a welt in a leather sheath?
Yes. The welt is a leather strip sandwiched along the cutting edge that spaces the blade away from the stitching. Without it, a sharp edge sits against the saddle stitch and slowly cuts through the thread, and the sheath fails at the seam. Every knife sheath that holds a real edge needs one.
How do I stop the knife rusting during wet forming?
Wrap the knife in cling film before sliding it into the cased sheath. Wet vegetable-tanned leather and carbon steel react within minutes, producing rust on the blade and dark tannic stains on the leather. The plastic barrier keeps moisture and steel separated while you bone in the fit.
Should I stitch the sheath before or after wet forming?
Wet-form first, dry fully, then stitch. Molding before stitching lets the stitch line follow the final three-dimensional shape. If you stitch flat and then mold, the seam puckers and fights the shape. Glue the seam and welt before forming so nothing shifts during boning.
How does a sheath hold the knife without a strap?
Friction retention from a tightly boned throat. When you mold the cased leather hard around the throat and blade, the dried shape grips the knife. Test it by inserting the knife and turning the sheath upside down. If it falls out, you cased too wet or under-boned the throat, so re-wet and re-form.
Further Reading
- Leather Wet Forming: The Complete Guide
- Leather Wet Forming Technique: Casing to Boning
- Leather Holster Making Guide
- How to Saddle Stitch Leather by Hand
- Leather Edge Finishing: Bevel to Burnish



