Leather tooling is the craft of cutting and stamping a design into cased vegetable-tanned leather so it reads as carved, not printed. It works on veg-tan only, ideally…
Leather tooling is the craft of cutting and stamping a design into cased vegetable-tanned leather so it reads as carved, not printed. It works on veg-tan only, ideally 5–6 oz for learning, and it lives or dies on one thing most beginners ignore: getting the moisture content of the leather exactly right before a single tool touches it.
I came to tooling sideways. I’d been hand-stitching wallets and sheaths for years, beveling and slicking edges until they looked turned rather than cut, when I finally cased a scrap of 5 oz veg-tan and ran a swivel knife through it. The first line wandered like a drunk. The tenth was clean. That gap — between a line that looks carved and one that looks scratched — is the entire skill, and it’s all learnable. This guide is the map of the cluster: what tooling is, the small set of tools that actually matter, how casing works, and where each deeper technique lives. Every linked guide below goes deeper on one piece of it.
What Leather Tooling Actually Means
Tooling covers everything you do to the grain side of cased veg-tan to create a design: cutting with a swivel knife, beveling those cuts to throw a shadow, and pressing stamps to add texture and depth. Carving is the swivel-knife part specifically. People use the words loosely, and that’s fine.
The reason it only works on vegetable-tanned leather is chemistry, not snobbery. Veg-tan is tanned with tree-bark tannins that leave the fibers able to absorb water, swell, take a compressed impression, and then hold that impression permanently when they dry. Chrome-tanned leather is tanned with chromium salts that keep the fibers soft and springy forever — it won’t hold a stamp, won’t burnish the same way, and won’t mold. If you’ve read my guide on chrome tan vs veg tan, this is the single most important consequence of that split: veg-tan is the leather that tools, dyes, molds and burnishes, and chrome-tan is the one that stays soft. Never confuse which job each is for. For tooling, it’s veg-tan, every time.
The One Rule That Decides Everything: Casing
Casing is controlled wetting. You introduce water into the leather, let it spread evenly through the full thickness, then wait until the surface returns to nearly its natural color before you tool. Cased correctly, the fibers compress crisply under a stamp and a swivel knife glides; cased wrong, you get fuzzy cuts, blown-out impressions, or no impression at all.
The mistake nearly everyone makes is tooling leather that’s too wet. Sopping leather looks ready but the fibers are floating — your bevel won’t burnish dark, your stamps spread and lose their crisp shoulders, and the grain can tear. The sweet spot is when the surface has gone back to looking almost dry but the leather is still cool to the back of your hand and you can see a faint darkening where you press a thumbnail. That’s the window. On the bench I work on, I case a piece, walk away, and come back when it’s “almost there” — patience here is worth more than any tool you can buy. The deeper mechanics of moisture, temper and how it interacts with each technique live in my tooling leather selection guide.
The Core Toolkit (and What You Can Skip at First)
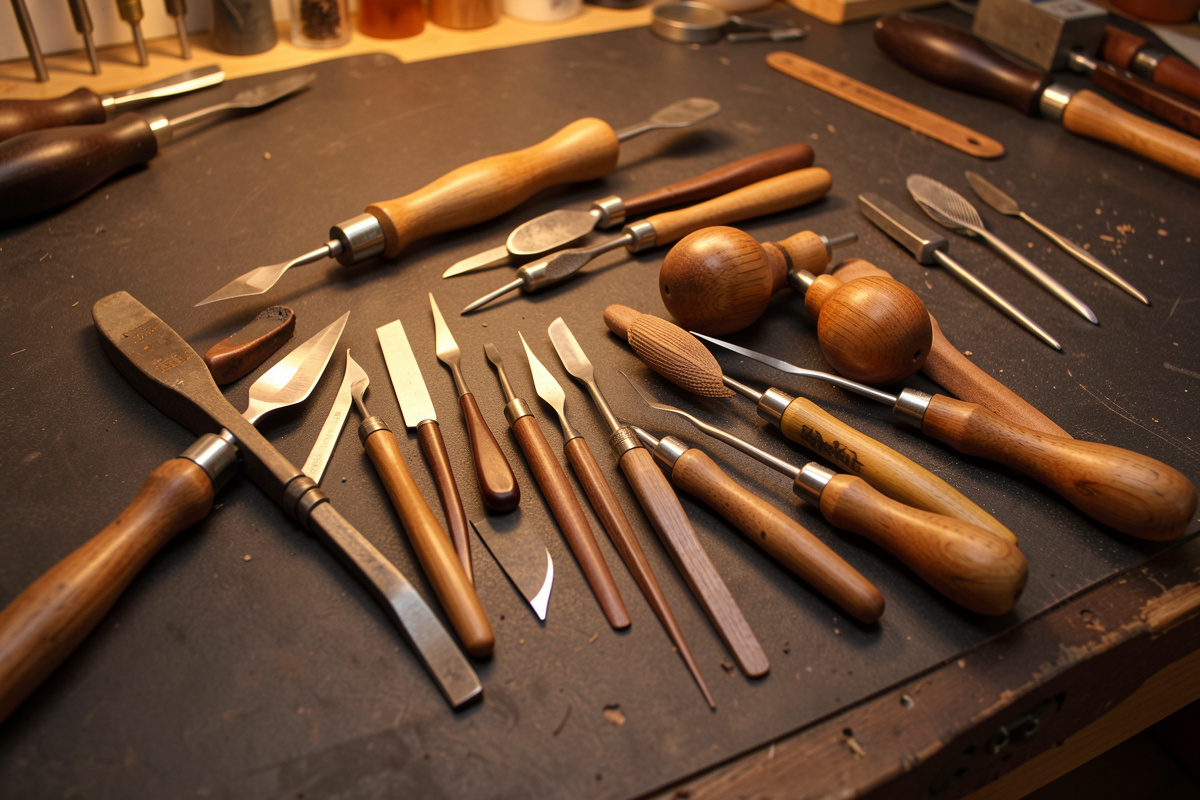
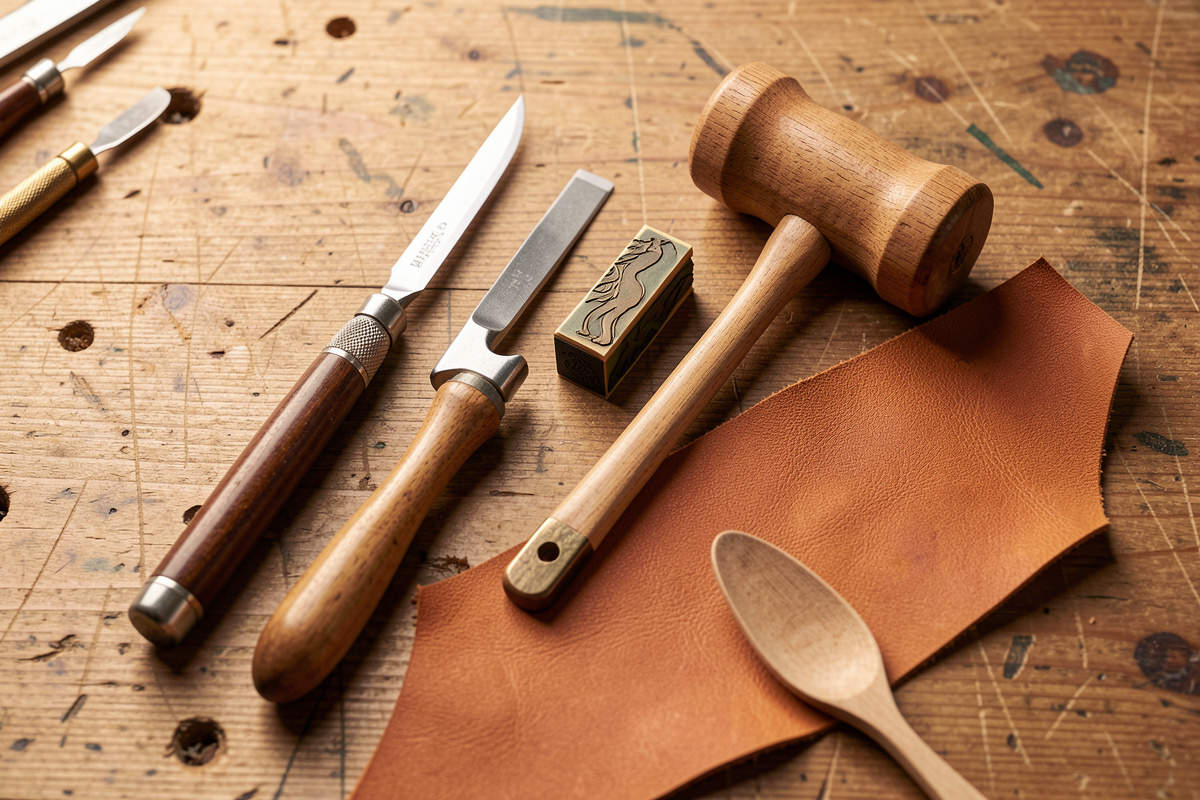
You can start tooling with a swivel knife, one beveler, a camouflage stamp, a pear shader, a seeder, a backgrounder, a modeling spoon, and a poly mallet. That’s it. Everything else is refinement. I own far more than that, but I learned the work on a handful of tools, and I’d tell anyone starting to buy few and learn them deeply rather than buy a hundred-stamp set and learn none.
The table below is how I’d prioritize a first tooling purchase by what each tool actually does on the leather. For the broader cutting, punching and sharpening kit that sits behind all of this, my full leatherworking tools guide covers the three tiers of buy-in.
| Tool | What it does | Priority | Typical first size |
|---|---|---|---|
| Swivel knife | Cuts the lines of the design into the grain | Essential | 3/8″ barrel, adjustable yoke |
| Beveler (smooth) | Presses down one side of a cut to throw a shadow | Essential | #2 (B701-class) |
| Camouflage stamp | Crescent texture for borders and leaf veins | High | Medium crescent |
| Pear shader | Smooth dished depressions for petals and contour | High | Small smooth |
| Seeder | Domed dots for flower centers | Medium | Small |
| Backgrounder | Stipples the background down so the design lifts | Medium | Fine matte |
| Modeling spoon | Burnishes and rounds tooled contours by hand | Medium | Double-ended |
| Poly/rawhide mallet | Drives stamps without bouncing | Essential | 12–16 oz |
One thing the table can’t show: you drive stamps with a maul or poly mallet, never a steel hammer, because you want a dead blow that doesn’t bounce. If you’re unsure what to swing, my mallet and maul guide breaks down weights and why a poly head beats steel for this work. And every cutting tool here only performs if it’s sharp — a dull swivel knife drags and a dull edge beveler crushes instead of cutting, which is why I keep a strop on the bench and lean on the routine in my tool sharpening guide.
The Swivel Knife: The First Real Skill
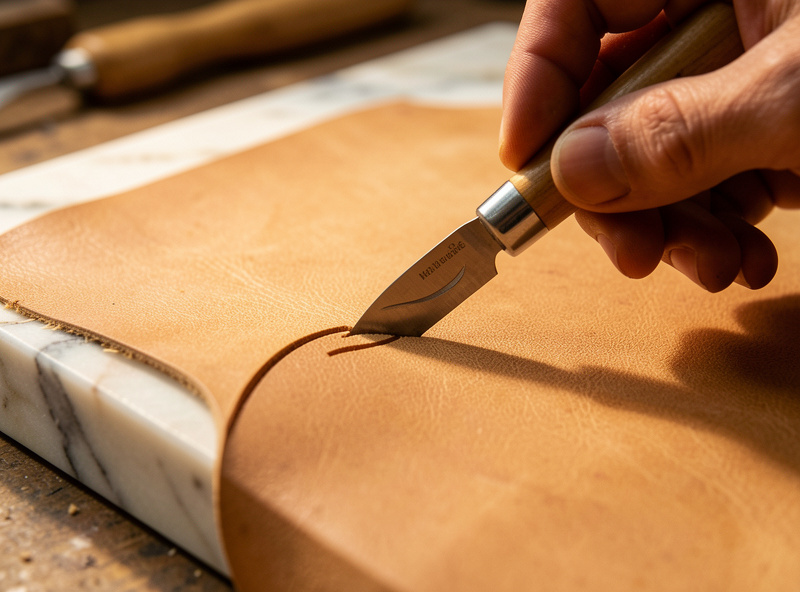
The swivel knife is held with your index finger in the yoke and the barrel spinning between thumb and middle finger, and you steer the blade by rotating the barrel — not by twisting your wrist. You cut at roughly a 45-degree forward lean, about halfway through the leather’s thickness, pulling toward yourself while the work rotates under the blade.
This is the technique that takes the longest to feel natural, and it’s worth being honest about that. Your first cuts will wander and your stops and starts will be ragged. The fixes are mundane: keep the blade stropped to a polish so it glides instead of drags, case the leather a touch drier than feels right, and practice long sweeping S-curves on scrap before you ever cut a real pattern. Depth matters — too shallow and the bevel has nothing to push against, too deep and you weaken the leather and risk cutting through on a wallet-weight piece. Halfway is the rule of thumb on 5–6 oz. The complete tool-by-tool breakdown, including blade widths and the angled vs straight blades I reach for, is in my leather carving tools guide.
Beveling and Modeling: Where Flat Becomes Carved
Beveling is what turns a cut line into a carved edge. You set the beveler against the cut on the side you want to drop, and tap it along the line with overlapping strokes so the leather compresses into a smooth, continuous ramp. Done right, it throws a shadow that makes the design look three-dimensional under raking light.
The signature of good beveling is a “walked” stamp — overlapping the beveler so closely that you can’t see where one strike ended and the next began. Beginners leave a stuttery, scalloped line because they space the strikes out; the fix is to advance the stamp barely a hair between taps and keep the rhythm even. Modeling picks up where beveling leaves off: with a modeling spoon you burnish and round contours by hand, pushing down petal edges and lifting centers so the surface flows. There’s a whole geometry to which way to bevel and how to read a pattern’s “over and under,” and I walk through all of it in the beveling and modeling guide. Beveling also shares its DNA with edge work — the same compress-the-fiber logic behind how I bevel leather edges on a finished piece.
Stamping: Texture, Borders, and Background
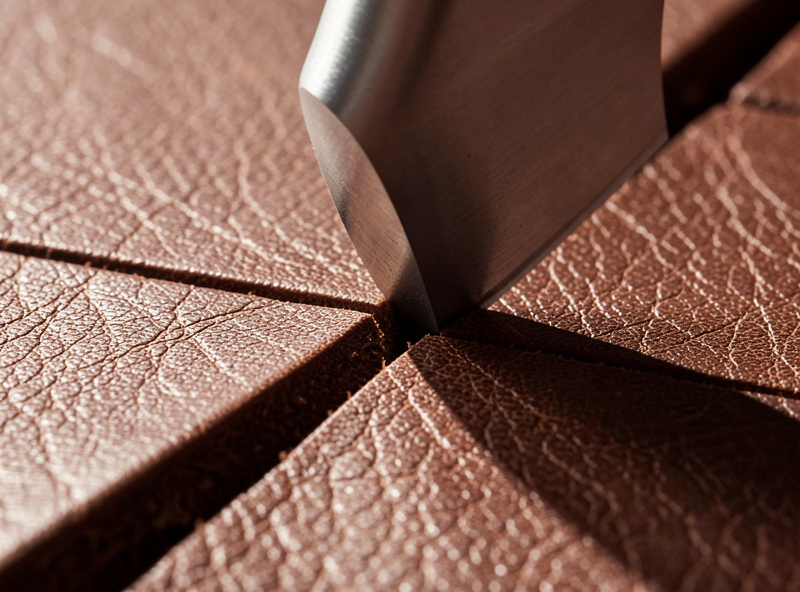
Stamping is pressing a shaped steel tool into cased leather to leave a permanent impression: crescents for camouflage texture, domes for seeds, dished shapes for shaders, and stippled matte tools to knock the background down. A single firm strike with a poly maul leaves a crisp shoulder; tapping repeatedly blurs it.
The trick with stamping is consistency of pressure and angle. Hold the stamp perfectly vertical, strike once with conviction, and lift cleanly. Tilt it and you get a half-impression with one deep edge; pussyfoot the blow and you get a shallow ghost. Backgrounding — stippling the negative space so the main design lifts forward — is what separates a finished-looking piece from a floating one, and it’s tedious, meditative work that rewards patience. Which stamps to buy first, how to read the maker’s-mark numbering, and the border-and-fill patterns that look good on a wallet or belt are all in my stamping patterns guide. Stamping tools and a casing solution are the two places I’d actually spend money early — a decent stamp set and a bottle of proper casing solution change your results more than any single upgrade.
Floral Patterns: Where Every Technique Meets
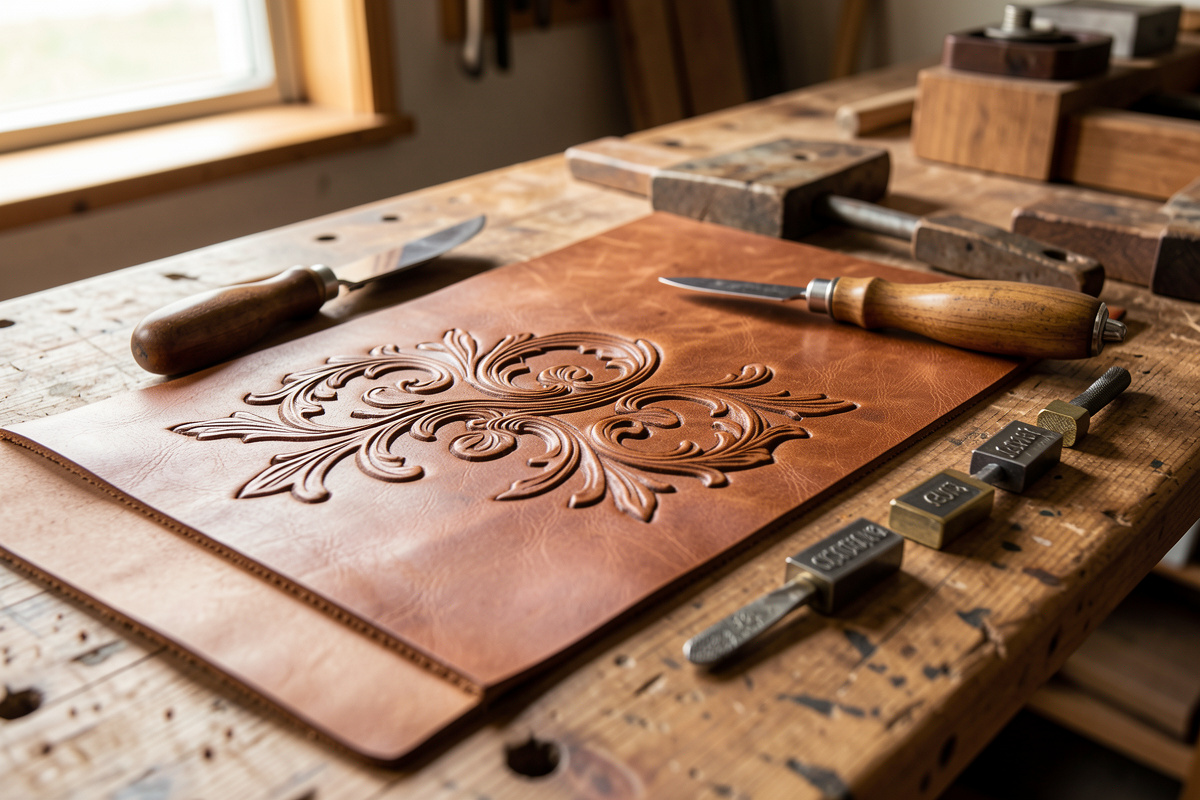
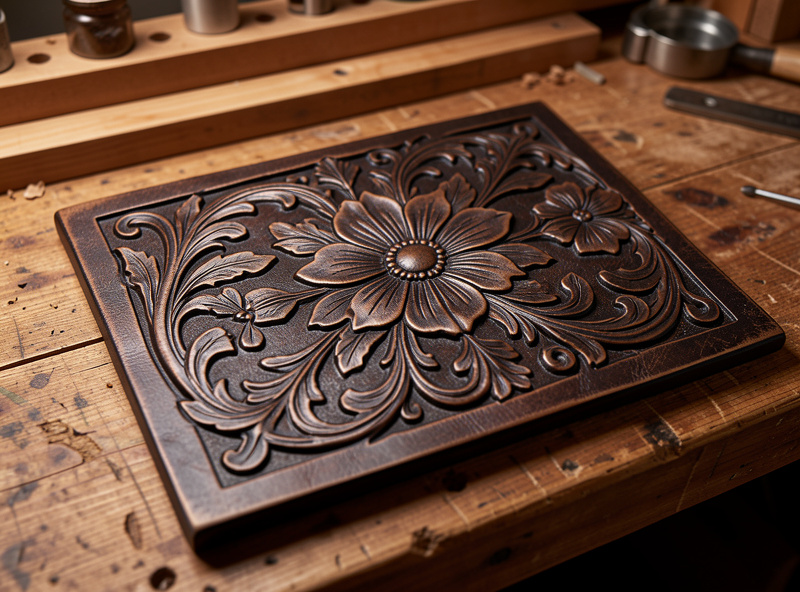
The Sheridan-style floral pattern — flowing acanthus scrolls, layered petals, and tight backgrounded fills — is the proving ground where swivel knife, beveler, shader, seeder and backgrounder all have to work together. It looks intimidating, but it’s built from a small vocabulary of repeated moves stacked in a deliberate order.
The order matters as much as the moves: cut all your lines first, bevel them, then shade, then seed the centers, then background last. Skip ahead and you’ll bevel into an area you still needed to cut, or background over a contour you meant to shade. A floral pattern is really just disciplined sequencing of the techniques in this cluster. I break a full pattern down step by step — including how to transfer the design to cased leather without tearing the grain — in the floral tooling pattern guide. If you’re brand new to any of this, start instead with the gentler on-ramp in my leather tooling for beginners guide, which builds a simple bordered geometric piece before you ever attempt a flower.
Sealing and Finishing a Tooled Panel
A tooled panel isn’t finished when the stamping stops. The cut lines and backgrounded areas need color to read, and the whole piece needs a sealing coat or the tooling flattens and dirties with handling. How you finish depends on whether you want the tooling to pop with antique or stay clean and natural.
Antiquing is the classic move for tooled leather: you apply a resist over the raised areas, wipe a dark antique paste across the whole panel so it settles into the cut lines and backgrounded recesses, then wipe the surface back. The contrast is what makes carving read from across a room. I cover the resist-and-wipe method in detail in my antique finish guide, and the broader dye stacking order — deglaze, dye, buff, condition, seal — in the complete dyeing guide. Even a tooled piece you leave natural wants a sealing coat and a light burnish; the same burnishing instinct behind how I burnish edges with Tokonole applies to slicking down a modeled contour.
Choosing Leather for Tooling
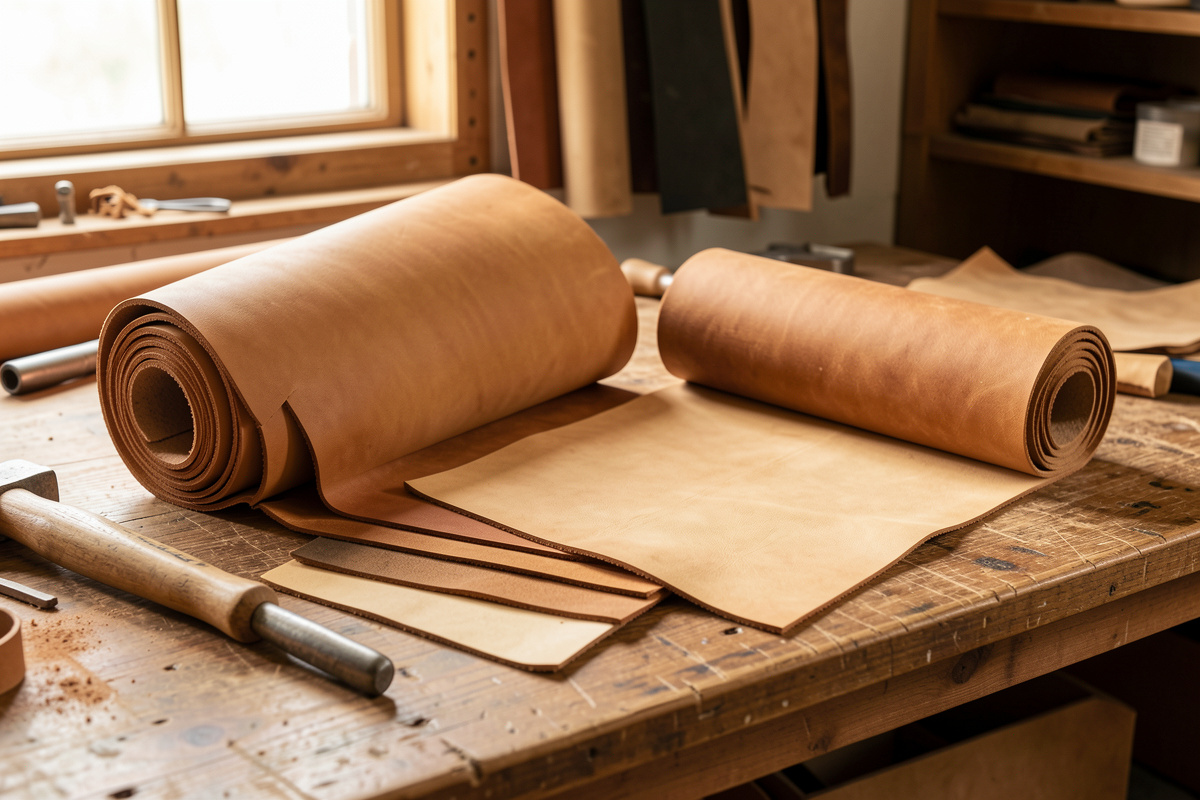
For learning, an undyed natural veg-tan in the 5–6 oz range is ideal: thick enough to take a deep bevel, thin enough to cut cleanly, and firm enough to hold an impression. Tooling-grade veg-tan should be smooth, blemish-free on the grain, and “case-friendly” — some cheaper veg-tans are over-processed and never case evenly.
Weight tracks the project. Wallet panels and card sleeves live at 4–5 oz, belt and sheath bodies at 8–10 oz, and small decorative panels anywhere in between. I keep tooling cuts from the firmer, tighter-grained shoulders and bends rather than soft bellies, because belly leather is stretchy and stamps spread on it. If you want the full breakdown of ounce-to-millimeter and which part of the hide to cut from, my leather thickness chart and types of leather guide cover the selection logic, and the best leather for wallets guide narrows it for small goods specifically.
A Repeatable Casing Routine
The single biggest jump in my tooling came from casing the same way every time instead of guessing. A repeatable routine takes the variable out of the leather and puts the focus back on your hands. Here is the sequence I default to on 5–6 oz veg-tan, and I adjust the wait time, not the steps.
I dampen the flesh side first with a sponge until it stops absorbing, then lightly wet the grain side, and let the piece sit flat under a sheet of glass or in a sealed bag so the moisture equalizes through the full thickness rather than evaporating off the top. That equalizing wait — anywhere from fifteen minutes to over an hour depending on humidity in the Sweden workshop — is what separates even casing from a wet-on-top, dry-underneath mess that tools inconsistently. When the grain has returned almost to its natural pale color but the leather still feels cool against the back of my hand, it’s ready. A drop of casing solution or a pinch of dish soap in the water acts as a surfactant, helping the moisture penetrate evenly and giving cut lines a darker, more lustrous burnish. If the leather dries out mid-session, I re-mist lightly rather than soaking it again — over-wetting a piece twice in one sitting is how you raise the grain and lose crispness. Tooling on properly cased leather feels like the tool wants to move; tooling on guessed leather feels like a fight. Once you’ve felt the difference, you stop skipping this step.
Transferring a Pattern Without Tearing the Grain
Before you cut, the design has to get onto the leather, and doing it wrong ruins a panel before the swivel knife ever touches it. The standard method is to trace the pattern through tracing film onto cased leather with a stylus, pressing just hard enough to leave a faint guideline you’ll cut over — not a deep groove.
The error here is pressing too hard with the stylus and embedding lines you can’t remove, or transferring onto leather that’s too dry to take the trace and too dry to forgive a slip. Case the leather first, lay the tracing film over it, tape one edge so it hinges and doesn’t shift, and trace the main lines with light, confident strokes. Curves want a continuous motion; stopping and starting leaves a dotted, hesitant line that your swivel knife will faithfully reproduce. For repeating motifs and borders, this is exactly where the workshop crossover earns its keep — a laser-cut acrylic template or a printed registration jig drops the same motif in the same place every time, which hand-tracing can’t match across a long belt. For one-off floral work, though, hand transfer is still the honest path, and learning to read your traced lines as a guide rather than a rule is part of developing the eye.
Setting Up a Low-Dust Tooling Bench
Tooling needs a hard, unforgiving surface under the leather and a clean space above it. I tool on a marble slab set on a solid bench, because any cushion under the leather absorbs the blow and softens every impression — the stamp’s energy has to go into the leather, not into a bouncy work surface.
In a mixed workshop, the other consideration is contamination. My leather bench is walled off from the metal-grinding side so swarf and grinding dust never settle into a finish coat or scratch a cased panel. A marble or granite slab, a poly cutting board for punching, good raking light to read your tooling depth, and somewhere to lay cased pieces flat while they equalize is the whole setup. Raking light matters more than people expect: tooling is read by shadow, so a light source low and to the side shows you instantly whether a bevel is throwing the shadow you want or whether a stamp landed crooked. I keep a small adjustable lamp at bench height for exactly this. None of this is expensive, and the bench you tool on shapes your results as much as the tools in your hand.
Common Tooling Mistakes (and the Fix)
Most tooling failures trace back to four things: leather cased too wet, dull tools, inconsistent stamping pressure, and rushing the sequence. Every one of them is a process fix, not a talent problem, which is the encouraging part — nobody is born able to cut a clean line.
Tooling too wet gives you fuzzy, pale cuts that won’t burnish; let the leather come back toward its natural color first. Dull swivel-knife blades drag and skip; strop before every session, not when it finally gets bad. Stamps that look uneven almost always mean uneven strikes — same angle, same conviction, every time. And beveling that looks scalloped means you’re not walking the tool closely enough. If you’re new to the broader craft and these failure modes feel overwhelming, the patient on-ramp in leather working for beginners sets the foundation, and many of these errors overlap with the ones in my common beginner mistakes guide.
Reading the Over-and-Under of a Design
The thing that makes a tooled scroll look like it weaves through itself is a single decision repeated everywhere two lines cross: which element passes over and which passes under. You bevel down on the side that goes behind, so it visually drops away, and leave the crossing element raised. Get this consistent and a flat panel reads as layered ribbon; get it inconsistent and the design looks confused even if every cut is clean.
This is why beveling is a thinking step, not just a mechanical one. Before I bevel a section I look at the whole pattern and decide the over-and-under, because beveling the wrong side is one of the few tooling mistakes you genuinely can’t undo — you can’t un-compress leather. On Sheridan-style florals the convention is that stems and scrolls weave consistently, and the leaves and flowers sit on top of the stems they grow from. Once you train your eye to see the design as layers rather than lines, the beveling decisions make themselves. I treat the first pass over a new pattern as a planning pass: I’ll lightly mark which way each crossing goes before I commit the beveler. It feels slow, but re-cutting a ruined panel is slower, and this is the kind of judgment that turns competent tooling into work that actually reads as carved. The deeper mechanics of stamp angle and walking rhythm that execute these decisions live in the beveling and modeling guide linked above.
The Polymath Crossover: Printing and Engraving Your Own Tooling
One advantage of working in a mixed shop is that the same machines that serve my other benches serve this one. The FDM printer that prints reservoir lids for other projects also prints custom stamp blanks and registration jigs for tooling, and the laser engraves veg-tan panels with a precision a hand-cut line can’t match for repeating logos.
I’m honest that hand tooling and machine work are different crafts with different jobs — a laser-engraved monogram is not a hand-carved flower, and neither is “better.” But for borders, repeated motifs, and template registration, the crossover is real and useful. I document the printed-tooling experiments in 3D-printed leather tooling and the laser settings that avoid burn-through in laser engraving on veg-tan. Same workshop, different bench, same workflow.
How Long It Takes to Get Good
Honest expectations save more beginners than any tool recommendation. A clean, confident swivel-knife line takes weeks of scrap practice, not an afternoon, and your first finished piece will have wandering cuts and uneven backgrounding no matter how careful you are. That’s not failure — that’s the cost of admission, and everyone who tools well paid it.
What shortens the curve is deliberate practice on the right thing. Spend a session cutting nothing but long S-curves and circles until the blade stops feeling foreign. Spend another walking a beveler down straight lines until the scallop disappears. Stamp a grid of camouflage strikes and study which ones landed crisp and why. These drills feel unglamorous next to tooling a finished wallet, but they build the specific muscle memory the real work demands, and they cost nothing but scrap leather you’d otherwise throw out. I still warm up with a few practice cuts before starting a real panel, the same way I’d strop a knife before stitching — the first cuts of a session are always the worst, so I’d rather they land on scrap. Treat the early pieces as practice that happens to be permanent, keep them in a drawer, and pull them out in six months to see how far you’ve come. The leather doesn’t lie, and neither does the progress.
How This Cluster Fits Together
Tooling isn’t one skill — it’s a stack of small ones layered in order, and this cluster is built to be read in that order. Start with casing and a swivel knife, add beveling, then stamping, then put it all together in a floral pattern. Below is every guide in the set, plus the cutting, sharpening and finishing pieces that support the work.
Frequently Asked Questions
Can you tool chrome-tanned leather?
No. Chrome-tanned leather is tanned with chromium salts that keep the fibers soft and springy, so it won’t hold a stamp or burnish. Tooling requires vegetable-tanned leather, which compresses and holds an impression permanently when it dries.
What leather weight is best for learning to tool?
A natural undyed vegetable-tanned leather in the 5 to 6 oz range is ideal for learning. It is thick enough to take a deep bevel, thin enough to cut cleanly with a swivel knife, and firm enough to hold a crisp stamp impression.
What does casing leather mean?
Casing is controlled wetting. You add water, let it spread evenly through the full thickness, then wait until the surface returns to nearly its natural color before tooling. Cased correctly, the fibers compress crisply under a stamp and a swivel knife glides.
Why do my swivel knife cuts look fuzzy?
Fuzzy cuts almost always mean the leather is cased too wet or the blade is dull. Let the leather dry back toward its natural color before cutting, and keep the swivel knife blade stropped to a polish so it glides through the grain instead of dragging.
What is the minimum set of tools to start leather tooling?
A swivel knife, one smooth beveler, a camouflage stamp, a pear shader, a seeder, a backgrounder, a modeling spoon, and a poly mallet will let you tool a complete design. Buy a few tools and learn them deeply rather than a hundred-stamp set you never master.
In what order do you tool a floral pattern?
Cut all your lines with the swivel knife first, then bevel them, then shade with a pear shader, then seed the flower centers, and background last. Skipping ahead means beveling into an area you still needed to cut or backgrounding over a contour you meant to shade.
Related Guides in This Cluster
- Leather Tooling for Beginners — your first bordered piece, start here
- Leather Carving Tools Guide — swivel knives, blades, and the stamp vocabulary
- Tooling Leather Selection Guide — weight, temper, and casing the right hide
- Beveling and Modeling Guide — making flat cuts look carved
- Stamping Patterns Guide — borders, backgrounds, and texture
- Floral Tooling Pattern Guide — putting every technique together