The first move in removing any stain from leather is identifying what the leather is before you touch the mark. Veg-tan absorbs water and solvents into the fibers…
The first move in removing any stain from leather is identifying what the leather is before you touch the mark. Veg-tan absorbs water and solvents into the fibers in seconds; a finish buys you minutes to hours instead. Chrome-tan and finished leathers keep most trouble on the surface. Get that wrong and you drive a fixable stain deeper, or worse, lift the dye trying to clean it.
I hand-stitch wallets, belts, knife sheaths and small bags on a dedicated bench in my Sweden workshop, and I finish every edge by bevel, sand, slick and wax. That means I have also ruined pieces learning this the hard way — a water ring on a freshly cased belt, ink bleeding across a card sleeve, a mildew bloom on a bag that sat in a damp cupboard. This guide is the map I wish I had when those happened: how to read the leather, which stains lift and which ones you manage, and where a stain stops being a stain and becomes damage you repair instead.
Read the Leather Before You Read the Stain
Every decision below hangs on two questions: what tannage is the leather, and does it have a surface finish. Veg-tan (vegetable-tanned) is the leather that tools, molds, dyes and burnishes — it is thirsty and open-fibered, so a drop of water spreads and darkens, and a solvent sinks in fast. Chrome-tan stays soft and water-resistant, and pigmented/finished leather (most furniture, car seats, jackets) wears a topcoat that keeps spills sitting on the surface where you have a real chance to wipe them off before they set.
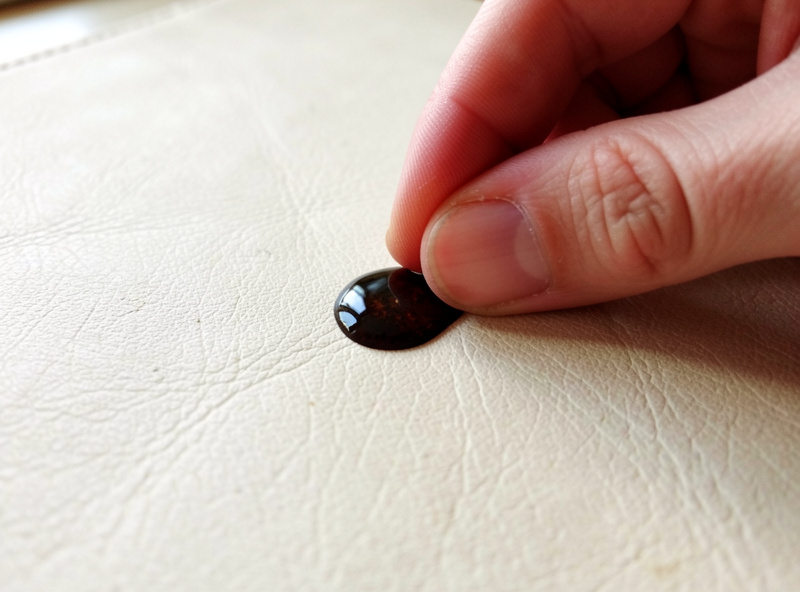
A quick test I use on the bench: put one drop of distilled water on a hidden spot. If it darkens and slowly soaks in, you have absorbent veg-tan or an aniline finish — treat it gently, work from the outside of the stain inward, and never soak it. If the drop beads and sits, you have a finished or waxed surface and you have more room to work. If you are unsure what you own, my chrome-tan vs veg-tan breakdown and the broader types of leather guide will settle it faster than guessing. Pull-up leathers behave differently again — the oils move when you flex them, which is why a scuff on pull-up leather patina often “heals” with a thumb rub.
The Rules That Apply to Every Stain
Before the stain-by-stain playbook, five principles that hold no matter what you spilled. Break these and you turn a small mark into a permanent one, which is how most “the cleaner ruined it” stories actually start.
Blot, never rub. Rubbing grinds the contaminant into the grain and spreads the edge of the stain. Press a clean cloth straight down and lift. Work outside-in. Cleaning from the stain’s edge toward its center keeps you from pushing it wider. Test everything in a hidden spot first — the inside of a strap end, the flesh side, under a fold. Less product, more patience: two light passes beat one wet one. And always re-condition after any cleaning, because whatever lifted the stain also stripped some of the oils that keep leather supple. My conditioning leather guide covers the products and the technique; skipping that step is why cleaned leather often ends up stiff and cracked months later.
Water Stains and Rings
Water is the stain most people make worse. The instinct is to spot-dry the wet patch, which sets a hard tide line exactly where the wet edge stopped. On veg-tan and aniline leather, the fix is counterintuitive: dampen the whole panel evenly with a barely-wet sponge so there is no edge to dry into a ring, then let it dry slowly and flat, away from heat. A hair dryer or radiator forces the surface to dry faster than the core and locks in the mark.
Once it is bone dry, a light condition evens the color back out. The full walkthrough — including how to rescue a ring that has already set and when a light rehydrate-and-reburnish is the only route — is in how to remove water stains from leather without making it worse. This is also the stain most tied to prevention: a proper finish keeps water on the surface, which is the whole point of waterproofing leather goods.
Ink and Pen Marks
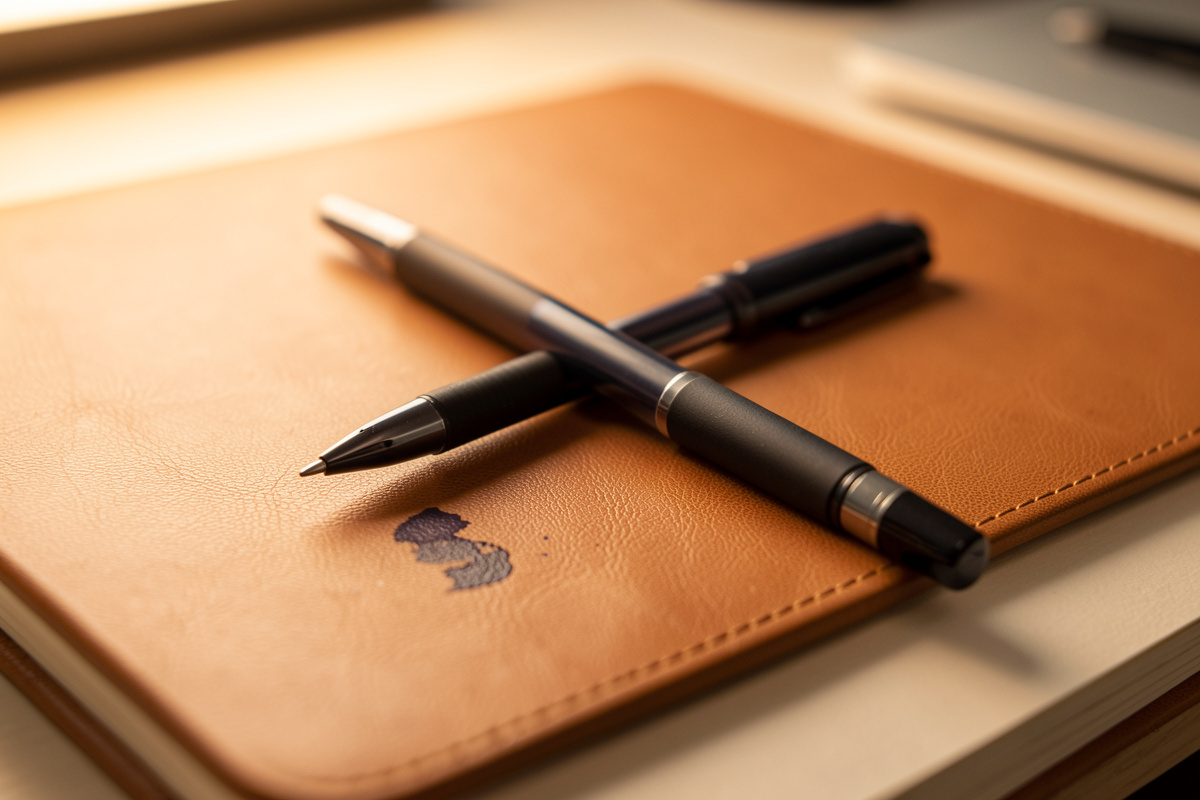
Ink is a race against time and a question of leather type. On a finished, non-porous surface you have hours; on unfinished veg-tan the ink wicks into the fibers in seconds and your realistic goal shifts from “remove” to “lighten and disguise.” The wrong solvent is the danger here — anything aggressive enough to dissolve ballpoint ink is usually aggressive enough to strip dye, so you trade an ink mark for a bald patch.
Ballpoint, gel, and permanent marker each behave differently, and the safe approach changes with the finish. I break the whole thing down by leather type — what to reach for on pigmented leather versus what is even worth attempting on raw veg-tan — in how to get ink out of leather. If the ink has genuinely dyed the fiber on unfinished leather, you are often into re-dyeing territory, which overlaps with salvaging a bad color job in fixing leather dye mistakes.
Mold and Mildew
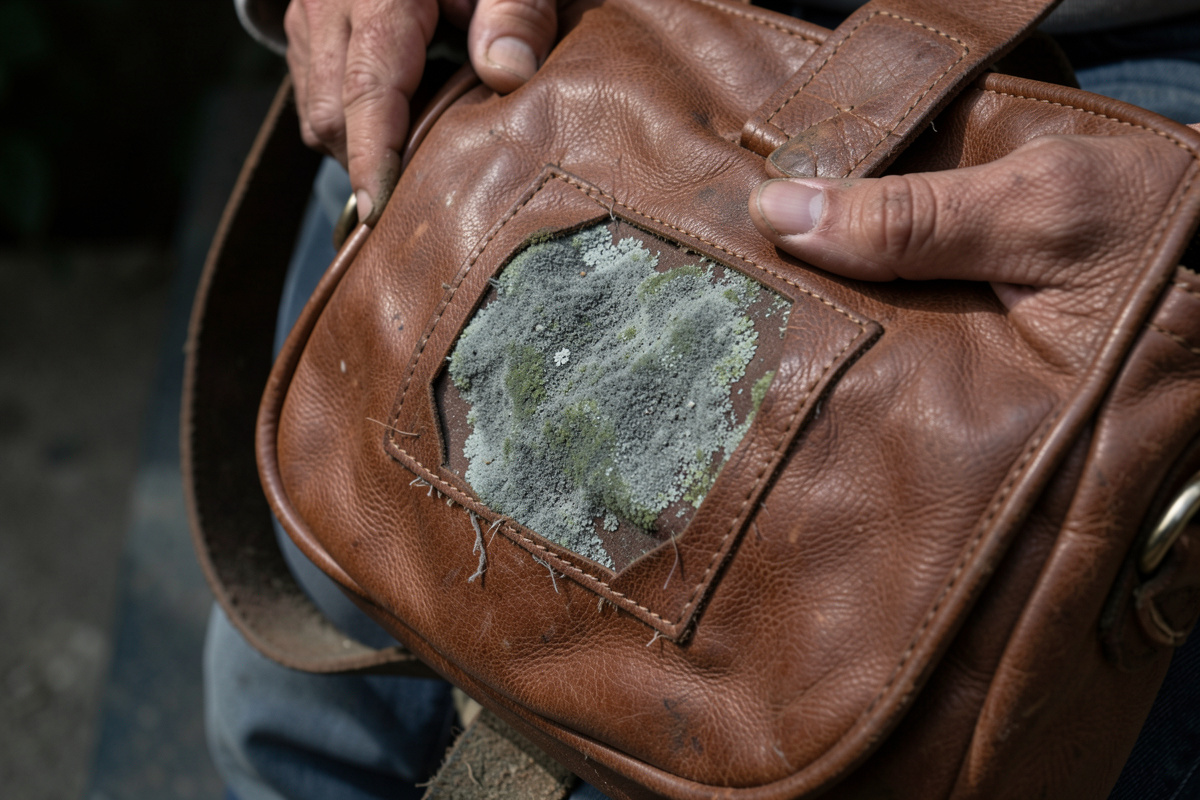
Mold is the one stain that is also a living problem — kill it wrong and it comes back, and the spores are why a moldy bag smells the way it does. The mistake is wiping it with a wet cloth, which just plants spores deeper and feeds them the moisture they want. The bench method is a dilute solution, work done outdoors so you are not spreading spores through the workshop, thorough drying, and then removing the conditions that let it grow in the first place.
Because mold is a humidity and airflow problem as much as a cleaning one, the durable fix is storage, not scrubbing. My full protocol — what to clean with, why to dry in shade, and how to keep it from returning — is in how to remove mold and mildew from leather and keep it off, and it pairs directly with storing leather goods long term. The lingering mustiness after the mold is gone is its own job, covered under smell below.
Oil and Grease
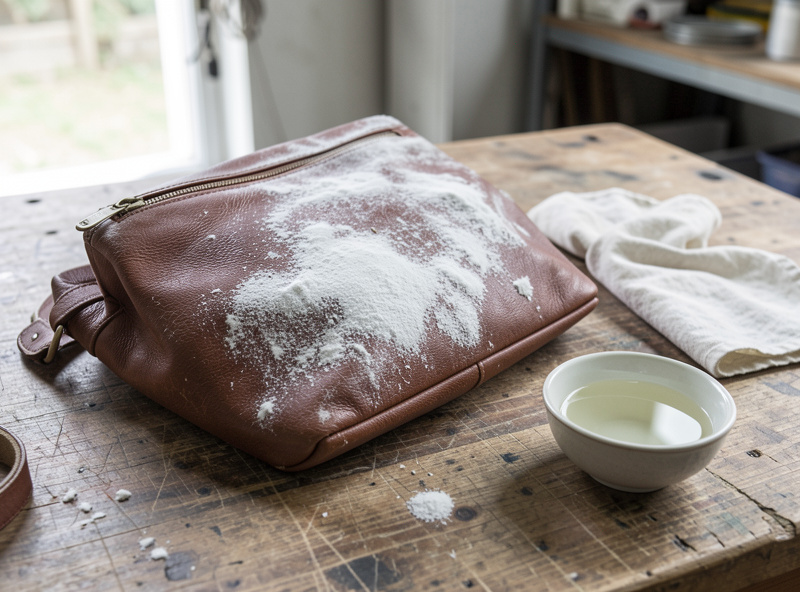
Oil does not sit on leather the way water does — it soaks in and darkens, and no amount of blotting pulls it back out once it is in the fibers. Reaching for soap and water here is the classic error; water and oil do not mix, so you just spread a bigger dark patch. The right first move is a dry absorbent — cornstarch, talc, or fuller’s earth — drawn out over hours, sometimes over a couple of days, pulling the oil up into the powder. Pile it on thick — an eighth of an inch or so over the mark — press it in, and refresh it once it clumps and darkens; a small grease spot can take two or three changes over 24 to 48 hours before it stops lifting.
On finished leather you have a better shot; on absorbent veg-tan a small oil mark sometimes evens out into the overall patina rather than lifting entirely, and knowing which outcome to expect saves a lot of frustration. The absorbent method, the timing, and the “when to stop chasing it” call are in how to remove oil and grease stains from leather. Neatsfoot oil, ironically, is the same category of problem — over-oil a piece during conditioning and you get the same dark saturation.
Salt Stains on Boots and Bags
Winter salt leaves white, crusty tide lines because road and sidewalk de-icing salt draws to the surface as the leather dries. It is alkaline, and it is genuinely damaging — left on, it dries the fibers and cracks them. The fix is mild acid: a weak vinegar-and-water solution neutralizes the salt so you can wipe the deposit away, followed by drying and conditioning to put back what the salt pulled out.
The trick is not over-wetting the leather while you chase a surface deposit, and getting the vinegar ratio right so you neutralize the salt without stripping color. Boots take the worst of it, and the full routine — ratio, technique, and how to protect against the next storm — is in how to remove salt stains from leather boots and bags. Prevention here is a pre-season finish, which loops back to waterproofing.
Smells: Smoke, Must, and New-Leather Odor
Odor is not technically a stain, but it is the “damage” people most want fixed, and the source dictates the fix. Smoke, mustiness from damp storage, and the sharp chemical smell of a brand-new chrome-tan piece each come from a different place, so airing a musty bag works while the same approach does nothing for smoke embedded in the fibers. The reflex — drowning it in fragrance or leather scent — only layers a second smell on top.
The methods that actually work — baking soda draw-down, activated charcoal in a sealed container, patient airing in shade, and why you never seal a smell in with a heavy conditioner — are in how to get smell out of leather. Mustiness in particular is often the tail end of a mold problem, so read that one alongside the mildew guide.
Color Transfer: When the Leather Is the Stain
Sometimes the leather is not stained — it is doing the staining. Dark dyed leather can rub color onto light clothing, pale upholstery, or your hands, especially on a new piece or one that got wet. This is almost always unsealed or over-dyed leather with pigment that never got locked down, and the fix is on the leather’s finish, not on the shirt it ruined.
The cure is buffing off the loose surface dye and sealing it properly so it stops migrating — a resist or topcoat that binds the pigment. I walk through diagnosing why it is transferring and the sealing steps in how to stop leather color transfer onto clothes and skin, and the sealing product side connects to my notes on using Resolene to seal dye without streaks. If you dyed the piece yourself and it rubs off, the finish step got skipped.
When It Is Damage, Not a Stain
Not every mark cleans out, and pretending it will just wastes product and thins the leather. Scratches, cracks, peeling finish, and faded color are structural or coating problems — they get repaired or refinished, not cleaned. A shallow scratch on aniline leather often burnishes away with a thumb and a little conditioner, while a deep gouge needs filling. If the surface is flaking or the color has gone chalky, you are looking at a refinish.
For those, cleaning is only the prep step. Repairing surface scratches by their depth is in how to repair scratched leather; bringing dull, washed-out color back is in restoring faded leather color; and the whole care-and-repair philosophy sits in my leather care and restoration bench guide. Furniture and vehicle interiors have their own repair paths in repairing leather furniture and leather car interior restoration.
Stain-by-Stain Quick Reference
This is the table I keep in my head at the bench — what to reach for, and how much risk each stain carries on absorbent leather. “Risk” means the chance of making it worse if you rush.
| Stain type | First move | Avoid | Risk on veg-tan | Recondition after? |
|---|---|---|---|---|
| Water ring | Wet the whole panel evenly, dry slow & flat | Spot-drying, heat | Medium | Yes |
| Ink (finished) | Act fast, lift with mild cleaner outside-in | Acetone, harsh solvents | High | Yes |
| Ink (raw veg-tan) | Lighten and disguise; expect partial result | Any solvent that strips dye | Very high | Yes |
| Mold / mildew | Dilute clean outdoors, dry in shade | Wet-wiping indoors | Medium | Yes |
| Oil / grease | Dry absorbent powder, draw out over hours | Soap and water | Medium | Light only |
| Salt stain | Weak vinegar-water to neutralize, wipe, dry | Over-wetting, leaving salt on | Medium | Yes |
| Odor | Baking soda / charcoal draw, air in shade | Masking with fragrance | Low | Optional |
| Color transfer | Buff loose dye, seal the finish | Leaving it unsealed | Low | Seal, then condition |
The Small Kit That Handles Most of This
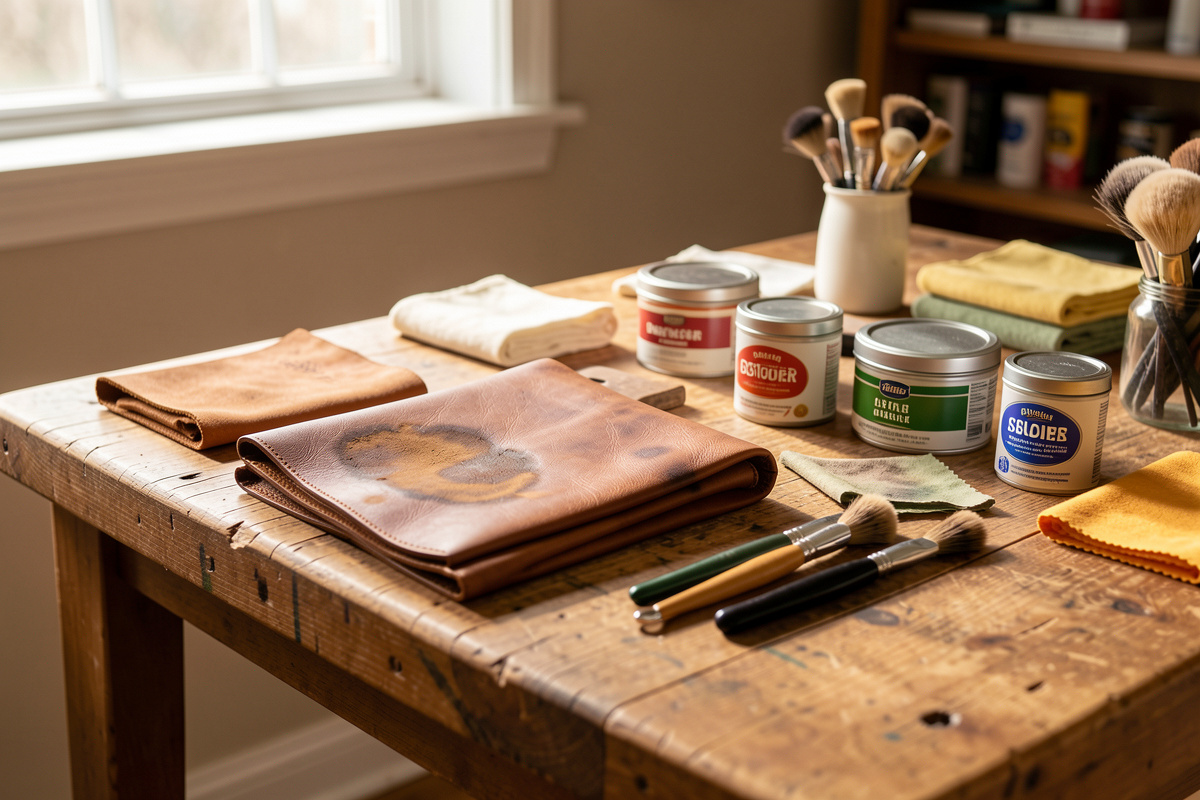
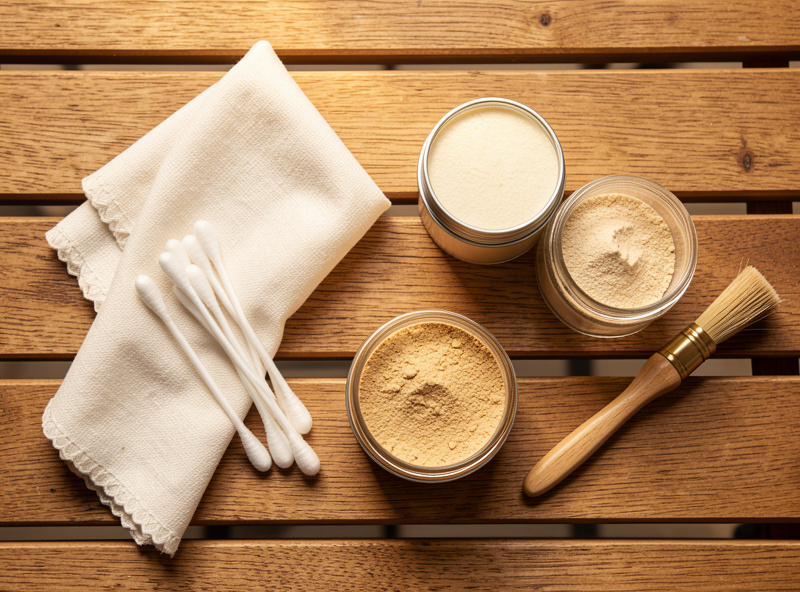
You do not need a shelf of specialty products. Most stain work on my bench runs on a handful of things: soft cotton cloths, cotton swabs, a dedicated leather cleaner or good saddle soap for finished leather, an absorbent powder for grease, distilled white vinegar for salt, baking soda for odor, and a conditioner to close out every job. I keep a proper leather cleaner and conditioner kit and a bag of saddle soap within reach, plus a plain leather conditioner for the recondition step. As an Amazon Associate I earn from qualifying purchases.
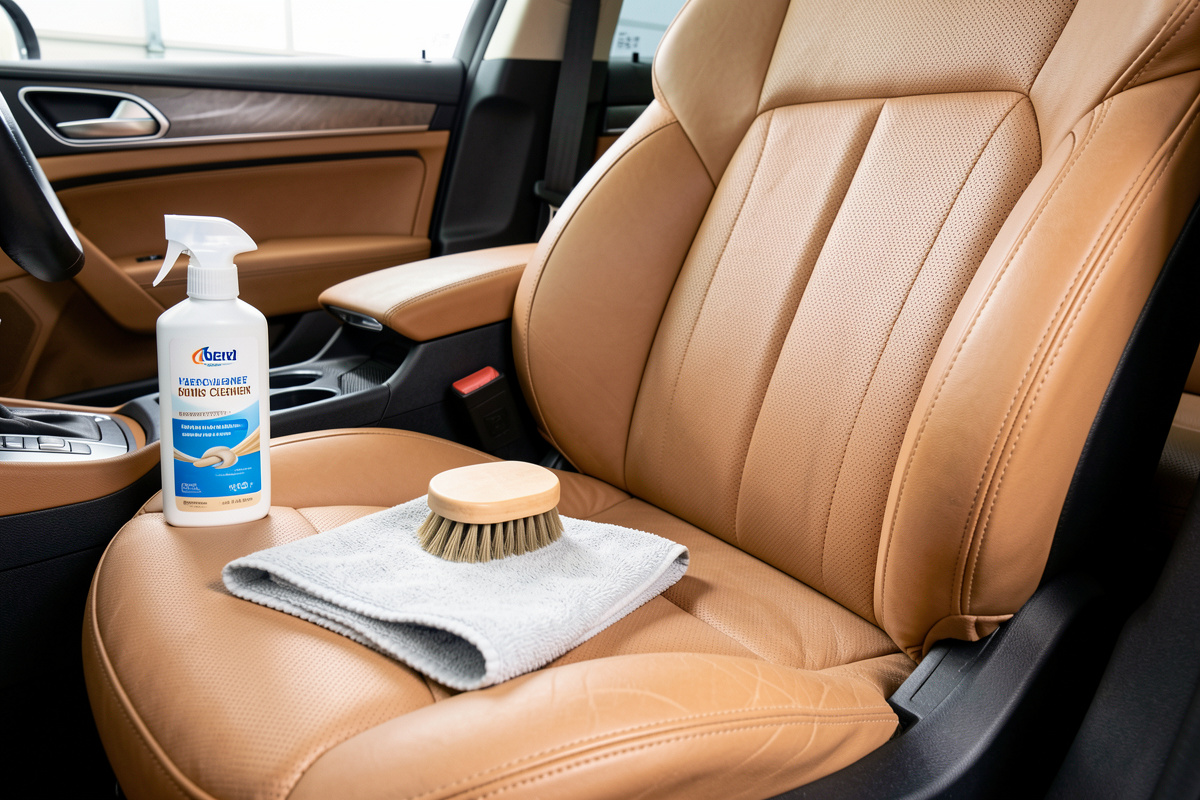
The general routine that keeps stains from setting in the first place — regular cleaning cadence, the right cloth, when to condition — is in how to clean leather goods. For anything car-related, the surface is different enough that I keep a separate routine in cleaning automotive leather.
Why Leather Fights You Differently Than Fabric
Fabric is woven threads with air between them, so a stain lives on the fibers and a wash flushes it out. Leather is a dense mat of collagen fibers with no drain — whatever soaks in has nowhere to go, and the “wash it out” instinct from laundry is exactly what wrecks leather. There is no rinse cycle. Anything you add, you have to get back out or draw up, and the leather holds onto oils, dyes, and moisture far more stubbornly than cloth.
That single difference explains most of the rules above. It is why oil sits in the fiber instead of rinsing away and needs a dry absorbent to pull it back up. It is why water sets a ring — the fibers carry dissolved tannins and dirt to the drying edge and deposit them in a line. And it is why heat is the enemy: forced drying shrinks and hardens the collagen, which is the same thing that happens when leather cracks with age. Once you picture leather as a sponge that never fully empties, the “blot don’t rub, dry slow, condition after” logic stops being a list of tips and becomes obvious. On veg-tan especially, casing the leather — the controlled dampening I use before tooling — is proof of how deeply it drinks; the same absorbency that lets me stamp a floral pattern is what makes a coffee spill soak straight in.
A Prevention Routine That Beats Every Cleanup
The best stain removal is the stain that never sets, and a finished piece buys you a window every cleanup depends on. On my own work I seal veg-tan with a light acrylic topcoat or a wax finish before a piece leaves the bench, which turns “the ink soaked in instantly” into “I wiped it off in a minute.” A conditioned, sealed surface is the difference between a spill you catch and a stain you fight.
A simple cadence handles the rest. Wipe pieces down with a dry cloth after use so grit and body oils do not grind in. Condition two to four times a year, more for boots and bags that take weather, because supple leather resists cracking and salt damage far better than dry leather. Store leather with airflow and away from damp so mold never gets a foothold, and away from direct sun and radiators so it does not dry out and fade. Keep dark and light pieces from pressing against each other to avoid color transfer. None of that is glamorous, but a piece kept on this routine almost never needs the aggressive interventions in the sections above — and when it does spill, you have the seconds you need to catch it. The full standing routine lives in my cleaning guide and pairs with proper long-term storage.
Frequently Asked Questions
Can you remove any stain from leather?
No. Surface stains on finished leather lift well, but contaminants that soak into unfinished veg-tan fibers, like ink or deep oil, often only lighten. At that point you shift from removing to disguising, re-dyeing, or refinishing rather than fully cleaning.
Should I use water to clean a leather stain?
Only with caution. Water spreads on absorbent veg-tan and sets a ring if you spot-dry it. For water-safe finished leather a barely-damp cloth is fine, but for oil, ink, and salt the first move is a dry absorbent or a targeted solution, not plain water.
Why did cleaning my leather make the stain worse?
Almost always rubbing instead of blotting, working center-out instead of edge-in, or using too much product. Rubbing grinds the contaminant deeper and spreads the stain edge. Always blot straight down, work from the outside inward, and test in a hidden spot first.
Do I need to condition leather after removing a stain?
Yes, in nearly every case. Any cleaning that lifts a stain also strips some of the natural oils that keep leather supple. Skipping the recondition step is the main reason cleaned leather turns stiff and cracks months later. A light conditioner closes the job.
How do I know if my leather is veg-tan or chrome-tan?
Drop distilled water on a hidden spot. If it darkens and soaks in, it is absorbent veg-tan or an aniline finish and needs gentle treatment. If it beads and sits on the surface, it is chrome-tan or a pigmented finish that gives you more room to work.
When is a mark damage rather than a stain?
If it is a scratch, crack, flaking finish, or faded color, it is structural, not a stain, and no cleaner will lift it. Those get repaired or refinished. Cleaning is only the prep step before you fill a scratch or re-dye faded leather.
Related Guides
- How to Remove Water Stains From Leather Without Making It Worse
- How to Get Ink Out of Leather: Pen Marks by Leather Type
- How to Remove Mold and Mildew From Leather and Keep It Off
- How to Remove Oil and Grease Stains From Leather
- How to Remove Salt Stains From Leather Boots and Bags
- How to Get Smell Out of Leather: Smoke, Mustiness, and New-Leather Odor
- How to Stop Leather Color Transfer Onto Clothes and Skin
- Leather Care and Restoration: The Complete Bench Guide