Leather care comes down to a simple cycle: clean off what is grinding into the grain, put back the oils that age and use pull out, protect the…
Leather care comes down to a simple cycle: clean off what is grinding into the grain, put back the oils that age and use pull out, protect the surface, and store the piece so it keeps its shape. Done two or three times a year, that routine keeps a veg-tan wallet or a bridle belt usable for decades. Skip it, and the fibers dry, crack, and tear at the fold within a few years.
I work leather on a dedicated bench in my Sweden workshop — wallets, belts, knife sheaths, notebook covers, small bags — and the pieces I made eight and ten years ago are still in rotation because they get cared for, not babied. This guide is the whole system: how to read the leather in your hand, the five things every piece needs, and where each task gets its own deep-dive guide. Care and restoration are the same craft pointed at different stages of a piece’s life, so I treat them together.
What Leather Care Actually Is (and the Mistake That Wrecks More Leather Than Neglect)
Leather care is replacing what time removes. Tanned hide is a network of collagen fibers held supple by oils and moisture; every year a few percent of that evaporates, and heat, sweat, and UV speed it up. Care puts a controlled amount back. That is the whole principle — everything else is technique.
The mistake that ruins more leather than plain neglect is over-conditioning. People panic at the first dry patch and soak a piece in neatsfoot oil or slather conditioner on weekly. Oil-saturated fibers go limp, the grain loses its snap, stitching holes stretch, and a structured bag slumps into a bag-shaped puddle. You cannot pull oil back out once it is in. I condition most of my pieces twice a year and the daily-carry wallet maybe three times — thin coats, buffed off, never a flood. Under-conditioning is slow and reversible. Over-conditioning is fast and permanent.
Read the Leather Before You Touch It
Nothing in care is universal because no two tannages behave alike. The single most important thing you can do is identify what you are holding, because the right product for one leather is the wrong product for another. Veg-tan drinks oil and burnishes; chrome-tan stays soft and resists water on its own; suede and nubuck want nothing wet near them at all.
Veg-tanned leather — the structural stuff I cut wallets, belts, and sheaths from — is the one that tools, molds, dyes, and takes conditioner deep. It also shows neglect first, drying and cracking at stress folds. Chrome-tanned leather (most bag and garment leather, and most factory goods) already has oils and a finish baked in, so it needs far less feeding and reacts badly to heavy oils. If you do not know which you have, my guide to chrome tan versus veg tan walks the tells, and the broader types of leather primer covers grade and weight. For the slick napped leathers, suede versus nubuck matters because both are cleaned dry, never with conditioner.
| Leather Type | Cleans With | Conditioner Tolerance | Waterproofing | Care Frequency |
|---|---|---|---|---|
| Veg-tan (wallets, belts, sheaths) | Damp cloth, saddle soap sparingly | High — but thin coats only | Wax or grease dressing | 2–3x per year |
| Chrome-tan (bags, garments) | Damp cloth, mild leather soap | Low — light cream only | Spray on raw finishes | 1–2x per year |
| Pull-up / oil-tan | Damp cloth only | Medium — matched dressing | Built in; reproof with grease | 1–2x per year |
| Suede & nubuck | Dry brush, eraser block | None — never oil | Dedicated suede spray | As needed |
| Patent / coated | Damp cloth, glass cleaner | None | Already sealed | Wipe only |
The Five-Step Care Cycle Every Piece Needs
Every leather good moves through the same five stages, whether it is a six-month-old wallet or a thrift-store belt you are bringing back. Clean, dry, condition, protect, store. Get the order wrong — conditioning over a dirty surface, sealing in trapped moisture — and you lock problems into the leather. Get it right and the piece resets to near-new every cycle. Each stage below has its own full guide; this hub is the map that connects them.
1. Cleaning — Strip the Grit First
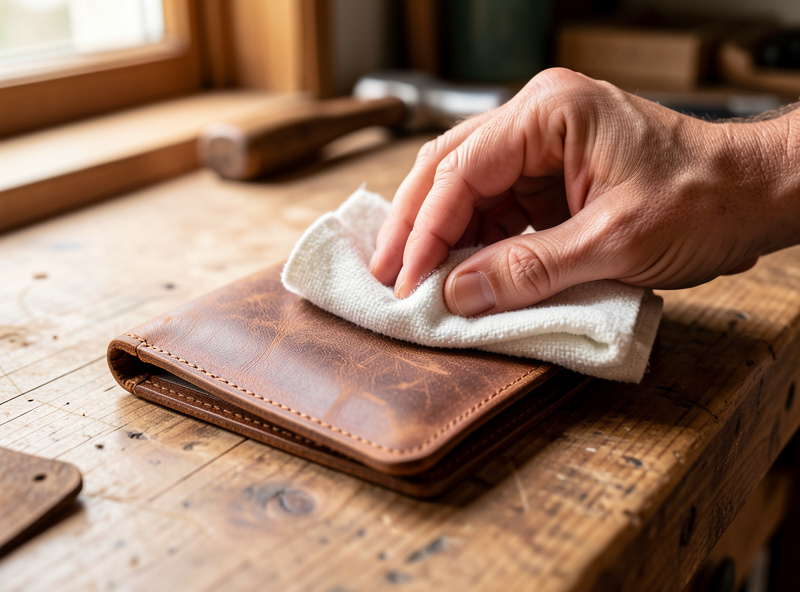
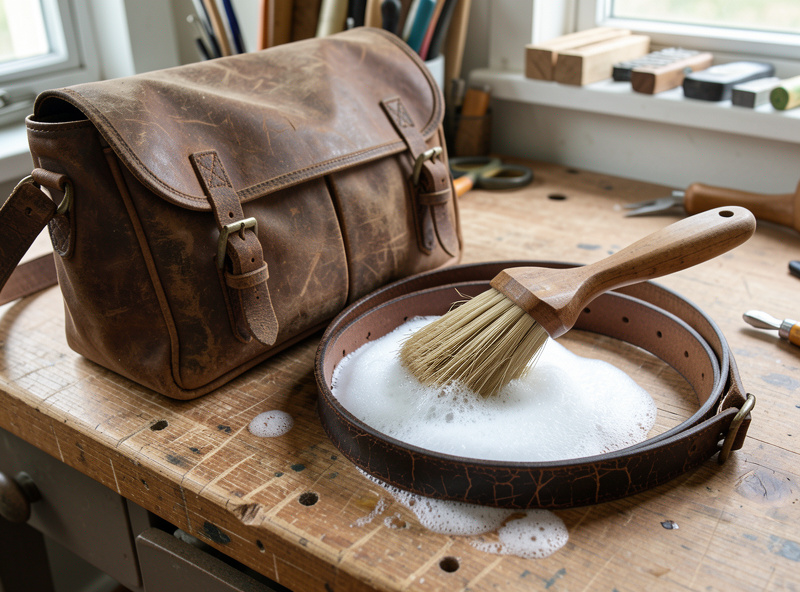
Skin oils, dust, and grime work into the grain like a fine abrasive every time the piece is handled. Cleaning lifts that out before it cuts the fibers, and it has to happen first because conditioner over dirt just drives the dirt deeper. For most veg-tan and chrome-tan goods that means a wrung-out damp cloth and, two or three times a year, a light pass of saddle soap. The full method — including the leathers you must never get wet — is in my cleaning leather goods guide.
2. Drying — Slow and Cool, Always
This is the half-step everyone rushes. Wet leather — whether from cleaning, rain, or sweat — has to dry slowly at room temperature, away from radiators, hair dryers, and direct sun. Heat drives moisture out so fast the fibers shrink and seize, and that is exactly when a flexible strap turns into a brittle one. Stuff bags with paper to hold their shape and let them take a full day if they need it.
3. Conditioning — Feed It Back Slowly
Once the piece is clean and bone dry, conditioning replaces the oils. The whole skill is restraint: a thin coat worked in with fingers or a cloth, given time to absorb, then buffed. On veg-tan I reach for a balanced cream or a light dressing; on a dried-out piece I might use neatsfoot oil, but sparingly and in stages. Which product for which leather, and how to read when a piece actually needs it, is the conditioning leather guide.
4. Protecting — Color and Weather
Protection splits two ways. Faded, sun-bleached, or scuffed-pale leather gets its color restored with a matched dye or cream — the difference between a tired piece and a sharp one, covered in restoring faded leather color. And anything that goes outdoors needs a water barrier, because conditioner is not waterproofing; that is a separate wax or spray treatment in the waterproofing leather goods guide.
5. Storing — Where Half the Damage Happens
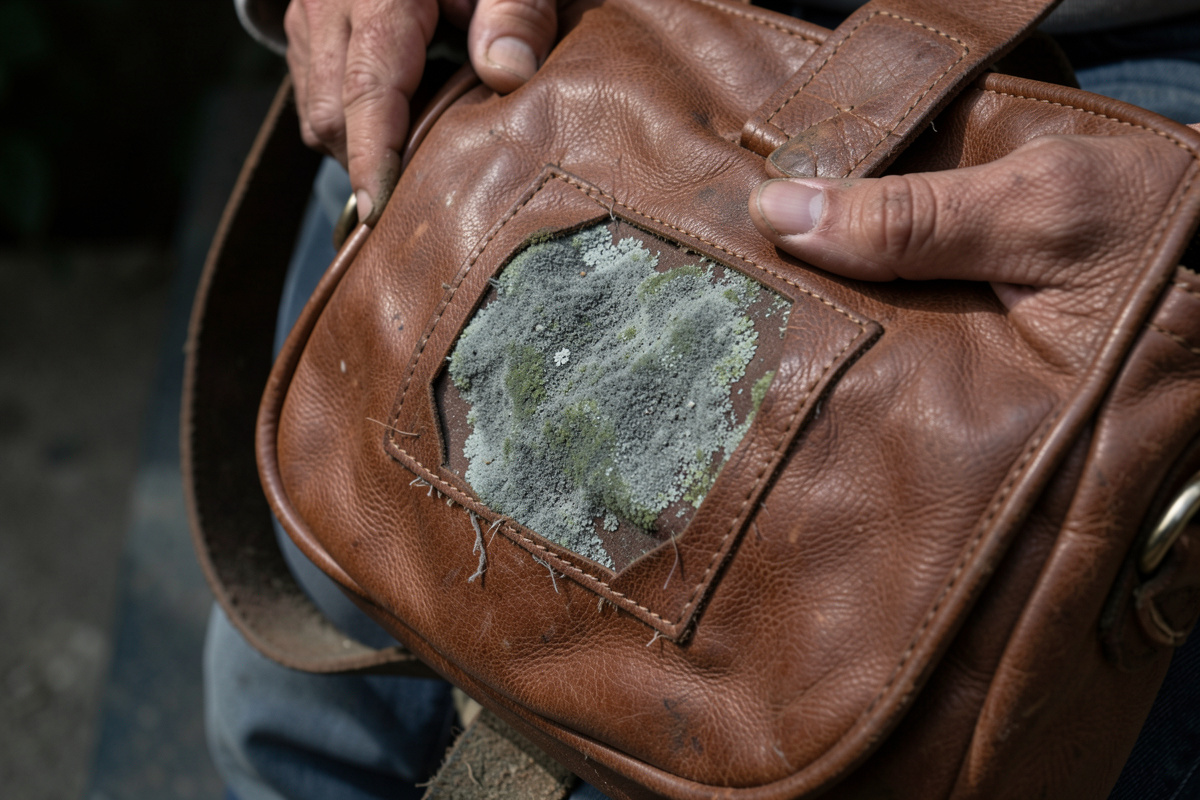
Most cracked, moldy, and misshapen leather I am handed was not worn to death — it was stored wrong. Folded in a hot attic, sealed in a plastic tub, hung on a thin hook that bit a crease into a strap. Correct long-term storage — breathable, shape-supported, climate-stable — is in storing leather goods long term, and it is the cheapest care step there is.
Restoration: When Care Becomes Rescue
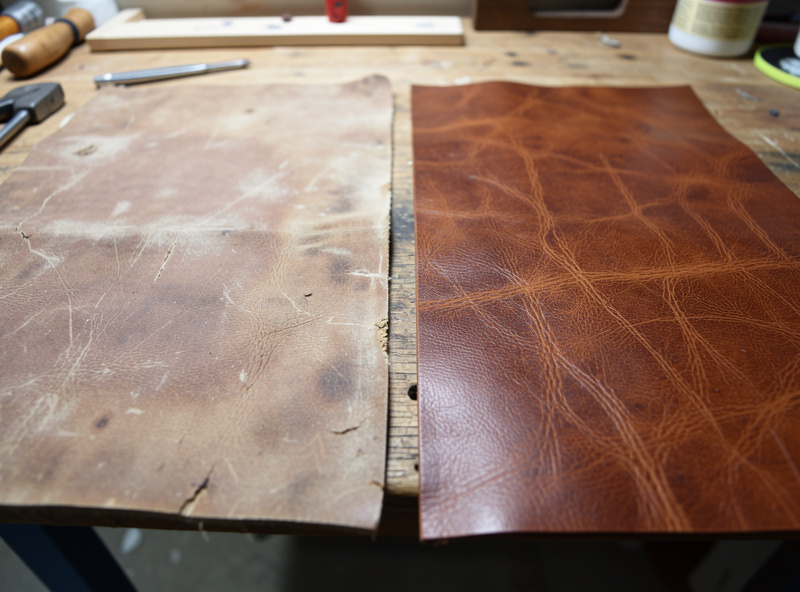
Restoration is care applied to a piece that has already been let go. The fibers are dry, the color is patchy, maybe the surface is scratched or the finish is flaking. The encouraging part is that leather has a remarkable amount of recovery in it — I have brought back belts so stiff they would not bend that, after staged cleaning and conditioning over a week, went back into daily use. The order matters even more here than in routine care.
A typical rescue runs: deep clean to strip old wax and grime, let it fully dry, condition in two or three light stages with a day between each so the oil migrates evenly, then address color and surface damage, and finally re-protect. Rushing a single heavy conditioning coat onto dry leather just leaves the surface greasy while the core stays brittle. Patience is the whole technique — leatherwork is the slow craft on my bench for a reason.
Scratches, Scuffs, and Cracks
Surface damage is its own discipline. A light scuff on veg-tan often buffs out or hides under conditioner and a little dye; a deeper scratch that has cut through the finish needs filling and recoloring; genuine cracks in dried leather can sometimes be fed and worked closed but never fully erased. Matching the fix to the depth — and knowing when a “crack” is really just a dry surface that conditioner will plump back — is the whole art, and it lives in repairing scratched leather.
How Often Should You Actually Do This?
Care frequency is driven by use and environment, not the calendar. A wallet riding in a back pocket against body heat and sweat needs attention more often than a belt that sees an hour a day. As a working baseline: wipe down high-contact pieces monthly, condition twice a year, and reproof anything weather-exposed at the start of each wet season. The leather tells you when it is ahead of schedule — a dull, thirsty look and a grain that feels papery rather than supple means condition now, not next quarter.
Pull-up and oil-tanned leathers age differently and want a lighter touch; if your bag lightens dramatically wherever it bends, that is the oils shifting, not damage, and my notes on pull-up leather patina explain how to care for that finish without flattening the character that makes it worth owning.
| Task | Daily-Carry Wallet | Belt | Bag | Knife Sheath / Outdoor |
|---|---|---|---|---|
| Wipe down | Monthly | Every few months | Monthly | After each wet outing |
| Deep clean | 2x per year | 1x per year | 2x per year | 2x per year |
| Condition | 2–3x per year | 1–2x per year | 1–2x per year | 2x per year |
| Reproof / wax | Not usually | 1x per year | If carried in rain | Each season |
The Care Shelf: What I Actually Keep On Hand
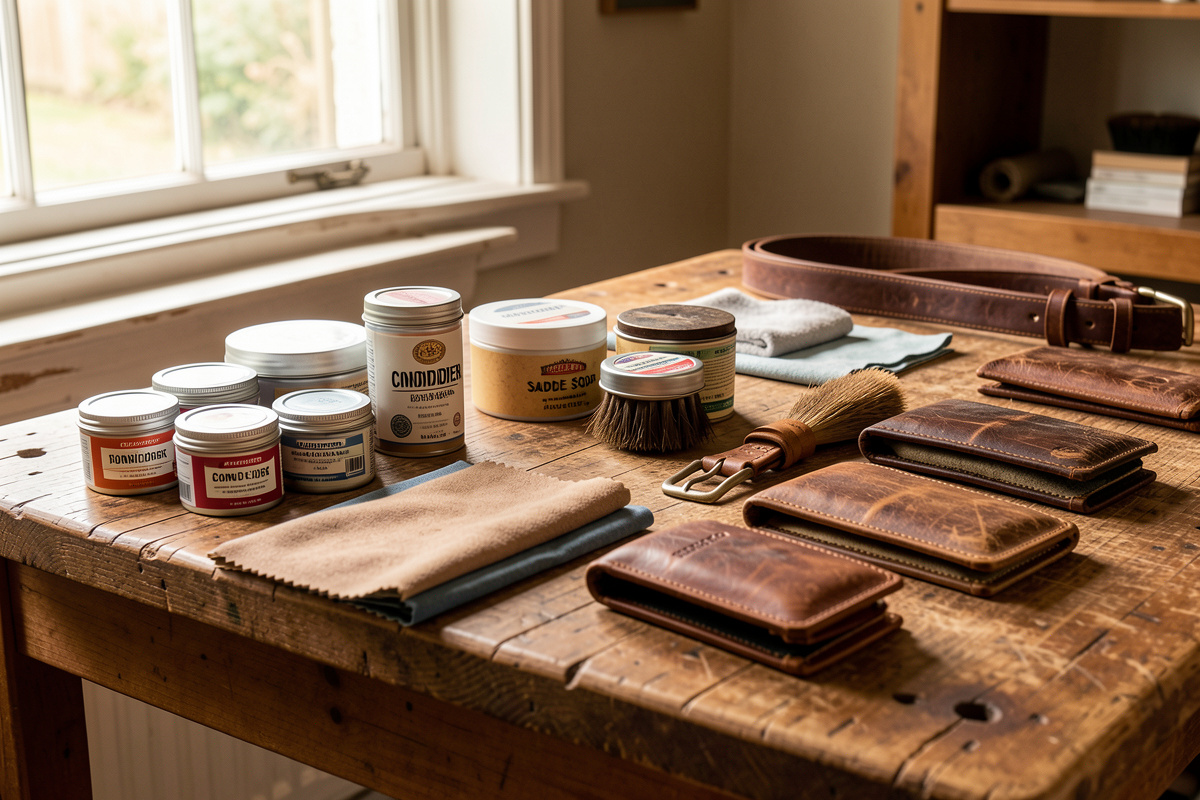
You do not need much, and the products overlap with what I already use for finishing new pieces. A bar of glycerin saddle soap, a balanced conditioner cream, a small bottle of pure neatsfoot oil for serious rescues, a tin of paste wax or grease dressing for weatherproofing, a couple of clean cotton cloths, and a horsehair brush. That covers the whole cycle for veg-tan and chrome-tan goods. For napped leathers, add a suede brush and eraser block and keep everything else away from them.
On the restoration side I lean on the same finishing shelf I dye new work from — Fiebing’s dyes for color matching, Resolene as a topcoat over fresh color, Tokonole when I am re-slicking an edge that has gone fuzzy. If color is your job, the leather dyeing guide and the method for sealing color with Resolene without streaks carry straight over from making into restoring. A horsehair brush, a balanced leather conditioner cream, and a bar of glycerin saddle soap will handle the great majority of everyday care. As an Amazon Associate I earn from qualifying purchases.
If you are new to the craft side of this and want to understand why leather behaves the way it does under all these products, my leatherworking for beginners starter guide and the tools guide give the grounding that makes every care decision obvious instead of guesswork. Caring for leather and making it are the same knowledge; the maker who understands grain side, flesh side, and oil migration never has to wonder which product to reach for.
Five Care Mistakes That Age Leather Before Its Time
Most of the dead leather I am asked to rescue was not worn out — it was cared for wrong. The damage almost always traces back to one of the same handful of mistakes, and every one of them is avoidable once you know to watch for it.
Household cleaners and wipes. Baby wipes, all-purpose spray, alcohol, and “leather” wipes from the supermarket strip the finish and the natural oils in one pass. The solvents and detergents are built to cut grease, and that is exactly what they do to leather. A damp cloth and proper saddle soap clean better and do not leave the surface starved.
Heat drying. Putting wet leather near a radiator, in front of a heater, or out in full sun to “dry it faster” is the single fastest way to crack a piece. Heat drives moisture out so quickly the fibers shrink and lock, and a strap that was flexible in the morning can be brittle by afternoon. Cool, slow, shaded drying is non-negotiable.
Sealing leather in plastic. Storing a bag or belt in a sealed plastic tub or a zip bag traps the small amount of moisture the leather always holds, and in a warm spot that becomes mold within weeks. Leather has to breathe. A cotton dust bag or pillowcase protects from dust while letting air move.
Dyeing or coloring without testing. Reaching straight for dye on a faded piece without testing on a hidden spot first is how you turn a tired bag into a ruined one. Different tannages and finishes take color completely differently, and a sealed surface may reject dye entirely. Always test, and read up on how the surface behaves first.
Ignoring the flesh side and the linings. People condition the grain and forget the unfinished flesh side, the inside of a strap, the lining of a bag — the places that actually dry out and crack first because they were never sealed. On unlined work, a light touch of conditioner on the flesh side keeps the whole piece supple from both faces.
Reading Your Environment: Humidity, Sun, and Salt
Leather lives in a relationship with the air around it, and the three things that quietly do the most damage are the ones people never think to manage: humidity swings, ultraviolet light, and salt. Get those under control and routine care does far less heavy lifting.
Humidity is the big one. Leather is happiest around 40 to 60 percent relative humidity. Too dry — a heated home in a Swedish winter sits well below that — and the fibers give up moisture and stiffen; too damp and you invite mold. If your storage area swings hard with the seasons, that is doing more damage than your daily use, and it is worth a cheap hygrometer to know where you stand.
Ultraviolet light fades dye and dries the surface at the same time. A bag parked on a sunny windowsill or a belt left hanging in direct light will go patchy and pale on the exposed face while the shaded side stays rich. Store leather out of direct sun, and for pieces that live outdoors, accept that some fading is part of the patina — then restore color on a schedule rather than fighting it daily.
Salt is the quiet killer for anything that meets winter roads, sweat, or sea air. Salt draws moisture out of leather and crystallizes in the fibers, leaving white tide-lines and brittle patches. The fix is to wipe salt exposure off promptly with a barely-damp cloth, let the piece dry slowly, and recondition — never let salt sit and cycle through wet and dry.
Frequently Asked Questions
How often should I condition leather?
Most leather goods need conditioning two to three times a year, not monthly. Over-conditioning saturates the fibers and makes leather limp permanently. Condition when the grain looks dull and feels papery, using thin coats buffed off, never a heavy flood.
What is the difference between leather care and restoration?
Care is routine maintenance on a healthy piece: clean, condition, protect, store, two or three times a year. Restoration is rescuing leather already dried, faded, or cracked from neglect, using the same steps in staged, patient passes over several days.
Can you over-condition leather?
Yes, and it is the most common mistake. Oil-saturated fibers go limp, the grain loses its snap, stitching holes stretch, and structured pieces slump. You cannot remove oil once it is absorbed, so always condition in thin coats and let each one fully absorb before judging.
Does conditioning leather make it waterproof?
No. Conditioner replaces oils and keeps fibers supple but does not block water. Waterproofing is a separate step using a wax, grease dressing, or dedicated spray that forms a surface barrier. Condition first, let it absorb, then apply the water repellent.
How do I care for suede and nubuck?
Never use conditioner, oil, or water on suede or nubuck. Clean them dry with a suede brush and a rubber eraser block to lift marks, then protect with a dedicated suede spray. Liquids flatten the nap and stain these napped leathers permanently.
Can dried-out cracked leather be saved?
Often, if the cracks are surface dryness rather than torn fibers. Deep clean, dry fully, then condition in two or three light stages a day apart so oil migrates evenly. Genuine cracks through the grain can be softened and filled but never fully erased.
Related Guides in This Cluster
- Cleaning Leather Goods: The Complete Method
- Conditioning Leather: Products and Technique
- Restoring Faded Leather Color
- Waterproofing Leather Goods
- Repairing Scratched Leather
- Storing Leather Goods Long Term