Most leather car interior damage — fading, worn color, light surface cracking and shine — is surface-level and restorable at home with a four-step sequence: deep clean, fill,…
Most leather car interior damage — fading, worn color, light surface cracking and shine — is surface-level and restorable at home with a four-step sequence: deep clean, fill, recolor, then seal. What you cannot fix with restoration is leather torn through to the backing or cracked deep into the hide; that needs a panel replaced. Knowing which you have is the whole job.
Automotive leather is essentially heavy pigmented upholstery built to survive sun and daily abrasion, as I explain in my garment and upholstery leather guide. That pigmented topcoat is what wears, fades and cracks — and, helpfully, it is also what you rebuild. Restoration is really refinishing the surface coat rather than the leather underneath, and once you understand that, the steps make sense.
What Restoration Can and Cannot Fix
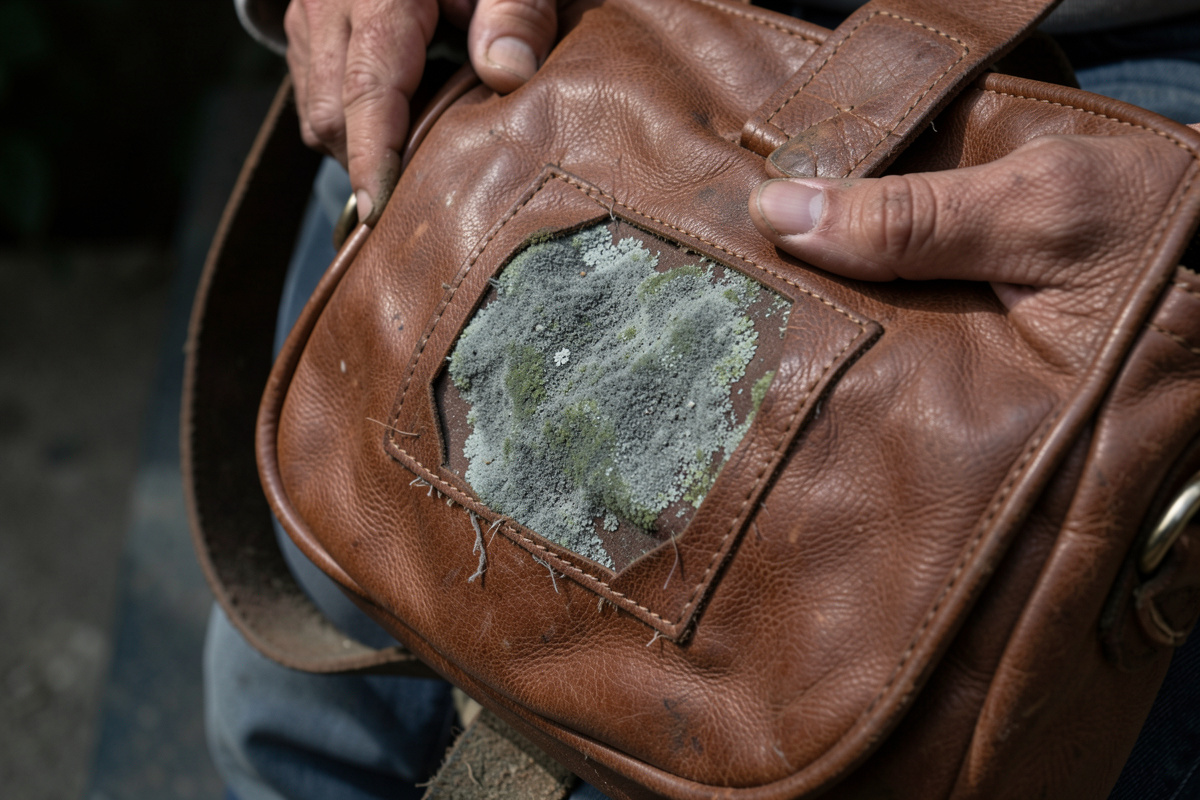
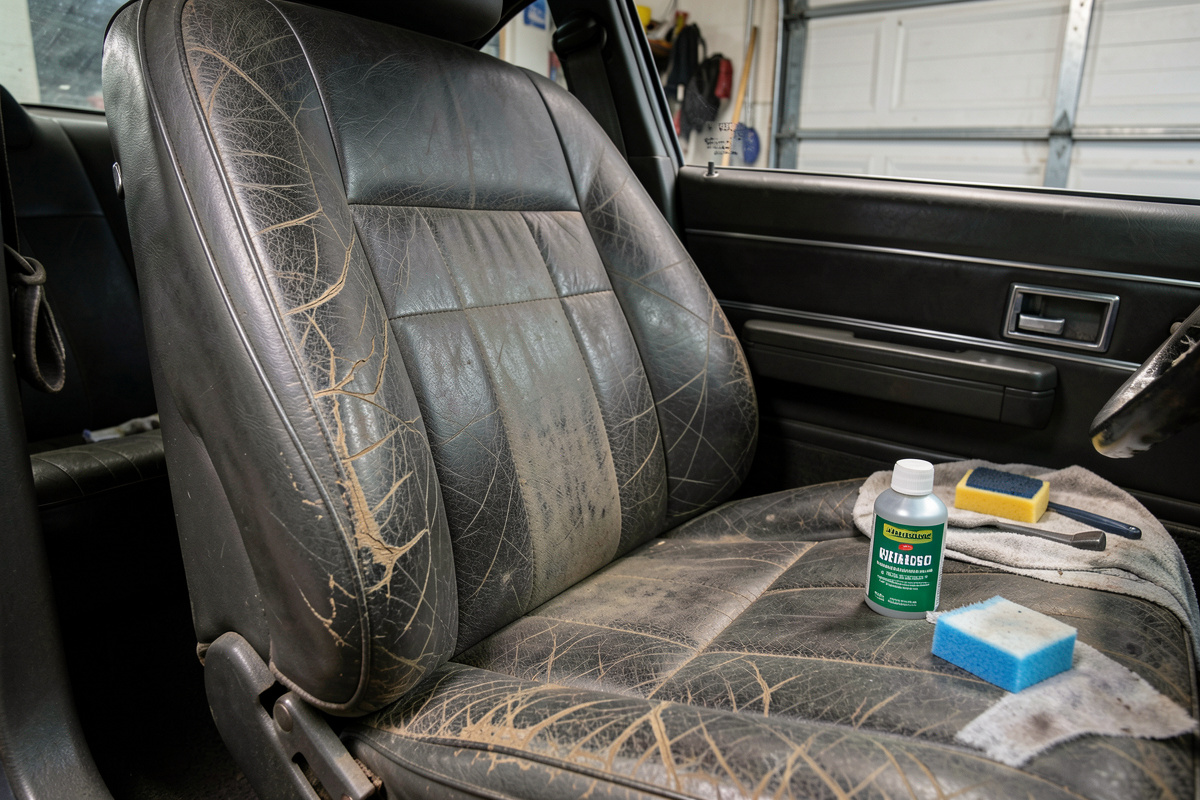
Diagnose before you buy anything. Run your hand over the seat: faded color, a worn shiny driver’s bolster, and hairline surface cracks are all surface-coat problems that recolor away. Cracks you can feel as ridges, splits that show a lighter layer underneath, and any tear through to the foam are structural and beyond a color coat alone.
| Damage | Cause | Restorable at home? |
|---|---|---|
| Faded / discolored | UV and wear on the topcoat | Yes — recolor |
| Shiny worn bolster | Abrasion polishing the finish | Yes — clean and recolor |
| Hairline surface cracks | Dry, brittle topcoat | Yes — condition, fill, recolor |
| Deep cracks / splits | Long-term drying of the hide | Partly — fill then recolor |
| Tear through to backing | Sharp damage / heavy wear | No — patch or replace panel |
The honest takeaway: restoration excels at color and light cracking, struggles with deep structural damage, and cannot bring back leather that has torn through. For the worst seats, weigh restoration against a professional reupholster from the start.
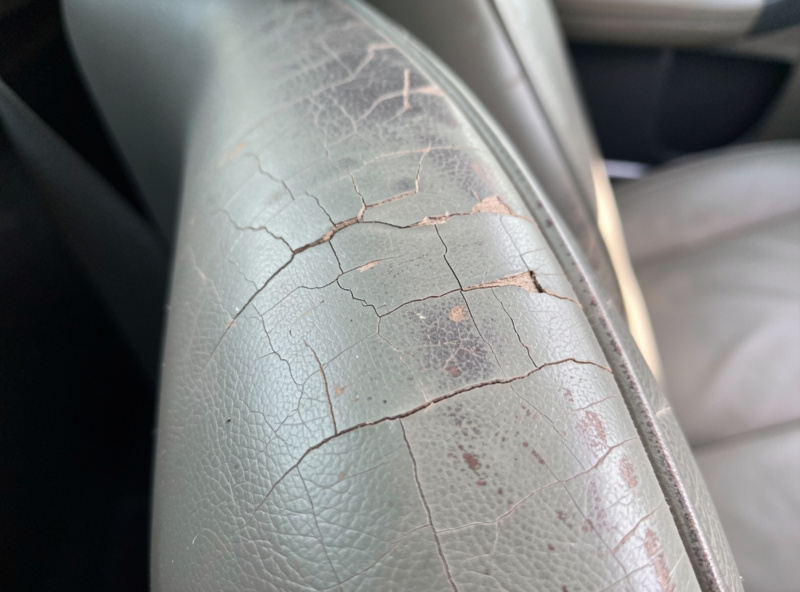
Step 1: Deep Clean and Prep
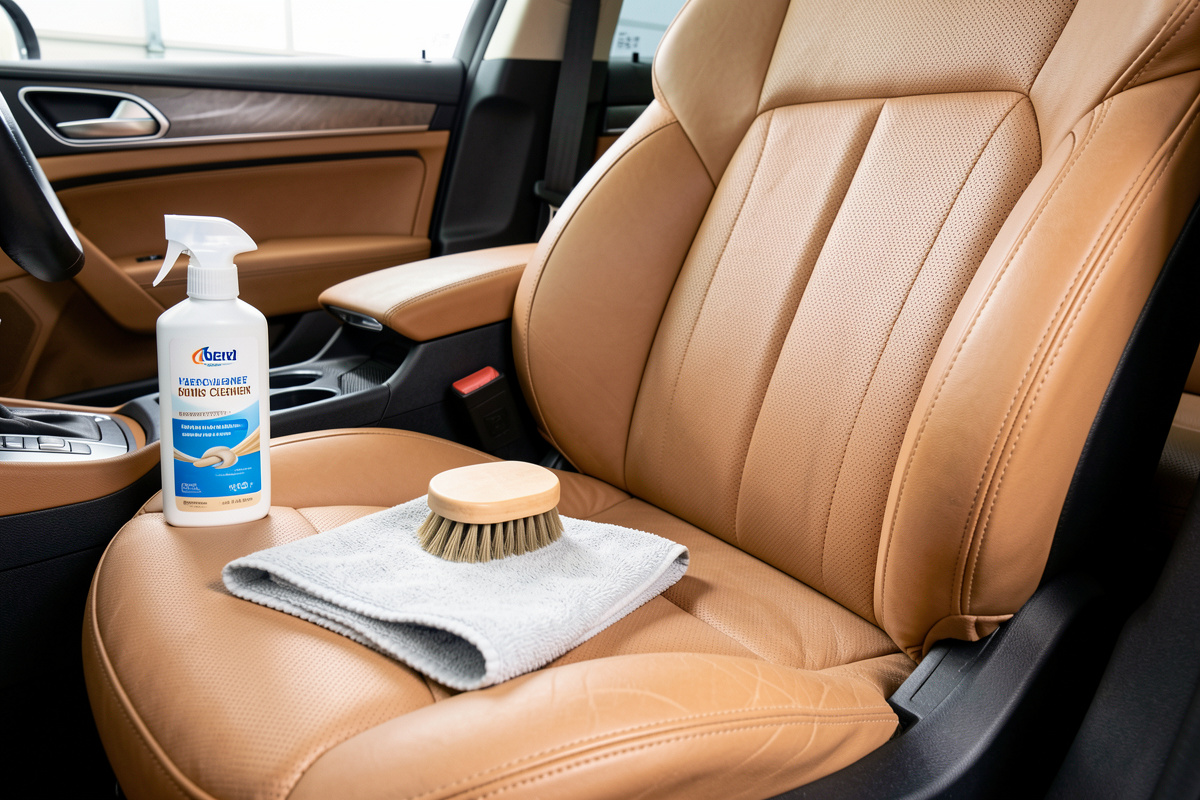
Nothing sticks to a dirty seat, so cleaning is the step people skip and then wonder why their color flakes off a month later. Vacuum the seams, then scrub with a dedicated leather cleaner and a soft brush to lift the embedded body oils, sunscreen and grime that automotive leather collects. My cleaning automotive leather guide covers the products and technique in full.
After cleaning, most restoration systems call for a prep or light abrasion step to degloss the old finish so the new color can bond. A leather prep solution wipes off residual topcoat and oils; a light scuff with very fine abrasive pad knocks down gloss on slick areas. The surface should feel clean and matte, not slick, before any color goes on.
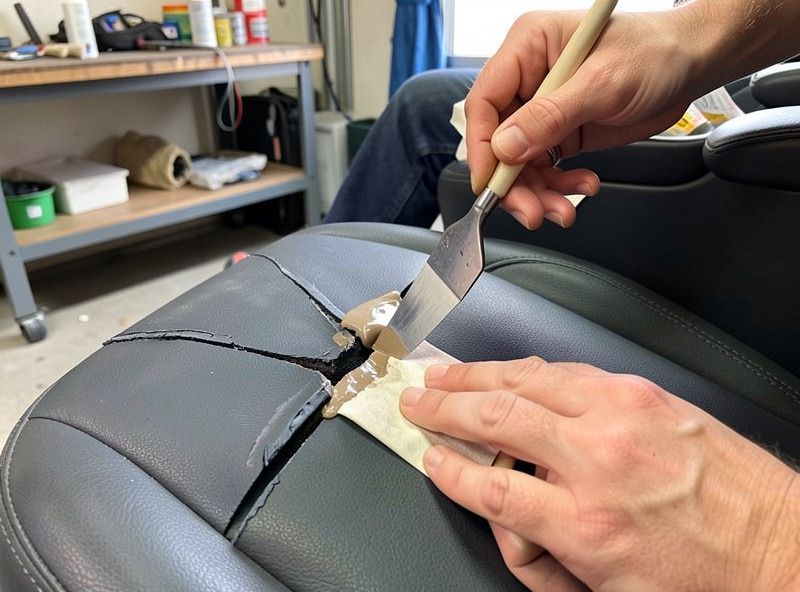
Step 2: Filling Cracks and Abrasions
Where you have cracks or worn-rough spots, a flexible leather filler levels them before recoloring. Work the filler into the crack with a small spatula, scrape it flush, let it dry, and build it up in thin layers rather than one thick pass — thick filler cracks again. Light-sand each layer smooth once dry. The filler must stay flexible when cured, because a car seat flexes constantly; rigid fillers crack straight back out.
Do not expect filler to make a deep split vanish — it minimizes it. Managing expectations here is half the battle. A hairline crack disappears; a deep one becomes far less visible but may still be detectable up close.
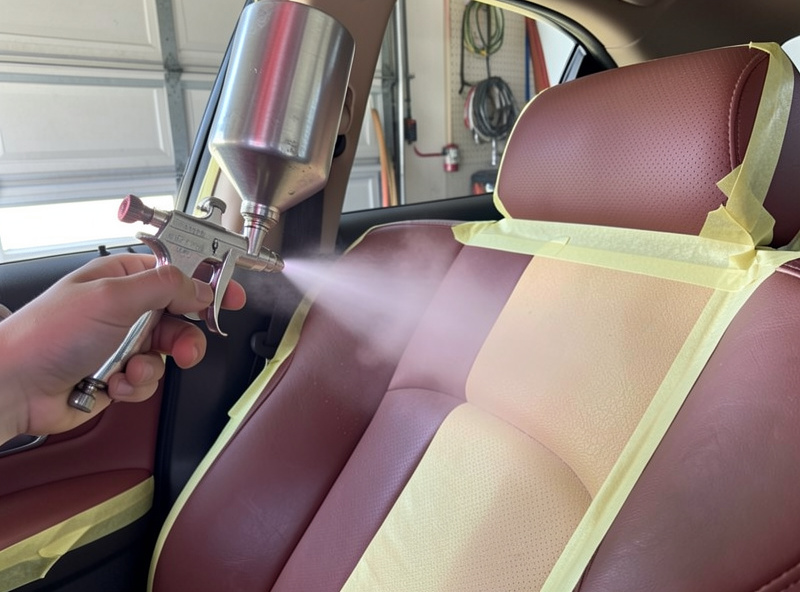
Step 3: Recoloring the Leather
Recoloring automotive leather uses a flexible water-based leather color coat (a pigment), not a penetrating spirit dye — pigmented car leather needs color that sits on and bonds to the surface and flexes with it. Match the color to your interior code where possible; many suppliers mix to factory colors. Apply in several light coats with a sponge or, for the most even result, an airbrush, letting each coat flash off before the next. Light coats are everything: thick color pools, looks plastic and cracks.
The principles overlap with what I cover in my leather dyeing guide, but note the key difference — that guide is mostly veg-tan and spirit dye, while automotive leather wants flexible surface pigment. Build the color until coverage is even across old and filled areas, feathering into surrounding panels so there is no hard line.
Step 4: Seal and Condition
Color coat alone is not durable enough for a seat, so finish with a flexible leather sealer or topcoat in the right sheen — most automotive leather is a low satin, not gloss. The sealer is what makes the restoration survive jeans, seatbelts and getting in and out daily. Let it cure fully before using the seat.
From there it is maintenance. A light conditioner a few times a year keeps the finish supple and slows the next round of cracking, the same upkeep logic in my leather care and restoration guide. The same skills transfer to furniture, which I cover in repairing leather furniture.
When to Restore vs Reupholster
Restoration is the right call when the leather is intact and the damage is color and surface cracking — it is far cheaper and keeps the original panels. Reupholstery wins when panels are torn through, the foam underneath has collapsed, or the leather has dried so far that it cracks faster than you can fill it. If you are choosing replacement hide, my upholstery leather selection guide applies, since automotive leather is a heavy pigmented upholstery hide. Be realistic: a tired interior can be transformed by restoration, but leather that is structurally gone needs replacing.
As an Amazon Associate I earn from qualifying purchases. For seat work I reach for a complete leather car seat repair kit and a matching flexible leather color coat.
Frequently Asked Questions
Can you restore cracked leather car seats yourself?
Yes, if the cracks are surface-level. The sequence is clean, prep, fill cracks with flexible filler, recolor with a water-based leather pigment, then seal. Tears through to the backing are not restorable and need a patch or panel replacement.
What kind of dye do you use on car leather?
A flexible water-based leather color coat (pigment), not a penetrating spirit dye. Automotive leather is pigmented and coated, so the color must bond to and flex with the surface. Apply it in several light coats for an even, durable finish.
Why does my recolored car seat keep peeling?
Almost always poor prep. If the surface still holds body oils, sunscreen or old gloss, new color will not bond. Deep clean, then degloss with a leather prep solution until the surface is clean and matte before recoloring.
Can leather filler fix deep cracks in a car seat?
It minimizes them rather than erasing them. Build flexible filler in thin layers, sanding between coats. A hairline crack can disappear, but a deep split usually becomes far less visible while remaining faintly detectable up close.
Is it worth restoring leather seats or should I reupholster?
Restore when the leather is intact and the damage is color and light cracking, which is cheaper and keeps the original panels. Reupholster when panels are torn through, the foam has collapsed, or the leather cracks faster than you can fill it.
Further Reading
- Garment and Upholstery Leather: The Complete Bench Guide
- Cleaning Automotive Leather
- Repairing Leather Furniture
- Leather Care and Restoration Guide
- Leather Dyeing: The Complete Veg-Tan Guide
- Upholstery Leather Selection