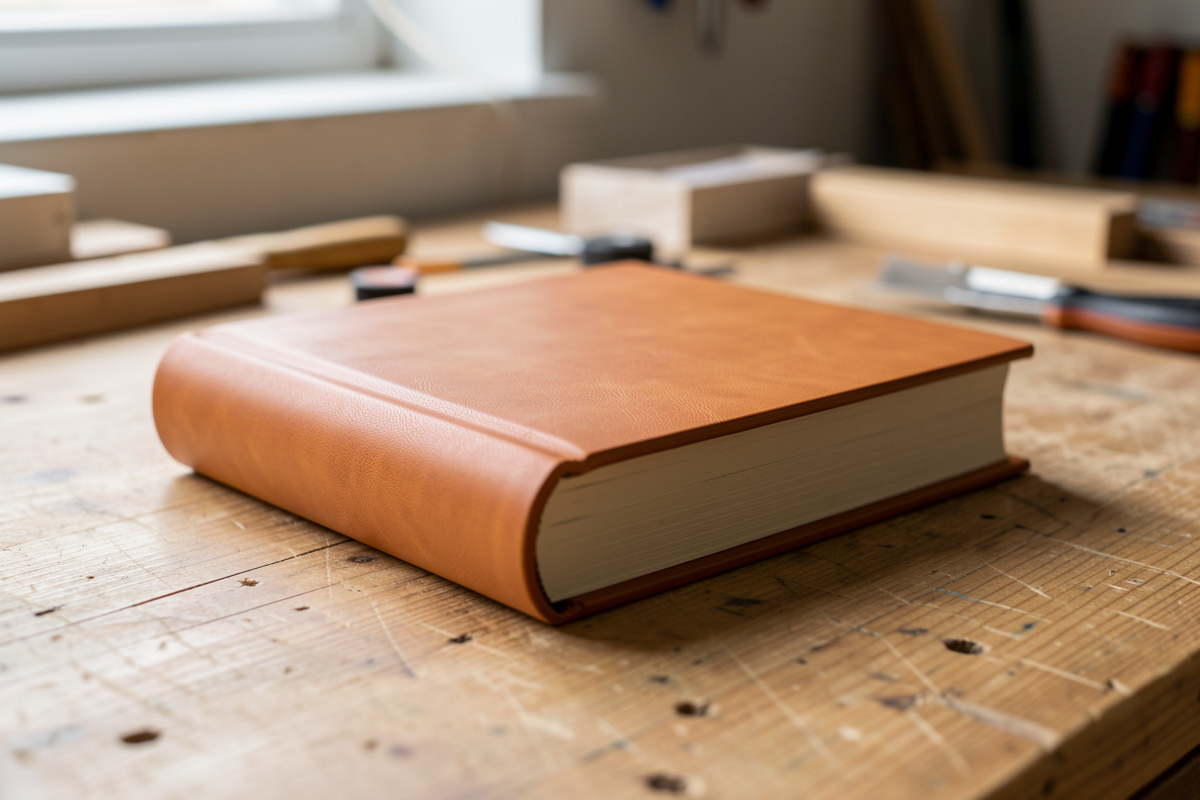
A leather cover for a handmade book is a true leather case: two boards skinned in veg-tan, wrapped with turned-in edges, then cased into a text block you…
A leather cover for a handmade book is a true leather case: two boards skinned in veg-tan, wrapped with turned-in edges, then cased into a text block you bound yourself with endpapers. Budget 6-8 hours over two days for a first one, mostly drying time.
I make leather covers for my own bound books on the same low-dust bench I stitch wallets on, and the difference between this and a wrap-style cover trips up almost everyone who emails me. So let me draw the line clearly before we cut a single piece of leather.
Cased-In Cover vs. a Wrap-Style Notebook Cover
The short answer: a wrap-style cover sleeves a store-bought insert and is fully refillable; a cased-in cover is glued permanently around boards and an endpaper to a text block you sewed. One is removable hardware, the other is the book’s actual binding.
If you want the refillable kind that slips over a Field Notes or A5 insert with elastic and no glue, that is a completely different build and I cover it step by step in my leather notebook cover pattern. That cover has no boards, no turn-ins, and no commitment to a single book. THIS guide is the opposite: you are skinning rigid boards, gluing leather down, and marrying the cover to a signature-sewn block so it becomes one object. You cannot swap the book out afterward.
For the full sequence of folding signatures, sewing them, and rounding the spine before you ever touch leather, that lives in my leather bookbinding guide hub. This article picks up where the sewn text block already exists and walks the leather covering itself.
Choosing the Leather and Boards
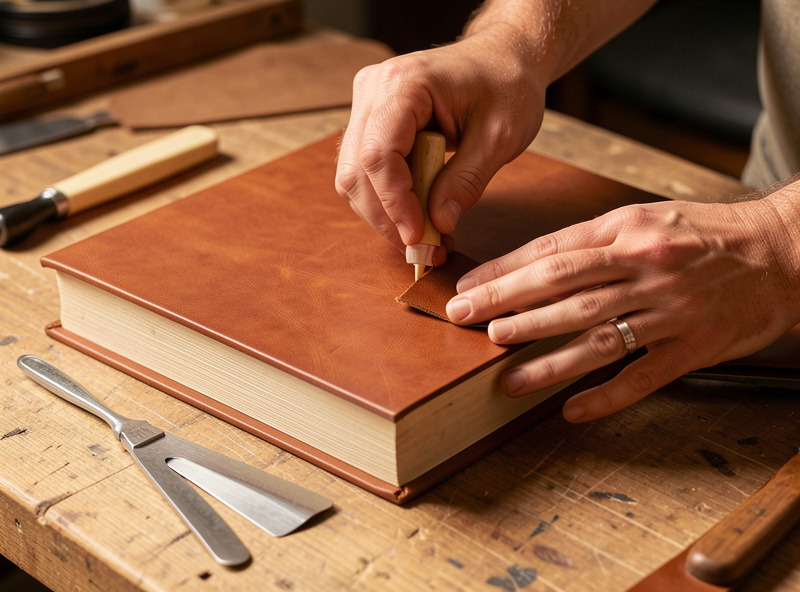
For a cased book I reach for soft, thin leather — 2-3oz chrome-tan or a thinned veg-tan around 3oz. Thicker than that and the turn-ins bulk up at the corners and the hinge stops flexing. The boards do the structure; the leather only needs to cover and survive handling.
This is the one place I break from my usual veg-tan-everything habit. A wallet wants 5-6oz veg-tan, but a book cover wants to drape and fold at the hinge without cracking, so a supple chrome-tan or a skived-down veg-tan earns its place. If you are weighing the two tannages for this job, my notes in chrome-tan vs veg-tan leather lay out exactly why drape beats firmness here. And if you only have heavier hide on hand, you will be skiving the turn-in margins thin anyway — the leather skiving knife guide covers the bevel I use to feather an edge down to nothing.
For boards, binder’s board (greyboard) around 2mm is the standard. I size it slightly larger than the text block on three edges to create the square — the small lip of cover that protects the pages. Two boards plus a spine strip, with a hinge gap on each side roughly the thickness of the board stack so the cover can open flat.
How much leather, and which binding style
You do not always skin the whole cover in leather. The three classic coverage styles trade leather for difficulty. Full leather is the most material and the trickiest corners; quarter leather is the friendliest first project.
| Binding style | Leather coverage | Difficulty | Leather used (A5 book) |
|---|---|---|---|
| Full leather | Entire cover, both boards + spine | Hardest — four mitred corners, large turn-ins | ~1.5 sq ft |
| Half leather | Spine + outer corners; paper/cloth fills the boards | Moderate — corner pieces fussy | ~0.7 sq ft |
| Quarter leather | Spine strip only; rest is paper or cloth | Easiest — one straight turn-in | ~0.3 sq ft |
For a first handmade leather book cover, I genuinely steer people to quarter leather. You get the leather spine that everyone wants to touch, without four corners to mitre while the paste is going off.
Cutting and Cornering the Leather
Cut the leather as one piece for full leather, sized to wrap both boards plus the spine plus a turn-in margin of about 15-20mm all around. Mark the board positions on the flesh side, leave the hinge gaps, and skive the four corners and the head/tail turn-ins thin so they fold flat.
A clean straight edge matters more here than on almost any other project, because a wavy cut shows as a wavy turn-in line inside the cover. I cut against a steel rule with a fresh blade in long single passes — the technique in how to cut leather straight is exactly what keeps the spine edges parallel. Picking the right starting weight is half the battle too; the leather thickness oz chart shows where 2-3oz sits and why heavier hide fights you at the corners.
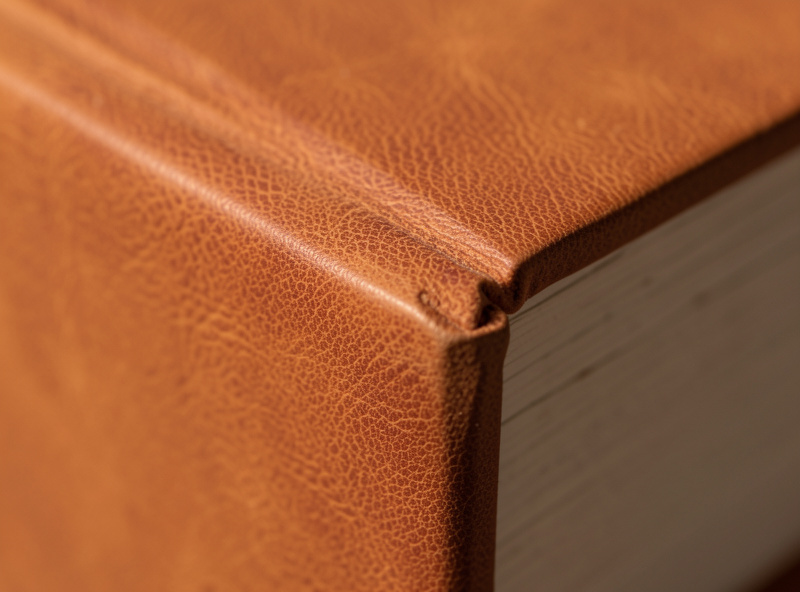
For corners I cut the leather at 45 degrees a board-thickness-and-a-half away from the corner point, then tuck the head and tail in first, the fore-edge second. That order hides the cut edges and gives a clean mitre. New makers cut the corner flush to the point and end up with a gap; leave that little margin.
Gluing the Case and Turning In
Glue the boards and spine to the flesh side of the leather, working out from the spine. PVA gives you a few seconds of slide; wheat or rice paste gives you longer open time and is reversible. I use PVA for chrome-tan and a paste-PVA mix for veg-tan so the leather has time to mould.
Adhesive choice is the quiet make-or-break of this whole build. Too wet and PVA bleeds through thin leather and stains the grain; too dry and the turn-ins lift weeks later. I keep a thin even coat and work fast — my full breakdown of which glue grabs which leather is in best glue for leather, and it is worth reading before you commit a board you cannot un-glue.
Lay the leather grain-side down, set the boards into their marked positions leaving the hinge gaps, press out from the spine to chase air bubbles, then turn the margins over the board edges. Bone-folder the turn-ins down hard along the board edge so you get a crisp 90-degree wrap, and pinch the spine into the hinge gaps so it articulates. Then into the press, or under weight overnight.
Casing-In: Marrying Cover to Text Block
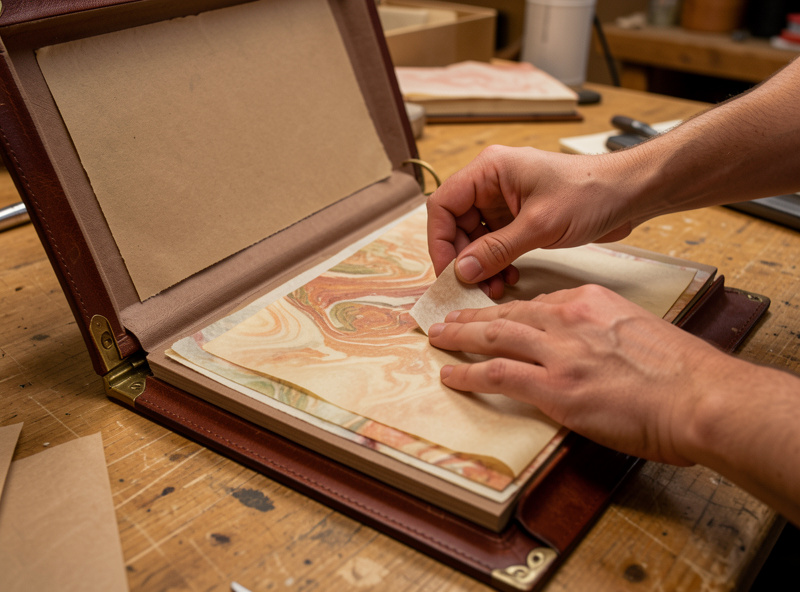
Casing-in is gluing the outer leaves of your sewn text block — the endpapers — to the inside of the leather boards. This is the step that turns a loose cover and a loose book into one bound object. Get the hinge alignment right and it opens flat; get it wrong and it binds.
Set the text block into the case and check the squares are even on all three sides before any glue. Then paste the first endpaper, close the board onto it, open, check, and repeat for the back. A sheet of wax paper between the endpaper and the next page stops moisture migrating into the block. The endpapers hide every turn-in edge, so a slightly rough turn-in is forgiven here — but the hinge gap is not, and that is set back at the gluing stage.
Press the finished book overnight with the boards just inside the spine edge so the hinge stays defined. I check it the next morning before I touch any finish — a cased book that opens flat and square is the whole game.
Finishing the Leather
Once the case is dry you finish the leather like any veg-tan piece: a light dye or antique if you want, then a thin sealing coat. On a book I keep finishes minimal — heavy Resolene on a hinge that flexes constantly will eventually craze.
If you dyed the cover, even penetration is everything because the endpapers will frame a strip of it; my approach is in the leather dyeing guide. The exposed turn-in edges inside the cover and the head/tail of the spine get a light burnish — nothing like a belt edge, just enough to tidy them, using the lighter touch from leather edge finishing. A coat of neatsfoot rubbed thin keeps the grain supple at the hinge where it works hardest.
Where to Go Next
This cover is the leather skin over a book you already sewed. If you have not sewn the block yet, or you want a softer limp binding with no boards at all, the hub and its siblings cover those routes — including stitched journals that lean on the saddle stitch I use everywhere else.
Tools I reach for: for boards, a davey binders board; for adhesive, a reversible pva bookbinding glue; a hardwood bone folder for crisp turn-ins; an overnight book binding press; or a starter bookbinding kit to get everything at once. As an Amazon Associate I earn from qualifying purchases.
Frequently Asked Questions
What leather weight is best for a handmade book cover?
Thin and supple wins. I use 2-3oz chrome-tan or a veg-tan skived down near 3oz so the turn-ins fold flat and the hinge flexes without cracking. The boards provide structure, so the leather only needs to cover and survive handling.
How is this different from a refillable notebook cover?
A refillable cover sleeves a store-bought insert with elastic and no glue, so it stays removable. A cased-in cover glues leather permanently over boards and bonds to endpapers of a block you sewed yourself, becoming the book’s actual binding.
What glue should I use for a leather book cover?
PVA for speed and chrome-tan, or wheat or rice paste for longer open time and reversibility. I use a paste-PVA mix on veg-tan so the leather has time to mould. Keep the coat thin so it does not bleed through and stain the grain.
Do I have to cover the whole book in leather?
No. Quarter leather uses a leather spine strip with paper or cloth boards and is the easiest first project. Half leather adds leather corners. Full leather skins everything and has four mitred corners, which are the trickiest part for beginners.
What is casing-in?
Casing-in is gluing the outer endpapers of your sewn text block to the inside of the leather-covered boards. It marries the loose cover and loose book into one object. Correct hinge alignment lets the finished book open flat instead of binding.
How long does it take to make one?
Plan on 6-8 hours of hands-on work spread over two days, most of it drying and pressing time. The leather covering and turn-ins take an afternoon; the case then presses overnight before casing-in and a final overnight press.
Related Articles
- Leather Bookbinding Guide
- Leather Journal Making Guide
- Saddle Stitch Leather Journal Guide
- Leather Spine Finishing Guide
- Types of Leather
- Leatherworking for Beginners



