Leather dyeing transforms natural-tan vegetable leather into any color from honey amber to jet black using one of three dye chemistries: alcohol-based, oil-based, or water-based acrylic. The most…
Leather dyeing transforms natural-tan vegetable leather into any color from honey amber to jet black using one of three dye chemistries: alcohol-based, oil-based, or water-based acrylic. The most consistent beginner result comes from a single-coat alcohol or oil dye applied to oxalic-acid-prepped leather, sealed with a water-based top coat, and buffed at 24 hours — total active time about 30 minutes per piece, plus drying.
This guide covers every decision a leatherworker faces between a piece of natural veg-tan and a finished dyed item: which dye family to buy, how to prep the surface so the dye lays evenly, the three main application motions, why your top coat matters more than your dye choice, and how to fix the eight most common dye disasters before they ruin a wallet. Skip ahead with the table of contents below.
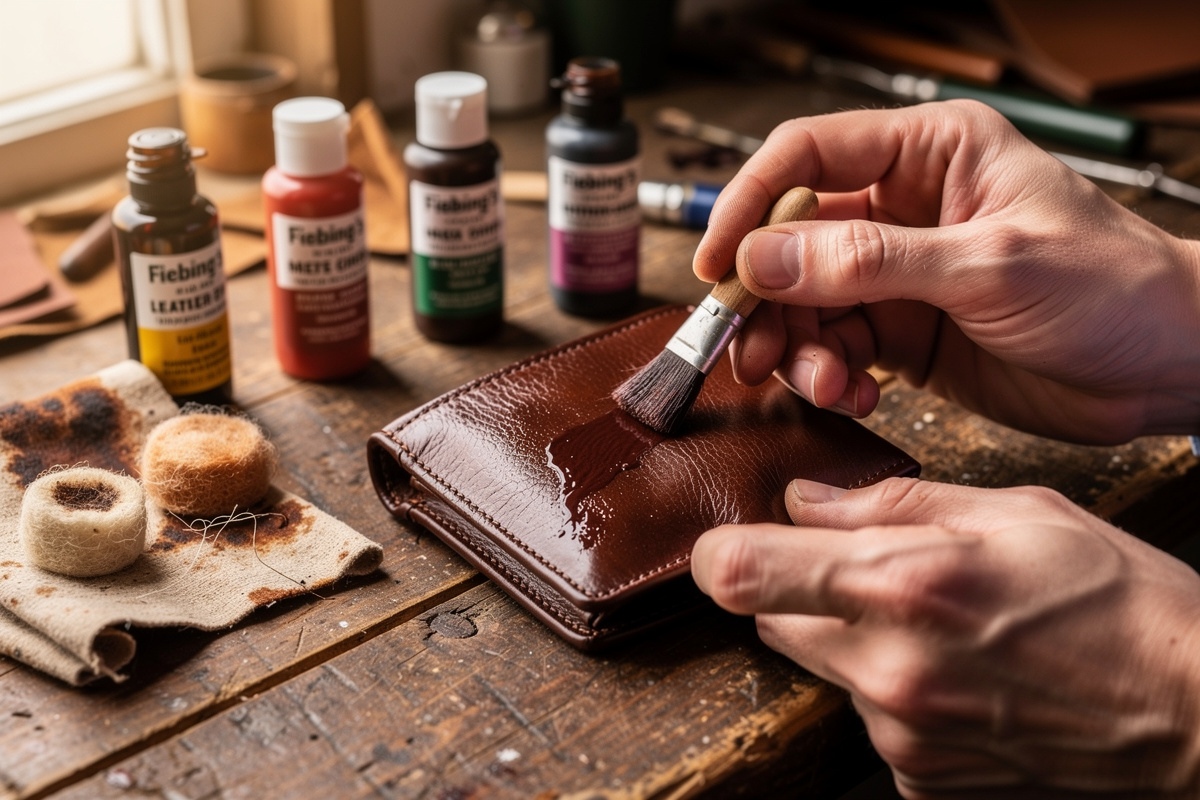
The first time I dyed a wallet, I skipped the deglazing step and ended up with dark fingerprints permanently etched into the grain. That $22 piece of leather became my test panel for the next six months. What I learned: 80% of a clean dye job is surface prep, 15% is choosing the right dye family for the project, and 5% is application technique. Fiebing’s Pro Oil Dye in dark brown is still my go-to for wallets because it penetrates evenly and the color deepens with age instead of fading.
Why Vegetable-Tanned Leather (And Almost Nothing Else)
Dye chemistry only works reliably on vegetable-tanned leather. The tannin-bonded fiber structure absorbs alcohol and oil dyes deep into the leather body, producing color saturation that survives years of bending, abrasion, and UV exposure. Chrome-tanned leather has chromium salts already locked into its fibers and rejects most penetrating dyes — color sits on the surface, scratches off, and looks cloudy. If you bought “leather” without a tannage spec and dye refuses to soak in, that is your answer.
Within veg-tan, choose hides labeled “natural,” “russet,” or “undyed.” Pre-dyed veg-tan (chestnut, saddle tan, English tan) is already saturated with whatever pigment the tannery applied, and additional dye will either sit on top or muddy the existing color. The exception is going darker — a russet hide will accept dark brown or black dye and produce the burnished antique look that many wallet builders chase. Going lighter than the existing color is impossible without strippers and rarely worth the trouble.
For a refresher on hide grades and how they affect dye uptake, the full grain vs top grain leather guide covers how the corrected-grain finishing on top-grain leather seals the surface and resists penetrating dyes. Full-grain veg-tan is the canonical dyeable surface; corrected-grain top-grain reads dye almost like chrome-tan.
The Three Dye Families (And When To Use Each)
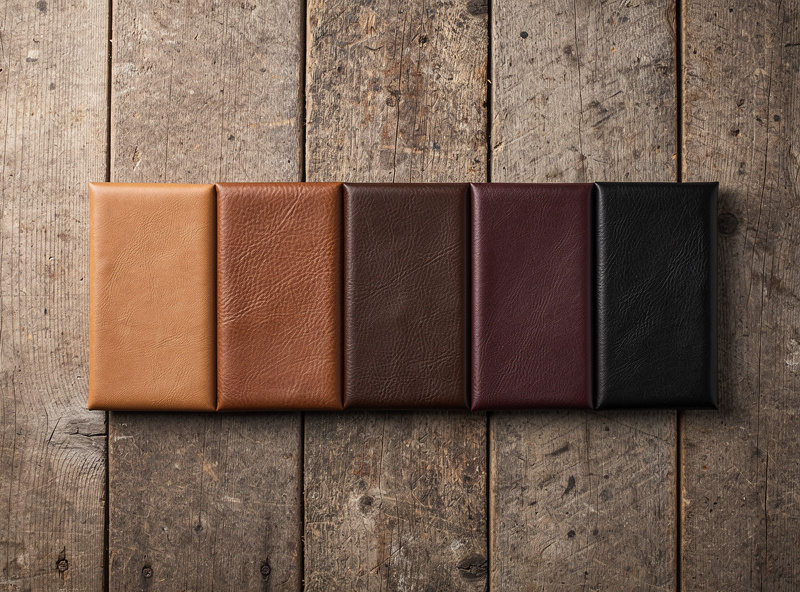
Alcohol-based, oil-based, and water-based acrylic dyes each behave differently on the same piece of leather. Picking the wrong family is the single most common reason a first-time dye job fails — beginners reach for whatever is at the local craft store and end up with surface acrylic on a hide that should have taken a penetrating alcohol dye. The table below summarizes when each family makes sense. (Tan Kote and Bag Kote, sometimes lumped in with dyes, are actually clear resin topcoats — see the Sealing section below for where they actually belong.)
| Dye Family | Penetration | Color Saturation | Drying Time | Best For | Bleed Risk |
|---|---|---|---|---|---|
| Alcohol-based (Fiebing’s Leather Dye) | Deep — full-thickness | Vivid, slightly hot | 30 min surface; 4 hr full | Wallets, belts, holsters | Medium — needs sealer |
| Oil-based (Fiebing’s Pro Oil Dye) | Deep, even on cut edges | Rich, slightly muted | 2 hr surface; 12 hr full | Beginner-friendly, all projects | Low — most forgiving |
| Water-based acrylic (Eco-Flo, Angelus) | Surface — sits on grain | Brilliant, opaque | 30 min | Sneaker customs, bag accents | Low — flexes with leather |
For a deeper head-to-head on the most common alcohol and oil dyes, the best leather dye for veg-tan review tested eight brands across consistency, lightfastness, and bleed-through. The short version: Fiebing’s Pro Oil Dye in dark brown is the most forgiving option for beginners; Angelus Acrylic is the easiest dye to mix custom colors with; Eco-Flo Hi-Lite Stain is the fastest way to add depth to a natural-tan piece. For a plain-language breakdown of how these chemistry families differ in penetration, evenness, and durability, see oil vs water vs acrylic leather dye compared.
Black is its own decision tree. Most “black” leather dyes leave a slightly green, blue, or purple cast in direct sunlight depending on the carrier. Fiebing’s USMC Black (military-spec) is the only black dye most professionals trust for jet-black results without re-dyeing; Angelus Jet Black is the closest acrylic equivalent. Skip generic “black” dye for any project where the color matters. The full method for a deep, even, crock-free black — including the traditional vinegaroon route — is in how to dye leather black.
Prep Is 80% of the Result
Blotchy, streaky, or splotchy dye jobs come from prep failures, not application failures. Vegetable-tanned leather arrives with natural oils, surface waxes from the tannery’s milling stage, and hand oils from every person who handled the hide between tannery and your bench. All of those create dye-resistant patches.
The standard prep sequence is wipe-down with denatured alcohol or 5% oxalic acid solution, light buff with 0000 steel wool, second wipe with distilled water on a clean cloth, then dry for 30 minutes before applying dye. Skip any step and you will see the result in your finished piece. The dye leather without streaks tutorial walks through the alcohol wipe-down and the dauber motion that prevents the swirl-pattern beginners hate.
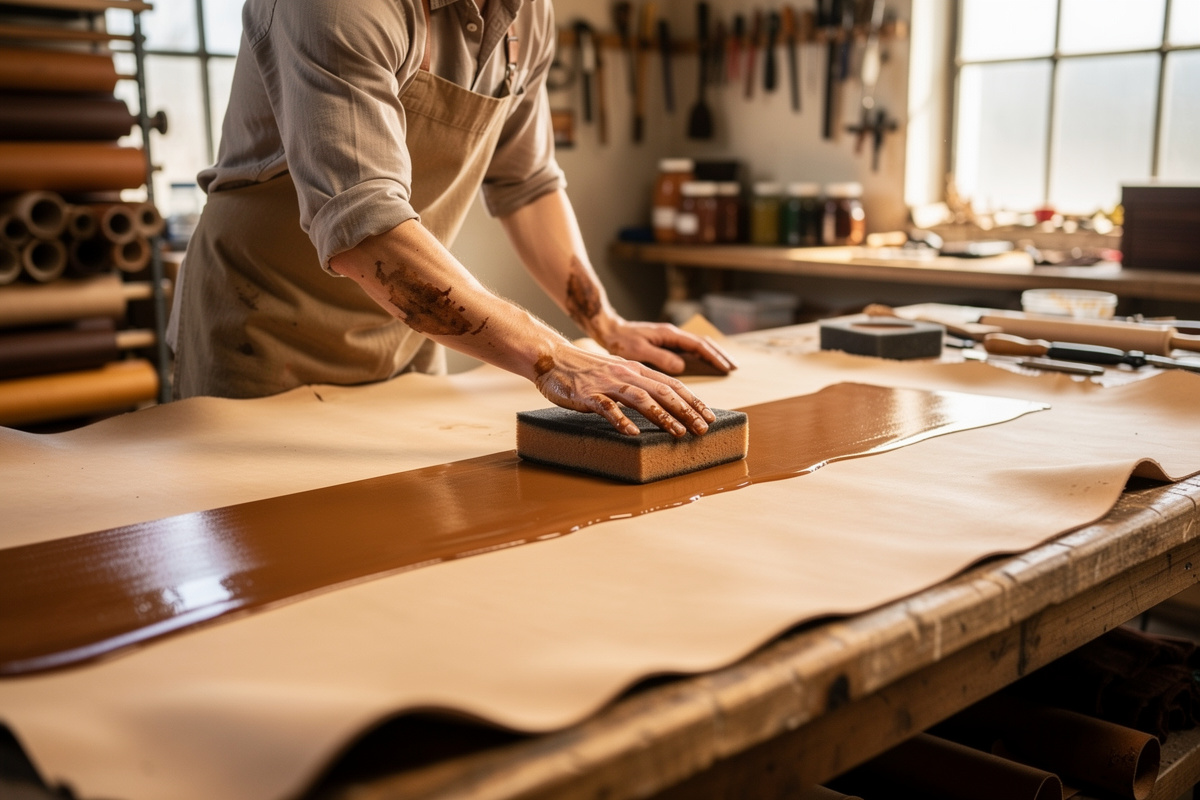
Oxalic acid does two jobs: it strips surface contaminants AND lightens existing patina spots so the underlying leather dyes uniformly. Use it on any hide that has visible color variation, scuffs, or hand grease. A 5% solution (5 grams oxalic acid powder per 100 ml distilled water) wiped on with a sea sponge in straight lines, allowed to sit 30 seconds, then rinsed with distilled water, evens the surface remarkably well. Wear nitrile gloves — oxalic is mildly caustic.
Casing the leather (re-wetting with distilled water until the surface returns to a slightly cool, damp feel) before dyeing improves penetration depth on alcohol and oil dyes. Wet leather draws dye deeper into the fiber matrix; dry leather lets dye sit on the grain. Casing also lifts the grain slightly, opening the surface to absorption. Most professional finishers case lightly before applying penetrating dyes; many beginners skip this step and complain about pale results.
Three Application Techniques (And When Each Works)
Dye goes onto leather by daubing, dipping, or spraying — and each technique produces a different final result. Daubing is what most tutorials show; dipping produces the deepest, most even color but uses 8–10 times more dye; spraying is fast but requires a respirator and a spray booth. Beginners should master daubing on three test pieces before attempting any other method. Each method’s trade-offs by project size are broken down in the dip vs sponge vs airbrush application guide.
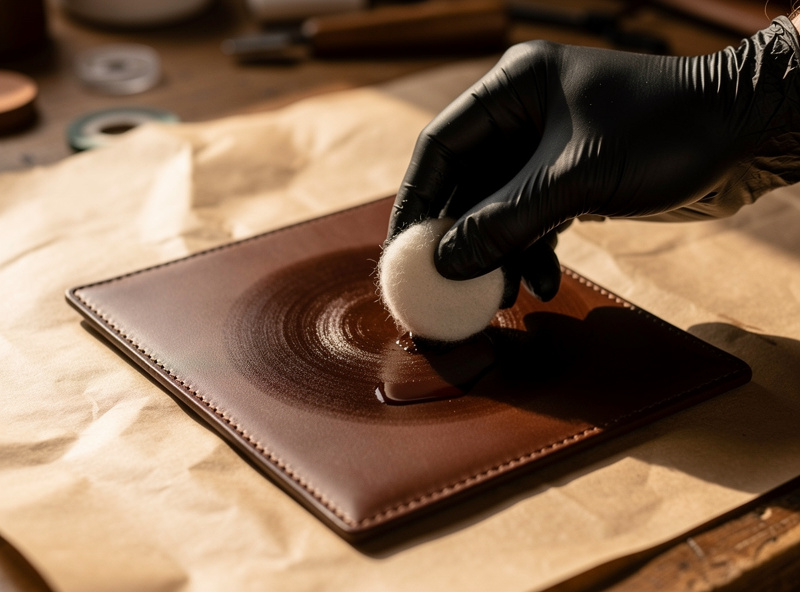
The classic dauber motion is small overlapping circles, building up to a uniform tone, never lifting the dauber off the leather mid-pass, and finishing with one straight pass along the long axis to break up circular patterns. Speed matters: alcohol dye flashes off in under 90 seconds, so you have to cover the whole piece before any one section dries faster than the rest. Oil dye gives 4–5 minutes of work time, which is why beginners should start with oil-based.
For dipping, mix dye 1:1 with the matching reducer (alcohol or oil) in a stainless tray, fully submerge the leather for 8–12 seconds, lift, hang to drip for 60 seconds, then dry flat. Dip-dyeing produces edge-to-edge identical color with zero streaks, making it the technique of choice for production wallets and small goods. The downside: a single bifold uses about 60 ml of dye when dipped vs 8 ml when daubed.
Airbrush spraying gives the most professional finish but requires a real airbrush (Iwata HP-CS or similar), a small compressor, and a respirator rated for solvent vapors. Spray two thin coats with a 30-minute flash between, holding the airbrush 6 inches from the surface and moving constantly. Spraying is the only practical method for very large pieces (briefcases, motorcycle seats) and for blending two colors into a fade. Keeping color even across that much surface is its own challenge — the guide to dyeing a large leather project covers beating lap lines on big panels.
Layering, Antiquing, and Color Combinations
Single-color dye jobs are the entry point. Two- and three-color combinations are where leather work starts to look custom. The two most useful layered finishes for beginners are the antique-pull (light dye, then dark antique gel buffed back) and the highlight-and-shadow (dark dye base, then light gel rubbed into recessed areas only). Building custom tones starts with blending base colors correctly; the leather dye color mixing chart gives the ratios for mahogany, oxblood, and saddle tan.
For antique pull: dye the entire piece with light tan or saddle tan, let dry overnight, apply Fiebing’s Antique Finish or Eco-Flo Hi-Lite Stain in dark brown using a damp sponge in circular motions, immediately buff back with a clean dry cloth before the antique sets. The result: dark brown settles into tooled lines and texture, the high points stay light tan, and the piece reads as decades old. Five minutes of work for a transformative result. The resist step that controls how crisp that antique contrast turns out is covered in detail in how to antique leather for an aged finish.
Highlight-and-shadow reverses this: dye the entire piece in dark brown, let dry overnight, then carefully wipe a thin layer of natural-tan or saddle-tan dye onto raised areas only using a soft cotton round. The light dye lifts the dark dye in patches, producing variegated highlights. This works beautifully on tooled belts and sheaths but takes a steady hand on wallets.
Two-color edge-to-body fades require dipping or airbrushing — daubing a fade always shows the transition line. Start with the lighter color for the lower 60% of the piece (dipped or sprayed), let dry 30 minutes, then add the darker color to the upper 40% using a feathering motion. Fades on belts (light tan to dark walnut, top to bottom) are a signature look in Western-style work.
Sealing and Top Coats — Why This Step Matters Most
Unsealed dyed leather bleeds. Dark-dyed leather will transfer color onto pockets, jackets, white shirts, and car seats for weeks until enough surface pigment wears off — and in the meantime, the piece looks great but ruins anything light-colored it touches. The sealer is what locks the dye into the leather and keeps it there for the life of the item.
The four common sealers are Fiebing’s Resolene (acrylic, satin sheen), Bag Kote (water-based, low gloss), Tan Kote (water-based, satin), and Sno-Seal (beeswax, matte). Resolene is the production standard — diluted 50:50 with distilled water, brushed on in two thin coats with 30 minutes between, gives a flexible, abrasion-resistant finish that does not crack with leather flex. Bag Kote and Tan Kote are softer-feeling and recommended for items that touch skin (cuffs, watch straps). For dialing in Resolene specifically — the 50/50 thinning, coat count, and fixes for a cloudy finish — see the Resolene leather finish guide.
Beeswax-based finishes (Sno-Seal, Aussie Conditioner, Bick 4) condition the leather but provide minimal abrasion resistance. Use them on belts and outdoor gear that benefits from waterproofing; avoid them as primary sealers on items in pockets where the wax transfers onto fabric. The wax buffs to a beautiful low-luster finish but takes 8–12 hours to fully cure.
The two-coat rule applies to almost every sealer: thin first coat for adhesion, dry 30 minutes, second coat for protection, dry 4 hours minimum before flex-stressing the leather. Skip the dry time and the second coat lifts the first. Buff between coats with a soft cotton cloth, never with a brush — brush bristles drag the partially-set sealer.
Edge Dyeing: The Step That Reads as Quality
Cut edges absorb dye differently than grain surfaces because the exposed fiber ends are end-grain rather than horizontal. Edges always need their own dyeing pass after the body is dyed, otherwise they stay pale and the contrast looks unfinished. Edge dye is what separates a $5 wallet from a $50 wallet at first glance.
The standard sequence is bevel edges, sand to 800 grit, dampen, apply edge paint or matching body dye, allow to penetrate 60 seconds, burnish to compress and seal. The edge burnishing tutorial covers the burnish step in detail; the dye step happens between sanding and burnishing so the dye soaks into open edge fibers before they get compressed.
Edge paint (Fenice, Giardini, Stahl) is a thicker pigmented compound rather than a dye — it builds up on the edge surface, sands smooth, and produces the painted-edge look common on European luxury goods. Penetrating dyes (matching the body dye) produce a softer, more natural edge that ages with the leather. Beginners should start with the body-dye-on-edges method; edge paint is a separate skill that takes practice to apply without runs.
The matching edge beveler review explains size selection (size 1 or 2 for wallets, larger for belts), and the Tokonole vs gum tragacanth comparison covers which burnishing compound pairs best with which edge dye method. Most beginners get good results with body-color dye + Tokonole burnish.
Troubleshooting Eight Common Failures
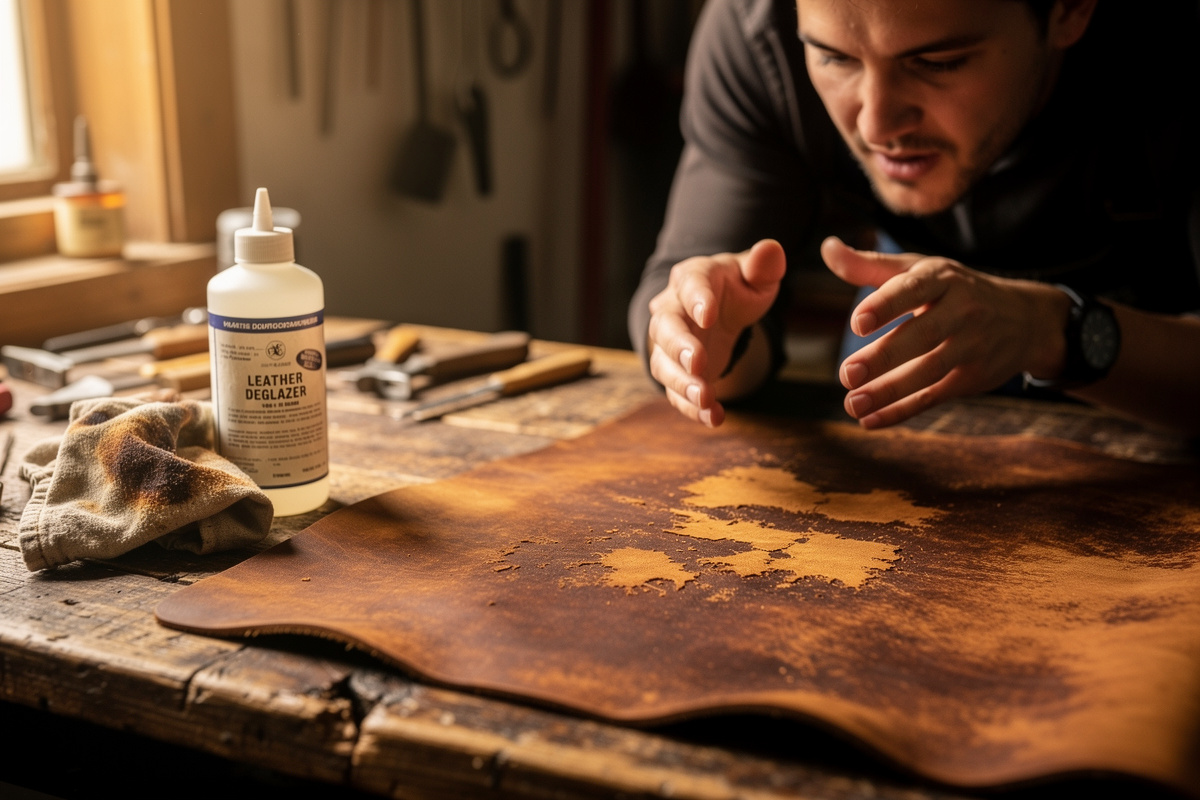
Almost every dye disaster is one of eight specific failures. Diagnose first, then fix — most are recoverable. For a deeper salvage playbook — overdyeing blotches, stripping a too-dark piece back with deglazer, and stopping rub-off for good — see how to fix leather dye mistakes.
Failure 1: Streaks and swirl marks. Cause: inconsistent prep (oils still present) or inconsistent dauber pressure. Fix: wipe with denatured alcohol, let dry, re-dye with even circles plus one straight finish pass.
Failure 2: Blotchy color (dark and light patches). Cause: hand oils on the hide or dried leather absorbing unevenly. Fix: oxalic-acid wipe-down, light steel wool buff, case the leather lightly, re-dye.
Failure 3: Color bleeds onto fabric. Cause: no sealer or insufficient sealer coats. Fix: two coats of Resolene 50:50, dry overnight, buff. Repeat sealer pass if bleed continues after 48 hours.
Failure 4: Color rubs off when dry-buffed. Cause: surface pigment not absorbed (often from re-dyeing chrome-tan or pre-dyed veg-tan). Fix: limited — strip with deglazer if veg-tan, accept the result if chrome-tan.
Failure 5: Pale, weak final color. Cause: dry leather, insufficient coats, or dye too old. Fix: case the leather lightly, apply 2-3 thin coats with 30-minute drying between, let cure overnight.
Failure 6: Cracking or stiffness after dyeing. Cause: alcohol carrier dried out the leather. Fix: condition with neatsfoot oil (one thin coat) after sealer cures.
Failure 7: Color shifts during drying (looks great wet, dull dry). Cause: normal — leather always darkens when wet and lightens when dry. Plan for a final tone two shades lighter than the wet appearance.
Failure 8: Uneven edges (body color matches, edges don’t). Cause: skipped edge-dye pass. Fix: bevel, sand, dampen, apply matching dye to edges only with a fine brush, burnish.
Storage, Safety, and Studio Setup
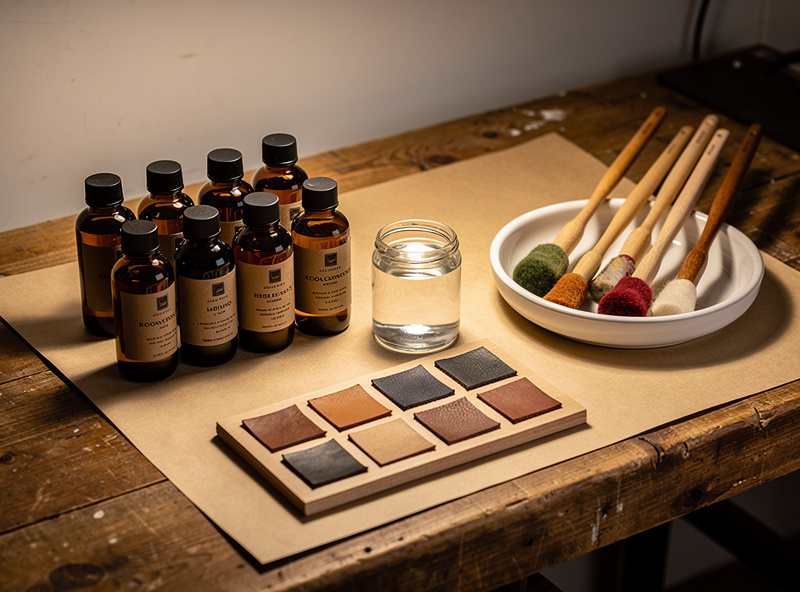
Leather dye storage follows three rules: tight cap, cool dark shelf, label with open date. Alcohol dyes evaporate in days if the cap loosens; oil dyes thicken in months even sealed. Most leatherworkers buy 4 oz bottles and replace them yearly, even if some dye remains — old dye produces inconsistent color.
Ventilation is non-negotiable for alcohol-based and oil-based dyes. The carrier solvents are flammable and produce vapors that cause headaches and dizziness in enclosed spaces. Open a window, run a fan blowing outward, and never dye near an open flame. A respirator rated for organic vapors (3M 6001 cartridges) is required for spray dyeing and recommended for all daubing of alcohol dyes.
Disposable nitrile gloves prevent dye-stained hands and protect your skin from the carrier solvents. Cover your work surface with kraft paper or a silicone baking mat — dye does not come out of wood, fabric, or unsealed concrete. Old t-shirt rags are better than paper towels (lint-free, more absorbent), and cotton wool daubers are cheap enough to throw away after each color.
Some leatherworkers extend dyeing into other surface treatments. Laser engraving on vegetable-tanned leather can be combined with dye to produce darkened-then-engraved-and-redyed contrast effects; 3D-printed leather tooling includes stamping plates that can be used pre-dye to add tooled patterns the dye then highlights. These are advanced techniques worth attempting only after you have mastered single-color dye jobs.
Dyed Projects To Practice On
The best way to learn dyeing is to dye three small pieces in sequence and analyze the differences. Start with a card holder, move to a bifold wallet, then attempt a belt — that progression covers thin (2–3 oz), medium (4–5 oz), and thick (7–8 oz) leather and teaches how each absorbs dye differently. The card holder pattern and bifold wallet build walk through the construction; add the dyeing step between cutting and stitching.
Dye-then-stitch is the standard sequence — stitching first traps dye against the thread and produces a halo around every stitch. Some makers prefer to stitch and dye for the halo effect deliberately; that is a stylistic choice, not a beginner default. Always dye the leather flat (before folding or assembly) to avoid trapped pockets of dry dye in folds.
For a refresher on which leather to start with, the leather working for beginners hub covers leather selection, basic tools, and project sequencing. Hub-cluster reading order: beginner hub → leather types → dyeing (this page) → stitching → finishing.
Frequently Asked Questions
What is the best leather dye for beginners?
Fiebing’s Pro Oil Dye in dark brown is the most forgiving option. Oil-based dyes give 4 to 5 minutes of working time per pass, penetrate evenly, and rarely streak even with imperfect prep. Alcohol-based dyes flash off in under 90 seconds and demand more skill.
Why is my leather dye streaky?
Streaks come from prep failures, not application. Surface oils and tannery waxes block dye absorption in patches. Wipe down with denatured alcohol or 5 percent oxalic acid solution, light buff with 0000 steel wool, then re-dye with overlapping circular motions.
Do you have to seal dyed leather?
Yes. Unsealed dyed leather bleeds onto pockets, jackets, and other fabrics for weeks. Two coats of Fiebing’s Resolene diluted 50:50 with distilled water, brushed on with 30 minutes between coats, locks dye into the leather permanently.
Can you dye chrome-tanned leather?
Not reliably. Chrome-tanned leather has chromium salts already locked into the fibers and rejects penetrating alcohol or oil dyes. Color sits on the surface, scratches off, and looks cloudy. Dye only vegetable-tanned leather for predictable results.
How do you make leather darker without re-dyeing?
Apply antique gel (Fiebing’s Antique Finish or Eco-Flo Hi-Lite Stain) in dark brown over the existing color, then immediately buff back with a clean cloth. The antique settles into tooled lines and texture, deepening the overall tone without a full re-dye pass.
How long does dyed leather take to dry?
Surface drying takes 30 minutes for alcohol dyes and 2 hours for oil dyes. Full cure (when dye is fully bonded to fibers) takes 4 hours for alcohol and 12 hours for oil. Always wait 24 hours before applying sealer for best adhesion.
What is the difference between dye and stain for leather?
Leather dye penetrates fully into the fiber matrix and changes the leather’s body color. Stain (like Eco-Flo Hi-Lite Stain) sits closer to the surface, adds tone or highlights, and is reversible with deglazer. Dye is permanent; stain is layered.
Related Guides
- Best Leather Dye for Veg-Tan: 8 Brands Tested
- How to Dye Leather Without Streaks or Blotches
- How to Burnish Leather Edges With Tokonole
- Full Grain vs Top Grain Leather Explained
- Leather Working for Beginners: Complete Starter Guide