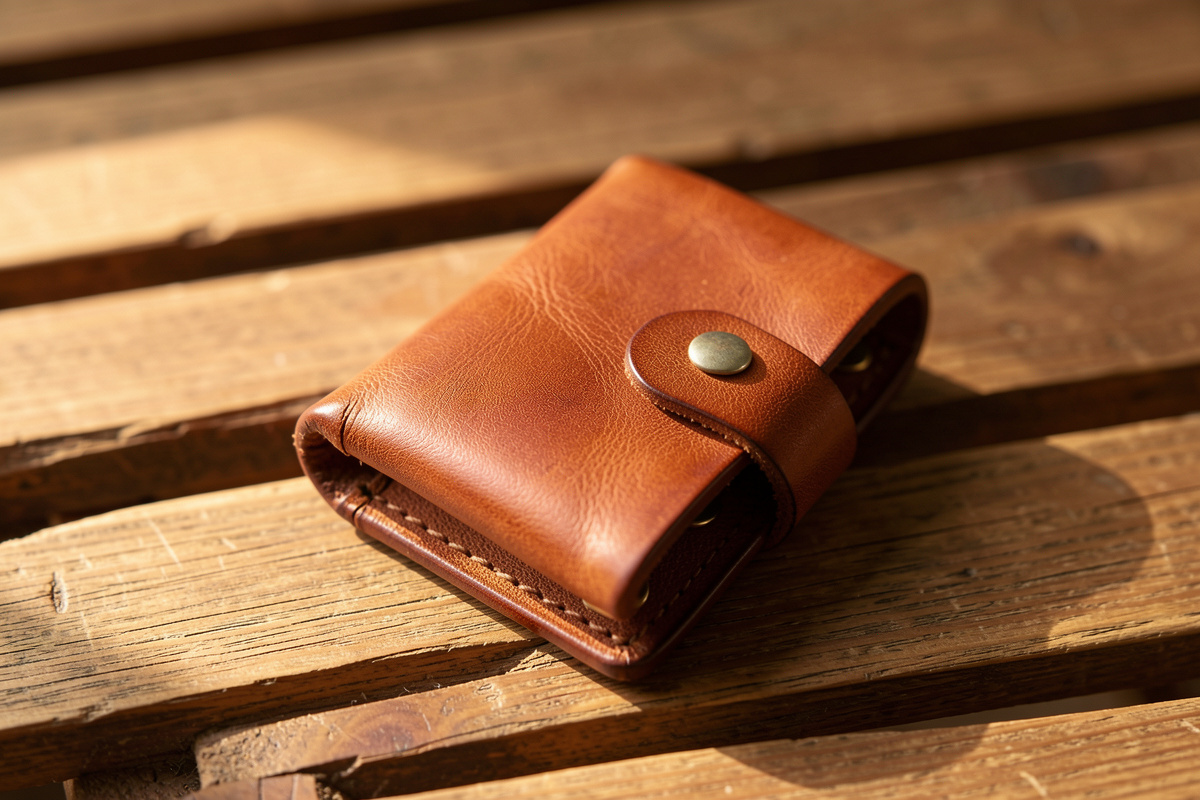
A leather key case tames a loose jangle of keys into a slim, silent fold. The classic pattern is a folded 3–4 oz veg-tan wrap around a six-hook rack,…
A leather key case tames a loose jangle of keys into a slim, silent fold. The classic pattern is a folded 3–4 oz veg-tan wrap around a six-hook rack, closed with a single line-20 snap. It costs under $12 in leather and hardware, takes about two evenings, and lives in a front pocket without stabbing your leg.
I build these when someone tells me their keys have shredded a pocket lining — which they always eventually do. A key case is a genuine intermediate project: the hook rack, the folds, and the snap all have to line up, and a millimeter of drift anywhere shows in the closed piece. That is exactly why it is worth building after a fob or two. Get the fold spacing right and it snaps shut flat; get it wrong and it gaps like a book that won’t close. Below is the pattern I use, the fold math that actually works, and where the hook rack has to sit so the keys tuck fully inside.
The Pattern and Leather
The whole case is one rectangle of 3–4 oz veg-tan, roughly 180 mm long by 60 mm wide, that folds in thirds around the hook rack. I stay at 3 oz for a case that has to bend cleanly around a fat set of keys and 4 oz when I want a stiffer, more structured feel. Heavier than 4 oz and the fold cracks the grain at the crease; lighter than 3 oz and the snap tab feels flimsy. Tanneries like Wickett & Craig sell veg-tan shoulders in 3–4 oz, the sweet spot for a key case.
Veg-tan is the only sensible choice here because the case gets a crease that has to hold and an edge that has to burnish. The fold is the make-or-break dimension: the rack sits in the middle third, and the two outer thirds fold up over the keys, so the middle panel has to be as wide as the keys are long plus a few millimeters of clearance. For a standard house key that means a middle section around 60 mm. I mark the two fold lines with a bone folder and a light crease, never a cut, so the grain compresses instead of weakening. If you are new to laying out a repeatable shape, my templates and patterns guide covers turning this rectangle into a reusable acrylic template you can trace forever.
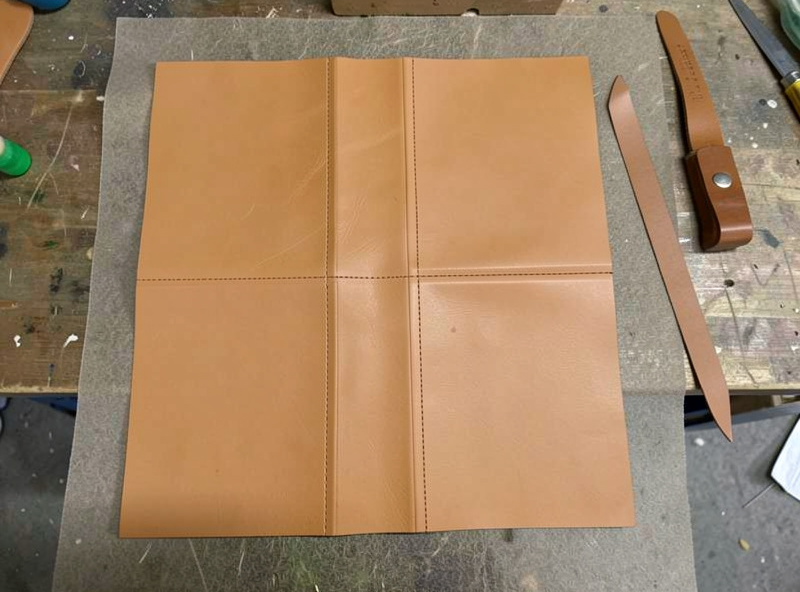
Skive the two fold zones down by about a third of their thickness with a French skiver before you crease them. That single step is what lets a 4 oz case fold flat instead of springing open — the leather is too stiff to bend sharply at full thickness, and thinning just the crease keeps the rest of the panel rigid where you want it. Dye and finish the whole panel flat, at this stage, because once it is folded and stitched you will never reach the inside faces again.
Setting the Six-Hook Rack
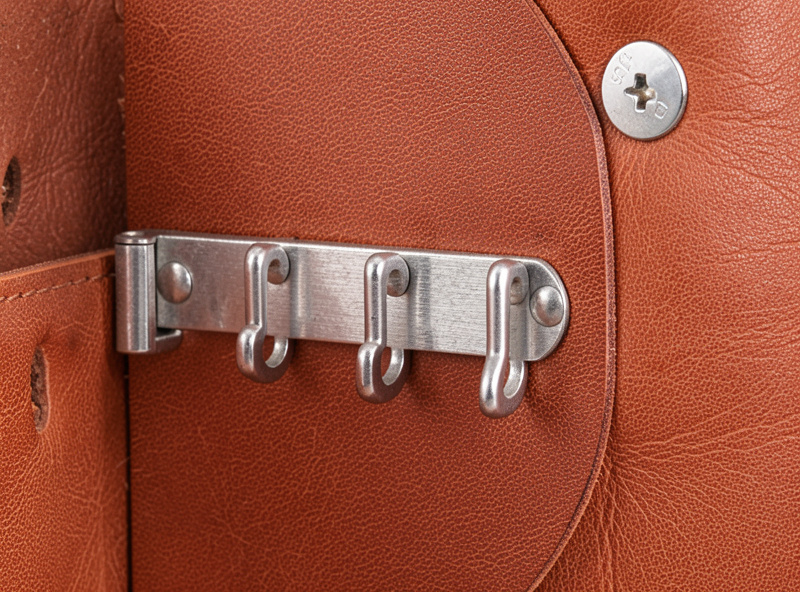
The hook rack is a small steel bar with six hooks that rivets to the middle panel — and its position decides whether the keys hide inside the fold or poke out the top. Center the rack side to side, then set it low enough that the hanging keys clear the bottom fold by 4–5 mm. Keys that hit the fold hold the case open; keys that hang short leave it gapping. That clearance is the number people get wrong.
The rack rivets through the middle panel with a small rapid rivet or a Chicago screw. I prefer a Chicago screw here because it lets you swap a bent rack later without drilling out a set rivet, and on a piece this thin the screw’s low profile sits nearly flush. Mark the rivet holes through the rack’s own mounting holes with an awl so they land exactly, then punch with the smallest drive punch that clears the post. If you have never set hardware by hand, my no-press snap and hardware method covers the technique, and the hardware guide explains sizing the rack and rivets to a case this size. As an Amazon Associate I earn from qualifying purchases. A six-hook key rack and a few Chicago screws are the only bought parts you need.
Stitching and the Snap Tab
Only the two short ends of the case are stitched — a few centimeters of saddle stitch each, reinforcing the folds and capturing the snap tab. This is a low-stitch-count piece, maybe twenty holes total, which is why it teaches clean folds more than marathon stitching. Mark your stitch line with a pricking iron at the pitch you use for wallet-class goods and keep it parallel to the folded edge.
I default to a fine European-pitch iron around 3.85 mm and 0.6 mm waxed polyester thread so the stitch reads in proportion to a small piece; a coarse pitch here looks agricultural. The two-needle saddle stitch is the technique — if it is new to you, work through my saddle stitch tutorial first, and the thread guide covers matching thread to that iron. The snap tab extends from one outer fold and wraps to meet a mating snap on the case body. Set the male half on the tab and the female on the body, and test the closure before you seal — a snap that lands 2 mm off holds the case slightly open forever. I set that snap 2 mm proud on an early case and it never once sat flat; I had to punch a second snap position to rescue it.
Folds, Edges, and Fit
A key case is judged closed, and closed it should sit flat with no gap at the mouth and no keys peeking out the top. The two things that get you there are crisp fold lines and a fully finished edge. Crease the folds with a bone folder while the leather is lightly cased — barely damp — so the bend sets rather than springs. A dry fold fights back; an over-wet fold stretches and distorts.
Finish every edge before final assembly: bevel both faces, sand up through the grits, then slick with Tokonole until glossy. On a folded piece the edges are the most-handled surface, so a rough edge is the first thing a person notices when they pull it from a pocket. My edge finishing guide walks the full bevel-to-burnish sequence, and picking a beveler size matters more on thin leather where an oversized edger eats the whole edge. Where the case relates to the rest of your pocket kit, the EDC projects guide ties the whole set together, and a matching card holder makes an obvious next build.
Closure Options Compared
The snap fold is the standard, but it is not the only way to close a key case. Here is how the three common closures compare for this size of piece:
| Closure | Difficulty | Best For | Downside |
|---|---|---|---|
| Snap tab | Intermediate | Most cases; fast, slim | Snap must align exactly |
| Wrap & tuck | Beginner | No hardware, clean look | Loosens as leather ages |
| Turn-lock | Advanced | Premium feel | Pricey, needs precise setting |
Frequently Asked Questions
What leather weight is best for a key case?
3-4 oz veg-tan. Use 3 oz when the case must fold cleanly around a fat key set and 4 oz for a stiffer, structured feel. Above 4 oz the grain cracks at the crease; below 3 oz the snap tab feels flimsy. Skive the fold zones down by a third so even 4 oz folds flat.
How many keys fit in a six-hook leather key case?
Six keys on the rack itself, comfortably. Realistically four or five keys plus the rack folds slimmest; a full six works but the case sits a little fatter. Position the rack so the longest key clears the bottom fold by 4-5 mm or the keys hold the case open.
Should I rivet or screw the hook rack in place?
A Chicago screw is my preference over a set rivet. It sits nearly flush on thin leather and lets you swap a bent rack later without drilling anything out. Mark the holes through the rack’s own mounting holes with an awl so they land exactly under the posts.
Why does my key case gap open instead of sitting flat?
Usually the snap is misaligned by a couple of millimeters, or the keys hang too low and hit the bottom fold. Test the snap closure before sealing, and set the hook rack high enough that the keys tuck fully inside with 4-5 mm of clearance at the bottom.
Do I need to skive the fold lines on a key case?
Yes, on 4 oz leather especially. Skiving the two fold zones down by about a third of their thickness with a French skiver lets the case fold flat instead of springing open, while the unskived rest of the panel stays rigid where you want structure.
Can I make a key case without any hardware?
Yes, with a wrap-and-tuck closure instead of a snap, and you can even skip the steel rack by cutting slots for the keys directly. It looks clean and needs no setting tools, but the wrap tends to loosen as the leather relaxes over months of use.
Related Guides
- Leather EDC Projects: The Small-Goods Guide
- How to Make a Leather Key Fob
- How to Make a Leather Card Holder
- Setting Snaps Without a Press
- Leather Edge Finishing: Bevel to Burnish



