Pricking irons are precision-ground hardened steel, and they last decades if you keep three things honest: clean the wax and fibers from between the teeth after every use,…
Pricking irons are precision-ground hardened steel, and they last decades if you keep three things honest: clean the wax and fibers from between the teeth after every use, oil the steel lightly to stop rust, and drive them only with a soft mallet into a proper striking surface. A good set runs anywhere from $40 for entry-level to over $300 for premium, and careless handling — a steel hammer, a bare bench, a damp drawer — is what shortens that life, not the stitching.
The teeth on a pricking iron are the most damage-prone precision edges on the bench. Each one is a tiny hardened blade ground to a specific pitch, and the whole value of the tool is that every tooth on every iron marks a hole at exactly the same spacing and angle. Chip one tooth or bend it a fraction, and that iron produces a visible glitch in every seam you mark with it — a single crooked or shallow hole that the awl and thread then fight to disguise.
I learned this the expensive way on my first decent set. I had been driving the irons with whatever hammer was closest to hand, and one afternoon I reached for a steel claw hammer to punch through 10 oz belt leather. Two strokes later the iron’s spine was mushroomed and a tooth had chipped at the tip, leaving a faint burr that scratched the grain side on every subsequent mark. The fix cost me a new iron and a lesson about mallets. This guide is the care routine I run now — cleaning, polishing, oiling, and storage — and it is the non-blade companion to the cluster’s sharpening pieces. Pair it with the diamond awl guide, because the iron and the awl are one matched system, and with the hub care guide for the full bench.
How Do You Clean Pricking Irons After Stitching?
Brush the teeth clean with a short brass or stiff nylon brush immediately after each use, working along the line of the teeth so the bristles sweep the wax and fiber out from between them rather than packing it in deeper. Follow with a wipe on a lightly oiled rag to lift residue and leave a thin protective film. The whole routine takes under a minute per iron and is the single biggest factor in how cleanly the tool marks leather over years.
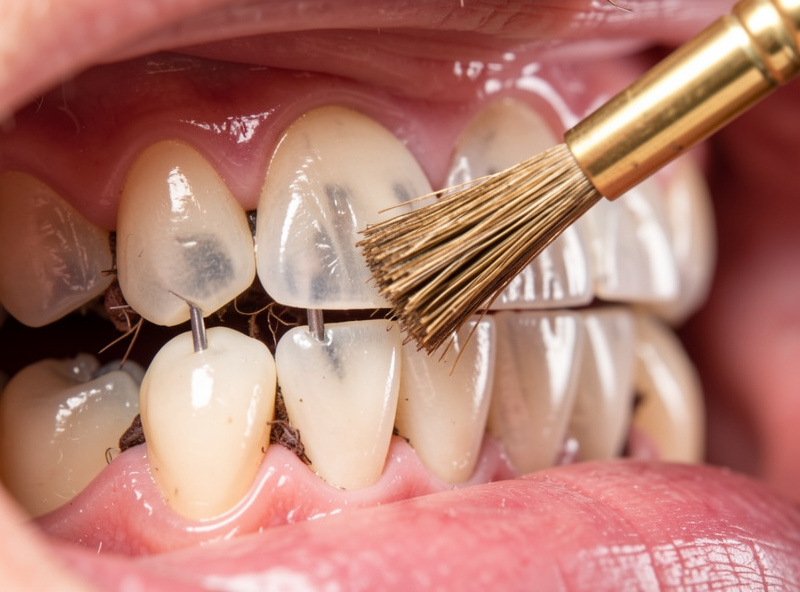
Wax is the silent killer here. Every time you drive an iron through waxed-thread-prepped leather or cased veg-tan, a micro-film of wax and buffed fiber packs into the root of each tooth. Left there, it builds until the teeth no longer sink to full depth, your marks go shallow, and the awl has nothing to follow. A brass brush (brass, not steel — steel will scratch the polished faces) clears it while it is still soft. For stubborn wax, a cotton swab with a drop of isopropyl alcohol dissolves it without harming the steel.
Avoid soaking the irons in any water-based cleaner. Hardened carbon steel will freckle with surface rust within hours of a wet cleaning if it is not immediately dried and oiled, and the tight spaces between teeth hold moisture longer than the flat faces. If you do use a damp wipe, follow it at once with a dry rag and a light coat of oil. This is the same carbon-steel discipline that governs every hardened tool on the bench; the broader sharpening and tool-care overview covers the principle across all of them.
What Is the Right Mallet for Pricking Irons?
Drive pricking irons only with a soft-faced mallet — polyurethane, rawhide, wood, or dead-blow nylon — never a steel hammer. A poly mallet in the 12 to 16 ounce range delivers enough force to sink the teeth cleanly into 8 oz leather while transferring none of the shock that mushrooms iron spines and chips tooth tips. Steel-on-steel contact between a hammer face and a hardened iron spine work-hardens and deforms both surfaces within a session.
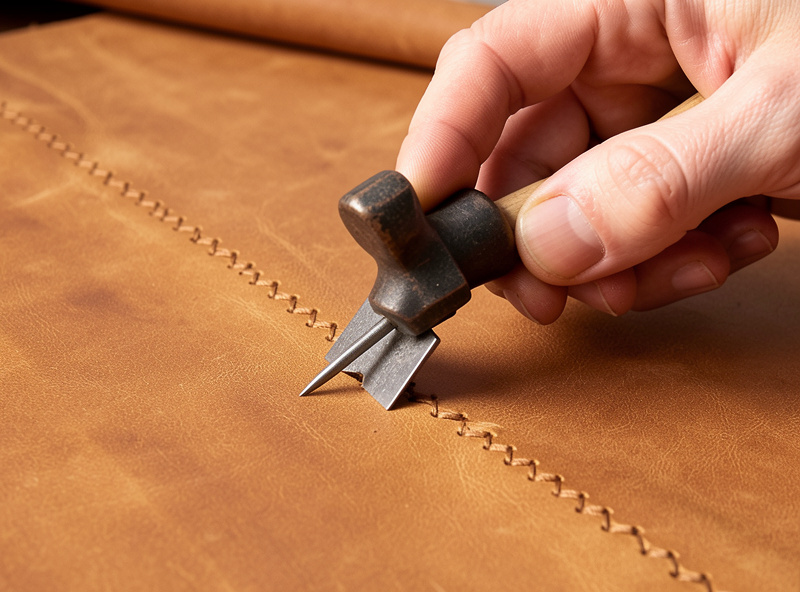
The sound tells you whether you have it right before the damage shows. A poly mallet on a driven iron gives a dull, firm thock — the iron sinks and the energy goes into the leather. A steel hammer rings, a sharp metallic ping that means the spine is taking impact it was not designed for. That ring is the sound of your iron’s geometry being destroyed one stroke at a time. After my chipped tooth, I moved every metal hammer off the stitching bench entirely and keep only a poly mallet and a rawhide maul within reach — the workspace-setup logic in the leathercraft safety guide applies: the wrong tool within arm’s reach gets used eventually.
If the iron’s spine does start to mushroom — a faint rolled lip of metal at the struck edge — file it flat with a single-cut mill file before it grows. A mushroomed spine eventually sheds chips of steel into the striking surface and, worse, changes how the iron seats against the mallet, making clean drives unpredictable. Caught early, a few file passes restore it; ignored, the spine work-hardens until it cracks. The bench surface matters too: drive into a poly cutting mat over a solid board, never directly into a self-healing mat over air, which bottoming out the teeth against hard substrate bends tips.
How Do You Polish Iron Teeth So They Glide?
Polish the flat faces of the teeth — the two broad sides that contact the leather — on a charged strop or with a fine polishing compound, so the iron enters and withdraws with minimal drag. The teeth are ground sharp at the factory; what they often lack is the polish that lets them slide through cased grain without sticking and marring the surface on exit. A few passes per face, once at setup and occasionally after, transforms how the iron feels in use.
The technique is the same edge-trailing motion used for blades, applied to a flat. Lay one broad face of the tooth row flat against a strop charged with green compound, draw it spine-first a few times, flip, and do the other face. Do not round the cutting edge of the teeth themselves — the goal is to polish the flats, not reshape the geometry. A polished tooth sinks with a smooth, even resistance and withdraws cleanly; an unpolished one grabs slightly on exit and can leave a faint scuff on show grain, which on a wallet exterior reads as a defect under raking light.
For a new set, do this polish pass once before the first project and you will feel the difference immediately. The irons come from most makers with a serviceable but not refined finish — functional, but grabby. Twenty minutes of face-polishing across a set turns a good tool into one that feels precision-engineered. This is the same finish philosophy that separates a stropped blade from a stone-only one; the head-knife stropping piece explains why a polished surface cuts and releases cleaner than a sharper-but-rougher one.
How Do You Store Pricking Irons So Teeth Do Not Chip?
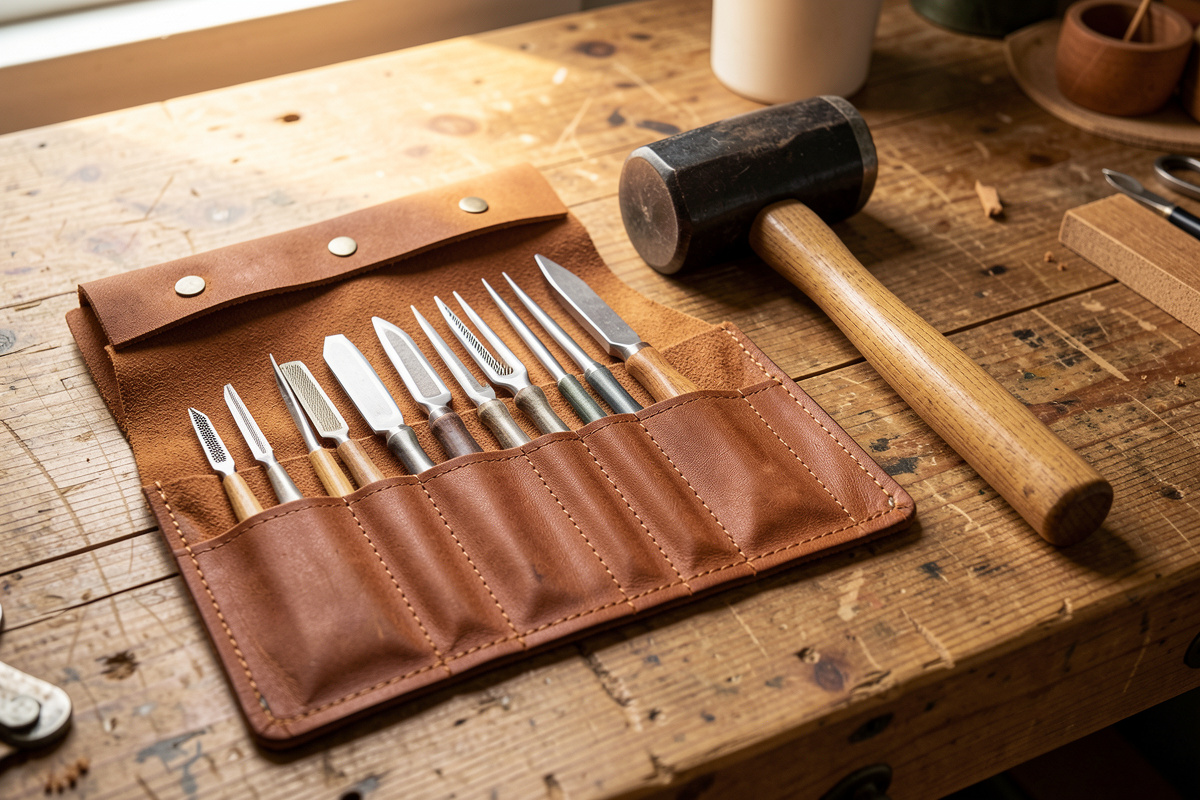
Store irons so the teeth cannot contact each other or any hard surface — a dedicated tool roll with individual slots, a wall rack with the handles up, or a lined drawer with dividers. The rule is simple: no two irons clang together, and no iron rests teeth-down on anything harder than leather or felt. A single careless drop onto a concrete floor or a clang against another iron is all it takes to chip a precision-ground tip.
Before they go into storage, wipe each iron with a lightly oiled rag. The oil does double duty: it lifts the last of the wax residue during the wipe, and it leaves a thin film that prevents the carbon steel from rusting in storage — which matters in any workshop with humidity swings. Camellia oil is the traditional choice for carbon-steel tools because it is non-drying and food-safe, and the case for it on hardened hand-tool steel is well documented by tool suppliers like Lee Valley, who recommend a light camellia-oil film specifically to keep polished carbon steel from freckling between uses. A wipe every few weeks in a dry shop, or after every session in a damp one, is plenty. I keep a small bottle at the bench — a light, reliable protectant like the camellia or Ballistol blends from Ballistol is worth keeping on hand for all the hardened steel in the cluster. As an Amazon Associate I earn from qualifying purchases.
The storage container itself should breathe. A closed plastic box traps any residual moisture and accelerates rust; a canvas roll or a wooden rack lets the steel equilibrate with the room. If you store irons in a roll for travel, give them a slightly heavier oil coat than you would on the bench, since a rolled set sits unused longer and sees more humidity variation. The same logic governs chisels and irons generally — and for the full rust-prevention protocol, the hub covers it bench-wide.
Can You Resharpen a Damaged Pricking Iron?
Minor damage you can address; major damage usually means a maker’s repair or a replacement. A slightly rolled tooth tip can be carefully stoned back with a fine hard Arkansas or high-grit ceramic slip, working the damaged face only until the roll disappears, followed by re-polishing. A chipped tooth is harder — you can file the chip out and re-establish the edge, but you have shortened that tooth, and a shortened tooth leaves a shallower mark than its neighbors, which shows in the stitch line.
The honest answer is that pricking irons are precision tools you maintain to prevent damage rather than repair after it. The teeth are ground to match each other within tight tolerances, and any hand repair introduces variation that defeats that precision. A single chipped tooth on a 10-tooth iron means one mark in ten is wrong; on a long seam, that is a visible error every few inches. Most makers offer a regrinding or replacement-tooth service for their sets, and for a premium iron that is almost always cheaper and better than a home repair.
Treat the irons accordingly: clean after every use, oil for storage, drive only with a soft mallet into a proper surface, polish the flats occasionally, and store them separated. Do that and a good set will outlast the leather you cut with it. The care routine is unglamorous — it is mostly discipline — but it is the difference between irons that mark cleanly for a decade and irons that chip in the first year.
How do you clean pricking irons?
Brush the teeth along their length with a short brass or stiff nylon brush right after use to clear wax and fiber, then wipe with a lightly oiled rag. For stubborn wax, a cotton swab with isopropyl alcohol dissolves it without harming the steel.
What mallet should you use on pricking irons?
Only a soft-faced mallet: polyurethane, rawhide, wood, or dead-blow nylon, around 12 to 16 ounces. Never a steel hammer, which mushrooms the iron spine and chips tooth tips within a session.
How do you stop pricking irons from rusting?
Wipe each iron with a light film of camellia oil or a non-drying tool protectant before storage, every few weeks in a dry shop or after every session in a damp one. Store in a breathable roll or rack, not sealed plastic.
Can you fix a chipped pricking iron tooth?
A minor roll can be stoned back, but a chipped tooth is hard to repair at home because shortening one tooth leaves a shallower mark than its neighbors. Most premium makers offer a regrinding or replacement service, which is usually better than a home fix.
Do you need to polish pricking iron teeth?
Yes, lightly. Polishing the broad flat faces of the teeth on green compound lets the iron enter and withdraw with minimal drag and prevents scuffing on show grain. Do it once on a new set and occasionally after, without rounding the cutting edges.
More on the Bench
- Maintaining Leather Tools: The Complete Care Guide
- How to Sharpen and Strop a Diamond Awl So Stitches Seat Right
- How to Sharpen a Head Knife: The Convex Edge That Slices Clean
- Leather Stitching Chisels Guide: Chisels vs Pricking Irons
- How to Sharpen Leather Tools: Strop and Stone Guide